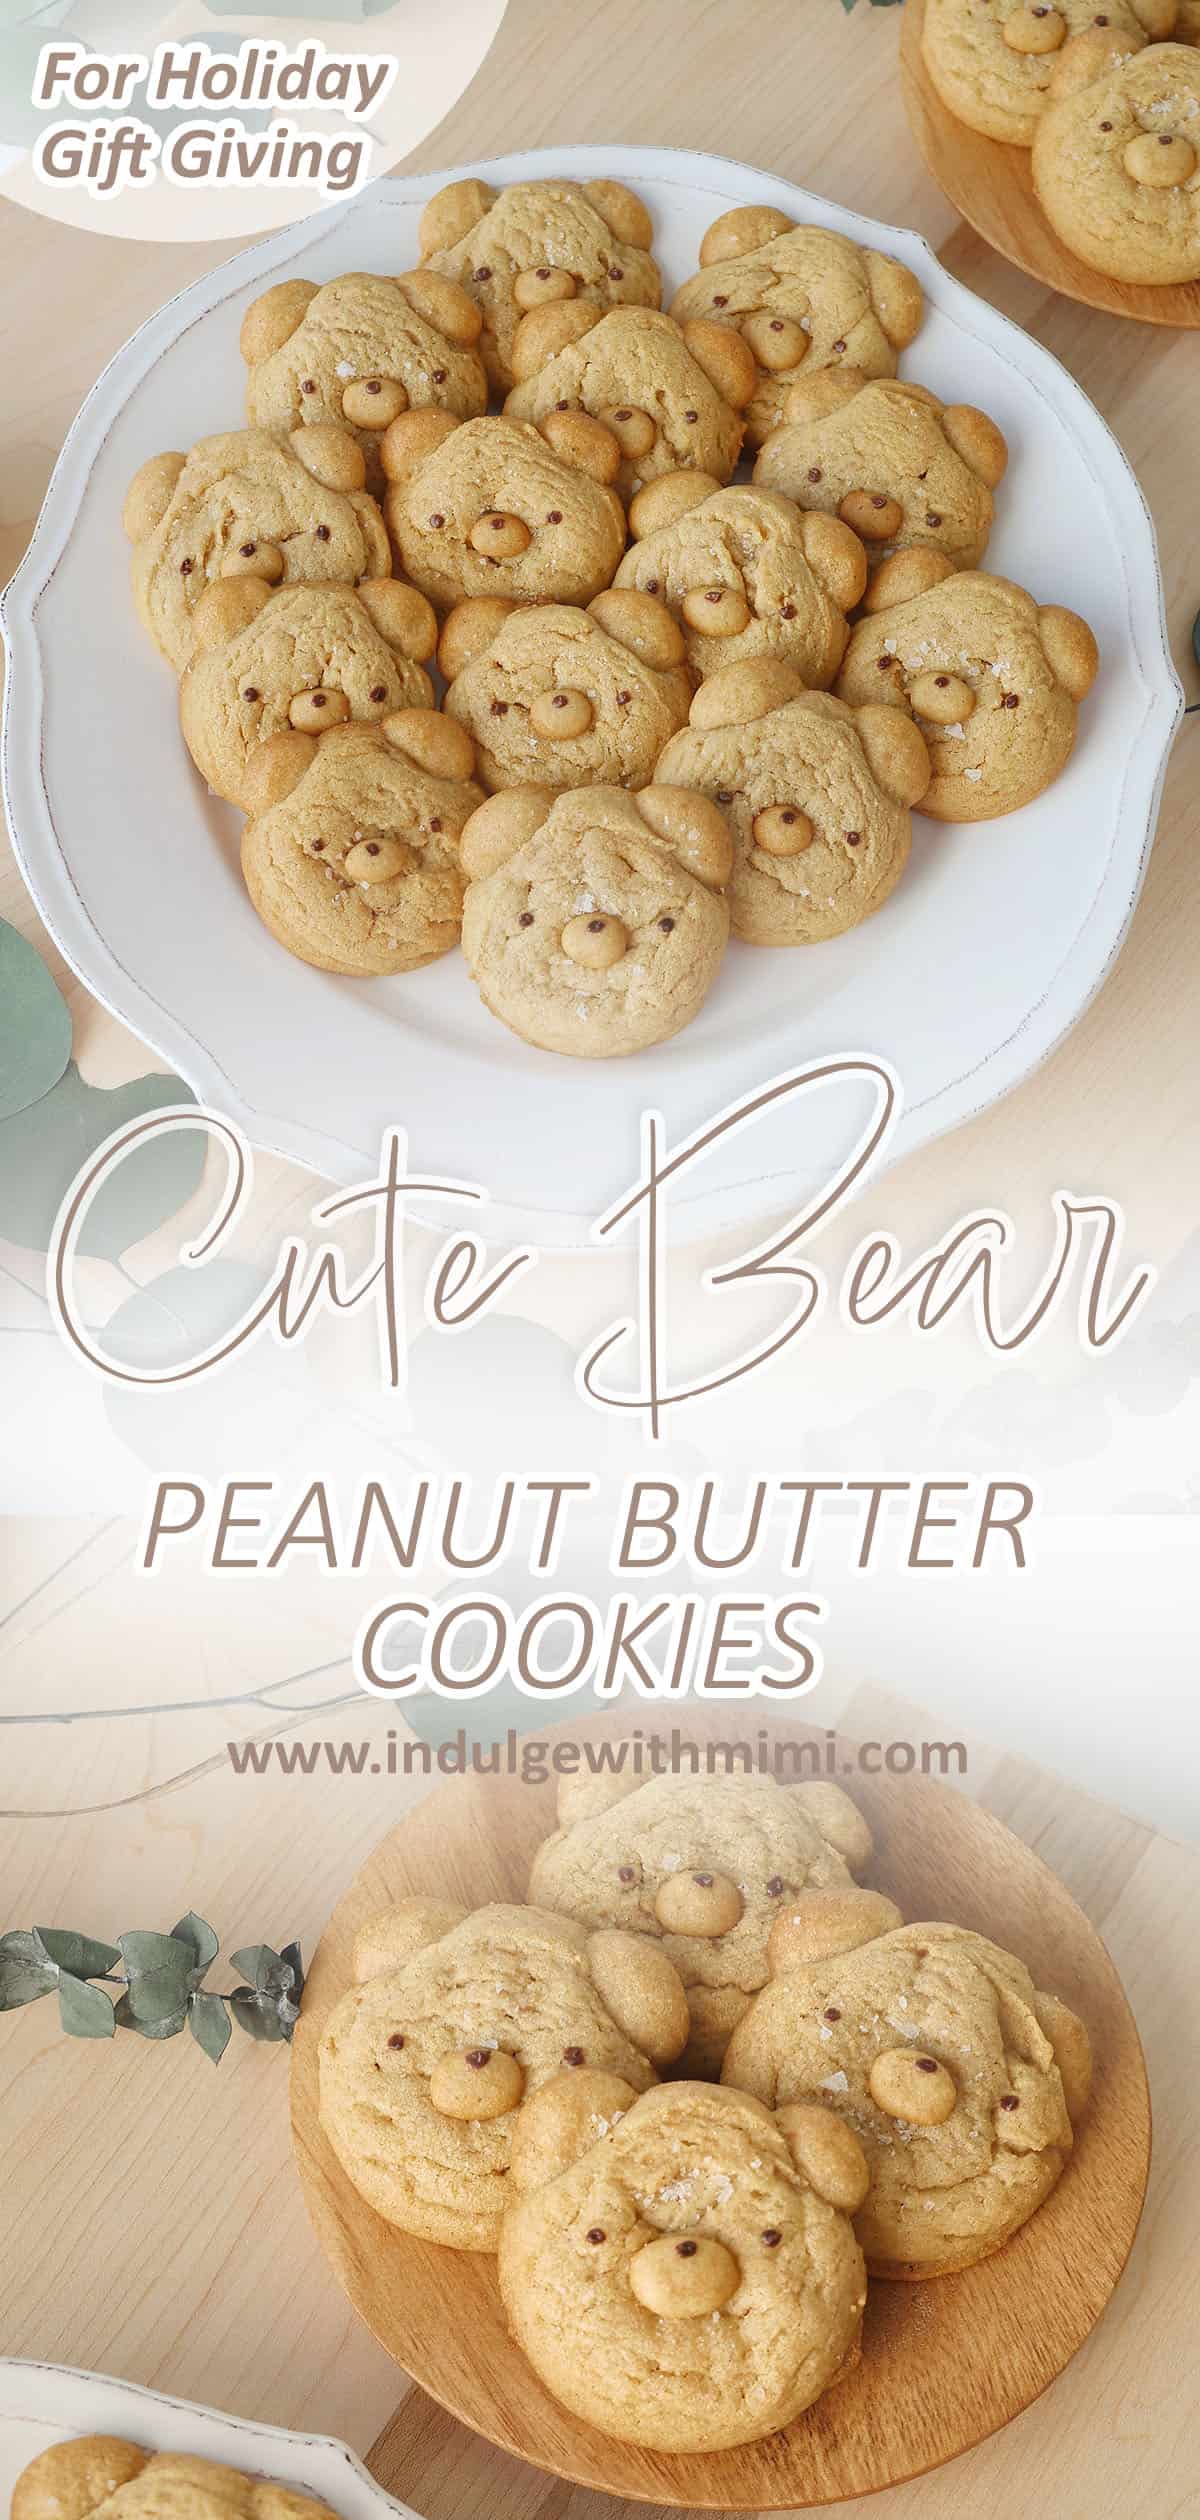
Easy-to-handle salted peanut butter cookie dough for making cute bear shaped cookies that have defined features and without burnt ears. Dough freezes well for last-minute guests and holiday gifts.
Jump to:
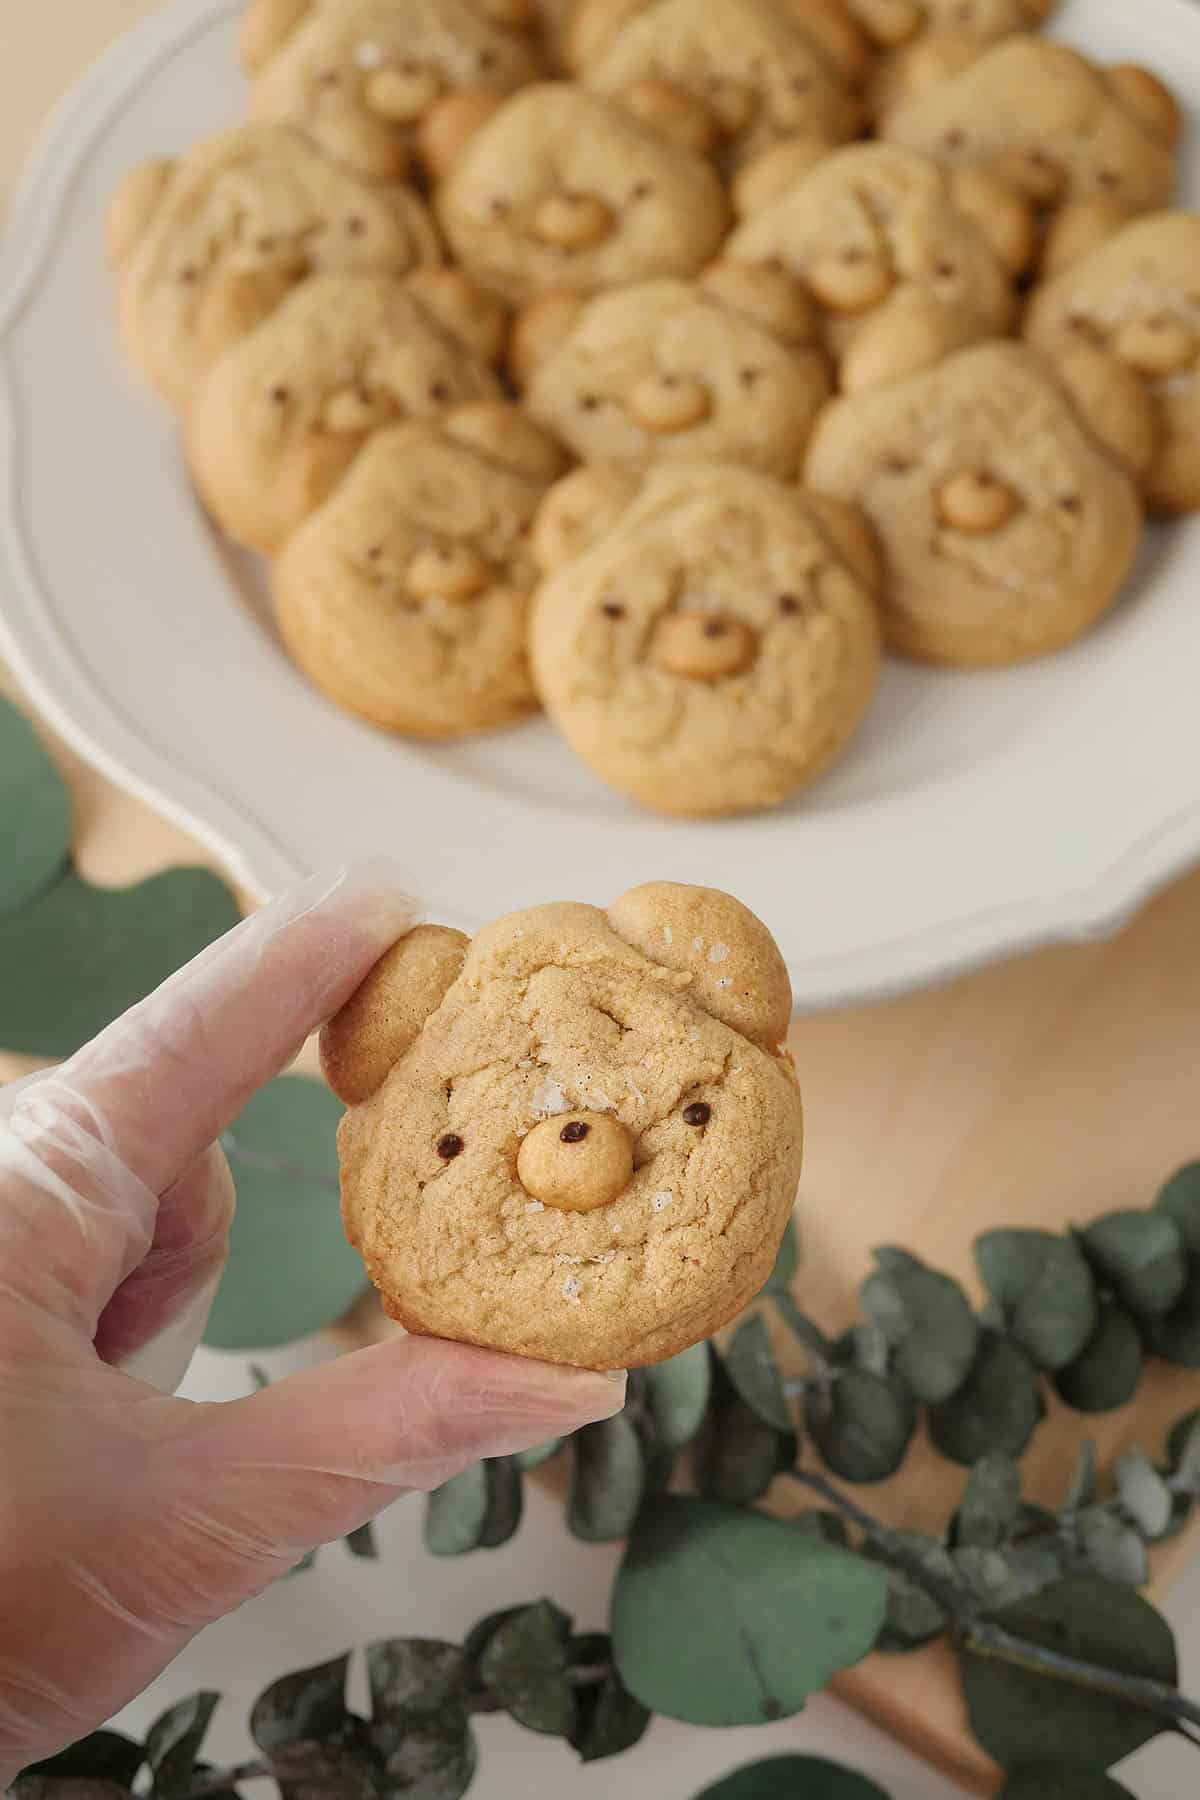
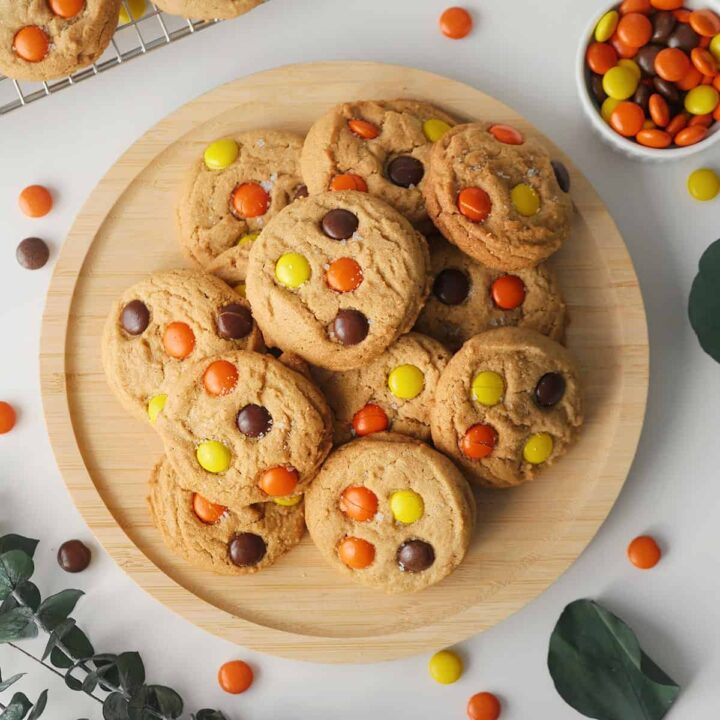
I always wanted to make bear cookies for gift giving and this dough from my Reese's Peanut Butter Cookie recipe is perfect for molding into the cutest bear shaped cookies. It's easy to handle with bare hands and sculpt into a desired character. Every now and then, we all need a break from difficult bakes like macarons, don't we 🙂 This recipe will be very handy for making edible gifts for any one of the upcoming holidays like Christmas, New Years and Valentine's Day. Let me know how it goes!
XOXO,
Mimi
Why You'll Love This Recipe
- Super cute treat that is stable at room temperature. Requires no refrigeration.
- Easy to prepare with either a stand mixer or handheld. You can even use just a spatula and some elbow grease if you want.
- Dough molds perfectly with bare hands.
- Delicious pairing of salty, savory and sweet.
- Shareable treat for cookie boxes and parties.
How to Prepare Ingredients & Substitutes
- All-purpose flour - a multi-use flour that usually has a protein content between 9-11%. Cake flour can be used as a substitute but the cookies will be more soft considering that the addition of peanut butter will make the dough quite soft already.
- Baking soda - leavening agent
- Sea salt - highlights the flavors in the cookie. If using table salt, use half the amount.
- Smooth peanut butter - if using natural peanut butter (e.g. ingredients only have peanuts and salt), ensure that it's stirred well so that the oil is not separated.
- Unsalted butter - butter and egg should be at room temperature for it to incorporate well into the dough, resulting in a homogenous textured batter. Omit the sea salt in the recipe if using salted butter.
- Granulated sugar - used for a crispier texture. It can be substituted with the same amount in brown sugar but the cookie will be more soft.
- Light brown sugar - adds dimension to the cookie with it's slight molasses flavor. Light brown sugar has less molasses content than dark and therefore, a milder flavor profile. Demerara sugar, a type of brown sugar (usually used as a topping sugar) can also be used as a substitute, the flavor profile is similar but the texture will be a little bit more chewy and crispy rather than soft and sandy (I prefer this sugar for this recipe).
- Vanilla extract - rounds out the flavors. Since it's not the main ingredient and the peanut butter flavors are more powerful, go ahead and use an artificial version to cut down costs.
- Egg - large sized, at room temperature, see above note for butter.
- Flakey sea salt - is an amazing contrast to the sweet taste in the cookie, highlights the peanut butter flavor and adds a light crunch. I like Maldon flakey salt, it can be omitted or substituted with regular sea salt.
- Chocolate chips - the kind normally used for cookies. It contains stabilizers that dry quickly and remains more stable at room temperature. In warm climates, substitute this with a simple sugar glue. See below on how to make it.
Tips for Baking The Best Peanut Butter Cookies
- Butter and egg should be at room temperature for it to incorporate well into the dough, resulting in a homogenous textured batter.
- To soften butter quickly, cut it into cubes and heat in microwave with the medium heat setting in 15 second intervals. It should be soft enough to dent with fingers but not melted. Otherwise, the fat and dry ingredients won't adhere to each other.
- To bring egg to room temperature, soak in warm water.
- Don't over mix the batter, once the butter and sugars are pale and fluffy, start adding the other ingredients. Do not overmix the batter once the flour is added, it will result in a tough cookie.
- Before baking, allow batter to chill in the fridge for a minimum of 4 hours or better yet, overnight. This helps in better flavor development and appearance. The dough is easier to shape when it's cold and doesn't spread as much when baked.
- The cookies are done when the edges are golden brown and the tops are slightly golden. Remember the cookies will continue to cook on the hot cookie sheet.
Tips for Molding and Baking Bear Cookies
This dough is perfectly suited for making character or bear cookies. Follow these additional tips to give them a polished look for gift-giving and special occasions:
- Chill dough for a minimum of 4 hours to make it easier to handle and prevent spread while baking, this is important if you live in a warm climate.
- Freeze the dough for the bear's ears to prevent burning. Since the ears are smaller, they require less bake time so baking them from frozen will slow down premature doneness.
- Bake the snout separately and "glue" them on afterwards for more definition in the bear's appearance.
- Apply the bear's snout with gentle pressure when the cookie is still HOT to create a more realistic appearance.
What to Use for Drawing the Bear's Eyes & Nose?
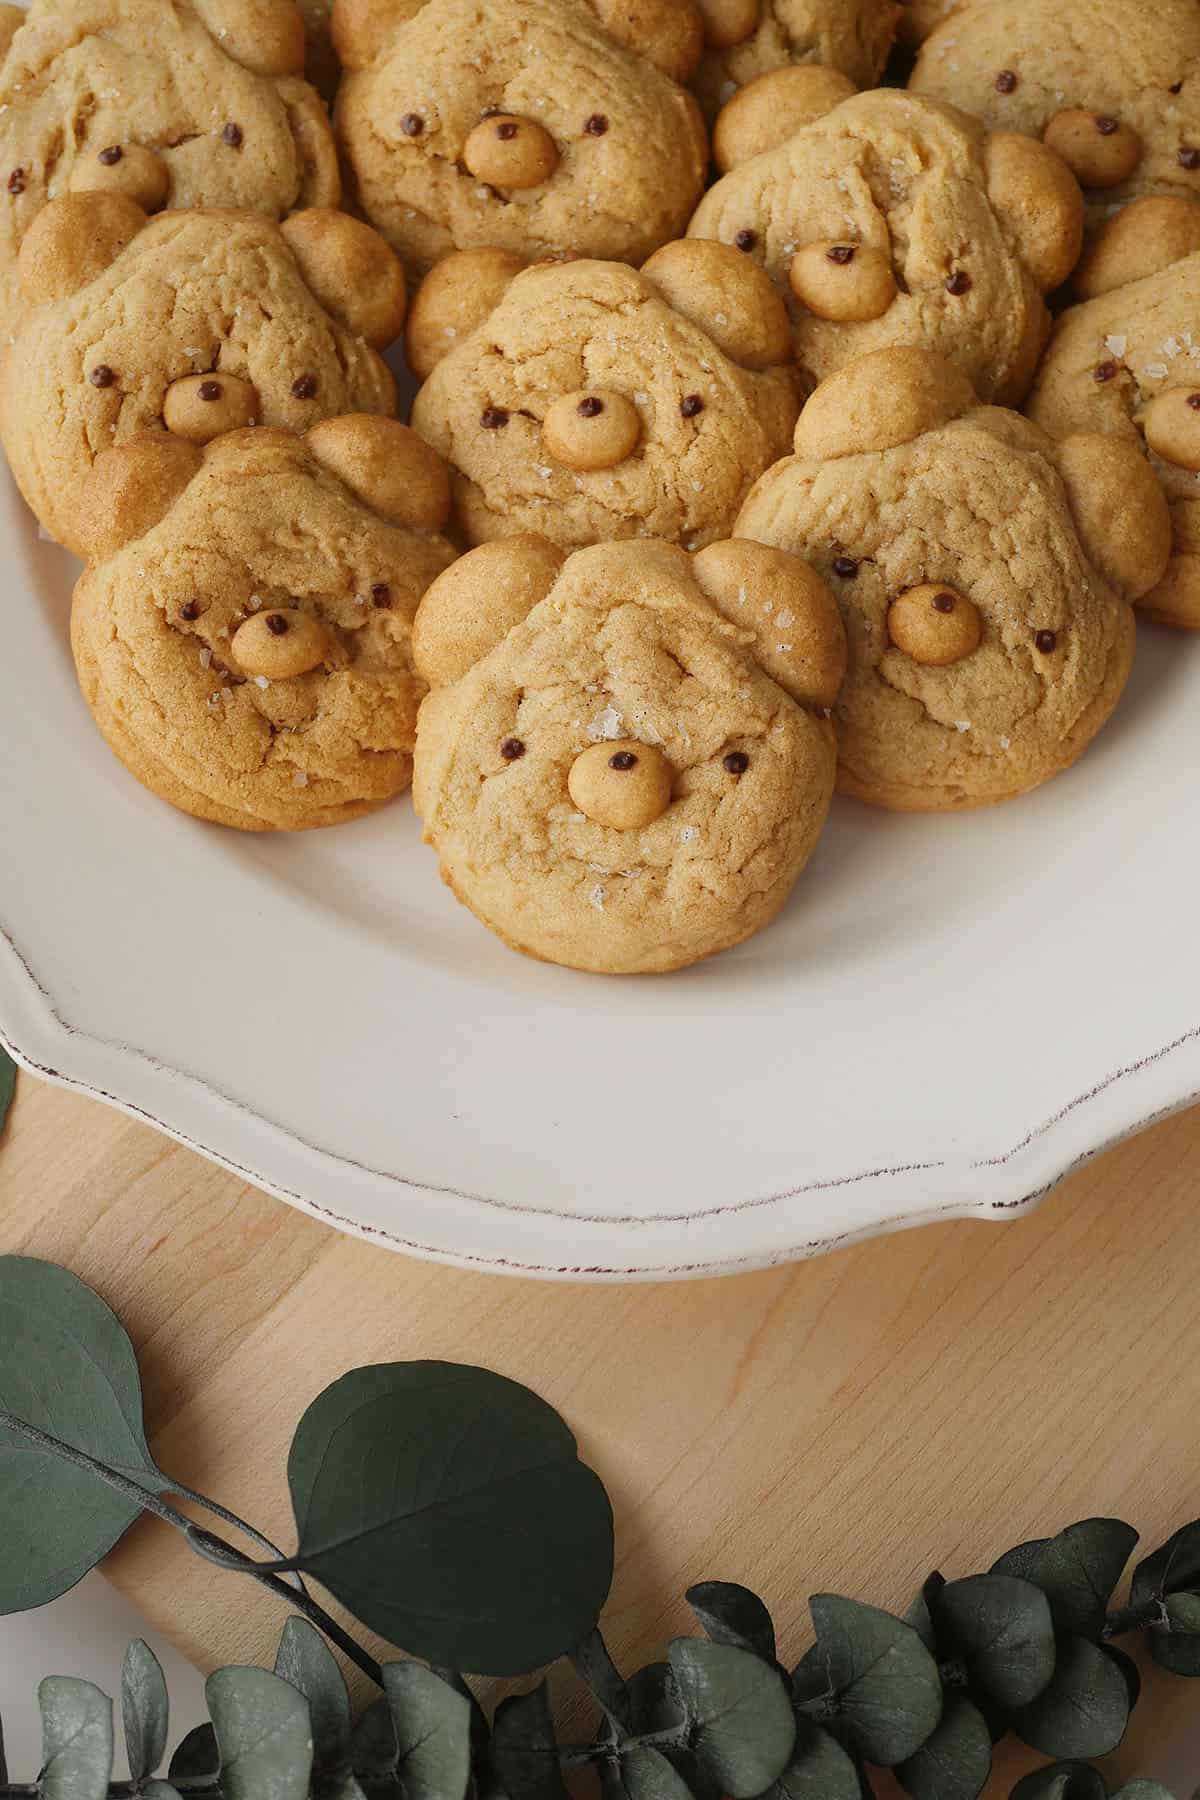
I used chocolate chips to act as the "glue" for applying the snout, and as the paint for drawing in the eyes and ears. Just melt in the microwave at 15 second intervals, then stir to test for a smooth consistency. Try to use chocolate chips (the kind you use in cookies) instead of baking chocolate because chocolate chips contain stabilizers that help it dry faster and remain more stable/smudge-free at room temperature.
If you live in a warm climate or it's a hot summer season, consider using a simple sugar glue made from powdered sugar. Just place 2 tablespoons of powdered sugar in a bowl, spritz water on it from a spray bottle until it becomes a thick paste with a tooth-paste like consistency. Add a bit of brown food coloring and blend, use immediately. If it starts drying up, spray more water on as necessary.
Lastly, if you don't have the time to bake this cookie dough into a bear shape, try my other cookie recipes like Reese's Peanut Butter Cookie, Fancy Chocolate Chip Cookie or Matcha Coconut Cookie.
How to Freeze Bear Cookie Dough
Like most drop-cookies, this peanut butter cookie dough can be frozen for future use making it extremely convenient for preparing bear cookies in advance of the holiday season. To freeze dough:
- After all the ingredients have been incorporated, divide up the dough into two equal parts and place on a piece of plastic wrap.
- Place another piece of plastic on top and gently push down until the dough is at a one inch thickness. Seal off the sides and fold up the excess to secure in place.
- Wrap one more time with plastic wrap and note date with a marker. It will stay fresh for up to 3 months.
- To bake, defrost the cookie dough in the fridge overnight. To defrost quickly, place frozen cookie dough in a Ziplock freezer bag, push all the air out and seal. Submerge bag in cold water (not warm or hot) and weigh it down with a mug. It should defrost to a workable consistency within an hour or so. The dough can be baked partially frozen, watch it and give it one or two minutes more if needed.
How to Assemble Bear Cookies
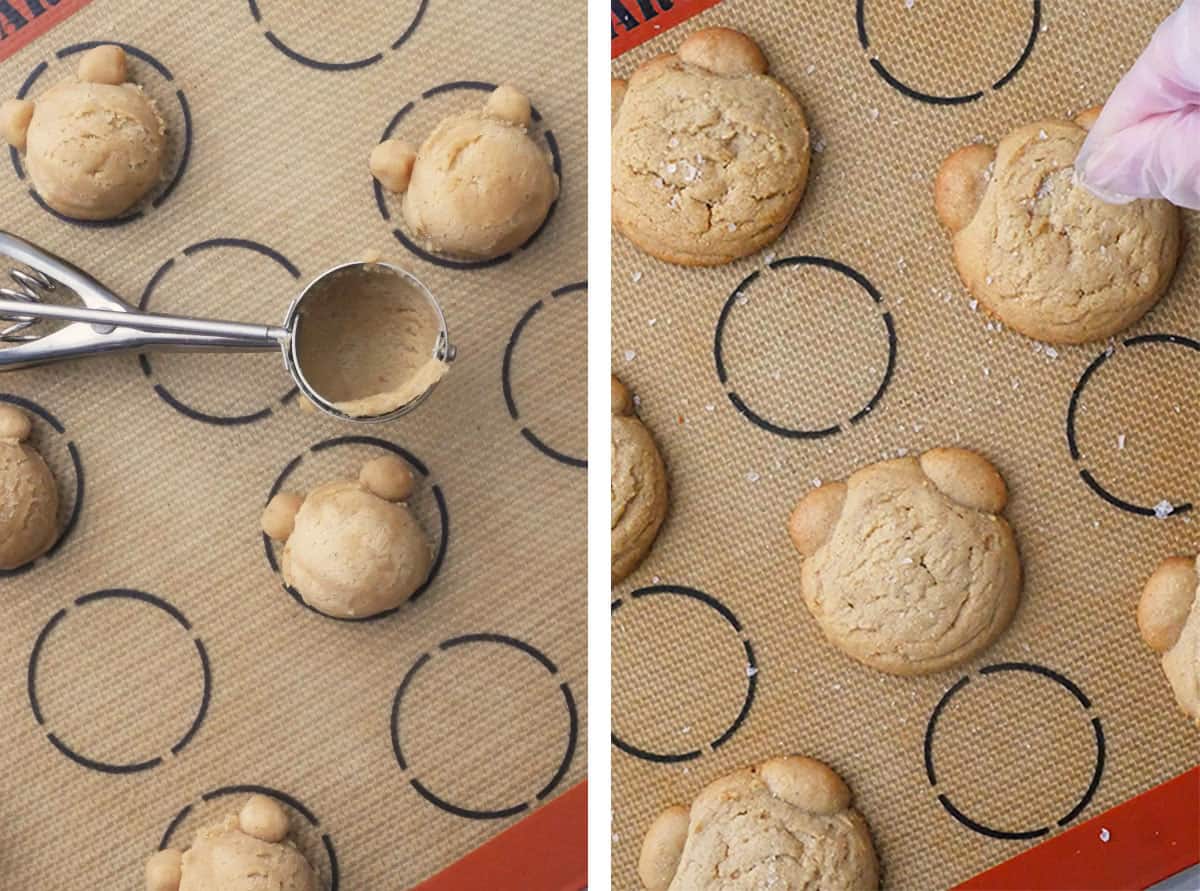
Once the dough has been made and chilled, assemble the bear's head and face. For the bear's ears: Take a small portion of the dough out of the fridge, roll it into small balls around 1.25 cm in diameter. Place in the freezer until it becomes frozen hard (around 30 minutes).
For the bear's snout: Roll dough to make small oval shapes around 1 cm wide. Place onto a small baking tray lined with paper or silicone mat.
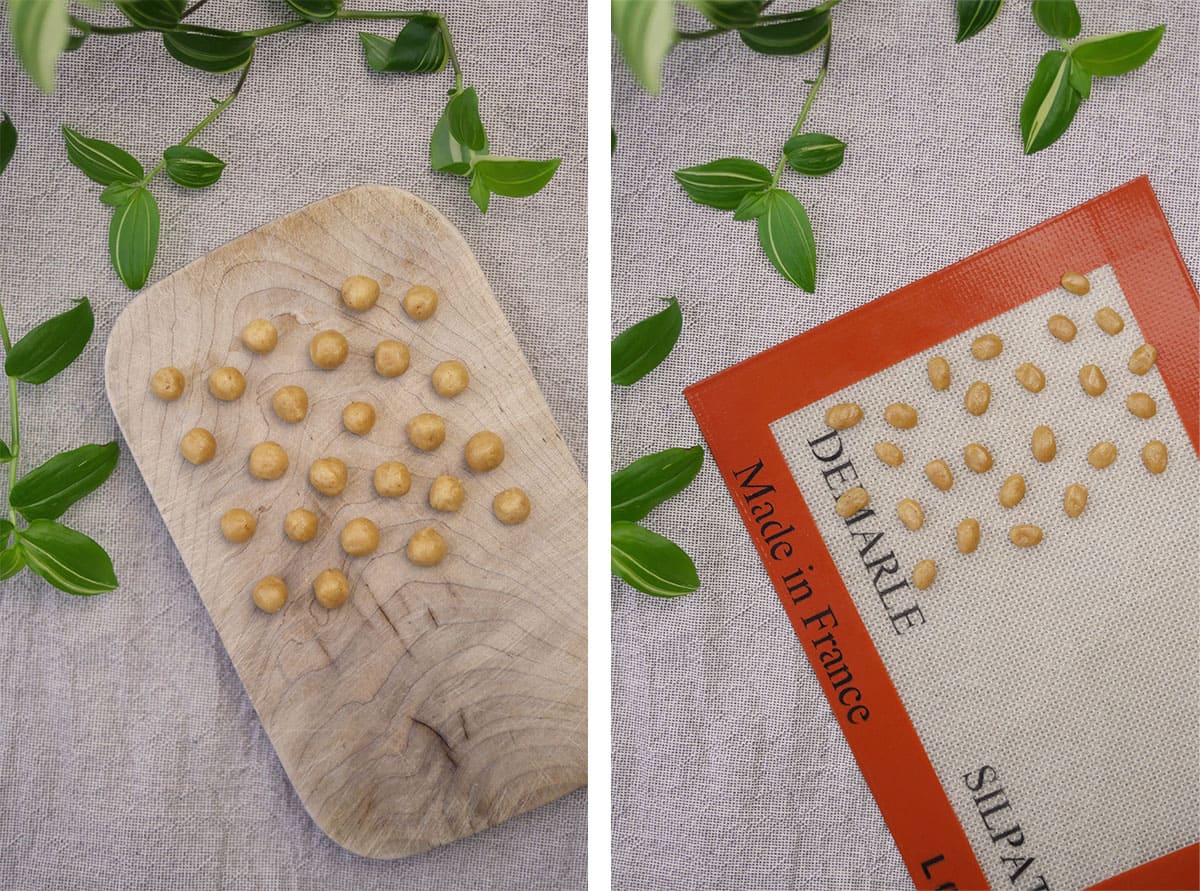
For the bear's head: Onto a separate regular-sized baking pan lined with parchment paper or a silicone mat, drop the rest of the dough by rounded tablespoonfuls (e.g. melon baller) 2 inches apart. Once the oven has fully pre-heated, carefully place the frozen bear ears onto the side of the bear's head in desired position. Bake the head with ears immediately on the middle rack for 12-14 minutes.
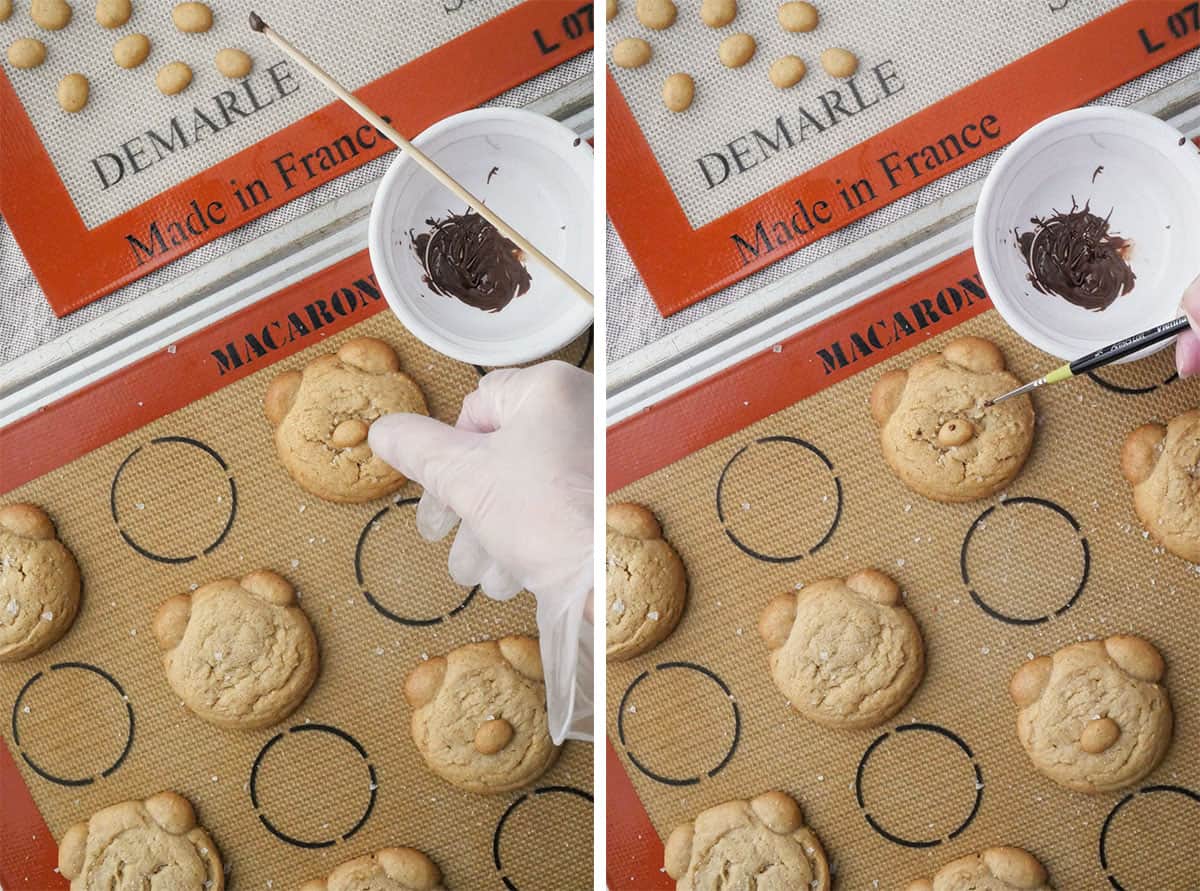
Bake the snout on the rack below it. Take it out when it starts to turn golden brown throughout (around 7 minutes). Check on the heads after 10 minutes in the oven, take it out when the edges are golden brown and the center is slightly golden. It will continue to cook further on the pan. Sprinkle the flakey salt on top of the bear cookies while it's hot.
Melt chocolate chips in the microwave until melted and smooth. Test consistency after each 15 second interval. Add some of the chocolate onto the snout and gently press it into the bear's face, creating a very slight depression for a more realistic effect. Use a fine brush to draw in the eyes and nose with the chocolate.
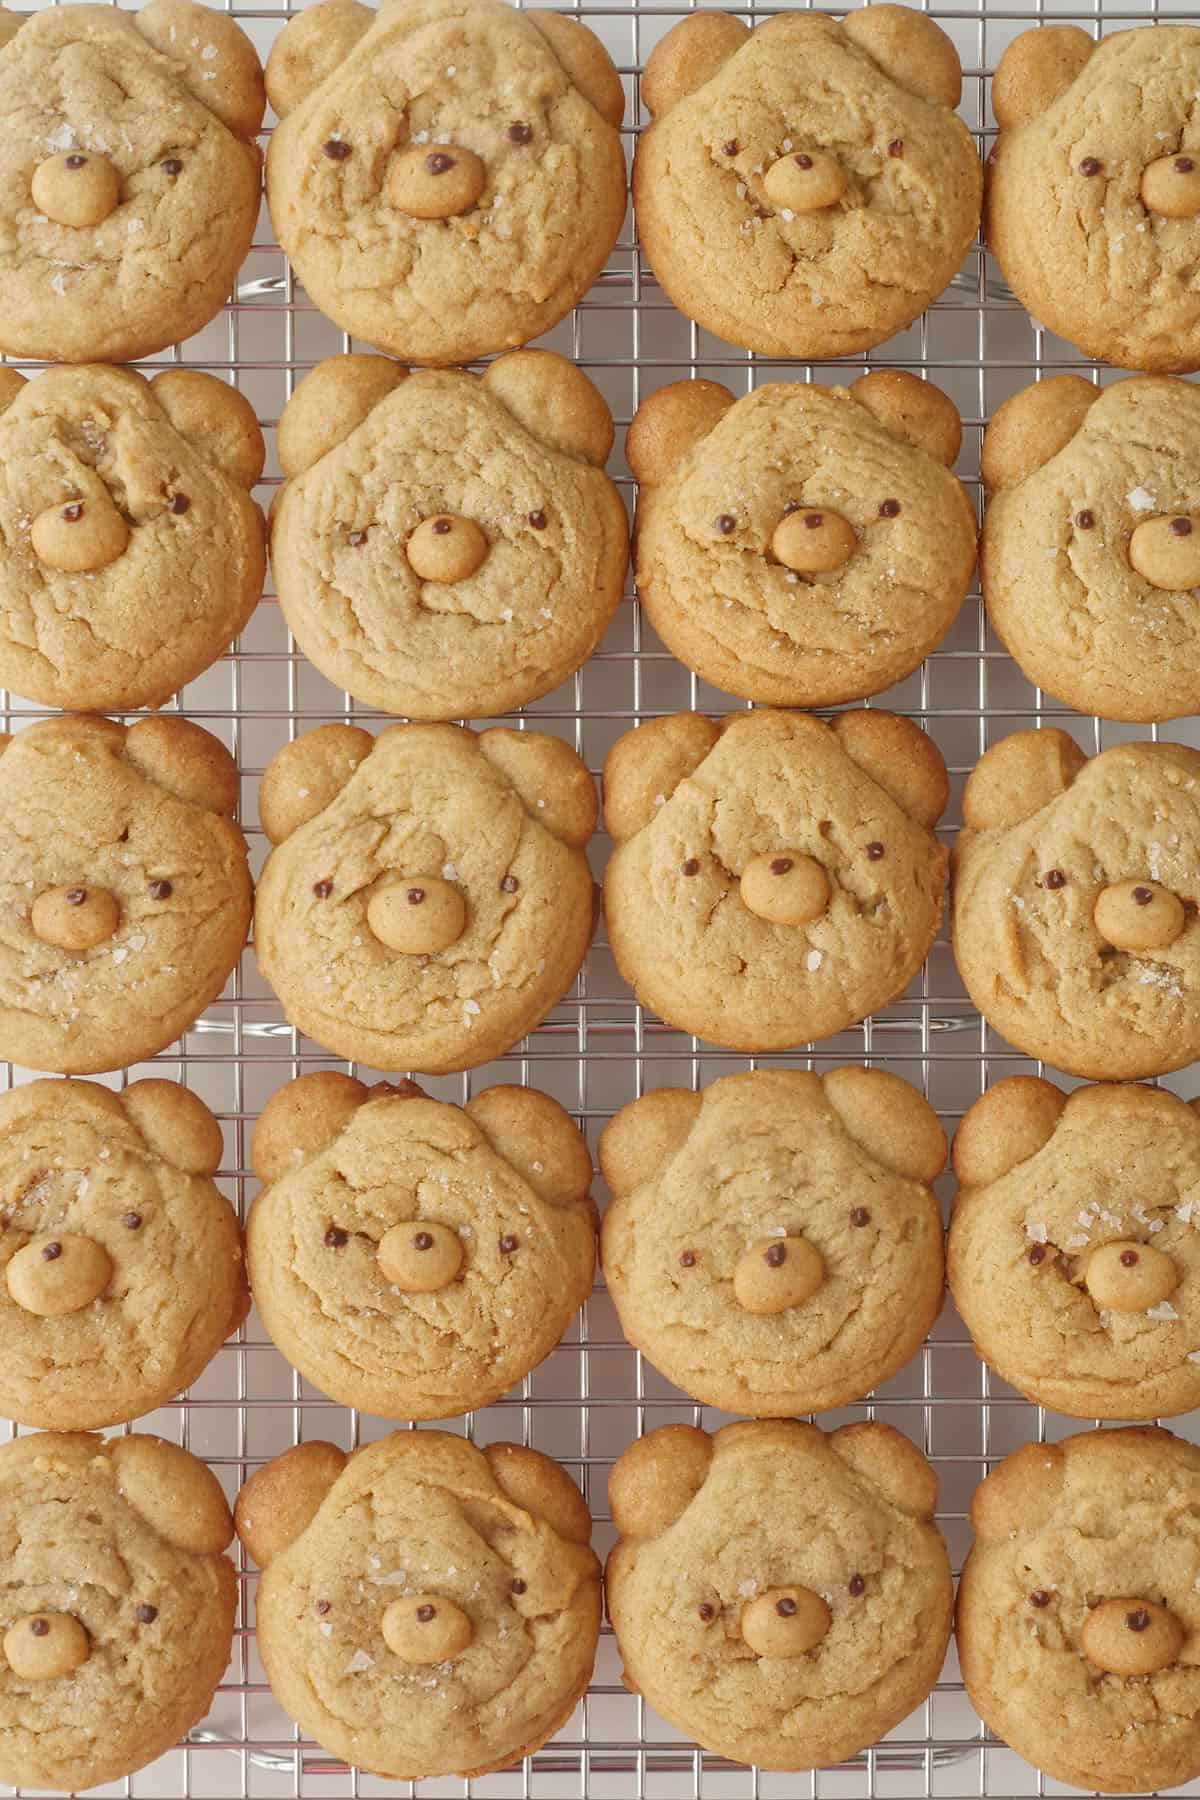
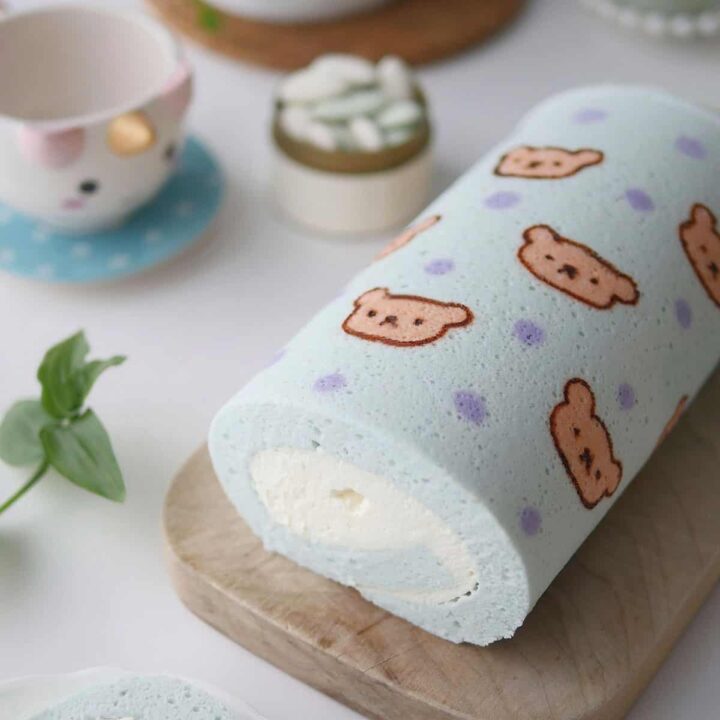
Let bear cookies cool on the pan for 3 minutes, transfer to a cooling rack. When cooled, it will stay fresh in an air-tight container for 5-7 days. Recipe alert: if you like cute bear bakes, try this beautiful bear pattern cake roll. And if you're looking for other adorable cookie recipes try: marbled heart Valentine's cookies, jam-filled cutout cookies and honey gingerbread cookies.
Recipe
Cutest Peanut Butter Bear Cookies
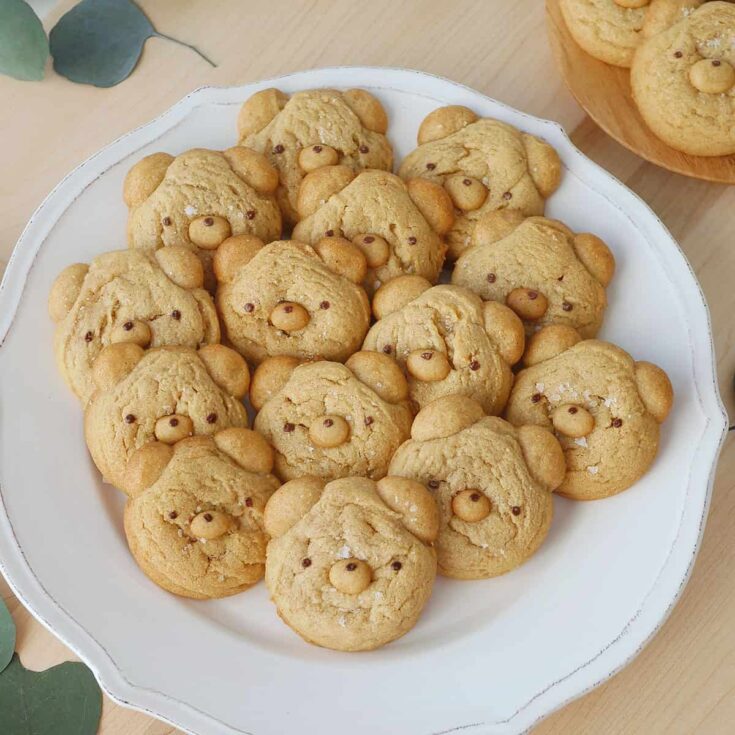
Easy-to-handle salted peanut butter cookie dough for making cute bear shaped cookies. Dough freezes well for last-minute guests and holiday gifts.
Ingredients
- 130 grams all-purpose flour
- ¼ + ⅛ teaspoon baking soda
- ¼ teaspoon sea salt*
- 130 grams smooth peanut butter*
- 100 grams unsalted butter, room temperature
- 60 grams granulated sugar
- 100 grams light brown sugar*
- 1 teaspoon vanilla extract
- 1 egg, room temperature
- Flakey sea salt (e.g. Maldon)*
- a few chocolate chips*
Instructions
- Pre-heat oven to 325F.
- Whisk together the flour, baking soda and salt, set aside.
- In a stand mixer fitted with the paddle attachment, beat together peanut butter, room temperature butter and sugars until light and fluffy. Use a spatula to scrape the sides occasionally.
- Add vanilla extract and room temperature egg. Beat until it becomes a smooth mixture.
- Stop mixer, add flour mixture and stir on lowest setting until incorporated. Do not overmix.
- Optional: Wrap dough in plastic wrap and chill for a minimum of 4 hours, overnight is preferable to develop flavors and (for warm climates) prevent spread during baking.
- For the bear's ears: Take a small portion of the dough out of the fridge, roll it into small balls around 1.25 cm in diameter. Place in the freezer until it becomes frozen hard (around 30 minutes).
- For the bear's snout: Roll dough to make small oval shapes around 1 cm wide. Place onto a small baking tray lined with paper or silicone mat.
- For the bear's head: Onto a separate regular-sized baking pan lined with parchment paper or a silicone mat, drop the rest of the dough by rounded tablespoonfuls (e.g. melon baller) 2 inches apart.
- Once the oven has fully pre-heated, carefully place the frozen bear ears onto the side of the bear's head in desired position.
- Bake the head with ears immediately on the middle rack for 12-14 minutes.
- Bake the snout on the rack below it. Take it out when it starts to turn golden brown throughout (around 7 minutes).
- Check on the heads after 10 minutes in the oven, take it out when the edges are golden brown and the center is slightly golden. It will continue to cook further on the pan.
- Sprinkle the flakey salt on top of the bear cookies while it's hot.
- Melt chocolate chips in the microwave until melted and smooth. Test consistency after each 15 second interval.
- Add some of the chocolate onto the snout and gently press it into the bear's face, creating a very slight depression for a more realistic effect.
- Use a fine brush to draw in the eyes and nose with the chocolate.
- Let bear cookies cool on the pan for 3 minutes, transfer to a cooling rack. When cooled, it will stay fresh in an air-tight container for 5-7 days.
Notes
- If using table salt, use half the amount.
- If using natural peanut butter (e.g. ingredients only have peanuts and salt), ensure that it's stirred well so that the oil is not separated.
- Light brown sugar has less molasses content than dark and therefore, a milder flavor profile. Demerara sugar (usually used as a topping sugar) can also be used as a substitute, the flavor profile is similar but the texture will be a little bit more chewy and crispy rather than soft and sandy (I prefer this sugar for this recipe).
- Butter and egg should be at room temperature for it to incorporate well into the dough, resulting in a homogenous textured batter.
- Flakey salt highlights the flavors in the cookie and adds a light crunch, can be omitted or substituted with sea salt.
- Chocolate chips are used for decorating and preferable over baking chocolate because it contains stabilizers that allow it to dry quickly and stay more smudge-free.
- Chocolate chips can/should be substituted with a simple sugar glue made of powdered sugar and water if you don't have chocolate chips or if you live in a warm climate. Read post on how to make it.
- This recipe can be doubled, tripled and so forth.
Recommended Products
As an Amazon Associate and member of other affiliate programs, I earn from qualifying purchases.
-
Maldon Salt, Sea Salt Flakes, 8.5 oz (240 g), Kosher, Natural, Handcrafted, Gourmet, Pyramid Crystals
-
HERSHEY'S Kitchens Semi-Sweet Chocolate Chips, Bulk Baking Supplies, 12 Oz Bag, (Pack of 12)
-
Silpat Perfect Cookie Non-Stick Silicone Baking Mat, 11-⅝" x 16-½"
-
USA Pan Bakeware Cookie Sheet, Large, Warp Resistant Nonstick Baking Pan, Made in the USA from Aluminized Steel,Silver
Nutrition Information
Yield
22Serving Size
1Amount Per Serving Calories 120Total Fat 7gSaturated Fat 3gTrans Fat 0gUnsaturated Fat 3gCholesterol 18mgSodium 88mgCarbohydrates 13gFiber 1gSugar 8gProtein 2g
This information is provided as a courtesy and is an estimate only. This information comes from online calculators. Although indulgewithmimi.com attempts to provide accurate nutritional information, these figures are only estimates.


Sher says
The ingredient list seems to be missing the egg(s), so I’m unsure how many to use. I’m assuming 1 but just thought I would let you know that I’m not seeing it in the ingredient list!
Mimi says
Hi Sher,
The egg is listed right under the vanilla extract. I wonder if there were any page loading problems for you? I don't allow ads to be displayed inside my recipe boxes just in case it messes with proper display/loading. If you continue to see this omission, please reach out again. Thanks for double checking anyways 🙂
XOXO,
Mimi
Stacey says
I think there is a significant typo in the flour ingredient amount - the dough is not a consistency to use at all; literally melting in hands even though it was chilled for hours.
Mimi says
Hi Stacey,
I'm sorry to hear you're having troubles. The amounts are correct. I test my recipes multiple times and for this recipe, I've made it many more times for parties according to what I've published here. After I received your feedback, I also reviewed all my proccess and testing notes again and everything is as it should be.
Soft batters may be due to ingredient temperature or incorrect measurements. For the temperature, make sure that the butter is not too soft. It's summer right now so room temperature may even be hot enough to start melting it. The ingredients need to be at the right temperature to be incorporated evenly.
Next, Make sure the ingredients are measured accurately with a scale.
I hope that helps and you might try it again?
Xoxo, Mimi
Mimi says
Continuing the above, as per the notes in the recipe card, if using natural peanut butter the peanut butter also needs to be fully stirred and oil is fully incorporated before using.