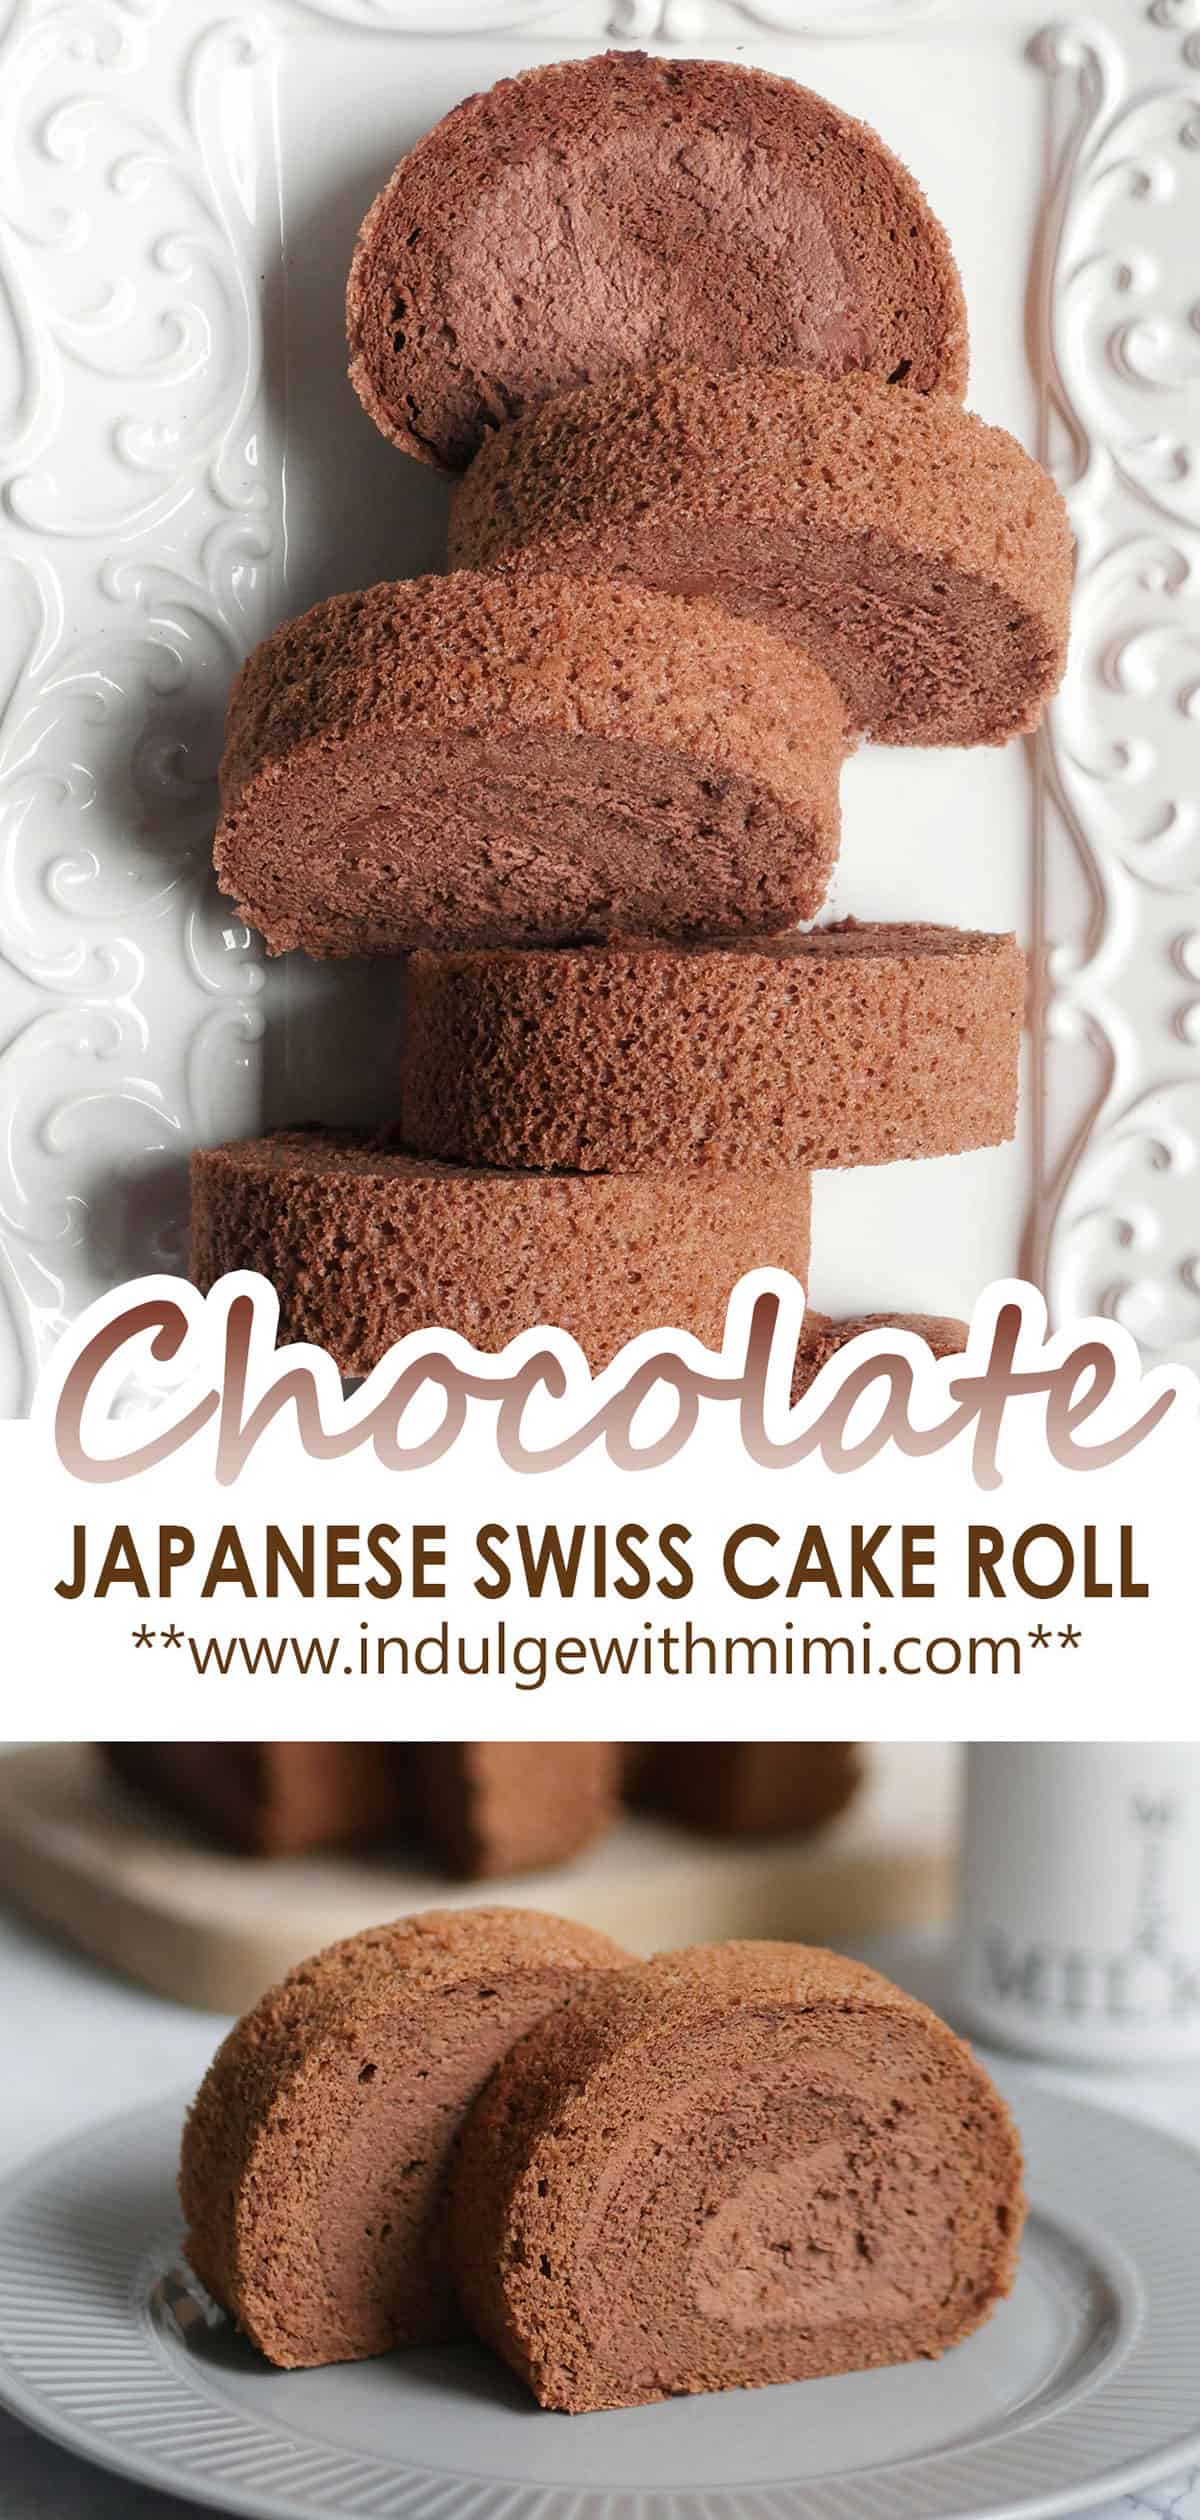
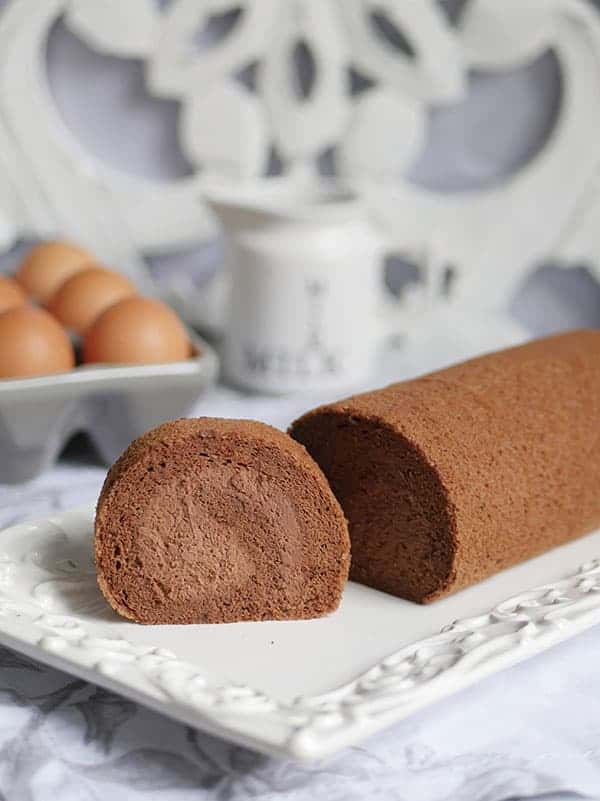
Japanese style chocolate cake roll made from a super soft and fluffy chiffon cake filled with a light chocolate whipped cream. Airy, semi-sweet chocolate goodness, it's so easy to indulge in the whole cake all by yourself!
Jump to:
A "Not-Too-Sweet" Japanese Style Dessert
One of my husband's favorite desserts is a chocolate swiss roll that we used to buy at a Japanese bakery on Robson street in downtown Vancouver. Every time we'd go there, there would be a few other desserts that would pique his interest by their attractive appearance but after trying several kinds, he eventually set his heart on getting this one particular chocolate cake every single time. (I hope that it's a good indicator of his decision making style for life partners too HAHA.)
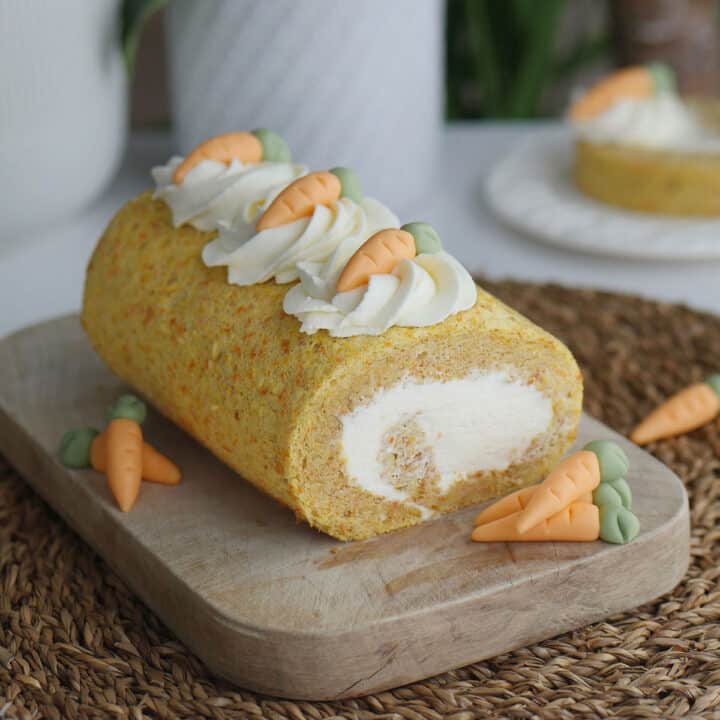
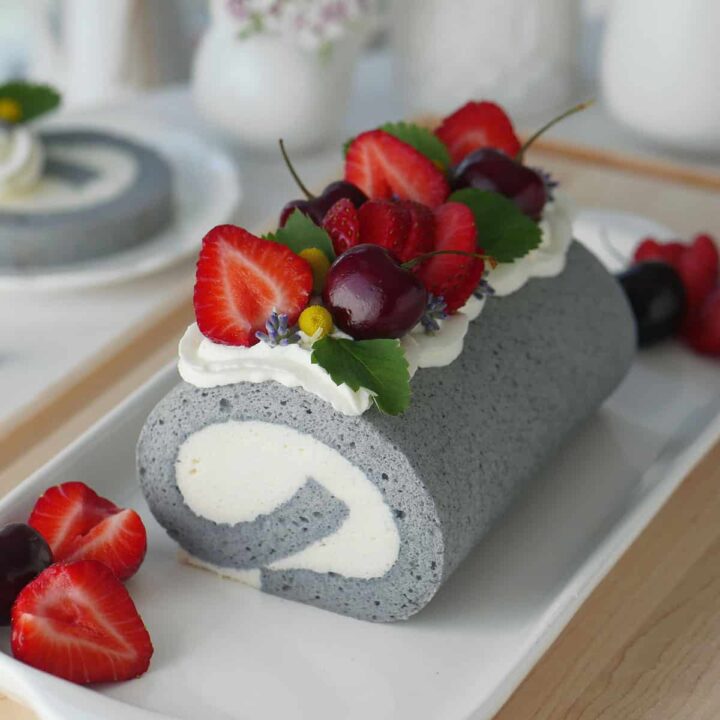
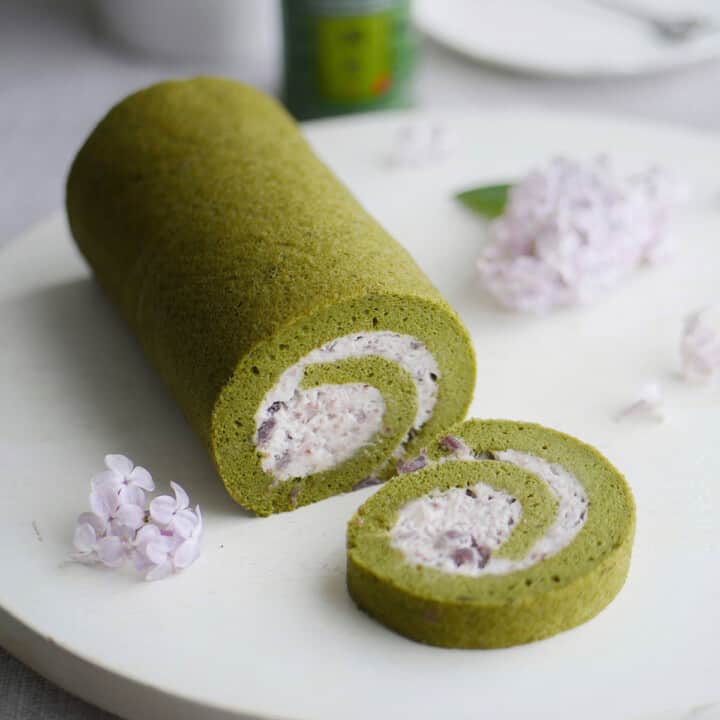
The cake roll is chocolate flavoured and consists of a soft fluffy chiffon cake base which is rolled up and filled with a light and airy chocolate whipped cream. Like most popular desserts in Asia, it has a light texture and creamy taste and most importantly, it's not too sweet. We had a good few years of dropping by the little bakery to pick up this heavenly cake until one day, to our dismay, it had closed down. I was never able to find a replacement dessert for hubby so I decided that if there was a cake I wanted to recreate in my kitchen, this would be the one! (update: it was such a hit that I ended up adapting it to a strawberry cake roll, matcha cake roll, carrot cake roll, coffee cake roll, gingerbread cake roll, pumpkin spice cake roll, fancy pattern cake roll, Earl Grey cake roll too.)
The Difference Between Chiffon Vs. Sponge Cake
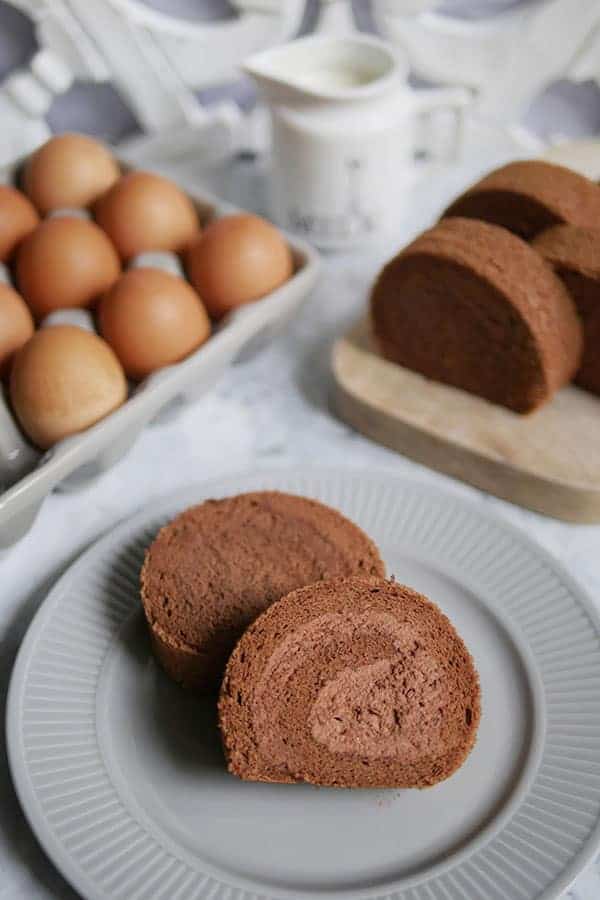
One of the most appealing aspects of this cake is the soft and fluffy cake body. I have found cake rolls in other Asian bakeries but I wasn't able to find one with such a light airy texture. In developing this recipe, I experimented by making it 7 times, each with different ratios of flour, eggs, etc. I think I finally developed the perfect recipe for a soft and fluffy chiffon chocolate cake which could be rolled into a chocolate cake roll.
For the cake, I decided to use a chiffon cake technique because it is lighter and fluffier. A chiffon cake is a type of foam cake, similar to a sponge cake. Technique-wise, the main difference between the two is the use of oil in a chiffon cake vs. no butter/butter in a sponge cake. Oil in a chiffon cake makes the cake lighter and more tender. It is also great for refrigeration since butter hardens up in cooler temperatures.
Another signature technique used in the making of chiffon cake is the separate whipping of the egg whites. A flour mixture is first created with the flour, egg yolks and oil, next the whipped egg whites are then folded into this flour mixture to make the chiffon cake batter. It's an easy cake to master for you macaroners out there since you've probably brought egg whites to a stiff peak condition many times before. And if you're a bit time crunched and want to make a chocolate cake with less steps, try this very easy Chocolate Cream Cheese Pound Cake that doesn't require rolling of the cake or any fillings.
Tips for Making a Great Chiffon Cake Roll
- Use a lower protein content flour like cake or pastry flour. These flours usually have a protein content of 6-8% and 8-9% respectively. I recommend having a bag on hand in the pantry for baking the softest fluffiest baked goodies. In addition to use in cakes, cake flour can also be used to make fancy soft chocolate chip cookies too!
- A strong and healthy meringue (whipped egg whites with sugar) is needed to act as one of the leavening agents in this cake. Egg whites should be whipped in a clean and dry non-plastic bowl since plastic tends to trap oil. Use a paper towel and wipe down the mixing bowl with lemon or vinegar before you start.
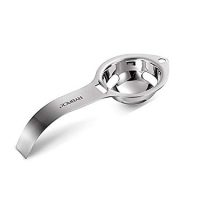
- Carefully separate the egg whites and yolks. Make sure no yolks are present in the egg whites. An egg separator can come in handy.
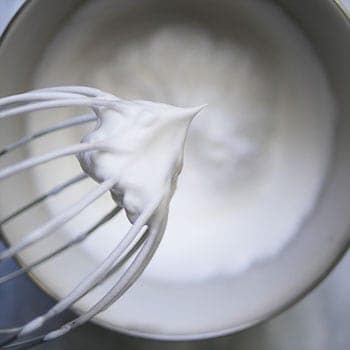
- Bring the egg whites to a stiff peak. This is characterized by egg whites that have a beak that points upwards (instead of slumped over) when the whisk is pulled out.
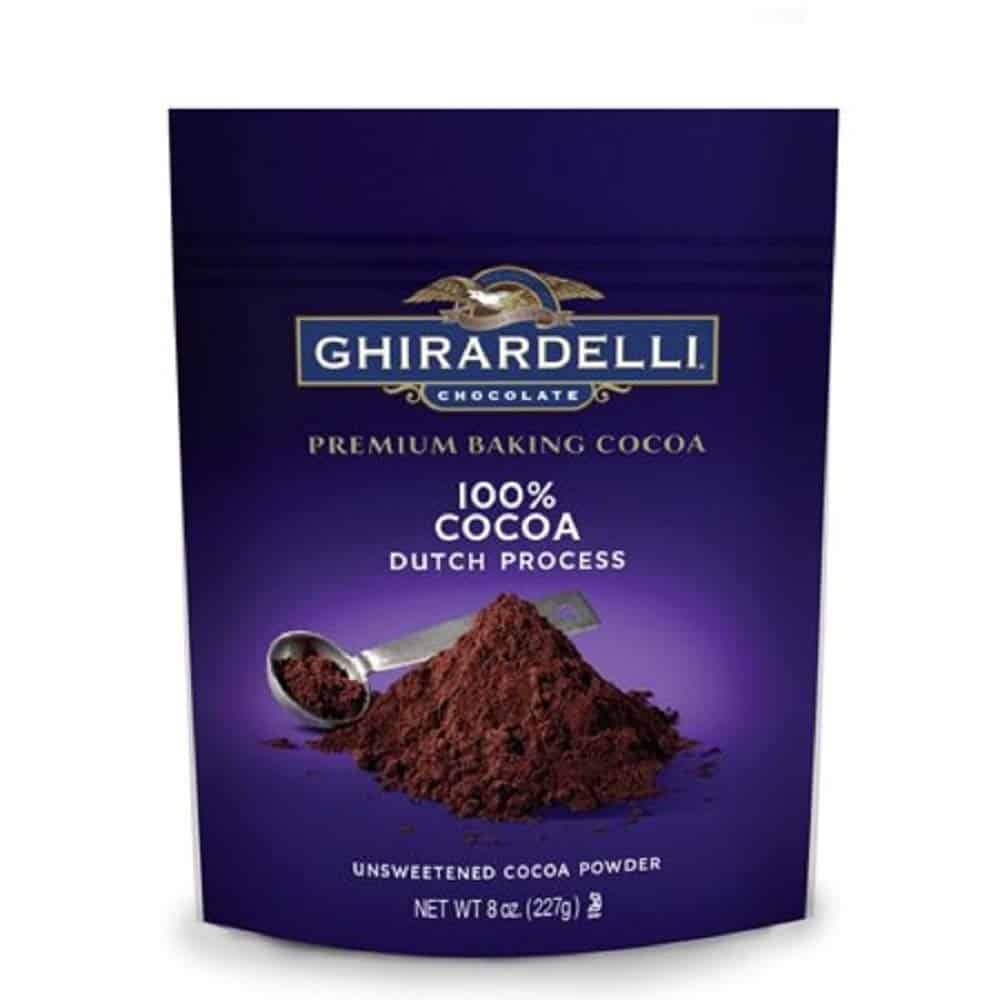
- Use a Dutch processed cocoa powder like this one. There is a difference between natural cocoa and dutch processed cocoa. Dutch processed cocoa has been treated with an alkalizing agent that makes it darker in color and give it a milder taste. This process neutralizes the cocoa's acidity and makes it less reactive to baking soda. This recipe was written for use with a dutch processed cocoa.
- Once the liquid (chocolate milk in our case here) is introduced to the flour, do not over mix. This will produce more gluten, making the cake less tender.
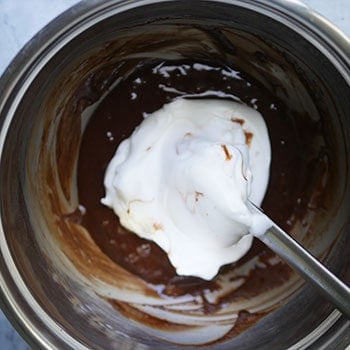
- Use a gentle folding movement with a spatula to incorporate the meringue into the wet flour mixture. Do not stir, this will prevent the air in the meringue from deflating.
- Rap the tray a few times on the counter to get rid of large air pockets.
- Add more cream along the short edge of the cake which is to be rolled first. This will prevent the cake from cracking due to large gaps in between the folds. Instead of putting your hands directly onto the cake, use the parchment paper to push the cake onto itself as you roll.
- Fold gently and do not worry too much about rolling the cake very tightly. As long as the cream is spread out evenly (with a bit more along the short edge as per #7), the amount of cream in this recipe will allow the sheet cake to hold up without cracking due to large gaps. See accompanying video in post on how to roll.
- When peeling off the parchment, try to remove as much of the "skin" as possible. The cake looks better with exposed crumbs. If you have trouble getting off the skin, limit the cooling time and remove the paper as soon as you can handle the hot cake and pan.
- If rolling the cake seems too daunting or you don't have the right pan size, try making this cake in a cup. This post will teach you how to bake this chiffon cake base with any sized pan.
- Lastly, if you want more tips and detailed instructions on how to make the chocolate filling, see this dedicated post on chocolate whipped cream.
How to Roll a Swiss Cake Without Cracking
The accompanying video in this post will show you how to roll up the cake without it cracking. There are several tricks to this: roll it up when the cake is no longer hot but still warm; use parchment paper to roll it and unroll it gently; and let it continue to cool down in this wrapped condition to retain 'muscle memory' until it's time to add the cream.
How To Make Cake Rolls in Different Flavors
To make the cake roll in different flavors, powders, extracts and infusion-method can be utilized in either the cake base or the filling. Like in this recipe, dry powders (like cocoa) can be added into the cake base with the dry mix while liquid extracts can be added into the wet mix.
Another way to add flavor is to add extracts into the cream filling during the whipping process. The flavors can also be infused into the cream by letting the flavored ingredients soak inside the cream before using it for whipping. Just make sure not to use ingredients with high acidity as it will cause the cream to curdle.
You can even try mixing and matching different flavored cake bases with different cream fillings. For example, you can make a mocha version of this cake roll by using the chocolate cream filling in this recipe with the coffee cake base in this recipe. Once you've got your flavors down, you might want to bring the appearance of your cake roll up a notch. Try making beautiful patterns on the cake roll with this tutorial, Tiger Cat Pattern Cake Roll.
I absolutely adore this cake and even after making 7 of these and eating most of it by myself for the purpose of "taste testing", I can say I still crave for more. I really hope you enjoy this recipe as well.
XOXO,
Mimi
Recipe
Super Fluffy and Soft Japanese Chocolate Cake Roll
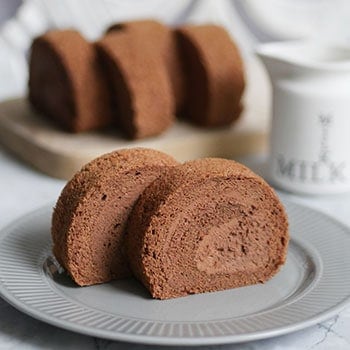
Japanese style chocolate cake roll made from a super soft and fluffy chiffon cake that melts in the mouth. Inside, it's filled with a light chocolate whipped cream. Airy and not overly sweet with all the chocolate goodness, it's so easy to indulge in the whole cake all by yourself!
Ingredients
Japanese Style Chocolate Chiffon Cake
- 50 ml whole fat milk
- 5 teaspoon Dutch processed cocoa powder , (e.g. Fry's Cocoa Powder)
- 20 grams granulated sugar
- 45 grams cake flour
- ¼ teaspoon baking soda
- ½ teaspoon cream of tartar
- ¼ teaspoon sea salt, (see substitutions in notes)
- 3 egg yolks
- 40 ml vegetable oil, (e.g. canola)
- ½ teaspoon vanilla extract
- 4 egg whites
- 50 grams granulated sugar
- ¼ teaspoon cream of tartar
Light and Airy Chocolate Whipped Cream
- 290 ml whipping cream 33%
- 120 grams semi-sweet chocolate
Instructions
Japanese Style Chocolate Chiffon Cake
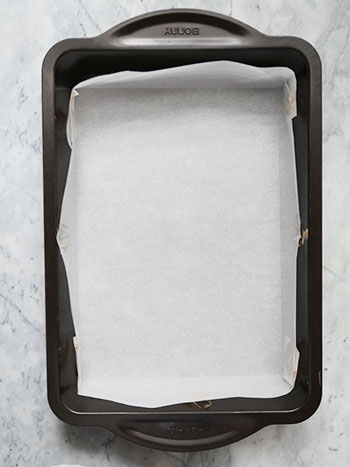
- Line a 8 X 12" rectangular cake pan with parchment paper.
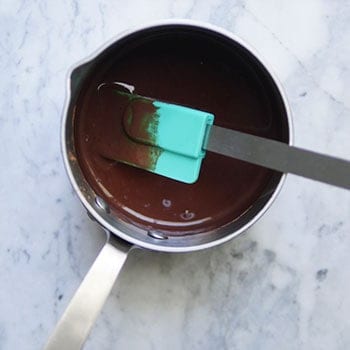
- In a small sauce pan, heat the milk and cocoa powder on medium heat until powder is fully dissolved. Do not let the milk come to a boil. Keep stirring continuously while breaking down big clumps of powder. Once fully dissolved, set chocolate milk mixture aside to cool.
- Preheat oven to 325F.
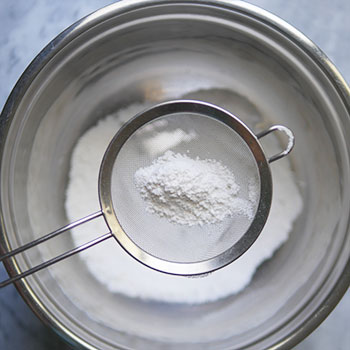
- In a large mixing bowl, add in sugar, baking soda, first portion of cream of tartar and salt. Sift in cake flour, stir to combine.
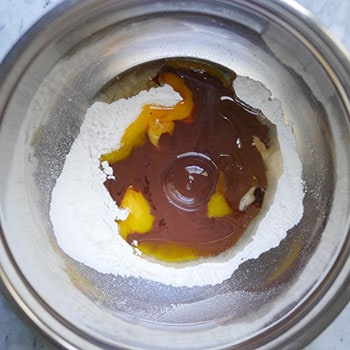
- Create a well in the center. Inside it, add yolks, oil, vanilla extract and chocolate milk mixture.
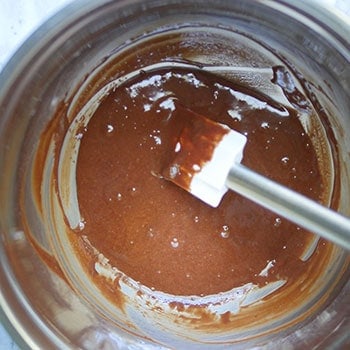
- Stir to combine until fully incorporated, do not over mix. Set this chocolate-flour mixture aside.
- In a clean and dry, non-plastic mixing bowl, whip egg whites on slow speed until frothy, add second portion of cream of tartar. (Note 1)
- Increase speed to medium, once the whites become opaque and bubble size have tightened up, add sugar a little bit at a time.
- Increase speed to med-high, whip until stiff peaks. You've now made a meringue. (Note 2)
- Gently fold ⅓ of the meringue into the chocolate-flour mixture to get it moving. Once incorporated, fold in the rest of the meringue. Do not stir. Use batter immediately.
- Dab a bit of the batter onto the sides of the parchment paper to keep corners together. Dab a little more onto the paper and stick it to the pan to prevent the parchment paper from tipping over into the cake batter.
- Pour into lined cake pan from one spot, spread out the batter evenly with an angled spatula.
- Tap the pan on the counter to release large air pockets.
- Bake for 14-16 min. at 325F until a skewer pulls out clean and cake springs back in the center.
- Let cool 5 min. in the pan before removing.
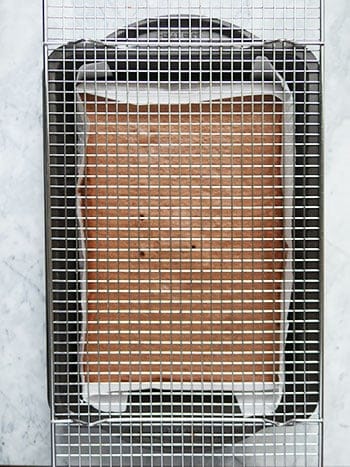
- Place cooling rack over cake pan.
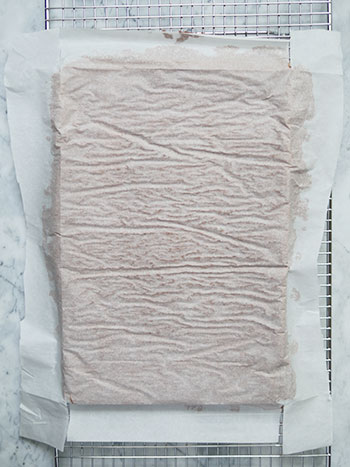
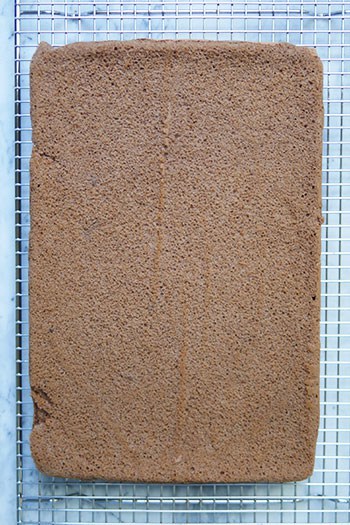
- Flip cake over onto the rack, gently remove paper.
- The side facing up will eventually become the top of the cake roll. Try to remove as much of the "skin" as possible since the cake will look better with exposed crumbs. Let it sit on cooling rack for 5 min.
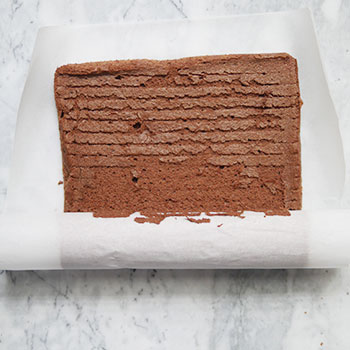
- Place a piece of new parchment paper on top
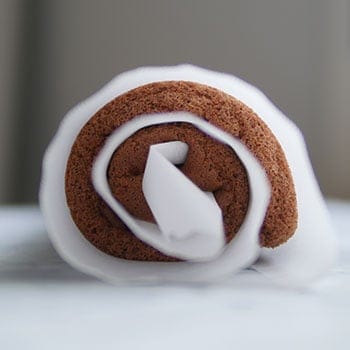
- Flip the cake over and start rolling, allowing the parchment paper to be in between the folds. This will prevent the cake from sticking to itself. It's important to roll the cake before it cools completely, otherwise, it will crack while rolling. Refer to video in post on how to roll.
- Let it cool in this wrapped condition while making the chocolate whipped cream.
Light and Airy Chocolate Whipped Cream
- Place a mixing bowl and beaters in the freezer to chill. It will help the cream whip better.
- Chop up chocolate into small pieces.
- Place chocolate in a small pot along with the cream.
- Heat over medium heat until chocolate is fully melted. Do not bring to a boil.
- Let cool to room temperature then place in the fridge to chill. Check on it every 10-15 minutes and give it a gentle stir. It should be chilled before whipping but do not let it cool for too long as it will become too stiff to whip.
- Place the chocolate and cream mixture in the chilled mixing bowl, then beat on low speed and slowly increasing to medium. Stop when it start to get stiff. Do not over whip.
Assembly
- Very carefully unroll the cake.
- Gently add one even layer of the chocolate whipped cream onto the unrolled cake.
- Very gently roll the cake back up using the parchment paper to help push the cake onto itself. This will help prevent cracking. To further prevent cracks, add more cream along the short edge that is folded first and do not try to roll the cake too tightly. Cut off the sides before placing on a presentation plate. Enjoy!
Notes
- Use half the salt when using table salt.
- Always whip egg whites in a clean and dry boil non-plastic bowl free of oil and water. Use a clean paper towel to wipe down the bowl with some lemon or vinegar.
- Stiff peaks is characterized by egg whites that have a beak that points upwards (instead of slumped over) when the whisk is pulled out.
- Some ingredients are repeated, use them in the same order as outlined in instructions.
Recommended Products
As an Amazon Associate and member of other affiliate programs, I earn from qualifying purchases.
-
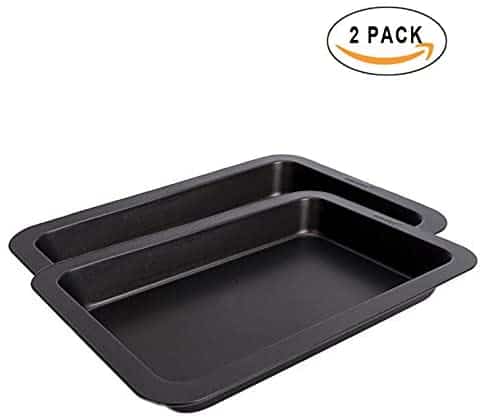
Rectangle Baking Pan
-
Ghirardelli Unsweetened Dutch Process Cocoa Pouch, 8 oz
-
McCormick Gourmet All Natural Cream Of Tartar, 2.62 oz
-
PaperChef Culinary Parchment Multipurpose Non-Stick Paper, 205 sq ft
-
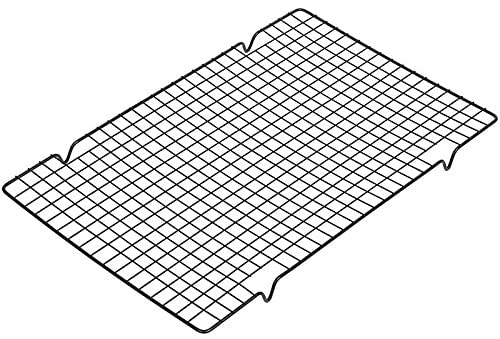
Wilton Industries Perfect Results Mega Cooling Rack, Black
-
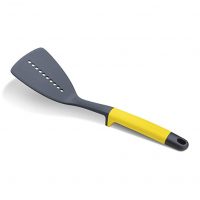
Joseph Joseph Spatula with Stand
-
RYBACK Stainless Steel Egg White Yolk Filter Separator Cooking Tool Dishwasher Safe Chef Kitchen Gadget
-
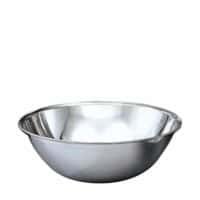
Vollrath 47934 4-Quart Economy Mixing Bowl, Stainless Steel
-
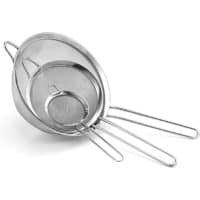
Cuisinart CTG-00-3MS Set of 3 Fine Mesh Stainless Steel Strainers
Nutrition Information
Yield
8Serving Size
8 servingsAmount Per Serving Calories 329Total Fat 24gSaturated Fat 12gTrans Fat 1gUnsaturated Fat 11gCholesterol 111mgSodium 158mgCarbohydrates 25gFiber 1gSugar 18gProtein 5g
This information is provided as a courtesy and is an estimate only. This information comes from online calculators. Although indulgewithmimi.com attempts to provide accurate nutritional information, these figures are only estimates.
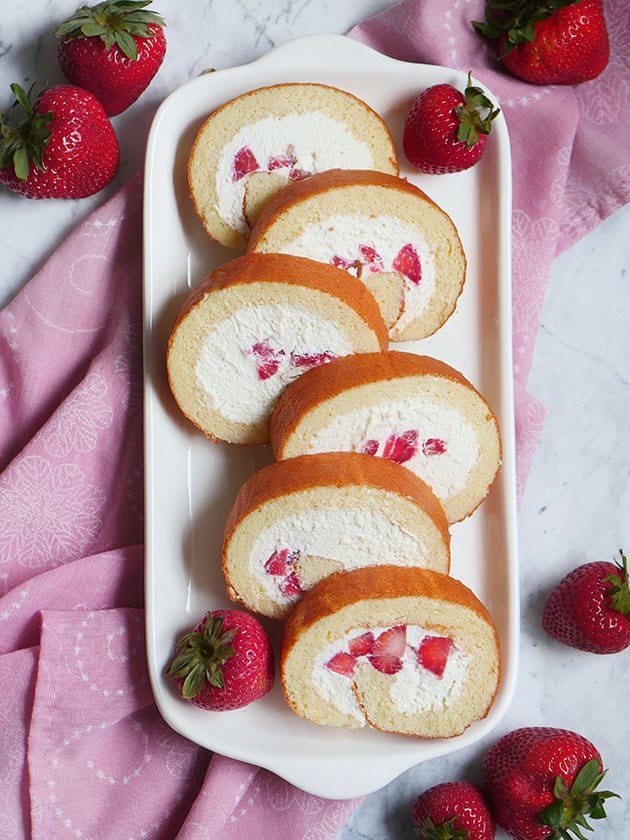
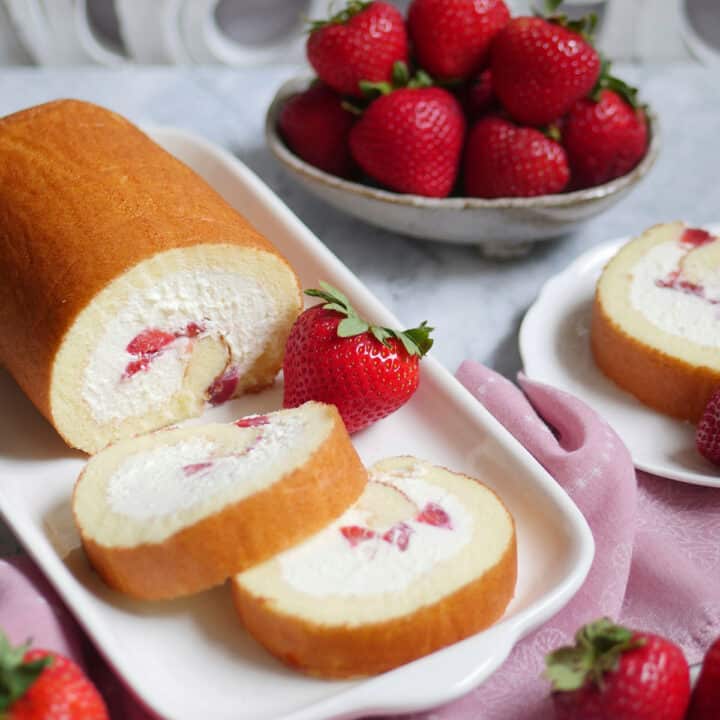
Here is the much anticipated version with a vanilla cake base. You can use this cake base to roll with any fruit. Click to get recipe for Fresh Strawberry and Cream Japanese Cake Roll.

Ann says
I made Swiss rolls 3 times, and was wondering why the skin stuck to the cake - (sticky top) I thought it was a baking error, but reading your recipe, it’s not! I must try yours!
Mimi says
Hi Ann,
I hope it goes well for you. I really like using Silpat mats, the skin can be removed so cleanly with it. Good luck!
XOXO,
Mimi
Ludi says
This is amazing cake..I’ve been baking it for the past 4years as a bday-round 8” cake for my daughter’s birthday. We love it because it’s so light and fluffy. Usually 3 layers filled with chocolate ganache buttercream , fondant icing and it works amazingly…I think it’s perfect.(sorry, I’ve changed the filling to our tase) it doesnt lose the shape, wouldn’t do more than 3 layers though) so happy I just found your vanilla strawberry version..planning to bake it next week..can’t wait. Just a quick question , if you bake the base , can you keep it for a few days (wrapped in a foil) in the fridge or outside on the counter, before you fill it with the cream? Thanks.
Mimi says
Hi Ludi,
I'm so happy to hear how much you've liked this cake throughout the years. It means so much to me as it was one of my first cake roll recipes...perhaps even the first...
In answer to your question, Yes, you can definitely bake the layers in advance (for both cakes). For food safety, I always keep them in the fridge while awaiting assembly. There will be no ill effects to the cake texture and it just gives you an extra element of safety, especially when serving them to guests. Just make sure they are wrapped up so they don't get dried out, I like to lightly lay a piece of parchment paper or plastic wrap on top, doesn't have to be too tightly wrapped. Good luck! XOXO, Mimi
Crystal says
Made this yesterday and it came out amazing! Does it need to be stored in the fridge? I left it wrapped on the counter overnight.
Mimi says
Happy to hear that! Thanks for coming back to let me know. Yes, the cake should be stored in the fridge as the filling contains cream.
XOXO,
Mimi
Giulia says
Hi Mimi, how deep should the pan be? The only 8"x12" pan I have is a sheet pan that is roughly 1" deep. Thank you!
Mimi says
1 inch might be cutting it close. It's a thin cake (under 1 inch) but it does rise in the oven. My only concern is that it might spill over a bit during baking (then it shrinks). Maybe place a tray underneath to catch any drops the first time.
Xoxo Mimi
Scarlett says
This is a great recipe! I was wondering if it can be baked as a regular cake ? And if so are there any modifications. Thank you.
Mimi says
Hi Scarlett,
Thx so much for the feedback. This cake is super soft and fluffy, created for cake rolls. It canbe baked in a regular layered cake pan but it's not the best use of this recipe as it's not very sturdy for layering due to its fluffiness. I often get asked this question on another cake roll recipe so I adapted that one to be baked as a layered cake. Please take a look at my Asian Bakery Vanilla cake and see the difference adaptations I made in the new recipe. Perhaps it can help you too 🙂
Xoxo Mimi