I'm always excited every year when the cherry blossoms are in full bloom. When can you really see such an abundance of PINK in nature? Walking underneath clouds of pink fluffy blossoms is just the most magical feeling. I remember the first time I arrived in Japan as a high school exchange student, the blossoms were everywhere in Tokyo. During that time, I learnt the significance of this fleeting period of time in the Japanese culture. Many viewing parties and picnics were held in parks to admire the blossom's transient beauty. To me, cherry blossoms will always remind me of that new beginning in Spring, starting the full school year there living with a Japanese host family.
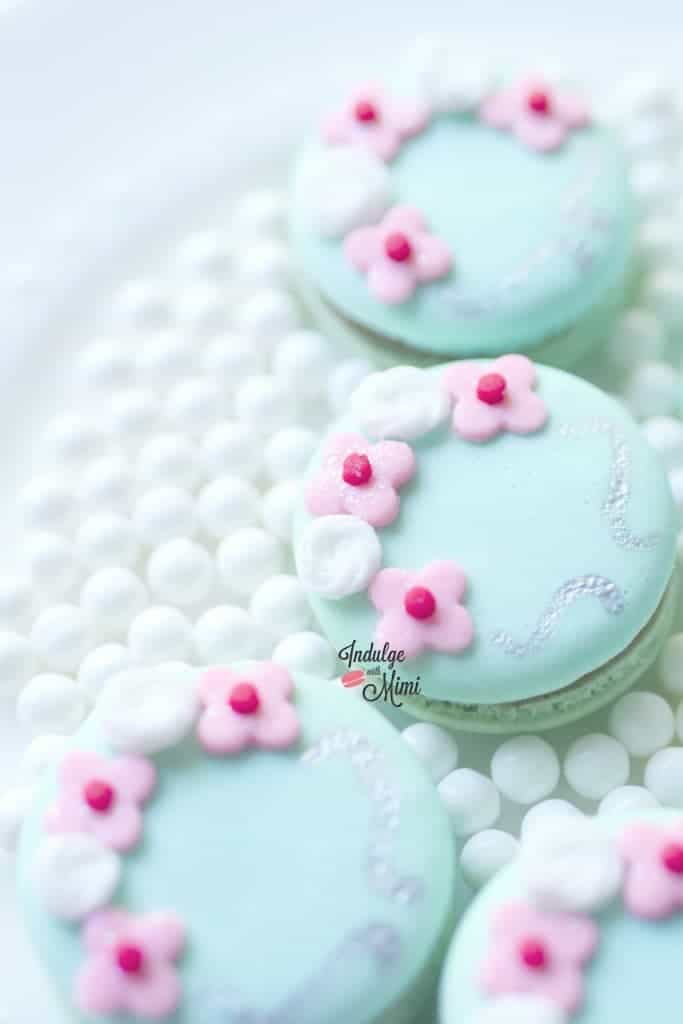
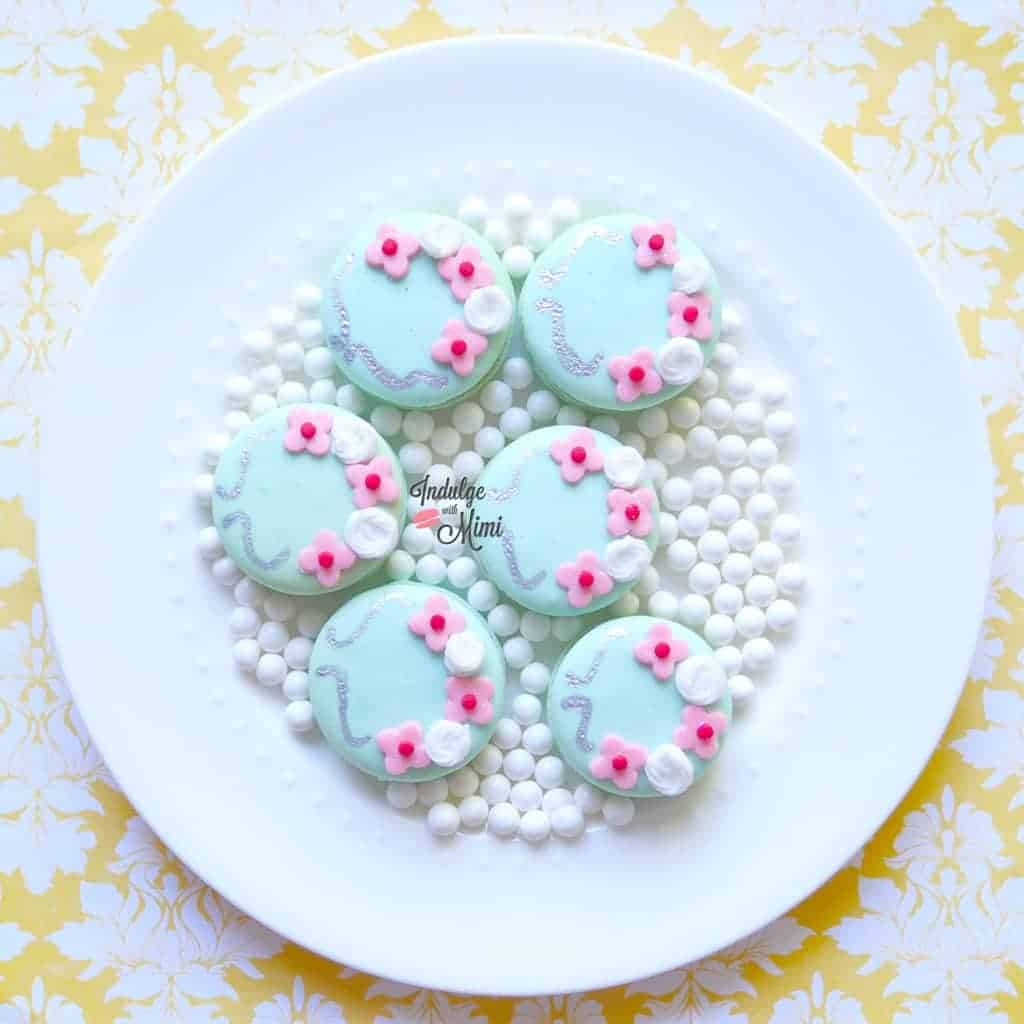
Today, I'm happy to share with you my take on cherry blossom macarons. This time, to make the decorations, I chose a different medium other than batter. I wanted to create a more "3D" effect but needed them to be easily removable for those who don't prefer to have so much sugar on their macarons. (As you may already know, I think its a big no-no to slather tons of royal icing onto macarons as decorations.)
I hope you will get a chance to make these pretty "sakura" (cherry blossom) inspired macarons too. Let me know how it goes and tag me once you're done. I'd love to add your work into my gallery of "Mimi's Macaron Friends".
XOXO,
Mimi

Cherry Blossom Macaron Instructions:
Before you start decorating your macarons, you'll need to make the basic round macaron shells first. Here's the link: Mimi's Best Macaron Recipe. After baking, wait until the shells are completely cool and dry before attempting to decorate them.
Royal Icing Sugar Flowers
♥ INGREDIENTS:
Makes about 200 mini sugar roses
- 50 grams icing sugar
- 5 grams water
- 1 teaspoon meringue powder
♥ INSTRUCTIONS:
1. Whisk together meringue powder and icing sugar.
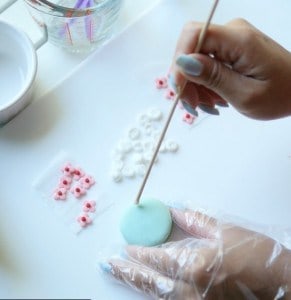
3. Blend together with a mini spatula. (Whisks won't work since the mixture becomes very firm and will be hard to pull out of the whisk body.)
4. Spritz the mixture with water until it becomes firm and malleable but still able to hold its shape after a few seconds. The goal is to have an icing firm enough to retain its shape after piping but still soft enough to be pushed out of a piping tip. It's a very fine line so keep testing it here and there. Add more water if the mixture is still too hard. If it becomes too runny, add more sugar.
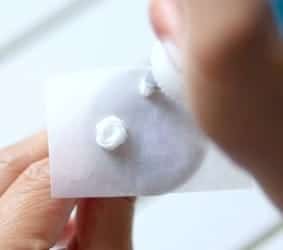
5. On parchment paper, use a Wilton Star #16 piping tip to pipe out the roses in a circular fashion (see video).
6. Wait for roses to dry (minimum of 6-8 hours) before using. They are very delicate when wet.
♥ 20 grams icing sugar
♥ 1 ½ tsp. of meringue powder
♥ water in a spritzer bottle
Combine the dry ingredients in a glass bowl. Spritz the water onto the dry ingredients a little at a time and then blend everything together until you reach a thick consistency. If it's too runny, add more sugar. A spritzer is great for controlling the amount of water you are adding at one time.
[srp post_limit='5' post_random='yes' category_include= 25 widget_title = 'Macaron How-To's']



Leave a Reply