"Never trust a girl who doesn't eat desserts." Luckily, I don't have that problem in my foodie friend Nora, or otherwise known as @nomnomyvr on Instagram. Three weeks ago, she asked me to bake her a big macaron cake for her birthday. At that time, I was super busy with other events and I told her I would work on it the next week. Boy, thinking back, I see that I was one naive little baker. I had never made a big macaron cake before so I assumed that I would have a big macaron cake ready for her as soon as my schedule loosened up and I could bake again. Only tonight, three weeks later and at least 10 macaron batches later did I achieve my #bigmacarondreams. (Yes, I started this tag on IG lol)
So what made it so hard? I started with cracked shells and progressed to under/over cooked shells. Then, as I mastered the shells, the high moisture level of the fruit fillings also proved to be a challenge. Making big macarons was a very humbling experience. I will no longer view a big macaron as one simply made with more batter. There are a lot of other considerations that goes into baking a big macaron. Here's what I learned on this Big Macaron Journey:

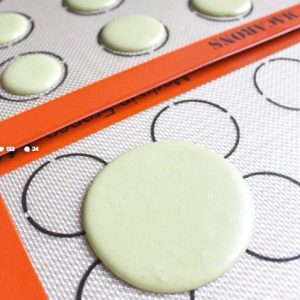
The first problem I encountered with my big macarons was cracked shells. I piped both regular and big shells onto the same mat and popped them into the oven when the regular shells were ready. Usually, regular shells are ready to go into the oven when the tops turn matte and develop a "skin". This usually takes 20-30 min. in my kitchen. It turns out that big shells needed much more drying time. The next batches I did, I waited until the centre of the big macaron shells were firm and didn't sink in when I pushed it lightly with my fingers. This might take a while. For me, it took nearly 45 min. to 1 hour.

Another problem for me was determining the baking time. With my regular macarons, it's much easier to check the macaron doneness by sacrificing one small shell from amongst a big batch and breaking it open. However, with big macarons, I only had 2 to 3 shells to work with in one batch. Tapping the top of the shell to check doness and hollows became a regular routine.
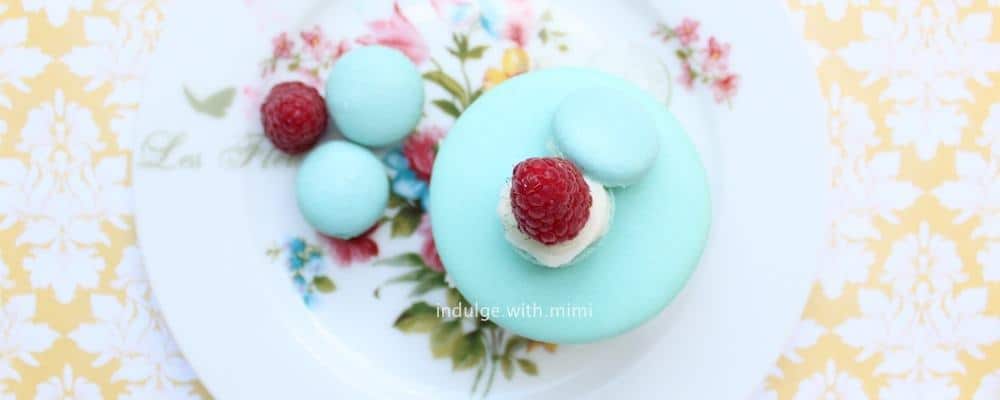
The picture above shows just a few of the big macarons that I made during this crazy big macaron phase. I made them in various sizes ranging from 3 inches to 4 and finally 6 inches. Even though I had success with baking them up to 6 inches (I know this because I cracked open the lovely non-hollow shell), I only had the opportunity to replicate the 3 inches on several occasions so I felt most comfortable working with that one for the final dessert because I knew exactly how long of a resting period and bake time it needed. Therefore, the instructions below will be based on a 3 inch macaron.
Be careful of fresh fruit fillings:
Fresh fruit pairs so amazingly well with macarons. The tanginess of the abundant juices in fresh fruit cuts down the sweetness and adds another interesting texture to the mix. You do have to be careful though since the fruit juices will also leak out of your fruit and possibly corrupt your macaron shell by adding too much moisture and leaving you with one soggy macaron cake which will not have the distinctive soft and chewy texture you want. This happened to my first macaron cake prototype. I had intended to devour this raspberry cake after maturation but forgot about it. When I went back to it after a few days, it was extremely soggy and deprived of all the beautiful attributes of a great macaron. Lesson learned.
The second and final time I filled a macaron cake, I erred on the side of caution and made the shells one day in advance. I matured it by spreading a thin layer of filling onto the shells and let it rest in the fridge overnight. Fearing that the moisture from the strawberries would add even more moisture, I didn't let it mature for any longer. In the morning, I filled the cake with fresh strawberries and more buttercream. When we ate it, I felt it could have benefited from more maturation and realized that the strawberries didn't add as much moisture as I had thought it would. I guess all that paper towel work I did helped (see below). Next time, I'll mature the shells as usual (24 to 48 hrs) and assemble the fresh strawberries on the day of.
STEP BY STEP
1-2 days before serving:
♥ Bake big 3 inch shells 1-2 days in advance. Allow more time for drying and baking. Use my French Macaron Recipe right here.
Approximately 45 min. to 1 hour to dry
Approximately 25 to 35 min to bake at 320 F
(Remember these baking conditions vary depending on your oven. If you need help with using your oven to bake macarons, please read this post)
♥ Mature each of the big shells by spreading the filling on the bottom of the shell with a butterknife like jam. Do not assemble the two pieces together as they will fuse together and become very difficult to separate later without cracking. Place a piece of ceram wrap between the two pieces and let it mature in the refrigerator for 24-48 hours
On the day of serving:
♥ Soak the fruit in salt water, rinse and dry it thoroughly with paper towels. You don't want any type of moisture to seep through into the shell.
♥ Use strawberries of similar height and cut them in half. Set aside 2 whole strawberries as centre anchors. Keep lots of paper towels on hand to soak up excess moisture after cutting into strawberries.
Assemble the 3 macaron shells like so:
♥ Place the whole strawberry in the centre and the halves along the outer edge. If your centre strawberry is too "tall" compared to the halves, cut down the tip to size. You want a stable structure and similarly height fruit will create the foundation you need.
♥ Fill in the centre with filling.
♥ Gently place the second shell on top of the layer of strawberries and filling. Squeeze filling onto the the sides to fill in the gaps. Place some filling on the top of the second shell. It will act as a "glue" to keep the second layer of strawberries in place. Place the second layer of strawberries on top and assemble the third and final shell on top, then repeat the same steps to fill in the gaps.
♥ Lastly, take a photo to immortalize your triumph and ENJOY!
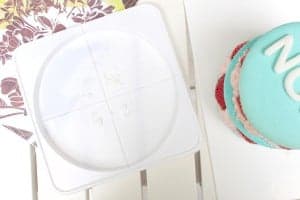
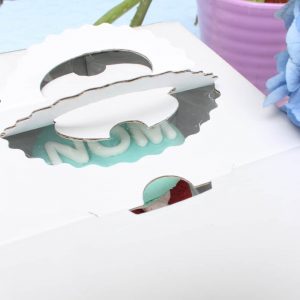
On a final note, I want to show you this adorable cake box I found at Daiso (everything is $2!) in Richmond. I go there to find cute little packagings for my baked goods. Not only is this box perfect for small sized cakes, it is also very durable due to it being constructed from corrugated cardboard. I'm sure you already know that if you want your goodies to survive a car ride to any event, you really need to use the right packaging. The dessert should fit firmly and snugly in place in case of any sudden movements like braking and sharp turns!
Here, I am adding some royal icing to the bottom of the cake tray to glue the macaron in place.
See, the box even has a little window so you can give the receiver a sneak peek inside!
I included some photos from the dinner Nora (IG:@nomnomyvr), Jo (IG:@whiterosesandcoffee) and I had together at the Blacktail Forest where my little guinea piggies tried out my first strawberry macaron cake. (Photo credit: the photo of me was taken by Nora with her extremely efficient yet compact Sony camera.)
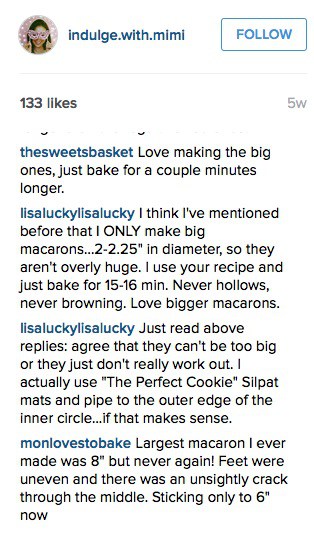
Finally, I'd like to dedicate this post to my dear baking friends on instagram who was on this big macaron journey with me. Check out some of these great tips that they gave me:
I really hope that you enjoyed this tutorial. Everything I have included was a good month in the making. From baking endless batches to taking step-by-step photos of 2 different prototypes, it was perhaps the most time consuming tutorial I have written so far. Tonight, instead of making them, I hope to have #bigmacarondreams.
Sweet dreams to you and let's talk again in the morning. You know where I'll be.
XOXO,
Mimi
[srp post_limit='5' post_random='yes' category_include= 24 widget_title = 'Beyond big macaron cakes - see my other #macaronart']







Pat B. says
Thank you for the clever insight into making large macarons! Do you have a link to the magic cake box on this page? So far, not finding it on the Daisojapan website.
Mimi says
Sorry, I don't, I purchased it in-store. XOXO, Mimi
Mimi says
Reader's work using this tutorial. Thank you so much for tagging me!
Lozi says
Amazing!
Do macaron ice cream sandwiches need to be matured?
Mimi says
When I make them, I fill them when the ice cream is soft and then I put them into the freezer to firm back up.. so I guess they are maturing at that time? I usually leave them in there at least overnight.
XOXO,
Mimi
MyKim says
Loving your blog! Great job, beautiful and amazing posts. Xxx
Mimi says
Thank you so much for your feedback! It's so nice to know I have a baker friend in Australia!
Jo says
I'm still thinking about this beautiful macaron cake Mimi! How gorgeous is the colour? You you even showed us how to make one, although I don't think I will just because I don't enjoy baking. Lol. Truly a masterpiece babe!
xo Jo
http://www.whiterosesandcoffee.com
Linda@TodaySheLoves says
Beautiful tutorials filled with amazing photos, Mimi! I've never tried making big macarons before, but the idea sure is tempting. I even bought a book, but it looks scary. Hopefully your tips help me.
Mimi says
Thanks for leaving me a message. I hope it works out for you dear and you can let me know anytime if you have questions. You know where to find me on IG 🙂