
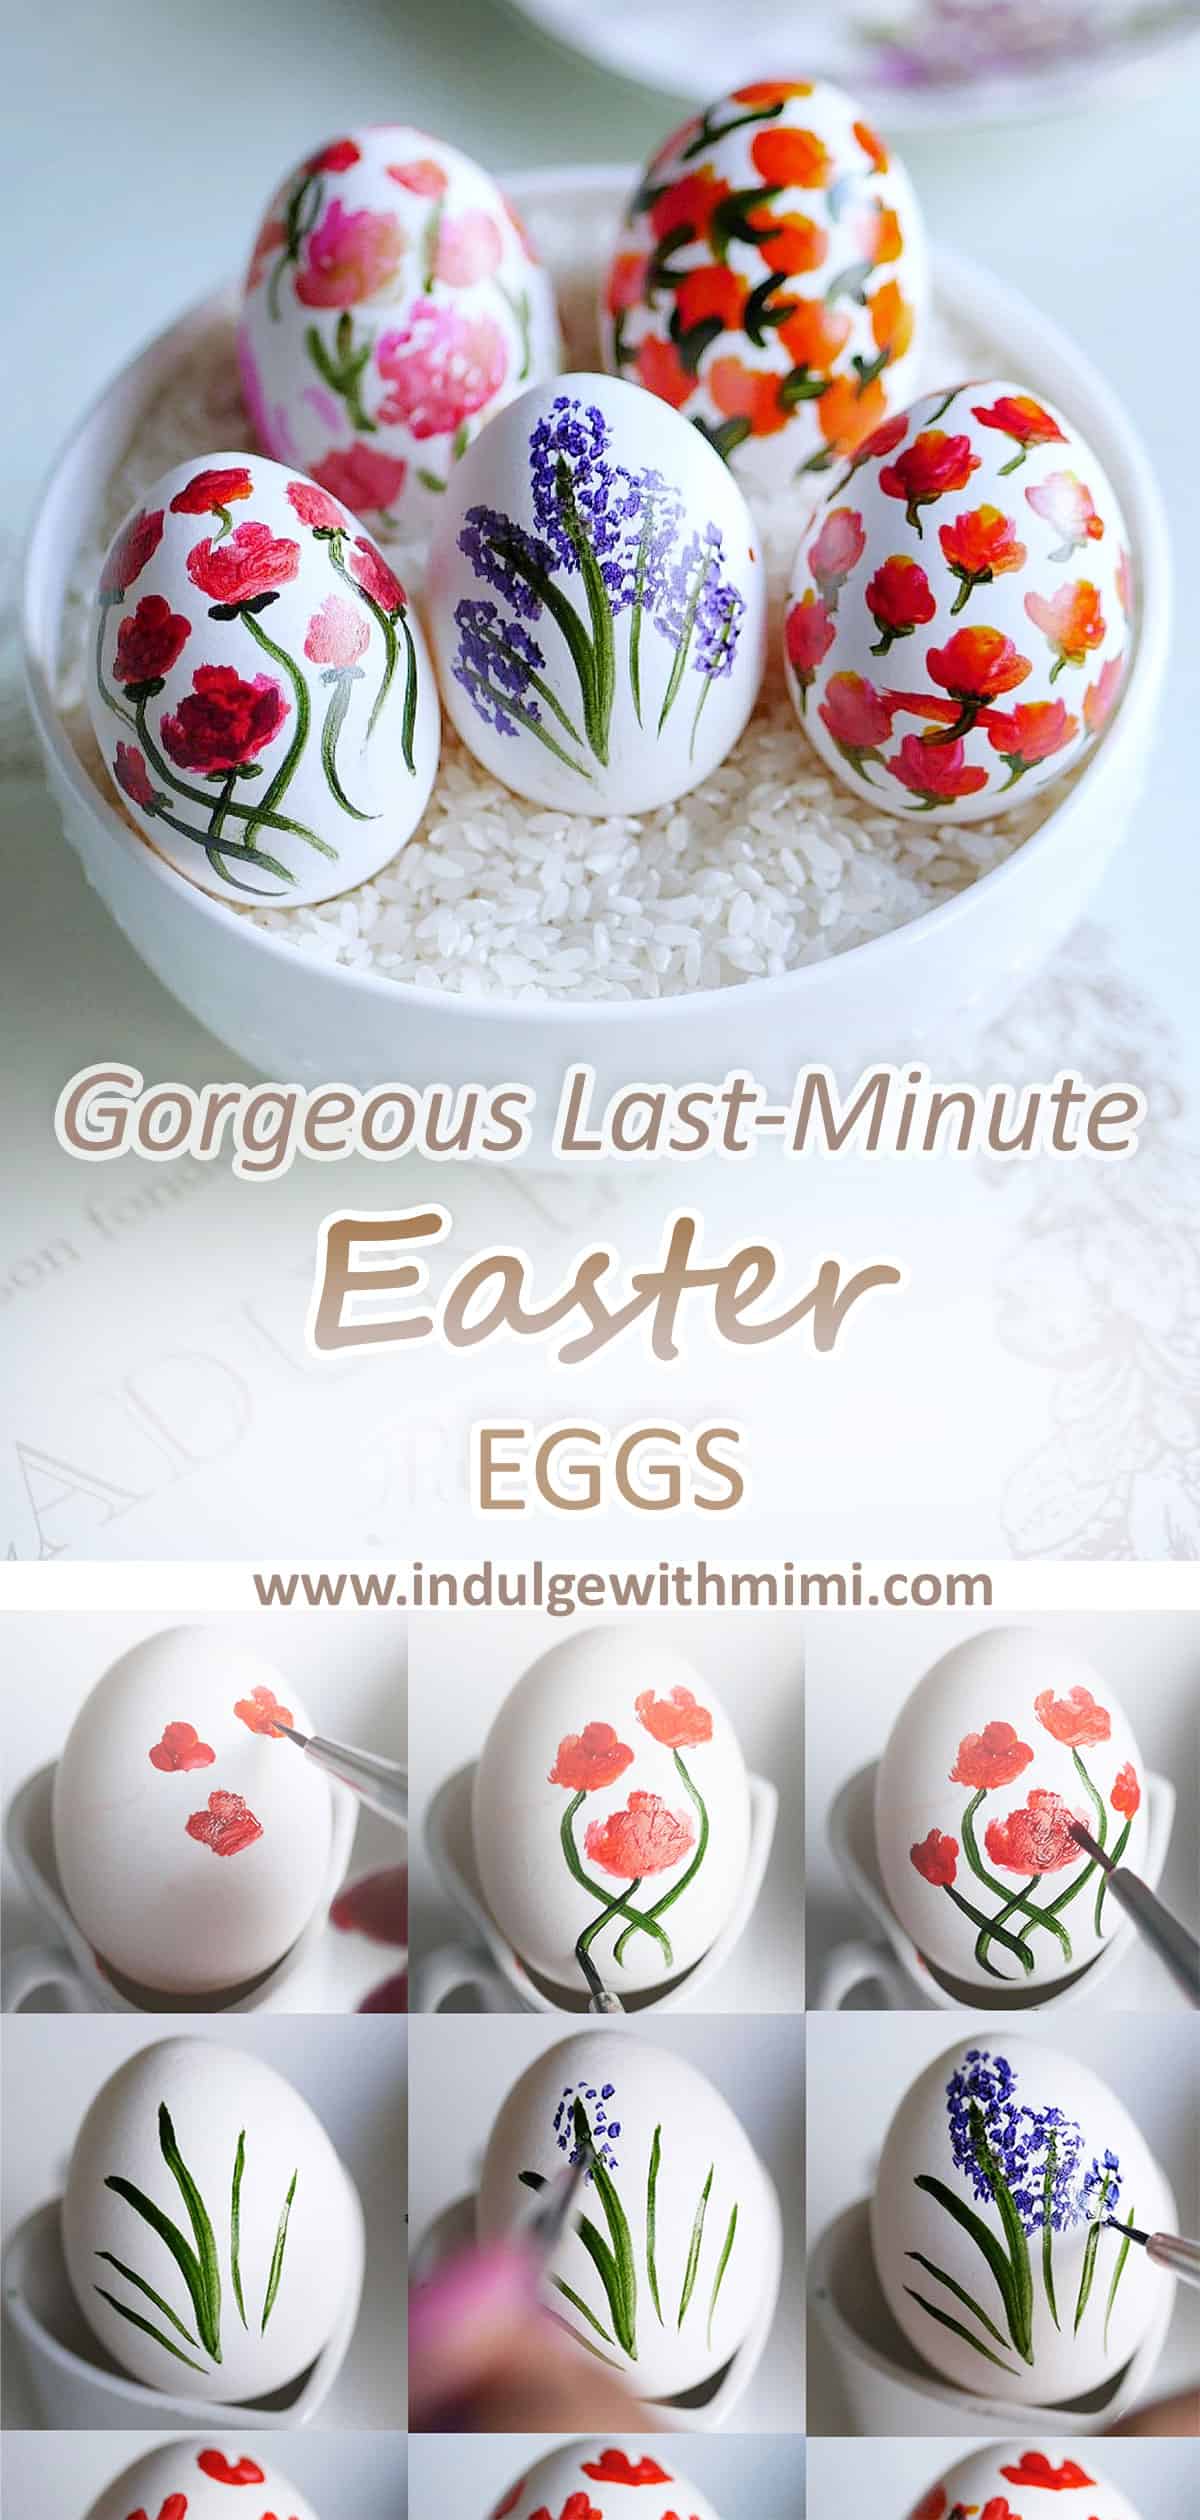
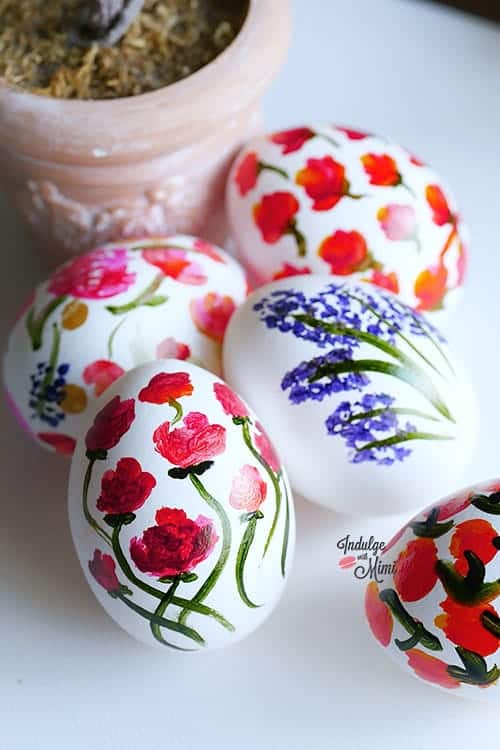
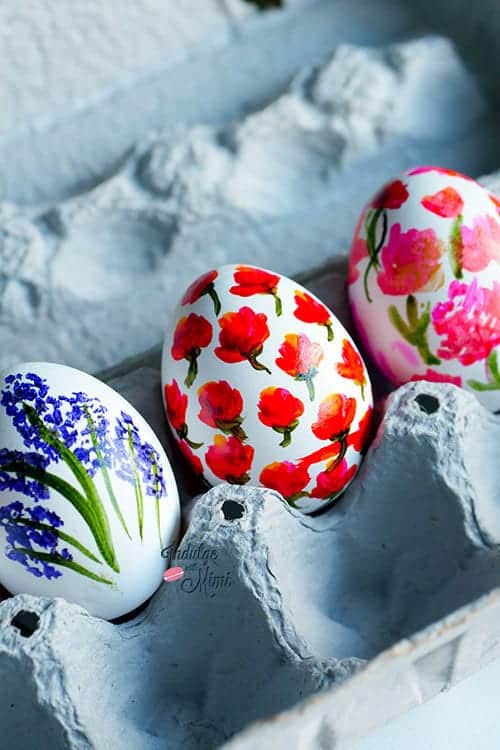
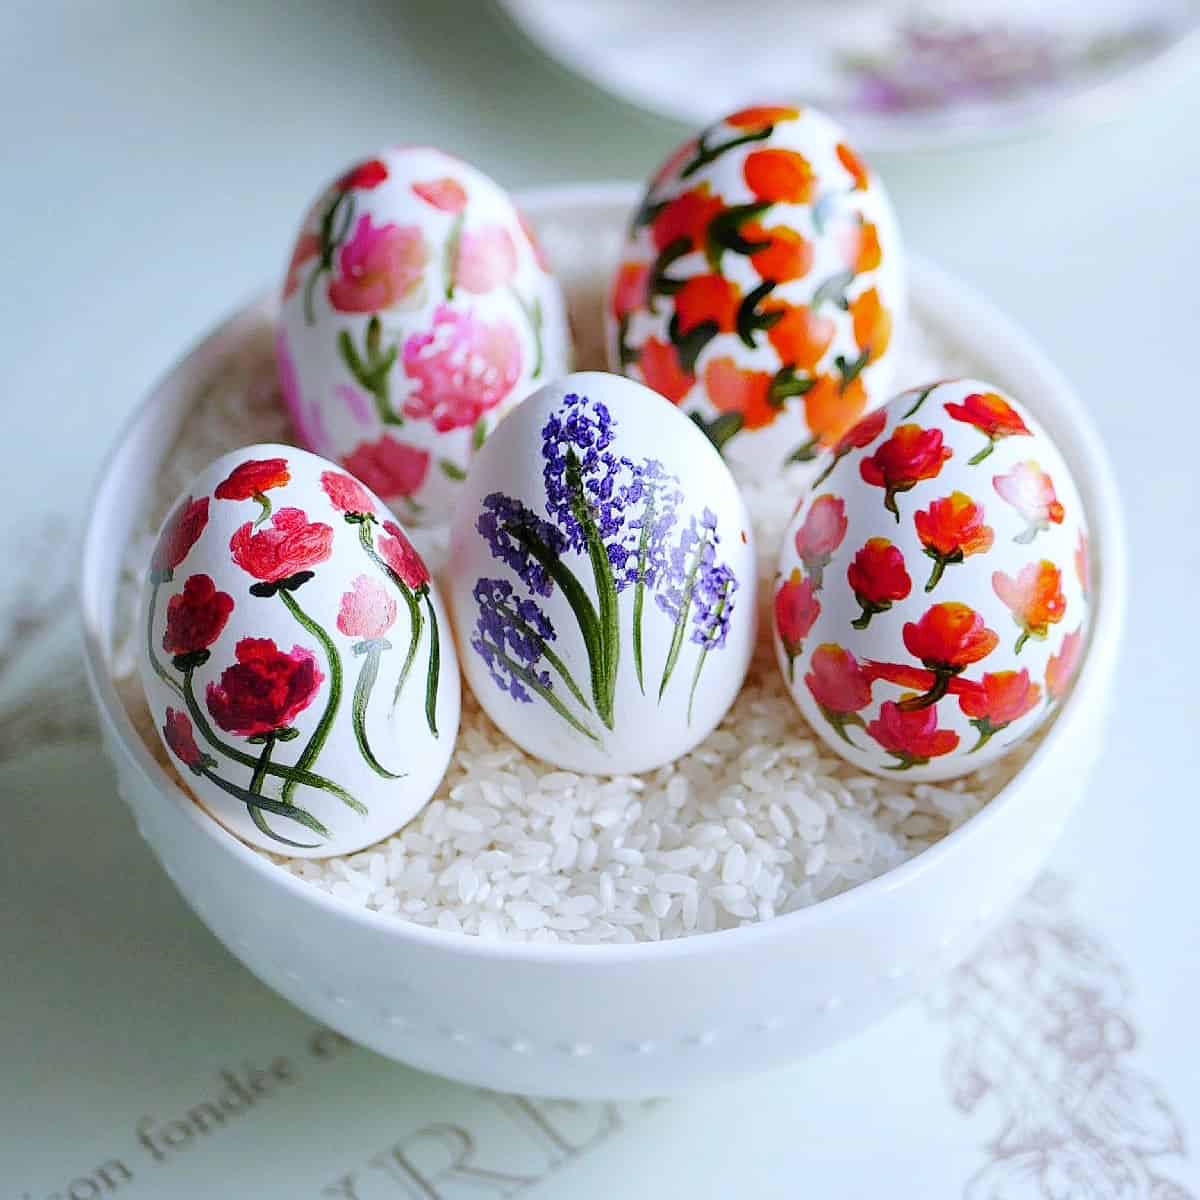
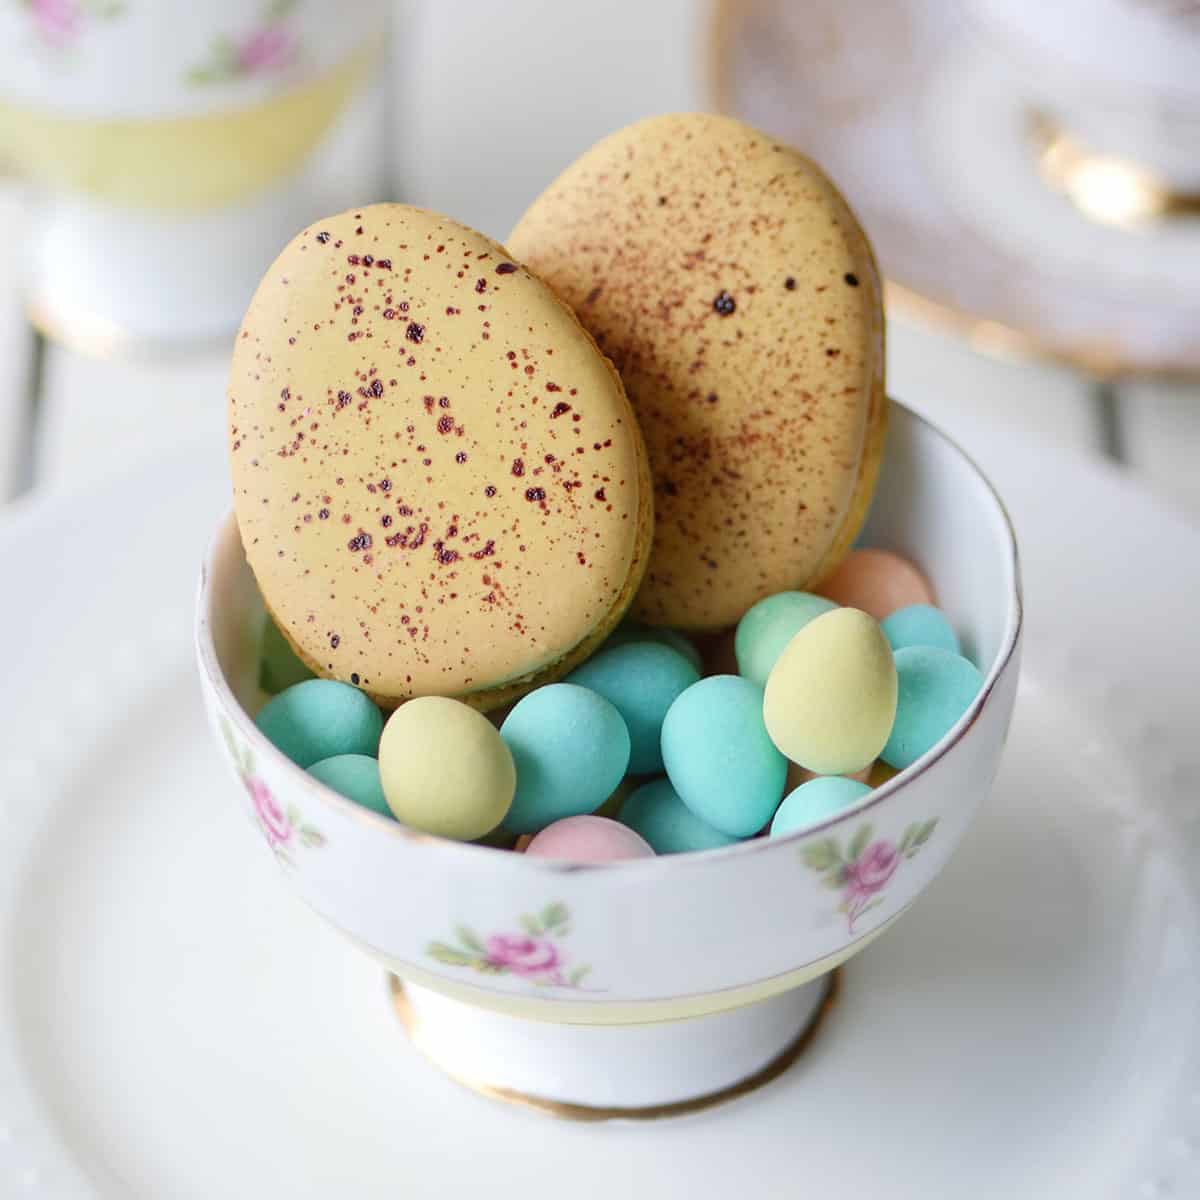
A less-mess way to decorate Easter eggs using minimal tools and supplies. It's a fun and safe activity for the kids too!
Last-Minute Easter Eggs
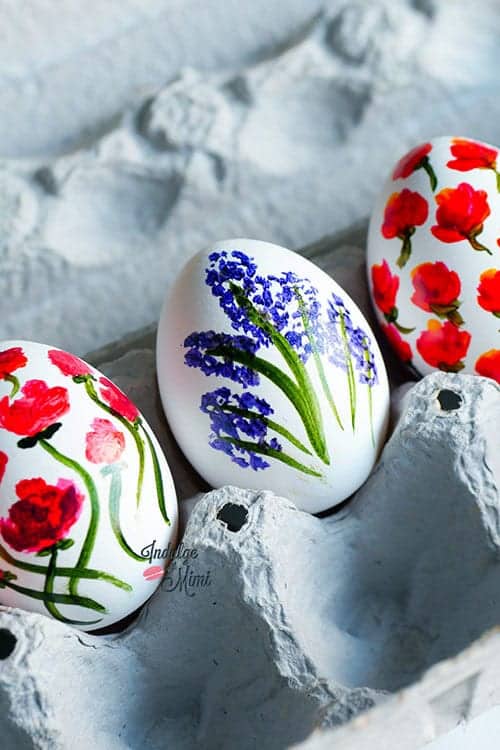
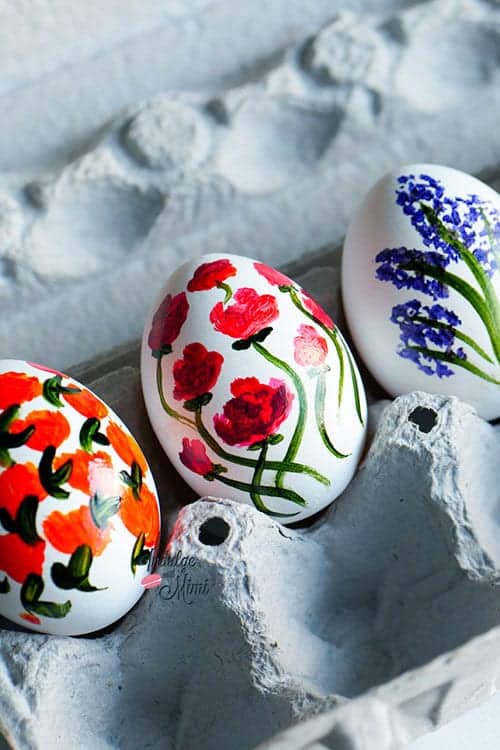
Hey! You over there. Are you a fretting about decorating Easter Eggs at the last minute like me? If you're worried about dying eggs and making a big mess in your kitchen, here's a quick and easy way to up your Easter egg game and no one will be none the wiser. It's also a great sit-down activity for children, just get out your edible colouring, a brush, water and eggs and you're ready to go!


Recipe
Gorgeous Last Minute Easter Eggs
5.0 Stars (1 Review)
A less-mess way to decorate Easter eggs using minimal tools and supplies. It's a fun and safe activity for the kids too!
Cook Time
8 minutes
Total Time
8 minutes
Ingredients
Supplies
- Hard boiled eggs
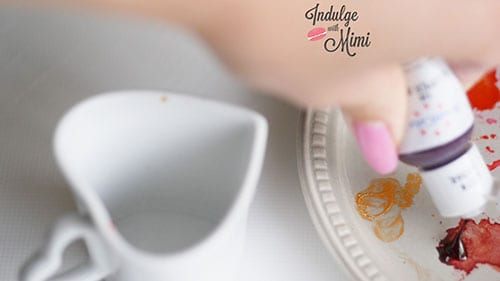
- Edible gel food colouring
- Paper towels
- Fine paint brush
- Egg carton or egg stand
- Water
Instructions
- Boil eggs for 8-12 minutes and let them cool off in ice cold water. (Tip: cooling eggs in cold water makes them easier to peel)
- Dry eggs with paper tower
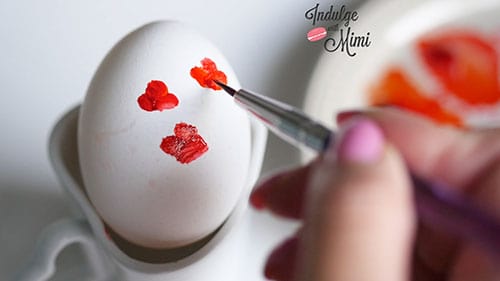
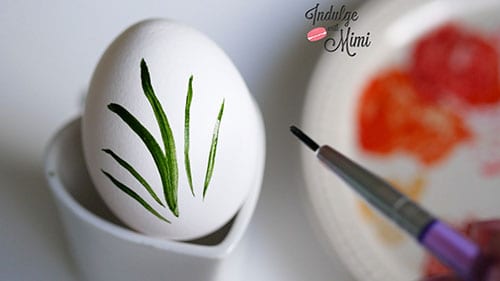
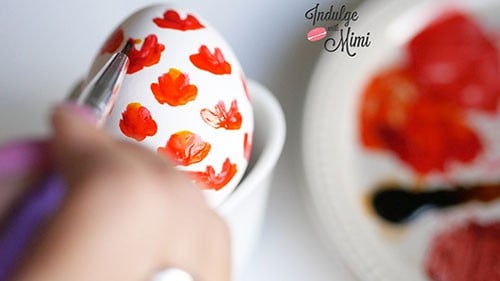
- Place egg on it's side in the carton, allowing the surface to be exposed for painting.
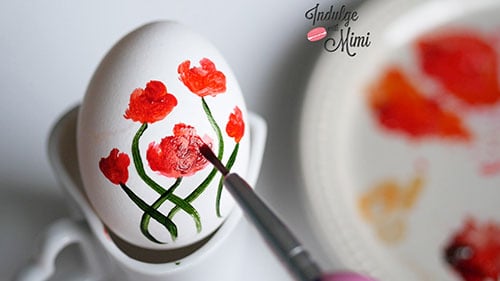
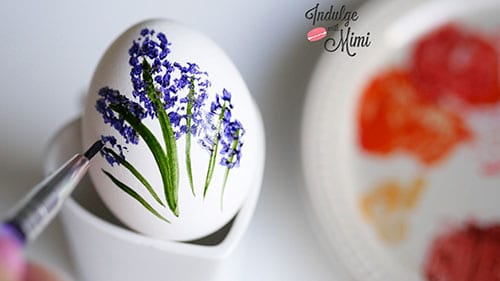
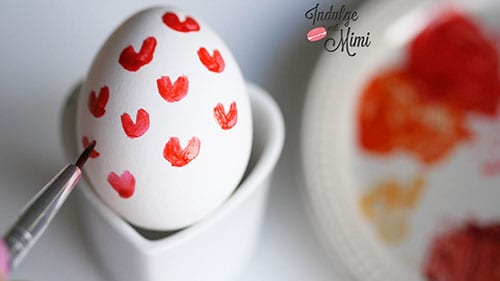
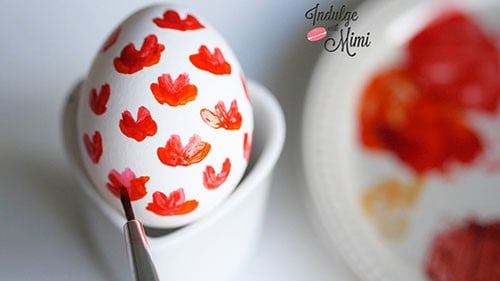
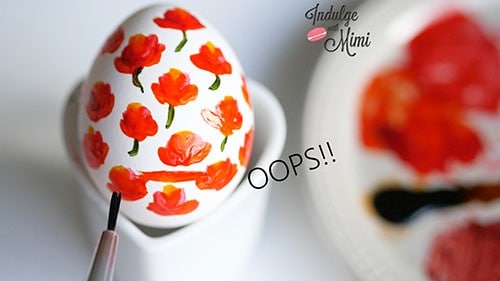
- Use fine tipped paint brush to paint gel colours onto egg. Use some water to dilute the gel colouring to lighten it and to soften the consistency. However, to prevent streaks, don't use too much since the shell doesn't absorb liquid like paper does.
- Let eggs dry for a few hours before working on the other side.
Nutrition Information
Serving Size
1 gramsAmount Per Serving Unsaturated Fat 0g

Leave a Reply