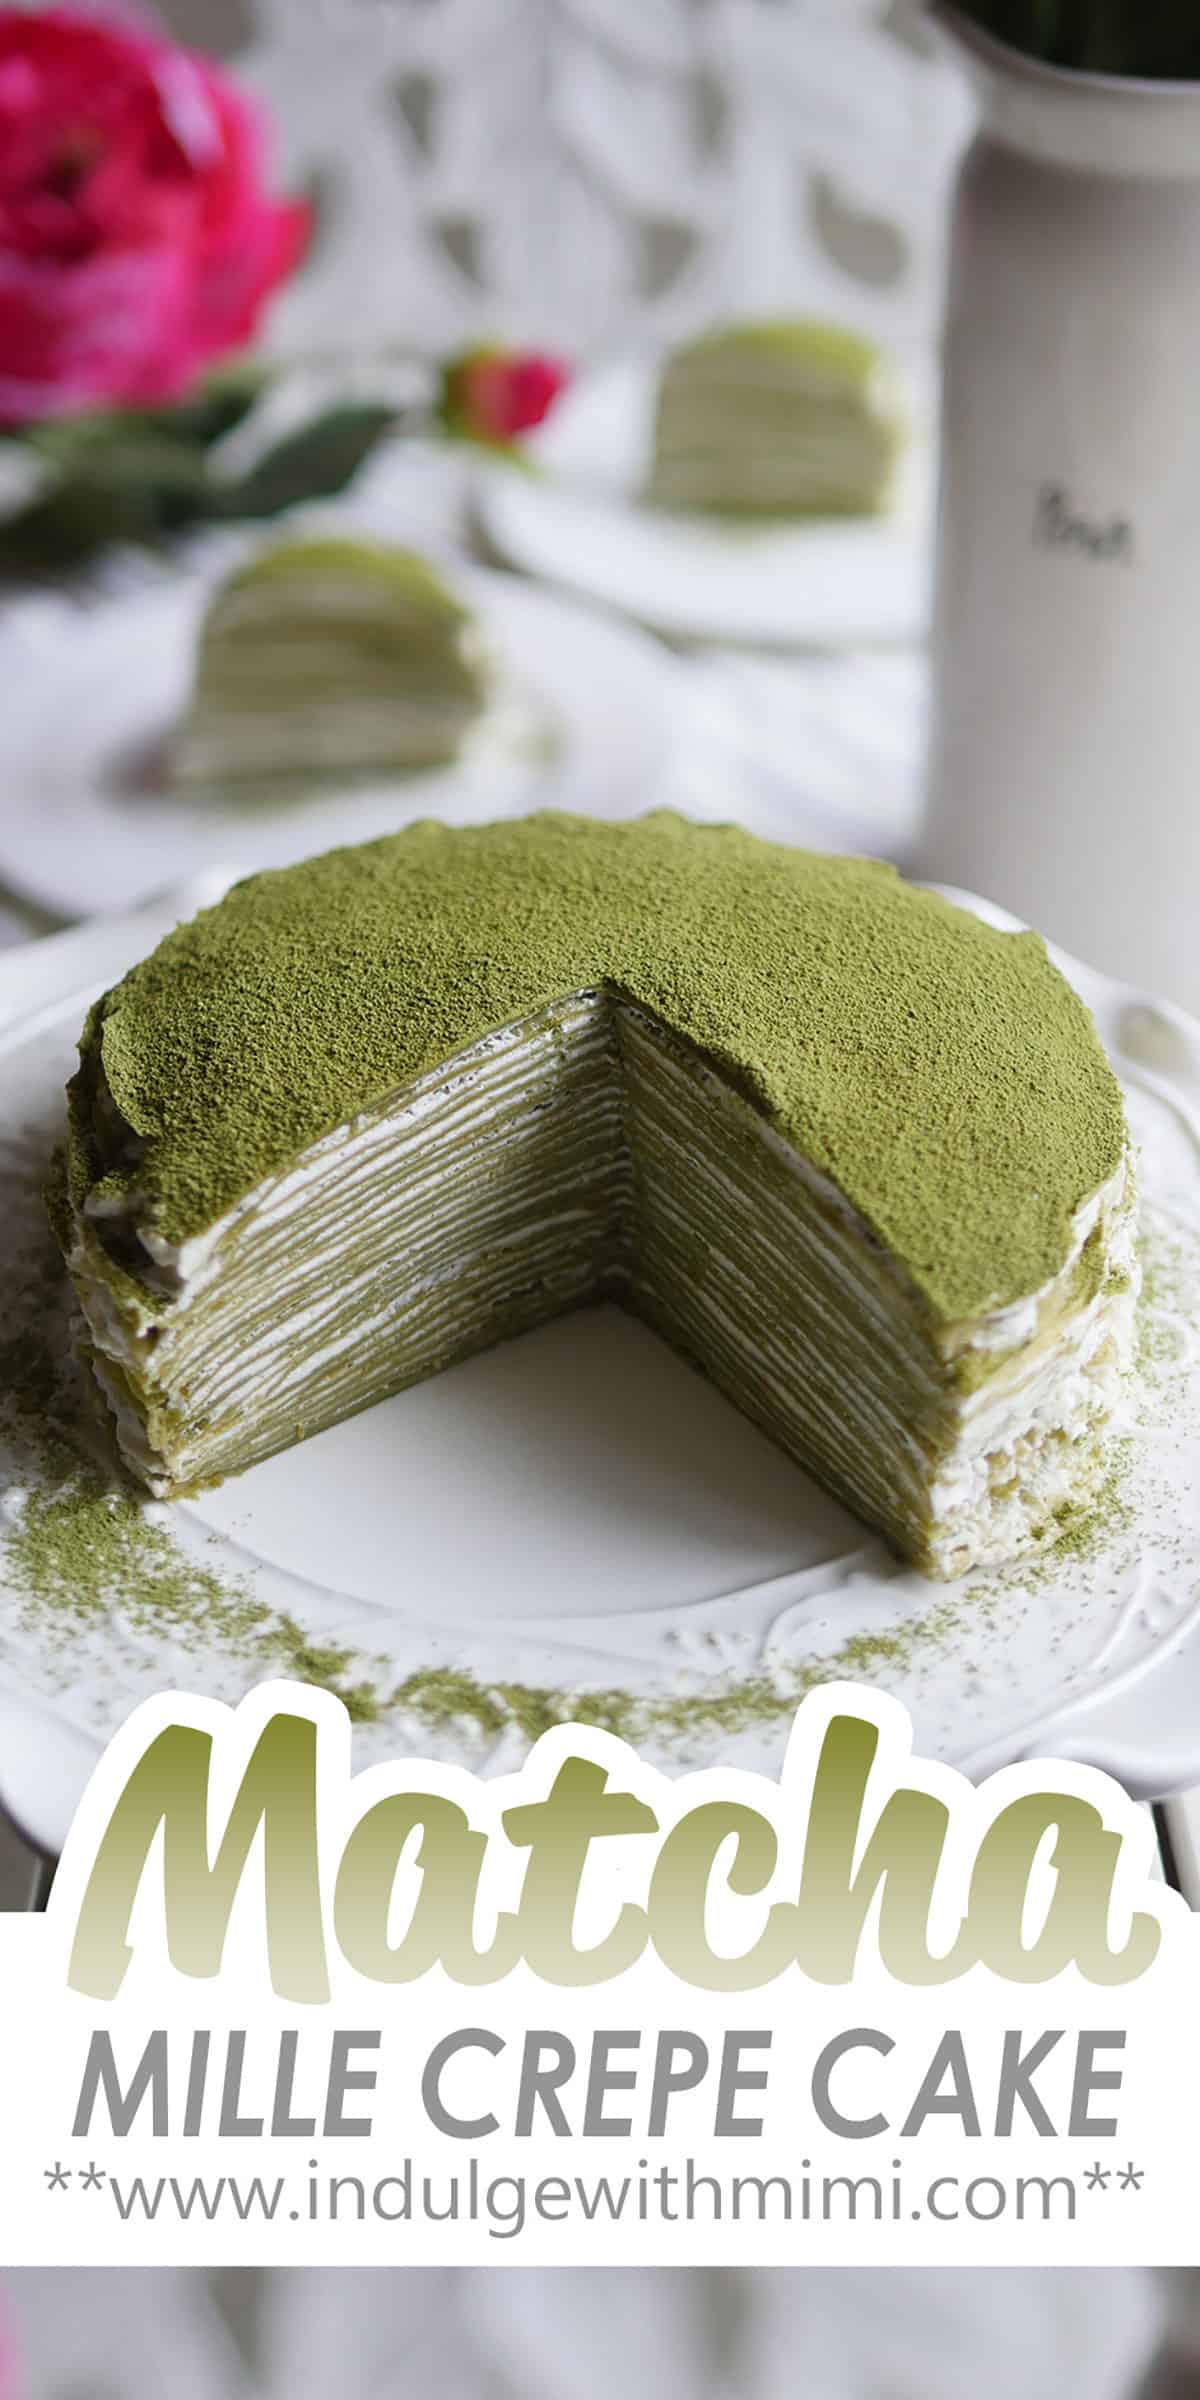
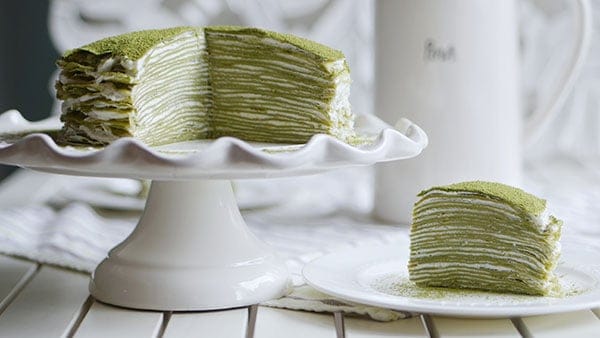
Stunning 28-layer Matcha green tea crepe cake filled with a light Chantilly cream. It melts in the mouth, the secret is to make the crepes extra thin, this tutorial will show you how.
Jump to:
Why Are Mille Crepe Cakes So Expensive?
The first time I ever had a matcha mille crepe cake, I remember being surprised that each slice of cake cost between $9.50-$13.50 CND at the specialty dessert shops that sold it (which in Vancouver, isn't many). By the looks alone, I knew it involved extra care to make mille crepe cakes because of the multitude of layers that comprised this special cake.
What I didn't know was how long it actually takes to pan fry each and every single crepe needed to make up just one cake. From my own experience, each crepe took approximately 2-3 minutes to prepare and pan fry. If you take that and multiply it by the amount of crepes you'll actually need, (in this recipe, I used 28) it will take almost 2 hours just to make the crepes alone!
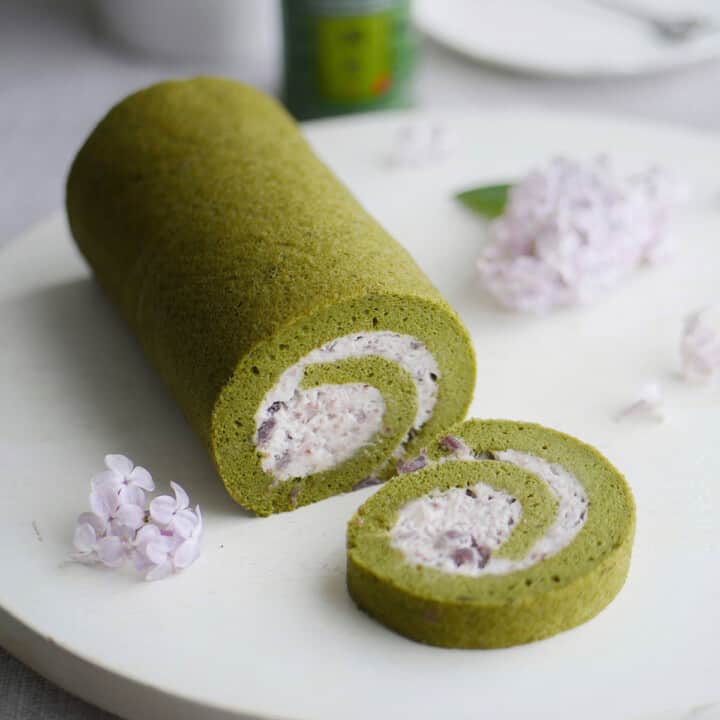
Mind you, it's not like a regular cake that you can put it in the oven, set it and forget it. You literally need to stand in front of the stove watching over the crepes the entire time so you won't be free to use your time for other more productive endeavors like doing the dishes or cleaning the kitchen. You'll also need to factor in the time it takes to prepare the crepe batter, wait for it to develop and after making the crepes itself, you'll need to assemble it with filling, layer by layer. It's very labor intensive but I adopt the same view towards it like I do for good Macaron Art - the results are well worth the challenge. (If you love matcha and would like a less challenging dessert, try my easy matcha cream cheese pound cake.)
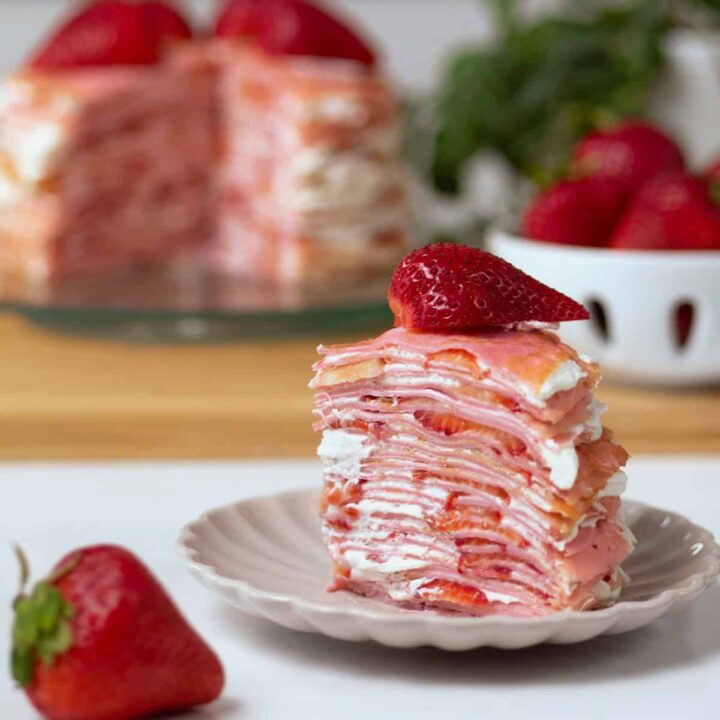
After having made this cake everyday for a week to develop this recipe, often times, making several in one day, I really learned to appreciate the time and skills needed to make a truly good mille crepe cake. Update: I loved how these crepe cakes turned out, I've since made them in different flavors like Rainbow Crepe Cake and Strawberry Crepe cake.
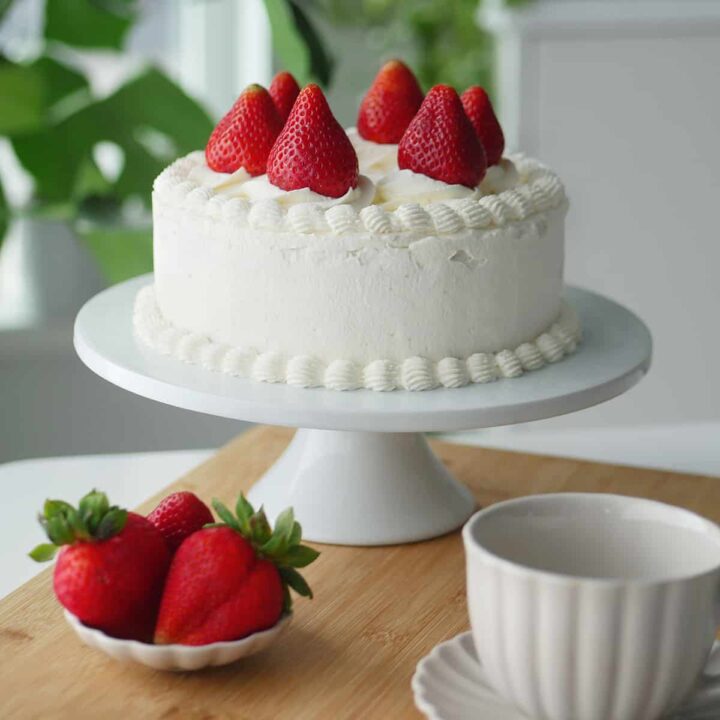
If you enjoy light Asian-style desserts, take a look at Asian-Bakery Fresh Fruit Cream Cake.
What Makes a Good Mille Crepe Cake?
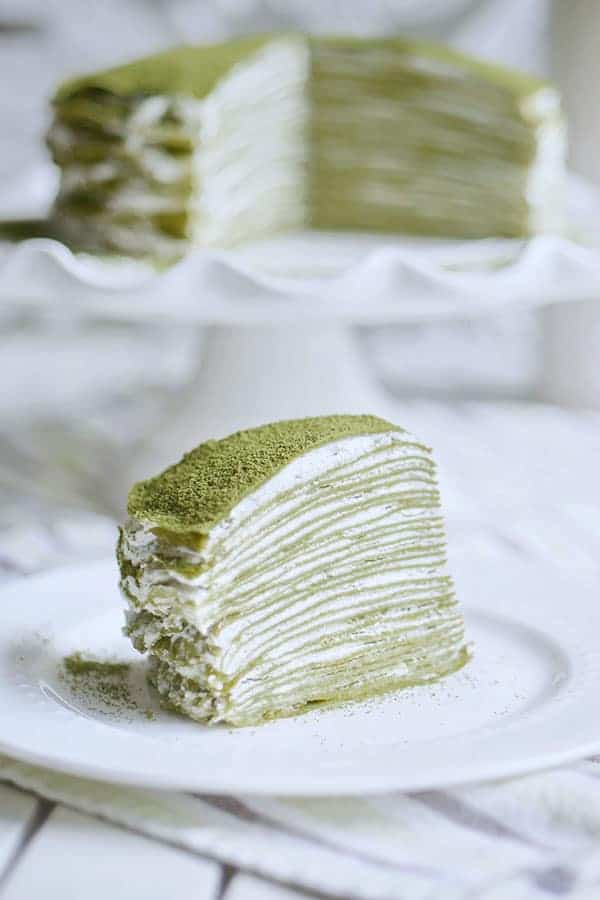
I must admit, I arrogantly thought the first crepe I made was a huge success. There were no tears in the crepe, it was ever so slightly golden brown and it tasted delicious. I thought, "Perfect! Now I just need to slap these layers together with filling and I've got myself a cake!" But the next day when I tried the cake after it had time to set in the fridge, I heard the dessert Gods telling me, "Oh no, not so fast, little grasshopper." My first crepe cake was hard and not at all fluffy. Because the layers were so firm, the slice of cake broke apart as I tried to run my fork down through it. I even looked up #crepecake on Instagram to see if other crepe cakes could be broken down easily with a fork and sure enough, it can (and it should). My problem was that my crepes were too firm and way too thick! I think my first cake had about 10 layers when it really should have double that amount while keeping the height the same. I set about to rework the recipe to make the crepes less firm and utilized some other cooking techniques to make a much thinner crepe.
In short, a good crepe cake should consist of many layers of extra thin crepes filled with an appropriate ratio of filling. Assembled together, a fork should be able to easily break it down without disassembling it in the process. The texture should be soft and not too hard or chewy. And, of course, the flavor of the cake should also come through as well.
Tips on Making a Good Mille Crepe
- Allow the crepe batter to rest at least one hour before using to allow the dry ingredients to be fully saturated with liquid and to rid batter of extra air which could cause the crepe to tear.
- Use a undamaged non-stick pan to prevent crepes from tearing. They are very delicate! It doesn't have to be fancy, just one like this 8" one will work great.
- Butter the pan generously for the first crepe and then add a very small dab onto the pan for subsequent crepes. Use a pastry brush to spread the butter around evenly.
- Practice on a few sacrificial crepes first to find the perfect temperature, time and amount of batter needed. Use a timer to keep track of time and a small ladle to keep the batter amount consistent.
- Cook crepes on a non-stick pan on low heat. I used number 4 heat (out of 10) on my stove top. The batter should sizzle as it hits the pan but not set completely. A lower cooking temperature may be needed if the batter sets too soon.
- Cooking time will vary as you keep cooking since the pan will become hotter. It may take up to 3 minutes to cook the first few and 1.5 minutes for the last ones. The first side usually takes longer.
- Try to avoid brown spots on the back side of the crepe by watching it closely after flipping.
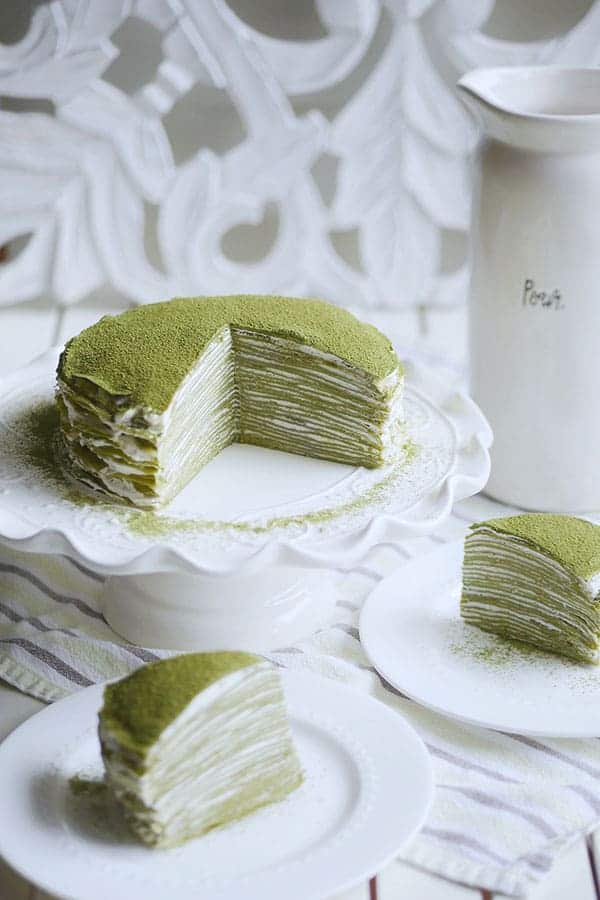
- Extra thin crepes are desirable for a soft and tender mille crepe. Each crepe by itself should almost be too thin to handle and translucent like a stretched out balloon. While cooking, it may take some skill and practice to flip such a thin crepe. When the edges can be picked up with silicone tongs without tearing, it can be flipped with a flat spatula.
- To make extra thin crepes, immediately before cooking, add some of the water to the batter to thin it out. The batter should look runny and not gooey. Immediately as it hits the pan, it should sizzle. Tilt the pan to swirl the batter around so it coats the pan evenly. If it sets too soon, either lower the heat or add more water. If the batter sits for too long, more water may be needed so only use half of the batter at one time.
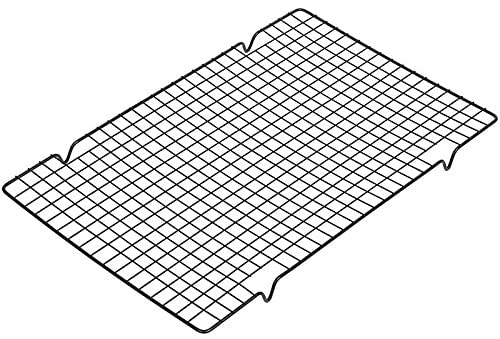
- Place finished crepes on a cooling rack before stacking together on a plate. This will prevent them from getting soggy.
- Add an appropriate amount of filling in between each layer. Soft fillings like cream should be thin as the cake disassembles more readily without support.
- Before cutting, allow the cake to fully set by refrigerating it overnight.
- For more details read this detailed post: How to Make Great Crepe Cakes
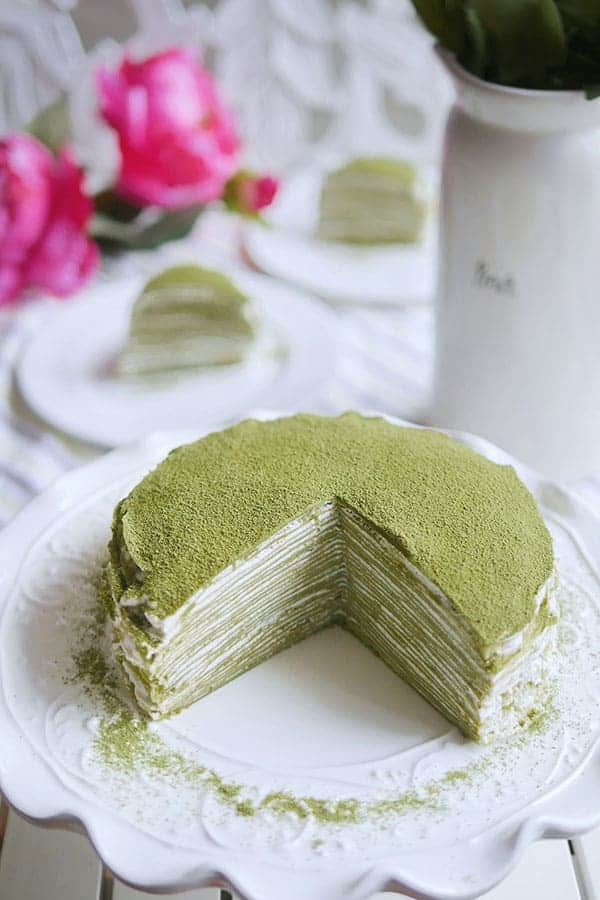
This cake is not only super photogenic, it's also very delicious with a unique texture that only a pancake crepe cake can offer. Due to the high cost and special technique involved in making such a cake, it's not one which one can find readily at the stores. So take this opportunity to practice making such a unique cake for your next special occasion. What's more, for those who don't consider themselves a good baker, you don't even have to turn the oven on for this one!
I hope you enjoy it.
XOXO, Mimi
Recipe
Japanese Matcha Green Tea Mille Crepe Cake
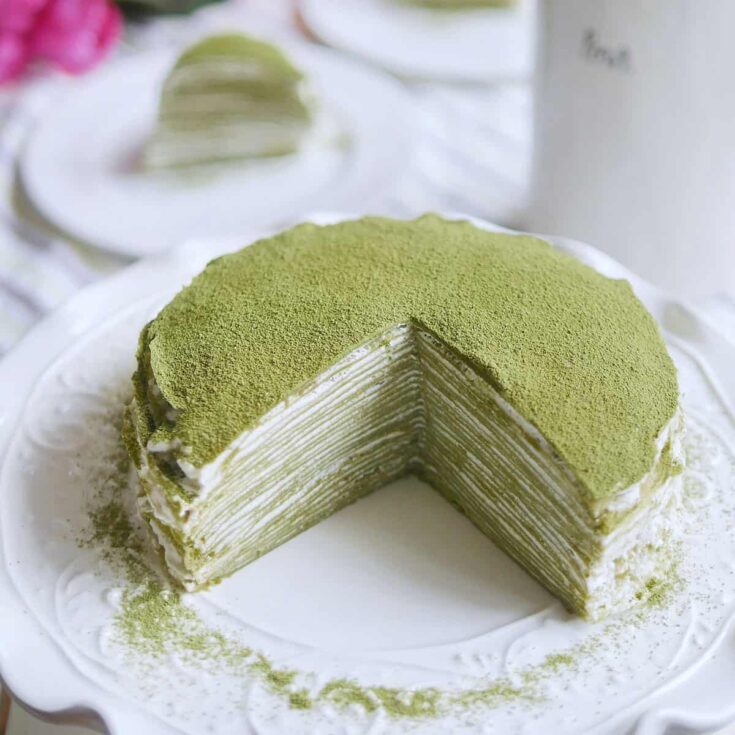
28 layers of soft and tender matcha crepes make up this delicious Japanese Matcha Green Tea Mille Crepe Cake that requires no baking at all. Filled with a light chantilly cream, it is both tasty and visually impressive.
Ingredients
Matcha Mille Crepe Cake Ingredients for 28 Crepes
- 190 ml heavy cream
- 190 ml milk
- 5 tbsp granulated sugar
- 3 large eggs
- 35 grams vegetable oil
- 120 grams cake flour
- 2 tablespoon matcha green tea powder
- 6 tablespoon water
- Butter for frying pan
- Matcha powder for dusting
Chantilly Cream Ingredients
- 360 ml heavy cream
- 105 grams powdered Sugar
Supplies & Tools
- Pastry brush
- 8” Round non-stick pan
- Blender
- 3 Mixing Bowls
- Medium-sized pot
- Silicone tongs
- Hand held mixer
- Sifter
- Sieve
- Spatula
Instructions
Matcha Mille Crepe Cake Instructions
- Heat milk, cream and sugar on medium heat until sugar is fully dissolved. Take off heat immediately once sugar is dissolved, do not bring to a boil.
- Allow milk and sugar mixture to come to room temperature.
- Pour into blender.
- Add egg, oil, cake flour and matcha powder into blender.
- Blend until the mixture becomes homogenous. A few pulses should do, do not over blend.
- Pour equal amounts through a sieve into two mixing bowls.
- Let rest for 1 hour or overnight in the fridge.
- Immediately before cooking, add 1-3 tablespoons of water into one bowl of the crepe batter to thin it out.
- Heat a pan on low-medium heat, using a pastry brush, coat pan generously with butter for the first crepe. Pan is ready when the butter sizzles as it hits the pan.
- Using a small ladle, pour batter onto pan, swirl the batter around until it coats the pan evenly.
- Set timer for 3 minutes. Cook first side for approximately 2 minutes. The crepe will bubble up and once the sides can be picked up with a silicone tong without tearing, the crepe can be flipped with a flat spatula. It will look slightly golden.
- Watch the second side closely. It will cook much faster, about 1 min. Remove from heat before it turns brown.
- Place on cooling rack to cool before stacking on plate.
- For subsequent crepes, coat the pan with a very small dab of butter and repeat steps #10-13.
- Once all the crepes are finished (26-28 in total), set them aside and prepare the cream filling.
Chantilly Cream Instructions
- Place a mixing bowl and beaters in the freezer to chill. It will help the cream whip better.
- Place cream in the chilled mixing bowl, then beat on low speed until the beater starts leaving light tracks in the cream. Add icing sugar.
- Increase speed to medium-high.
- Stop beating when the cream starts to get stiff and turns from glossy to matte. Do not over whip.
Assembly
- Once cream is completed, use immediately.
- Spread a thin layer of cream in between each layer of crepe.
- Place in an air tight container and let set overnight.
- Before serving, dust some matcha powder onto the top layer with a sifter.
- Cut into 8 slices. Enjoy!
Recommended Products
As an Amazon Associate and member of other affiliate programs, I earn from qualifying purchases.
-
KitchenAid Digital Kitchen Timer, Black - KC150OHOBA
-
Wilton Industries Perfect Results Mega Cooling Rack, Black
-
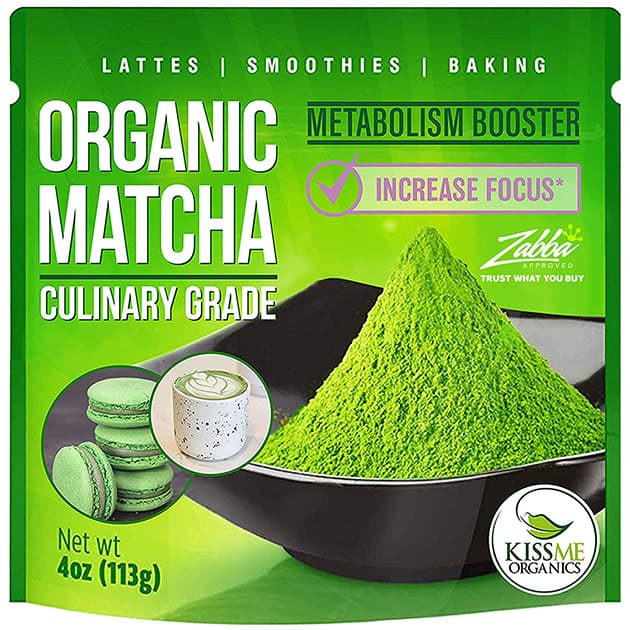
Kiss Me Organics Matcha Green Tea Powder - Organic Japanese Culinary Grade Matcha - 4 ounces (113 grams)
-
T-Fal 8-inch Non-stick Pan
-
Cuisinart CTG-00-SMB Stainless Steel Mixing Bowls with Lids, Set of 3
-
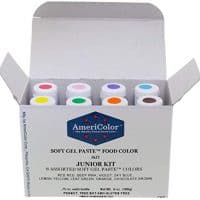
Gel Food Coloring AmeriColor Junior Kit, 8 Colors.75 Ounce Bottles
-
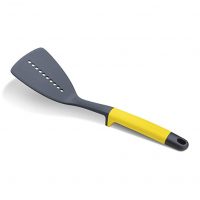
Joseph Joseph Spatula with Stand
-
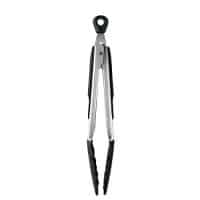
OXO Silicone Tong
-
Kitchenaid Handheld Mixer
-
OXO Silicone Pastry Brush
-
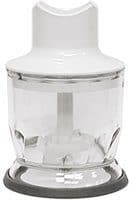
Food Processor for Almond Flour
Nutrition Information
Yield
8Serving Size
8 peopleAmount Per Serving Calories 499Total Fat 35gSaturated Fat 19gTrans Fat 1gUnsaturated Fat 14gCholesterol 159mgSodium 107mgCarbohydrates 40gFiber 1gSugar 24gProtein 7g
This information is provided as a courtesy and is an estimate only. This information comes from online calculators. Although indulgewithmimi.com attempts to provide accurate nutritional information, these figures are only estimates.
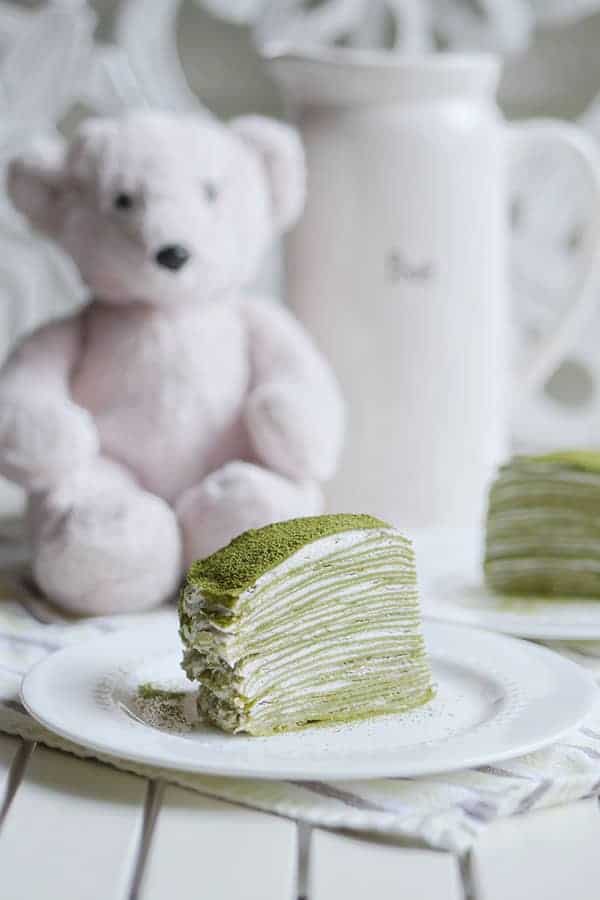
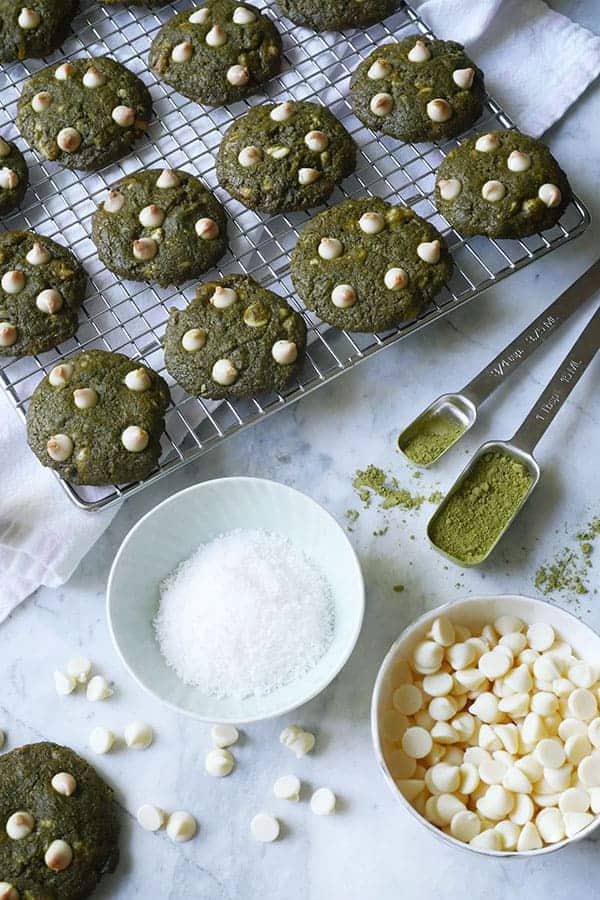
If you're a big matcha fan like I am, here is another matcha recipe that you'd be interested in. It's my very Matcha-y Coconut White Chocolate Cookie recipe.



Giulia says
Great recipe! I followed it step by step and was extremely pleased with the result. Thank you so much for sharing!!
Mimi says
Hi Giulia,
Thanks so much for coming back to tell me that. I really appreciate. It's an older recipe and I love that it's still being made today. I just made a strawberry version a few months ago. I'm seeing strawberries being sold at reasonable prices again here in the Pacific NW so it's just a matter of time before I remake it haha. Take a look when you have a chance: strawberry crepe cake 🙂 Again, thanks and hope to hear from you again soon.
XOXO,
Mimi
Anna says
Thank you for the recipe! I just made one! Could you please share a type of spatula you used for covering crepes with whipped cream? In your pictures whipped cream looks so evenly distributed! Thanks !
Mimi says
I like to use an offset spatula. I also use regular spatulas too, just a light layer is all you need 🙂
XOXO,
Mimi
kinsie mack says
Can you add food dye to enhance the color or will that mess up the cake?
Mimi says
You can use gel colors, they are potent color that won't add more moisture into the cake. Add it after you've almost finished stirring and check desired color. I made a similar cake but multi-colored, please see this recipe called: rainbow mille crepe cake. XOXO, Mimi
Isabel Gehrig says
Hi I’m attempting this recipe and am worried about the time it will take to make all the crepes! Do you think I can make the crepes one day and wait to finish the cake with the filling the next? How long can I let the finished crepes sit?
Mimi says
Yes, you can make the crepes a day ahead. I have done so in the past. Just make sure they are completely cooled off before you put them away, otherwise, the moisture left behind will cause it to be soggy. Put it in an air tight container in the fridge and then you can assemble them the next day. Just storing the crepes only, they can last 2-3 days but that will cut down the amount of freshness for your assembled cake.
XOXO, Mimi
Carolina says
Hello! What is tbs? I haven't seen that measurement before.
Mimi says
Hi Carolina,
I'm so sorry, there should be a "p" at the end of tbs. It's tablespoon. Xoxo, Mimi
Joy says
Did you let the batter set in the fridge or did you let it out?
Mimi says
Please let it rest in the fridge because it contains dairy.
XOXO,
Mimi
Ann says
Hello, can I asked if the whipped cream deflated after a day or 2? I am planning to make one this weekend, and wonder if the cream will melt after a day.
Mimi says
No, it will hold up pretty well inside the crepe cake. I have kept this cake for several days in the fridge.
XOXO,
Mimi
James Lake says
I'm going to attempt this one for a party at work next week (this weekend will be making the test crepes). You mentions splitting the batter into 2 bowls - I'm curious about why? I didn't see any further mention of the second bowl in the recipe.
Mimi says
It's to prevent the batter from getting too thick. I went over this it in the introduction under "Tips", give it a read before you start. I wish you success with the recipe! XOXO, Mimi
James Lake says
ok that makes sense - Thank you!!!
Ken says
Most frustrating thing I've tried...kept wrinkling up or tearing when flipping 😔
Mimi says
I found it quite hard to do during the first attempt but it was quite easy for the ones after. It does take some practice. However, even if its a bit thicker, it will still be tasty 🙂
XOXO,
Mimi
Deborah h says
hi love your instagram especially anything with berries, but anything with eyes I cant eat I was looking through your instagram and love the profile pic can you tell the address of where you found that wall, as I love graffite wall art, its so nice I wish I could do it although I can even draw a straight line lol thanks
Mimi says
The blue wall on my profile currently is found on Broadway (roughly Cambie). It's the building that houses Menya Ramen. good luck 🙂
XOXO,
Mimi