
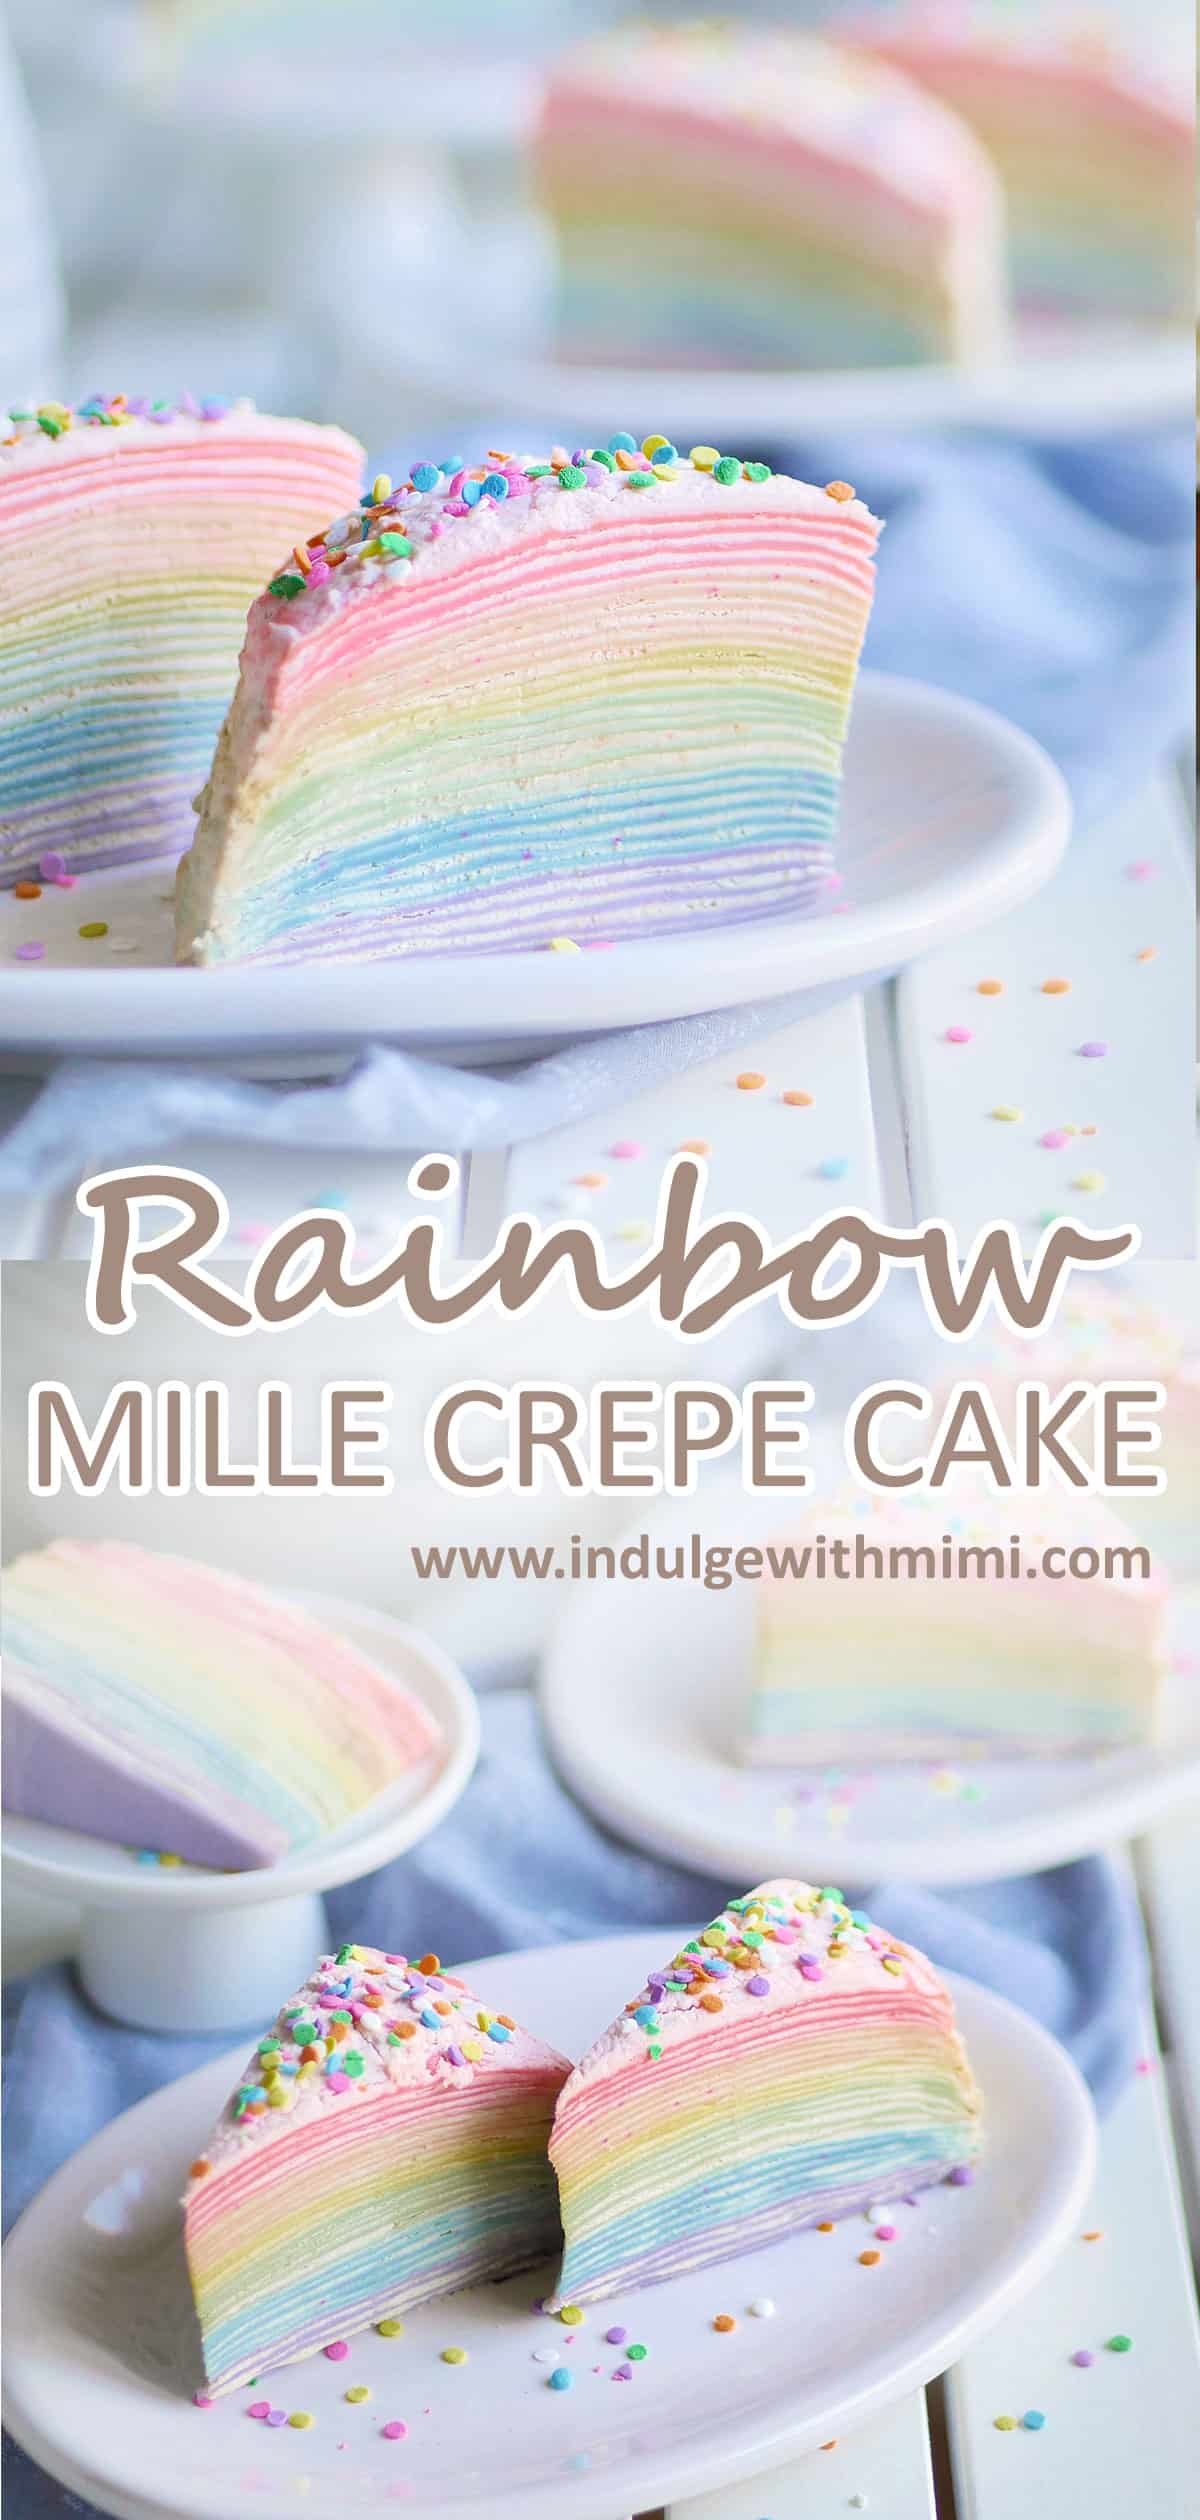
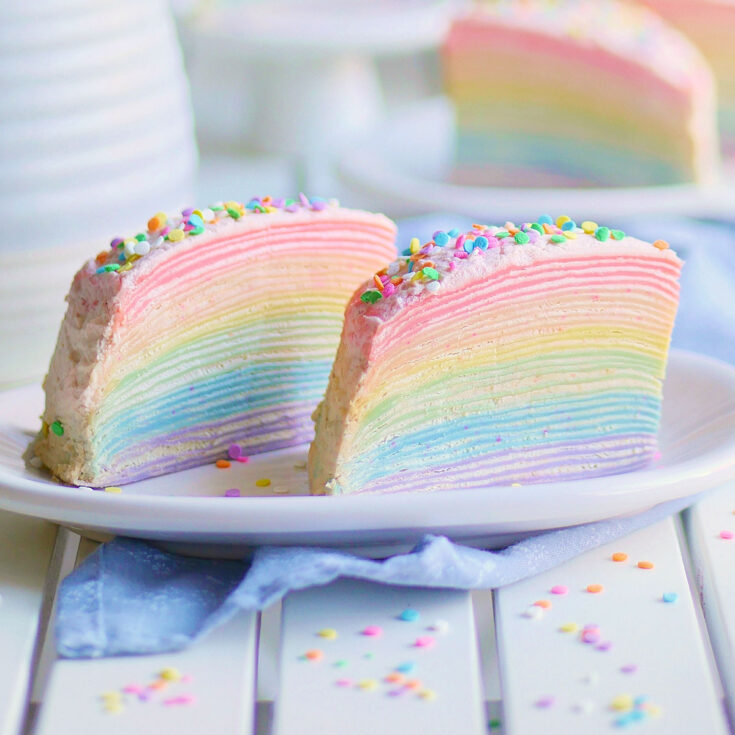
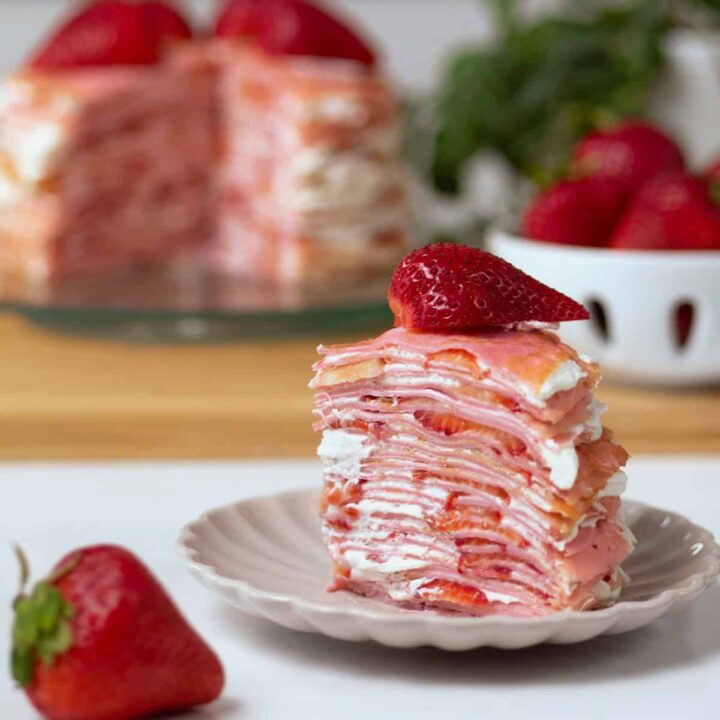
A stunning rainbow colored mille crepe cake comprised of 30 ultra-thin melt-in-your-mouth crepes. Tips and tricks included for successfully making the paper-thin crepes.
Jump to:
Celebrating with a Rainbow Mille Crepe Cake
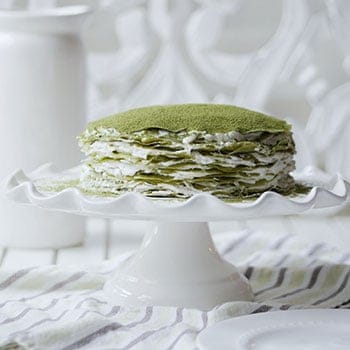
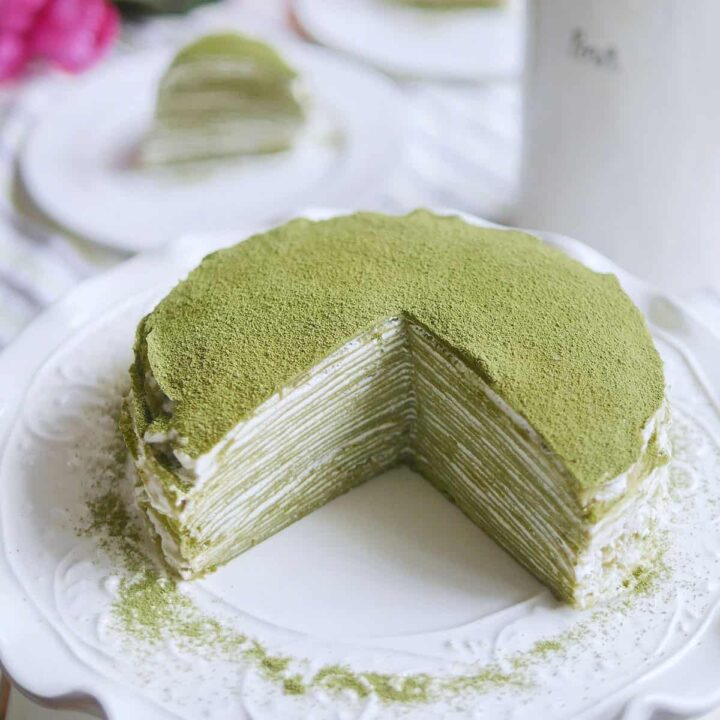
Today's recipe on rainbow mille crepe cake reminds me that a lot has changed since I posted my Green Tea Mille Crepe Cake recipe last Fall. I hadn't mentioned it before but I was actually pregnant with my first child who was born this Spring. It was a bit of a journey to bring my little Bibi into the world and I was always a bit nervous about crossing that finish line. I'm so happy to finally announce the birth of my daughter today with this celebration rainbow crepe cake and a giveaway!
Your loyal readership of my little blog has meant so much to me these past few years. Baking and blogging served as a great creative for me when I wasn't focusing on my health. You can read about my long journey towards motherhood and get to know Bibi and I a bit more on my new passion project Indulge With Bibi.
My Best Tip on Making a Great Mille Crepe Cake
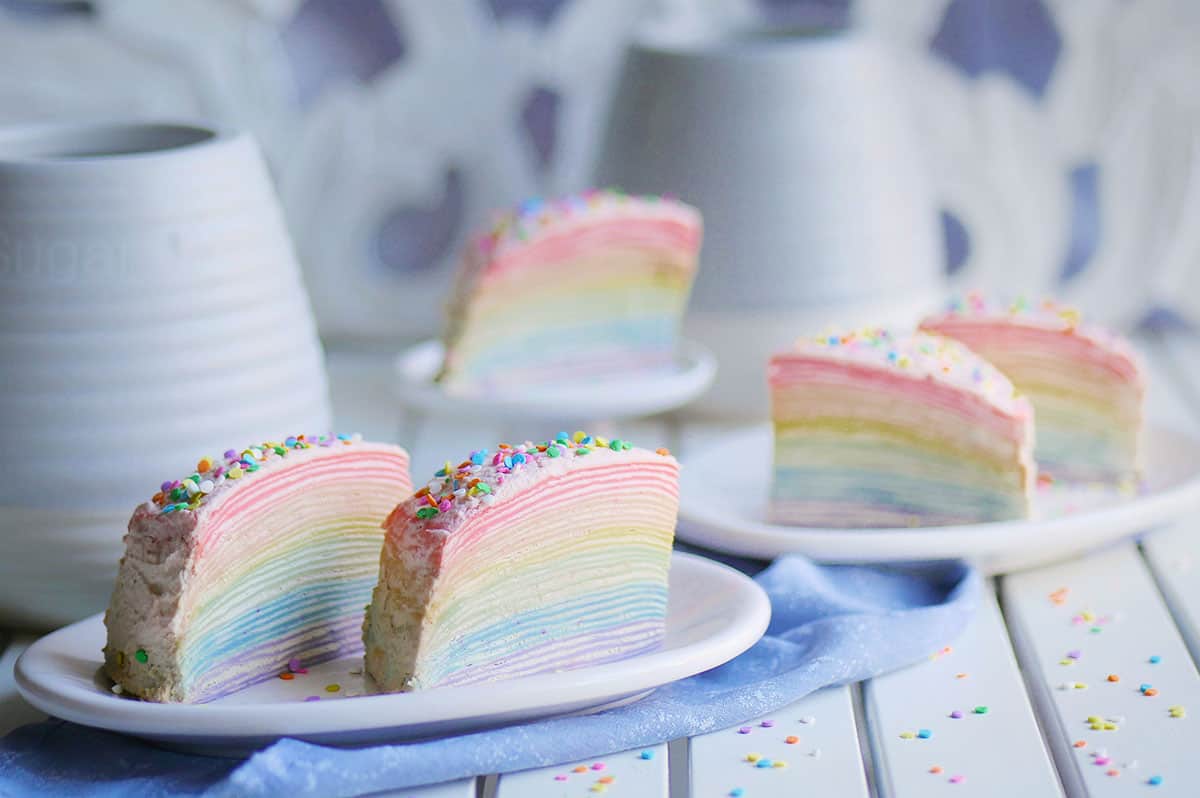
And now for a little insight into this new recipe for a 30-layer Rainbow Crepe Cake - the ultimate in celebration cakes. I think using all the colors of the rainbow in a cake really says, "Let's celebrate!" When you bring this cake to any party or event, it will surely turn heads as it truly has that Wow! factor. Crepe cakes by nature are a little bit more time consuming to prepare than a regular cake but this is nicely counterbalanced by the fact that it doesn't require any baking at all!
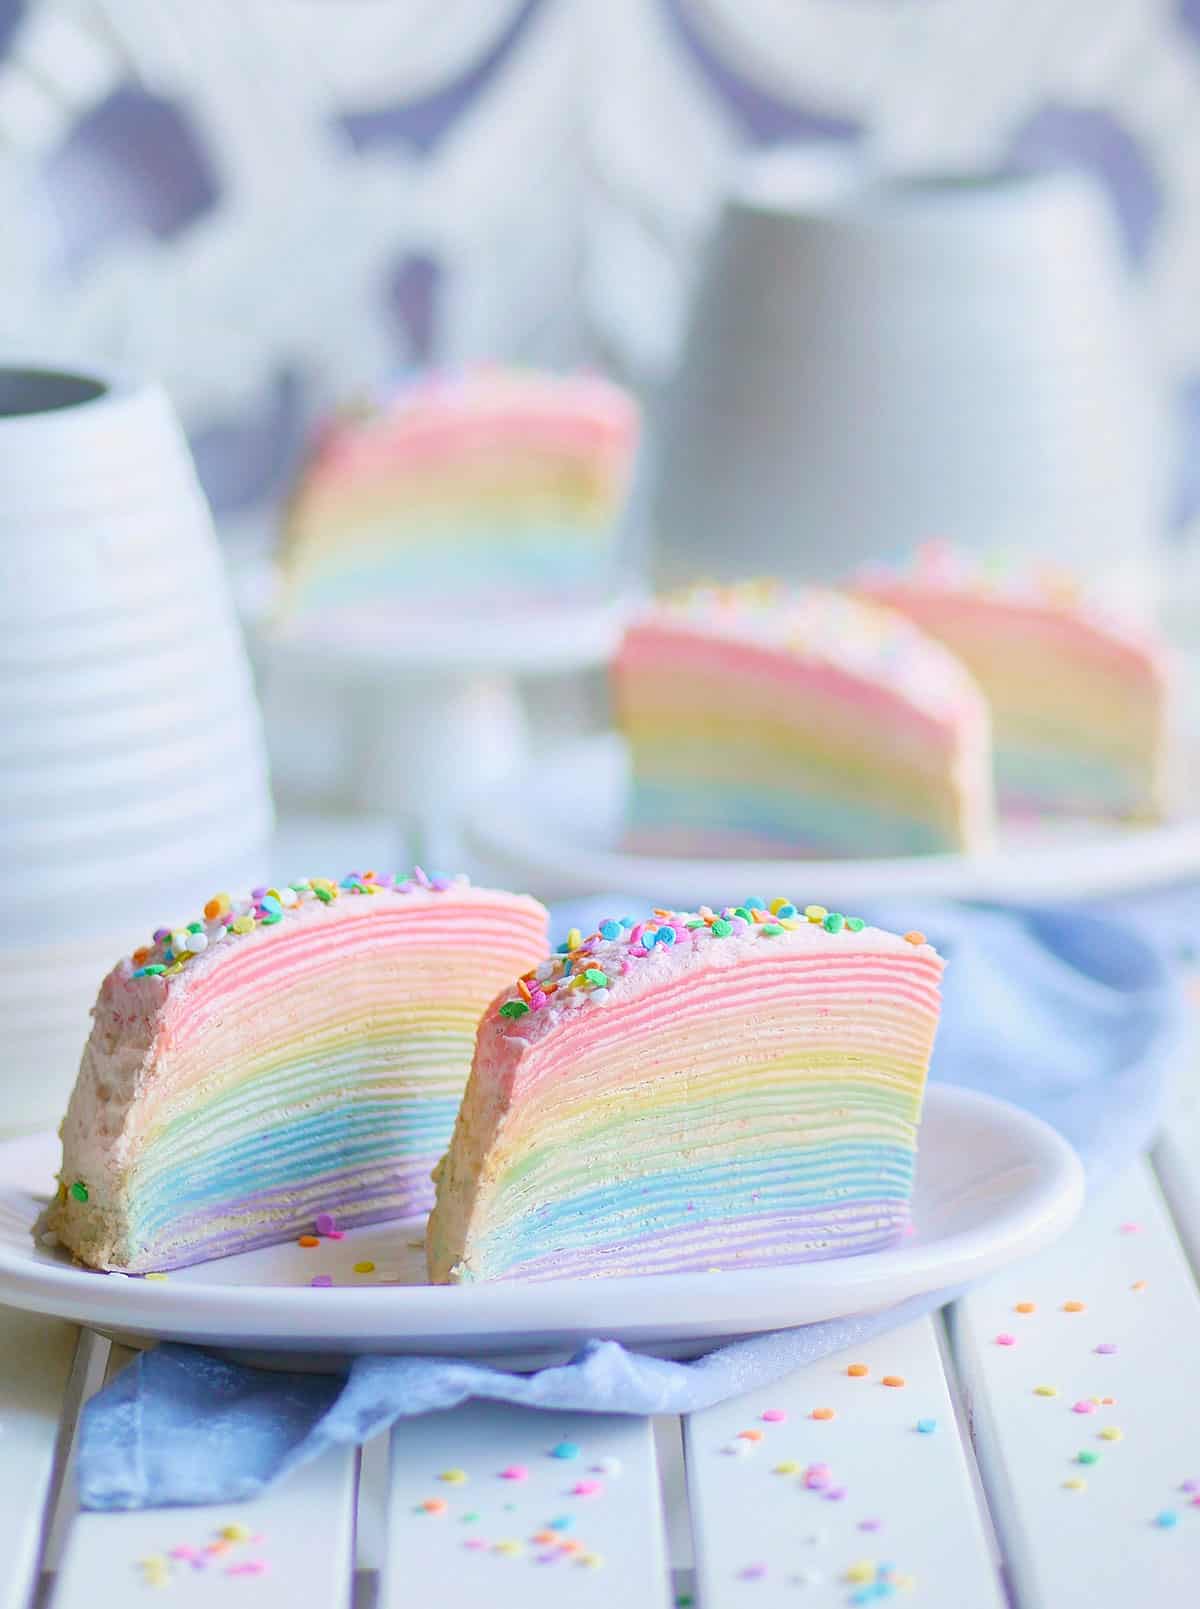
The most important part of making a good crepe rests in making the crepes almost paper thin. When assembled, these ultra-thin crepes become a soft pliable mille cake that almost melts in the mouth. To make it, first, start with a good non-stick pan. It doesn't have to be fancy, just an 8" inch one like this will work.
While cooking, you need to work quickly with a batter that is just a bit runny and not too sticky. In my recipe, I add a little bit of water to the batter to thin it out immediately before it hits the pan. It will help the batter swirl on the pan and spread out quickly before setting. You'll know it's ready to be flipped once the edge can be picked up with a pair of silicone tongs without tearing. Here are some more tips for baking an awesome crepe cake, I highly recommend you read it before starting this recipe. Lastly, if you want to make this cake quickly in a single color, try Japanese Strawberry Crepe Cake.
Tools for Making Ultra-Thin Crepes
- 8” Round non-stick pan - a good truly non-stick pan is required for making the crepes ultra-thin. It will prevent the crepes from tearing.
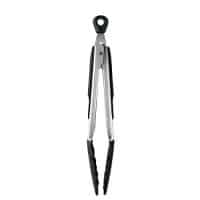
- Silicone tongs - silicone tongs helps pick up the edge of the crepe gently without tearing it.
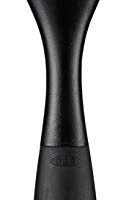
- Pastry brush - a pastry brush will disperse the butter evenly on the pan creating a non-stick barrier for making thin crepes.
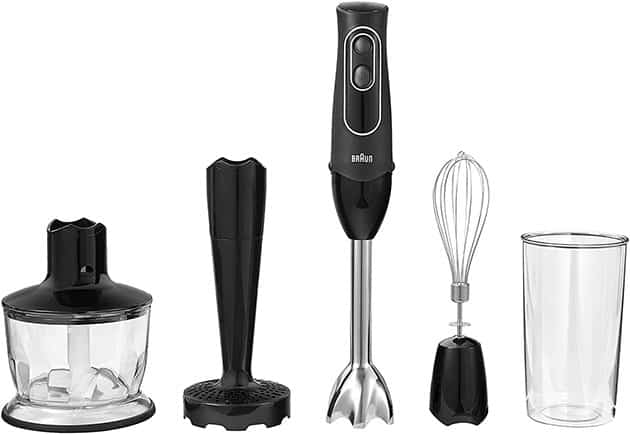
- Blender/Food Processor - a blender helps in incorporating all the ingredients together into one even and uniformed crepe batter. This is the food processor I use in my kitchen. It's very versatile, I use it for chopping up baby food, grinding my own almond flour.
- 3 Medium mixing Bowls
- 6 Small mixing bowls
- Medium-sized pot
- Hand held mixer
- Sifter
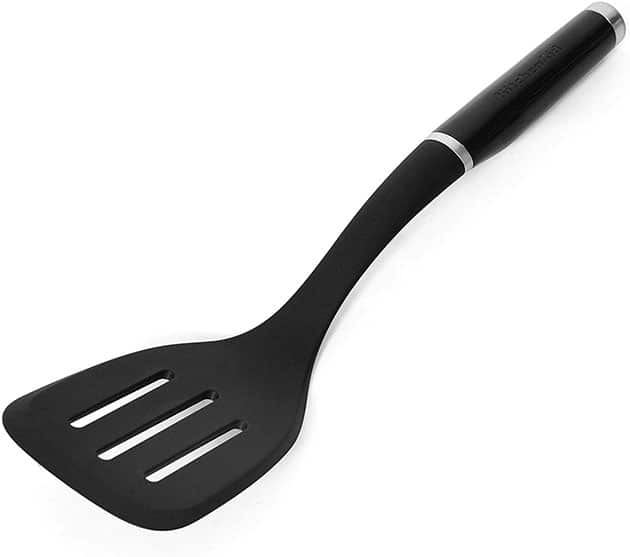
- Spatula - a good flat spatula will be needed to lift the crepe off the pan, of any brand will suffice.
2 Different and Easy Fillings
I included the recipe for two different and delicious fillings. One is the classic vanilla chantilly cream and the other is an almond coconut cream. Both fillings are very easy to prepare so if you want to try making this rainbow crepe cake for the first time, don't be intimidated. Take your time making the crepes and then choose which flavour you prefer. They are both delicious!
Giveaway Time!
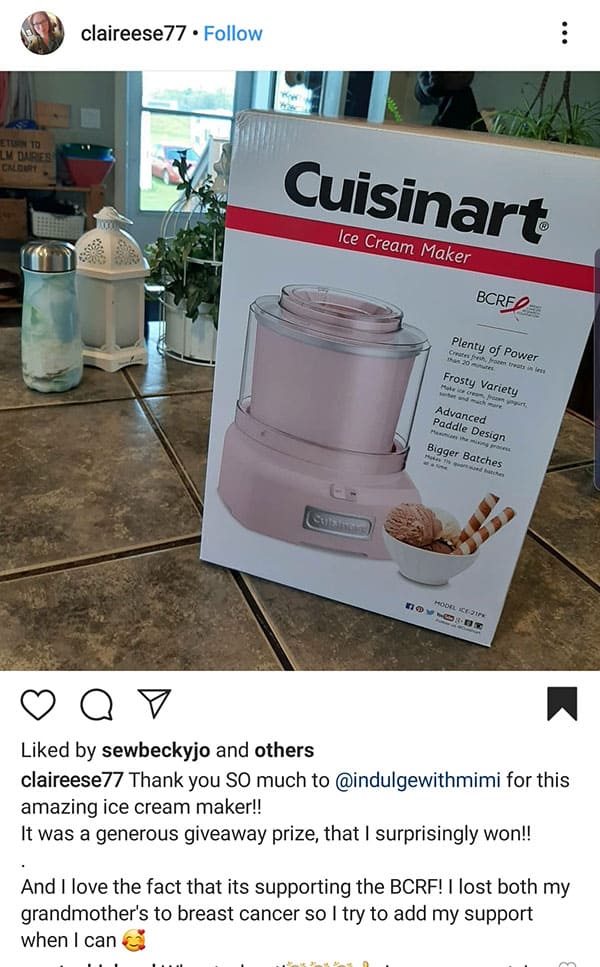
Lastly, I wanted to do a giveaway to thank all of you for reading. I really appreciate the love and support I received through your loyal readership during a difficult time.
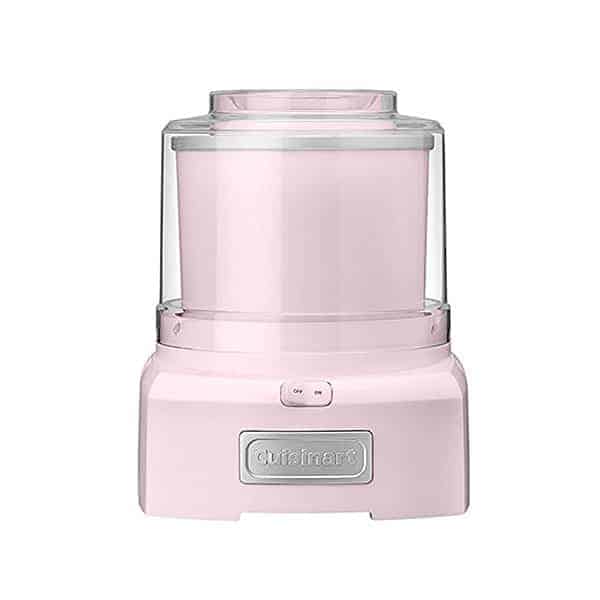
Here is the prize for the giveaway - a very pretty pink Cuisinart ICE-21PK ice cream maker for the summer season! It's great for making soft serve ice cream with ingredients you can trust. I hear that it's capable of making scoopable ice cream if you add a bit of xanthem gum and glycerin to the recipe. UPDATED: winner has been chosen, see below:
Recipe
30-Layer Rainbow Mille Crepe Celebration Cake
An absolutely stunning rainbow colored mille crepe cake comprised of 30 ultra-thin melt-in-your-mouth crepes. Two options for fillings are provided: Classic Vanilla or Almond Coconut Cream.
Ingredients
Rainbow Mille Crepe Cake Ingredients for 30 Crepes
- 190 ml heavy cream*
- 190 ml milk
- 2.5 tablespoon granulated sugar
- 3 large eggs
- 35 grams vegetable oil (neutral tasting)
- 135 grams cake flour
- 1 teaspoon vanilla extract
- 6 tablespoon water
- Butter for frying pan
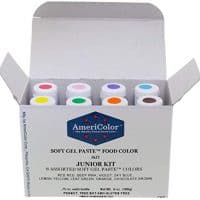
- Red, orange, yellow, green, blue & purple food colour*
Vanilla Chantilly Cream Filling Ingredients (Filling Option #1)
- 360 ml heavy cream
- 80 grams powdered Sugar
- ½ tsp. vanilla extract
Almond Coconut Cream Filling Ingredients (Filling Option #2)
- 360 ml heavy cream
- 80 grams powdered Sugar
- ¼ tsp. almond extract
- 1 can coconut milk*
Supplies & Tools
- Pastry brush
- 8” Round non-stick pan
- Blender/food processor
- 3 Medium mixing Bowls
- 6 Small Mixing bowls
- Medium-sized pot
- Silicone tongs
- Handheld mixer
- Sifter
- Spatula
Instructions
- Rainbow Mille Crepe Cake Instructions
- Heat milk, cream and sugar on medium heat until sugar is fully dissolved. Take off heat immediately once sugar is dissolved, do not bring to a boil.
- Allow milk and sugar mixture to come to room temperature.
- Pour into blender.
- Add egg, oil, cake flour into blender.
- Blend until the mixture becomes homogeneous. A few pulses should do, do not over blend.
- Pour equal amounts through a sieve into 6 mixing bowls. Each colour should yield 5 ultra-thin crepes.
- Let rest for 1 hour or overnight in the fridge.
- Add the different food colours to each of the mixing bowls.
- Immediately before cooking, add ½-2 teaspoons of water into one bowl of the crepe batter to thin it out.
- Heat a pan on low-medium heat, using a pastry brush, coat pan generously with butter for the first crepe. Pan is ready when the butter sizzles as it hits the pan.
- Using a small ladel, pour batter onto pan, swirl the batter around until it coats the pan evenly.
- Set timer for 3 minutes. Cook first side for approximately 2 minutes. The crepe will bubble up and once the sides can be picked up with a silicone tong without tearing, the crepe can be flipped with a flat spatula. It will look slightly golden.
- Watch the second side closely. It will cook much faster, about 1 min. Remove from heat before it turns brown.
- Place on cooling rack to cool before stacking on plate.
- For subsequent crepes, coat the pan with a very small dab of butter and repeat steps #10-13.
- Once all the crepes are finished (30 in total, 5 per colour), set them aside and prepare the cream filling of your choice. There are 2 to choose from below.
- Vanilla Chantilly Cream Instructions (Filling Option #1)
- Place a mixing bowl and beaters in the freezer to chill. It will help the cream whip better.
- Place cream in the chilled mixing bowl, then beat on low speed until the beater starts leaving light tracks in the cream. Add icing sugar.
- Increase speed to medium-high.
- Before the cream becomes stiff, add vanilla extract and continue to beat.
- Stop beating when the cream starts to get stiff and turns from glossy to matte. Do not over whip.
- Once made, use for assembly immediately.
- Spread a thin layer of cream in between each layer of crepe.
- Place in an air tight container and let set overnight.
- Cut into 8 slices. Enjoy!
- Almond Coconut Cream Instructions (Filling Option #2)
- Refrigerate can of coconut cream for a minimum of 12 hours.
- Chill beaters and a mixing bowl in the fridge.
- Flip can over and open with can opener.
- Pour out the coconut juice/gel.
- Scoop out the hardened white coconut cream and whip on low-medium speed until volume increases.
- Stop when soft peaks form.
- Before using for assembly, allow it to firm up some more by chilling in the fridge while you make the almond cream.
- Place a mixing bowl and beaters in the freezer to chill. It will help the cream whip better.
- Place cream in the chilled mixing bowl, then beat on low speed until the beater starts leaving light tracks in the cream. Add icing sugar.
- Increase speed to medium-high.
- Before the cream becomes stiff, add almond extract and continue to beat.
- Stop beating when the cream starts to get stiff and turns from glossy to matte. Do not over whip.
- Once made, use for assembly immediately.
- Spread a thin layer of cream in between each layer of crepe, alternating between the coconut cream and almond cream.
- Place in an air tight container and let set overnight.
- Cut into 8 slices. Enjoy!
Notes
Heavy cream can be substituted with whipping cream 33% M.F.
I recommend using the Aroy-D branded coconut milk that was used here. Listed ingredients: coconut extract 60%, water..
Recommended Products
As an Amazon Associate and member of other affiliate programs, I earn from qualifying purchases.
-
 Braun 4-in-1 Immersion Hand Blender, Powerful 350W Stainless Steel Stick Blender, Multi-Speed + 2-Cup Food Processor, Whisk, Beaker, Masher, Easy to Clean, Black, MultiQuick MQ537BK
 -
KitchenAid Classic Slotted Turner, One Size, Black 2
-
KitchenAid 9-Speed Digital Hand Mixer with Turbo Beater II Accessories and Pro Whisk - Contour Silver
-
T-Fal 8-inch Non-stick Pan
-
Nielsen-Massey Madagascar Bourbon Pure Vanilla Extract, 4 ounces
-
Cuisinart CTG-00-3MS Set of 3 Fine Mesh Stainless Steel Strainers
-
OXO Silicone Pastry Brush
-
Gel Food Coloring AmeriColor Junior Kit, 8 Colors.75 Ounce Bottles
-
Cuisinart CTG-00-SMB Stainless Steel Mixing Bowls with Lids, Set of 3
-
OXO Silicone Tong
-
OXO Silicone Pastry Brush

Nutrition Information
Yield
8Serving Size
1Amount Per Serving Calories 435Total Fat 33gSaturated Fat 18gCholesterol 167mgSodium 65mgCarbohydrates 30gFiber .5gSugar 15gProtein 6g
This information is provided as a courtesy and is an estimate only. This information comes from online calculators. Although indulgewithmimi.com attempts to provide accurate nutritional information, these figures are only estimates.

Yuliana says
Hi, I want to make this mille crepes for my daughter’s birthday. Can you help me, around how many ml is a can of coconut milk? Thank you.
Mimi says
Hi Yuliana,
It will be 400 ml 🙂
XOXO,
Mimi
Yuliana says
Thank you so much Mimi. Can't wait to make it next week. My daughter is looking forward to it.