
Christmas yule log cake with a modern twist. Composed of a fluffy Japanese Chiffon cake and semi-sweet chocolate whipped cream. So delicious!
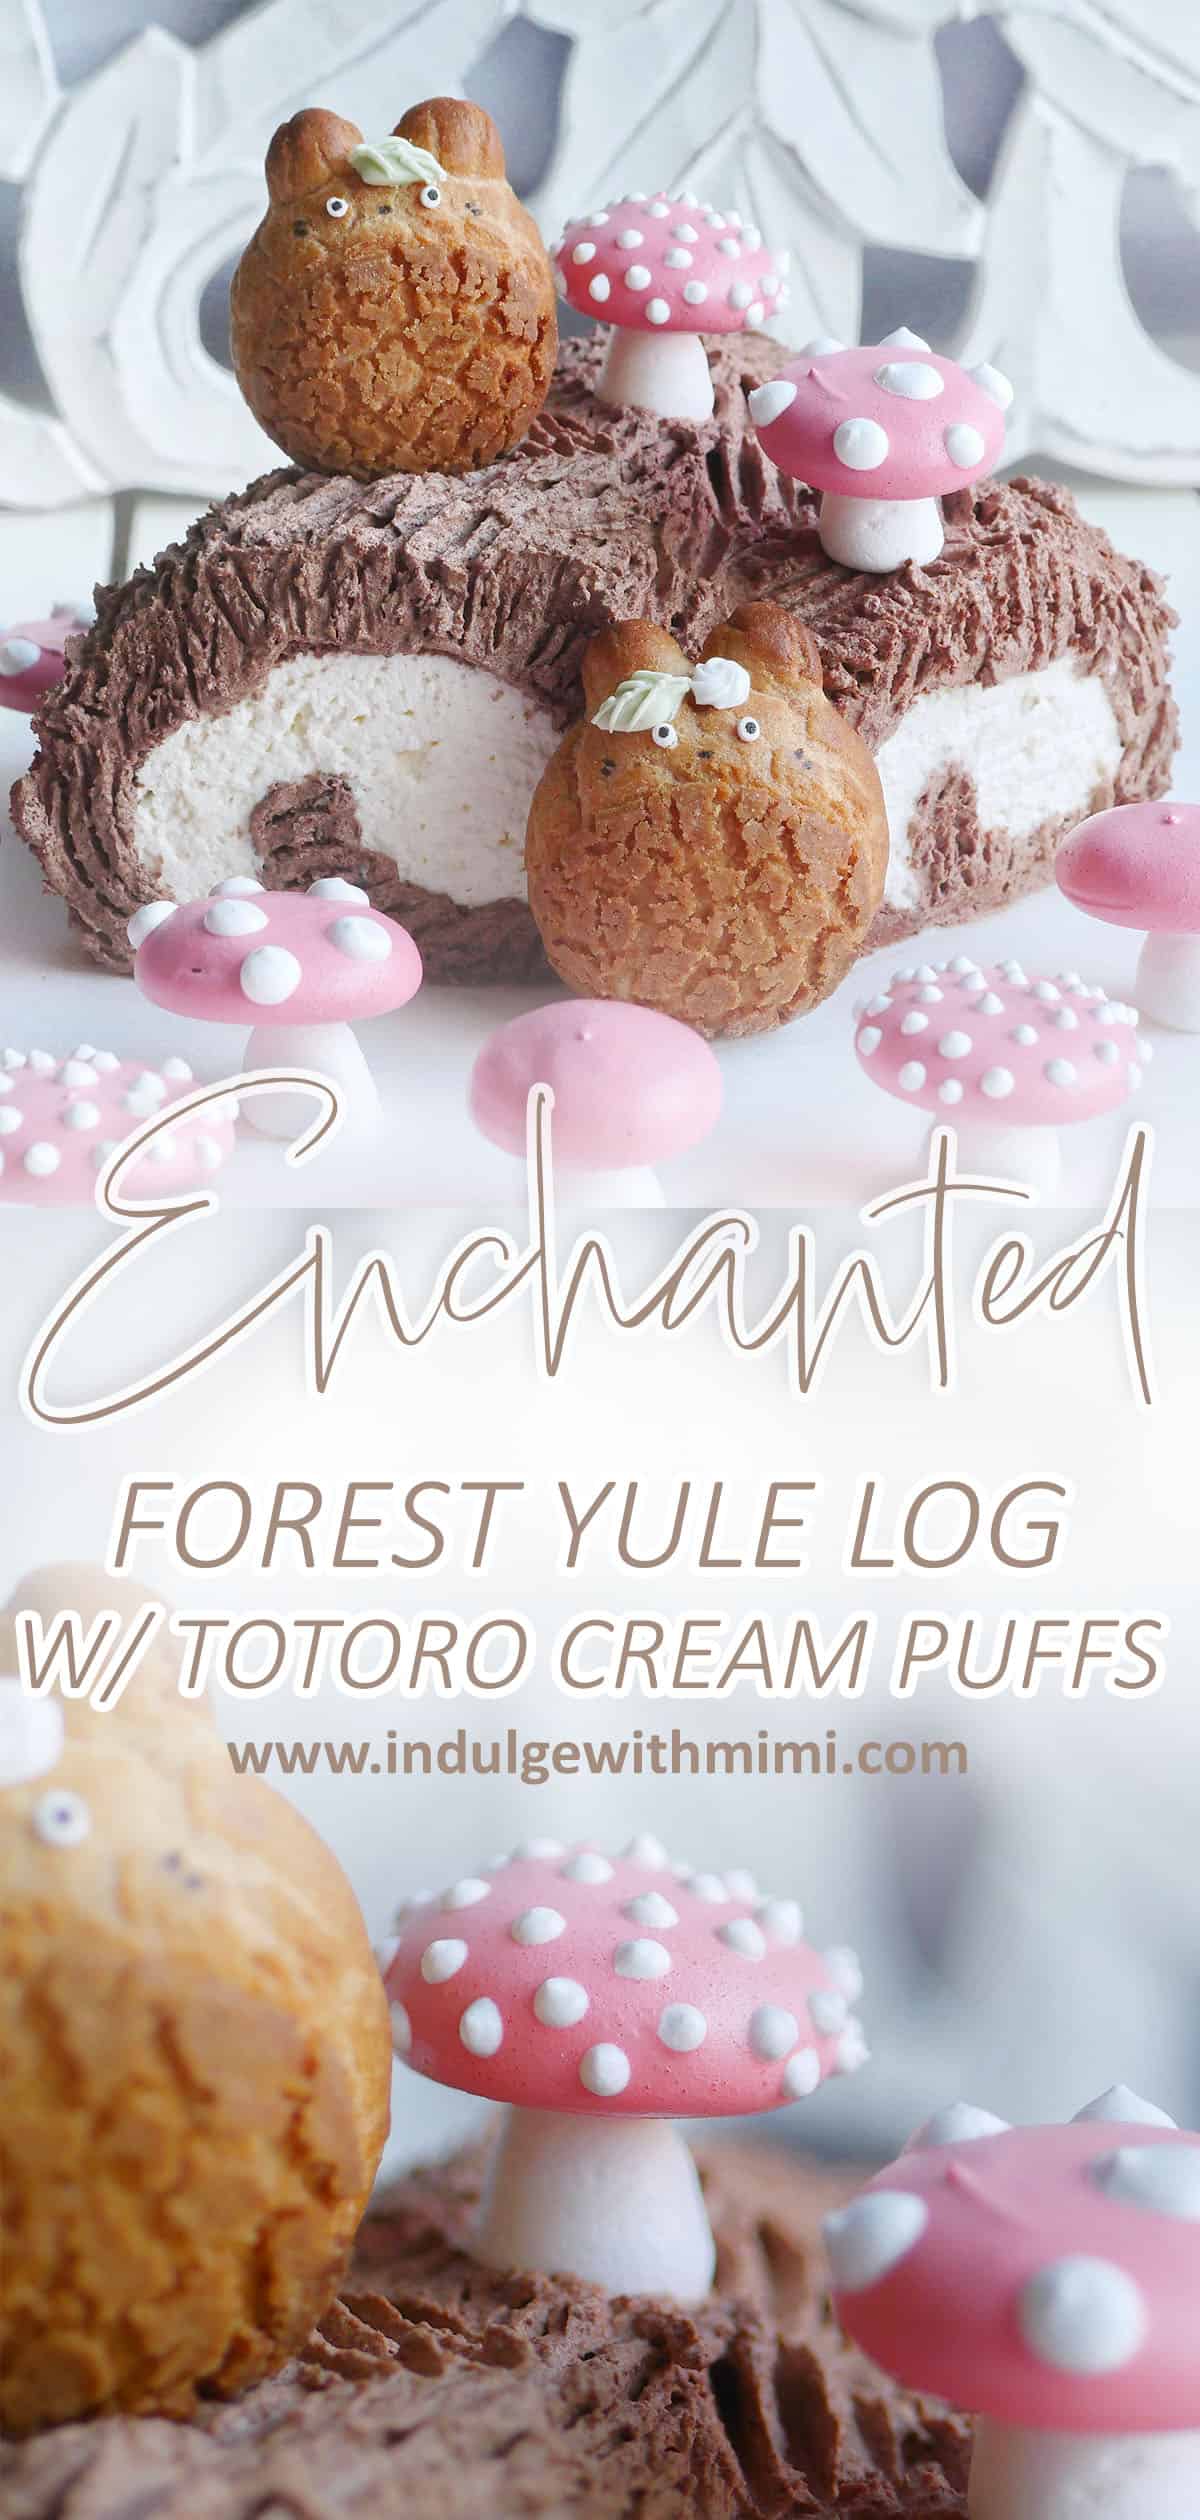
A Modern Bûche de Noël with Japanese Chiffon Cake Roll
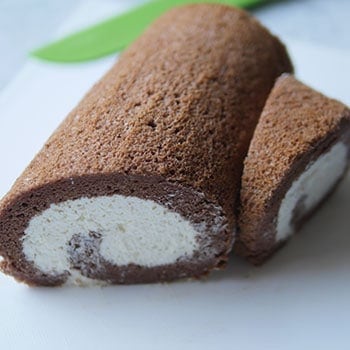
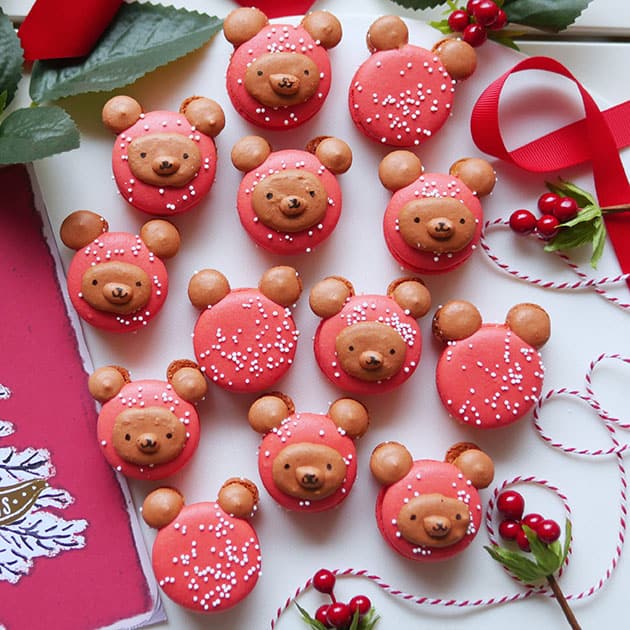
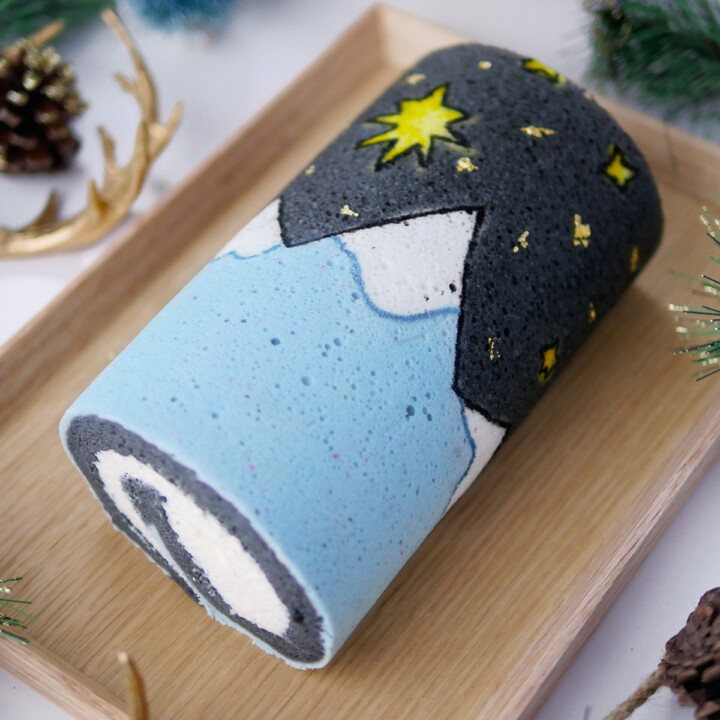
Two months ago when I developed the recipe for Chocolate Japanese Cake Roll, I knew right away that I just had to use this recipe again to make a Yule Log Cake for the Christmas season. After publishing the initial recipe, I was pleasantly surprised to find out quite a few readers and Instagram followers had attempted to make it and fell in love with it as much as I did. The chocolate cake roll is super fluffy (and remains so for many days), and the chocolate cream follows the Japanese dessert style of being light and not overly sweet. (Btw, this Bûche de Noël can be made with different variations of the chocolate cake roll used here, you can use these recipes as bases too: coffee cake roll, matcha cake roll, strawberry cake roll & carrot cake roll.) Another cool way to make a modern Christmas Swiss roll is this pattern cake roll with a Silent Night motif in non-traditional holiday colors.
A Yule Log Cake with a Modern Twist
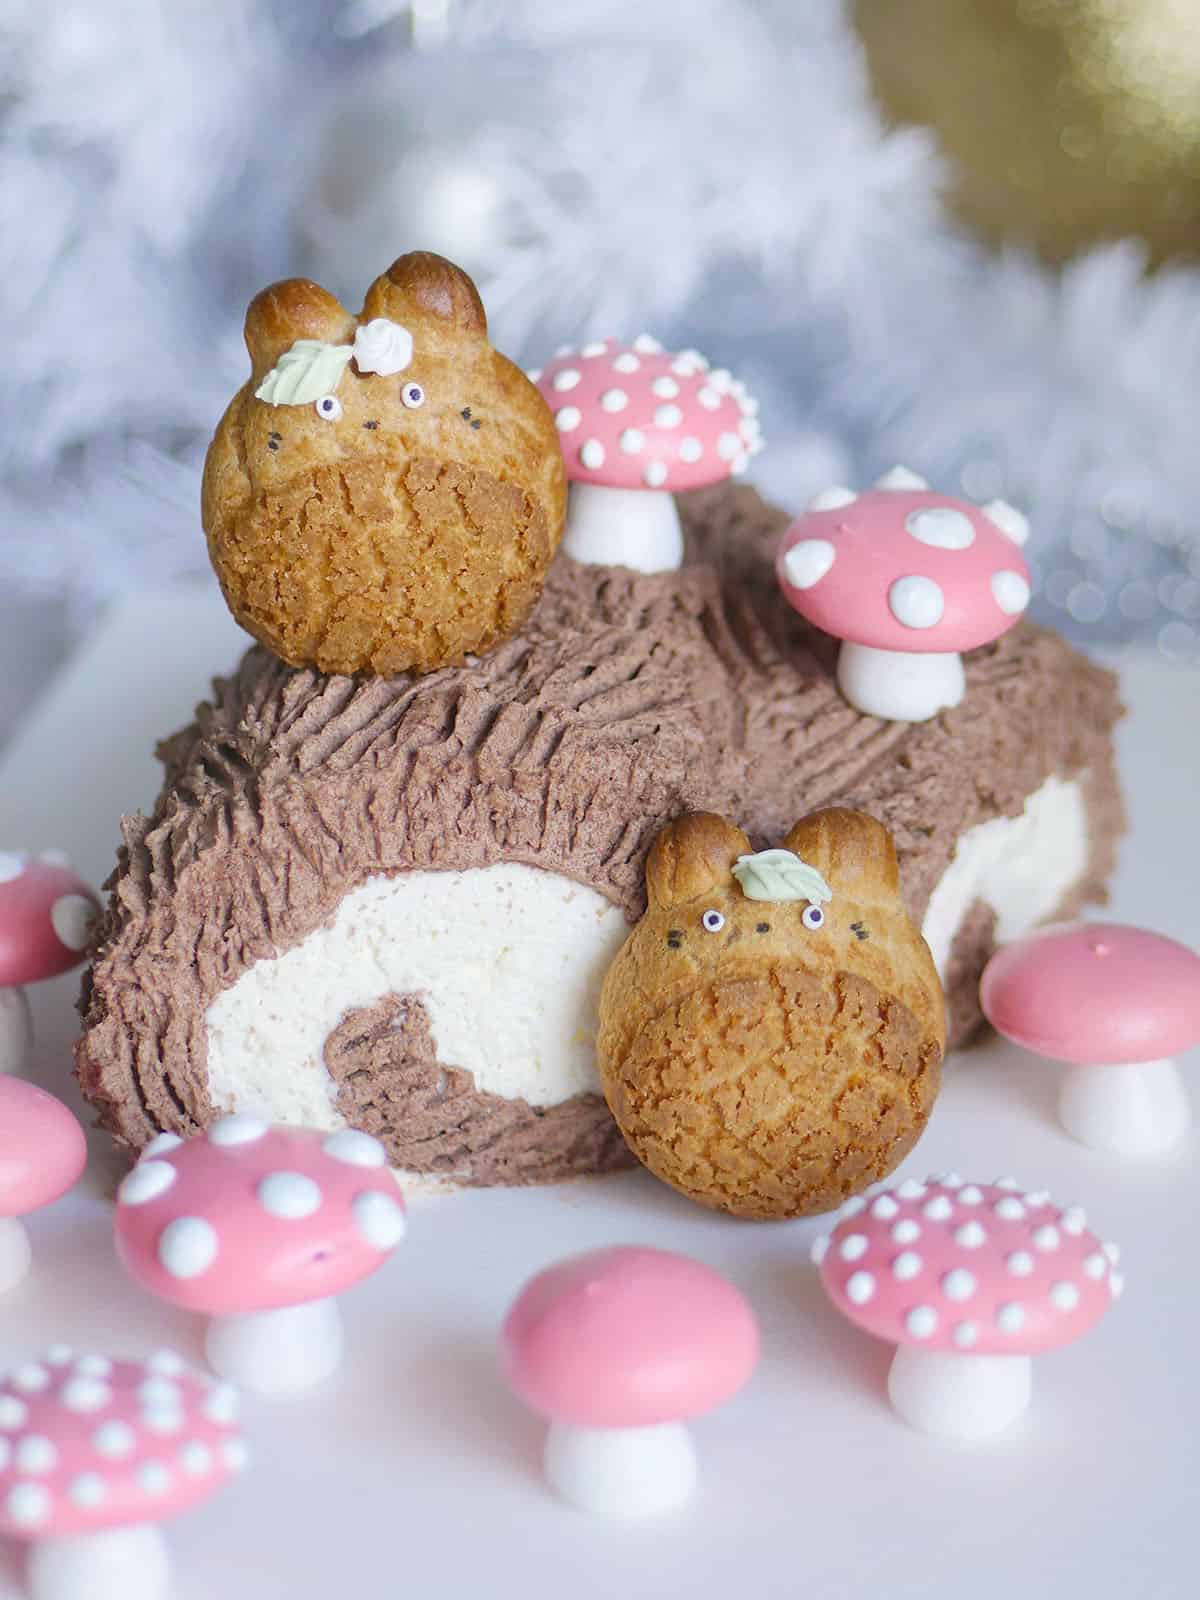
The origins of the yule log cakes or 'bûche de Noël' is believed to be from all the way back as far as the 1600's. The base of the cake was made from a sponge cake and topped with decorations made from meringue and marzipan. I wanted to give this traditional cake a modern twist by using a light chocolate chiffon cake as base and a light cream as filling. Aesthetically, it also gets a little makeover by incorporating elements from an enchanted forest theme - again, Japanese style - in the form of Totoro cream puffs and red mushroom meringues. For those of you who may not be familiar with Totoro, he is a beloved Japanese character from the 1988 animated fantasy film by Hayao Miyazaki. The film tells the tale of two sisters with an ailing mother and their subsequent adventures with friendly wood spirits in postwar rural Japan. Having made his debut over 30 years ago, the affable main character, Totoro, still strikes a chord with many today.
How to Prepare a Holiday Cake in Advance of a Party
Besides baking the chocolate cake roll and cream puffs using my two previous recipes, two new elements that complete this yule log cake will be covered in today's post: meringue mushroom decorations and the white Chantilly cream used to fill the inside of the cake log. There are three main components to this cake (cake, cream puff & meringue) and although it may seem daunting at first, it's really not that complicated if you make some elements of it in advance. If you'd like to prepare this cake for a holiday party coming up and want to make parts of it ahead of time, I would go about doing it with these steps:
- Make and bake Totoro cream puff shells and freeze. Can be done 1 month in advance. The original post will show you different ways to refrigerate or freeze choux pastry/dough.
- Make sugar decorations for Totoro and store in an air-tight container or replace with sprinkles or store bought decorations. Can be done several months in advance.
- Make meringue mushrooms and store in an air-tight container. Can be done 1 week in advance.
- Prepare diplomat cream for filling Totoro cream puff. Can be done 24 hours in advance.
- Bake,fill and frost chiffon cake roll, cover with plastic wrap. Can be done 24-48 hours in advance. The roll stays nice and fluffy for several days but making it in advance will cut down the shelf life of the cake in case you have leftovers. (Although, I don't think you will!)
- Before serving, use a fork to create the tree's grain mark. Add meringue mushrooms onto the cake long. Fill Totoro cream puffs with diplomat cream. This can be done several hours before serving.
This enchanted forest yule cake log was a real joy to put together. I was very happy I had a chance to leave my baking comfort zone this year (ahem, macarons) and incorporate several new recipes into this one cake to celebrate the holiday season and year's end. 2018 went by so quickly and we were blessed with so many new opportunities. I can't even begin to describe how much gratitude I have for all the blessings we received this year. Since the holiday season calls for me to finish the rest of my work and not sit here with tear-filled eyes (of joy), I shall put it all down in a later post. I wish you a very happy holiday season with your loved ones. For those who are waiting for their own little Christmas miracle, I'm sending you my thoughts and prayers.
XOXO,
Mimi
Recipe
Echanted Forest Christmas Yule Log Cake Made with Japanese Cake Roll

A traditional yule log cake made modern by using a light and fluffy Japanese chocolate chiffon cake as base. Whimsical touches like meringue mushrooms and Totoro Cream puffs complete this enchanted forest theme.
Ingredients
Meringue Mushroom Ingredients
- 135 grams castor sugar*
- 60 grams egg whites (room temperature)
- ⅛ teaspoon cream of tartar
- ⅛ teaspoon pure vanilla extract
- Red gel colour
Chocolate Chiffon Yule Log Cake Ingredients
- 50 ml whole fat milk
- 5 teaspoon Dutch processed cocoa powder (ex. Fry's Cocoa Powder)
- 20 grams granulated sugar
- 45 grams cake flour
- ¼ teaspoon baking soda
- ½ teaspoon cream of tartar (see substitutions in notes)
- ¼ teaspoon salt
- 3 egg yolks
- 40 ml vegetable oil (ex. canola)
- ½ teaspoon vanilla extract
- 4 egg whites
- 50 grams granulated sugar
- ¼ teaspoon cream of tartar
Light and Airy Chocolate Whipped Cream for Frosting
- 190 ml heavy cream***
- 80 grams semi-sweet chocolate
Light Chantilly Cream for Filling
- 350 grams heavy cream***
- 45 grams powdered sugar
Instructions
Totoro Cream Puff Instructions:
- Make Totoro Cream Puffs using this recipe. Shells can be frozen in advance. Please see tutorial.
Meringue Mushroom Instructions:
- Set egg whites out at room temperature.
- When the egg whites comes to room temperature, whip on low speed. Once it begins to foam, add cream of tartar.
- Increase speed to medium.
- Continue whipping until egg whites become opaque and the whisks starts to leave tracks inside the whites.
- Add the sugar a little at a time until fully incorporated.
- Add vanilla extract and incorporate.
- Continue to whip on med-high speed until stiff peaks are reached.**
- Transfer half of the uncolored meringue to a piping bag fitted with a ½" round tip (ex. Atecco #805). Save a little to put in another piping bag with a smaller tip for piping the white dots onto the mushroom top.
- Color the remainder of the meringue with red GEL food coloring (ex. Americolor's Super Red). Transfer to a piping bag fitted with a ½" round tip.
- Place parchment paper or Silpat mats onto baking tray. If using paper, dab a bit of meringue onto the bottom of the paper and stick it to the pan to prevent it from shuffling around as you pipe.
- Pre-heat oven to 200F.
- With the white meringue, pipe the stems of the mushroom by holding the piping tip upright while applying even pressure. After reaching ¾" in height, release pressure and pull away quickly to stop piping. There will be a pointed peak on the stem, this can be cut away after baking.
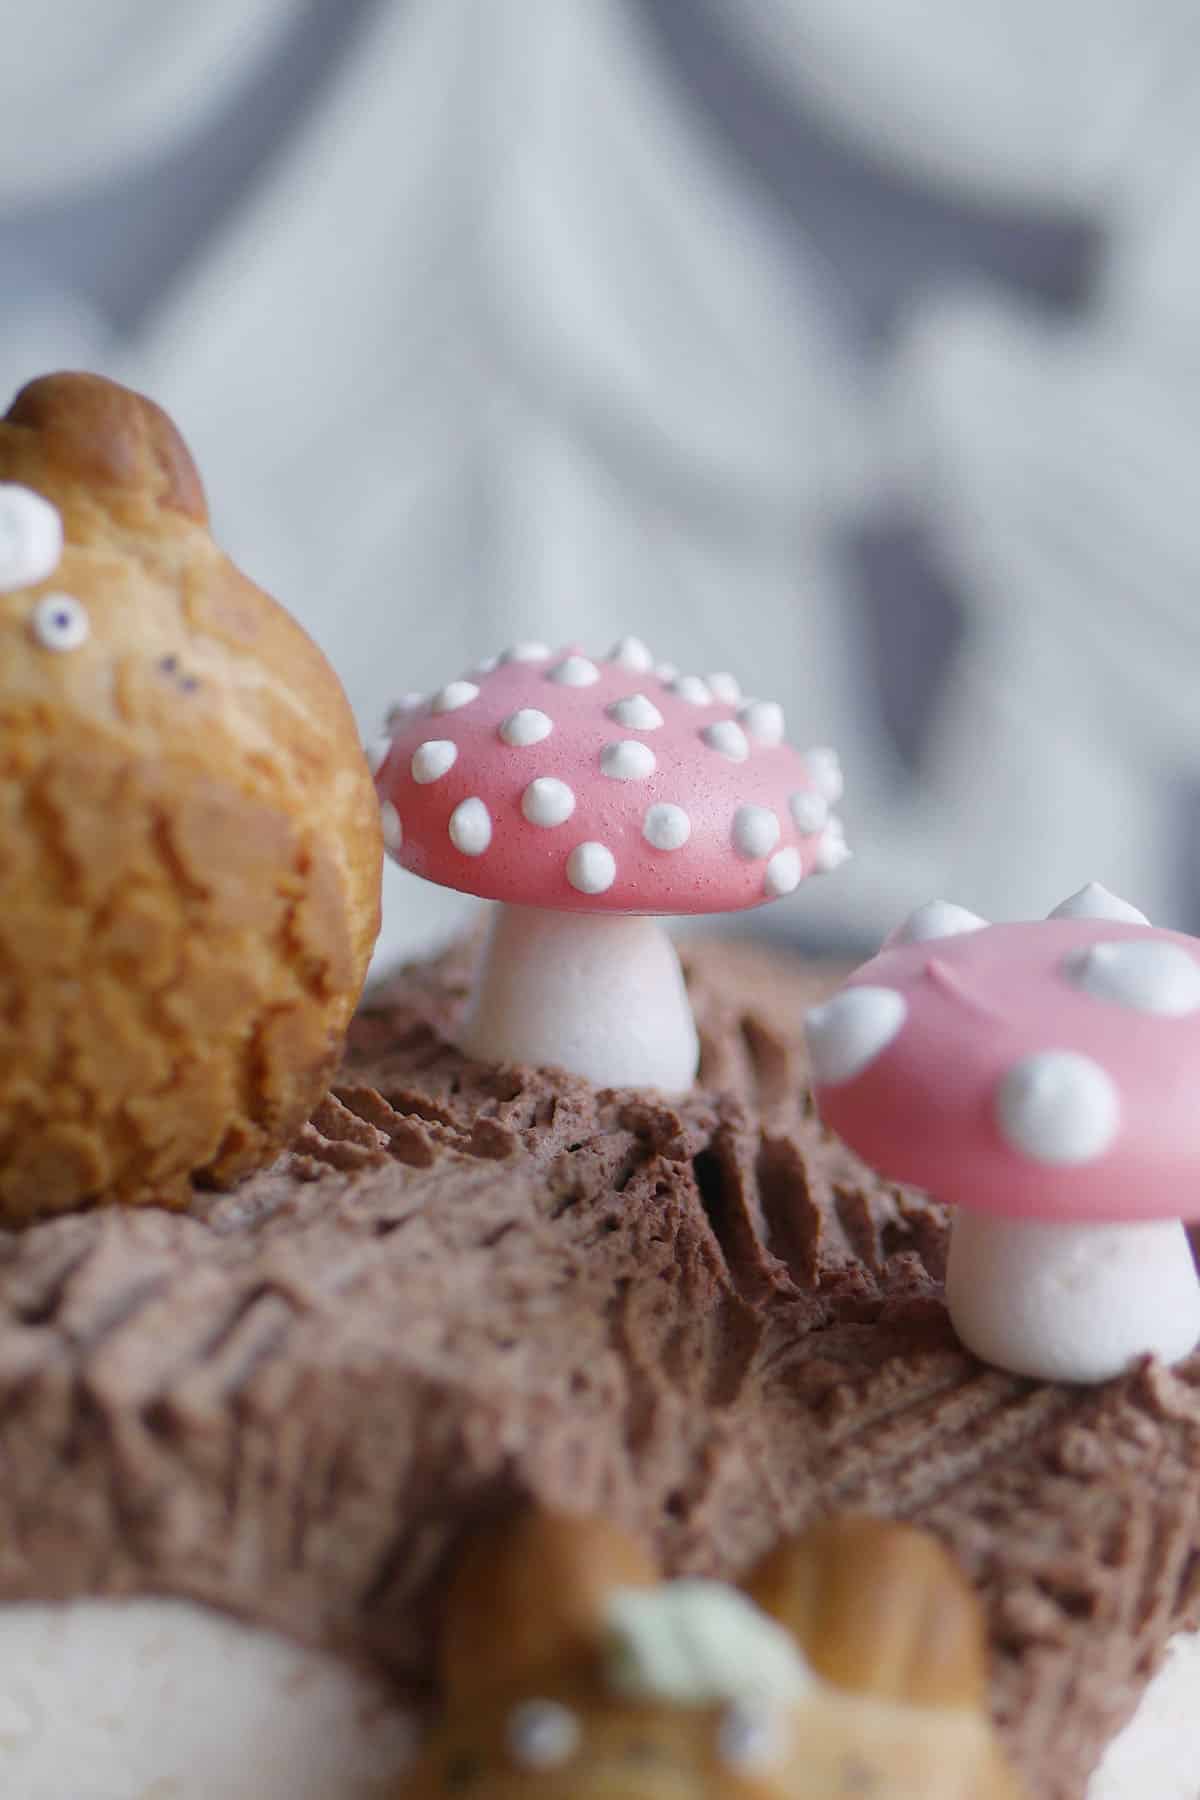
- With the red meringue, pipe the caps by allowing the meringue to flatten out into a 1" circle as you pipe. Release pressure and use a swirling motion to stop piping to prevent pointed tips.
- Use the reserve white meringue in a bag with a small piping tip (ex. round #5) to pipe small white dots onto the mushroom caps.
- Bake for 1 hour at 200F. Do not open the doors while baking.
- Meringues are fully baked when they can be pulled cleanly away from the mat without sticking.
- Turn off the oven. Leave meringues inside with the door ajar for at least 2 hours or overnight.
- Once meringues have dried, cut off the peaks of the mushroom stems to create a flat surface for applying the mushroom cap.
- Use some royal icing or melted chocolate to glue the two together.
Chocolate Chiffon Yule Log Cake Instructions:
- Line a 8 X 12" rectangular cake pan with parchment paper.
- In a small sauce pan, heat the milk and cocoa powder on medium heat until powder is fully dissolved. Do not let the milk come to a boil. Keep stirring continuously while breaking down big clumps of powder. Once fully dissolved, set chocolate milk mixture aside to cool.
- Preheat oven to 325F.
- In a large mixing bowl, add in sugar, baking soda, cream of tartar and salt. Sift in cake flour, stir to combine.
- Create a well in the center. Inside it, add yolks, oil, vanilla extract and chocolate milk mixture.
- Stir to combine until fully incorporated, do not over mix. Set this chocolate-flour mixture aside.
- In a clean and dry, non-plastic mixing bowl, whip egg whites on slow speed until frothy, add cream of tartar. (Note 1)
- Increase speed to medium, once the whites become opaque and bubble size have tightened up, add sugar a little bit at a time.
- Increase speed to med-high, whip until stiff peaks. You've now made a meringue. (Note 2)
- Gently fold ⅓ of the meringue into the chocolate-flour mixture to get it moving. Once incorporated, fold in the rest of the meringue. Do not stir. Use batter immediately.
- Dab a bit of the batter onto the sides of the parchment paper to keep corners together. Dab a little more onto the paper and stick it to the pan to prevent the parchment paper from tipping over into the cake batter.
- Pour into lined cake pan from one spot, spread out the batter evenly with an angled spatula.
- Tap the pan on the counter to release large air pockets.
- Bake for 14-16 min. at 325F until a skewer pulls out clean and cake springs back in the center.
- Let cool 5 min. in the pan before removing.
- Place cooling rack over cake pan.
- Flip cake over onto the rack, gently remove paper.
- The side facing up will eventually become the top of the cake roll. Let it sit on cooling rack for 5 min.
- Place a piece of new parchment paper on top
- Flip the cake over and start rolling, allowing the parchment paper to be in between the folds. This will prevent the cake from sticking to itself. It's important to roll the cake before it cools completely, otherwise, it will crack while rolling.
- Let it cool in this wrapped condition while making the chocolate whipped cream.
Light and Airy Chocolate Whipped Cream Frosting Instructions:
- Place a mixing bowl and beaters in the freezer to chill. It will help the cream whip better.
- Chop up chocolate into small pieces.
- Place chocolate in a small pot along with the cream.
- Heat over medium heat until chocolate is fully melted. Do not bring to a boil.
- Let cool to room temperature then place in the fridge to chill. Check on it every 10-15 minutes and give it a gentle stir. It should be chilled before whipping but do not let it cool for too long as it will become too stiff to whip.
- Place the chocolate and cream mixture in the chilled mixing bowl, then beat on low speed and slowly increasing to medium. Stop when it start to get stiff. Do not over whip.
Light Chantilly Cream Filling Instructions:
- Chill mixing bowl and beaters in the freezer. This will help whipped cream whip up better.
- Whip heavy cream on low speed and then increase to medium. Once the beaters leave tracks in the cream, add the powdered sugar.
- Whip on med-high until stiff peaks are reached.** The cream will turn from glossy to matte. Do not over whip.
Assembly:
- Very carefully unroll the cake.
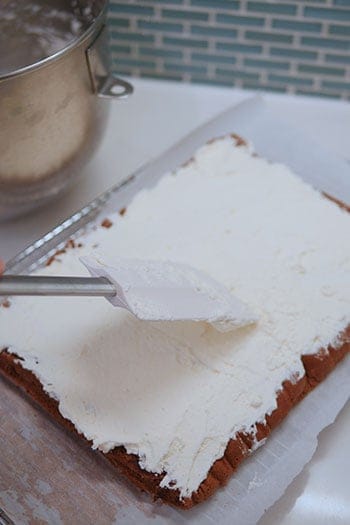
- Gently add one even layer of the Chantilly cream filling onto the unrolled cake.

- Very gently roll the cake back up using the parchment paper to help push the cake onto itself. This will help prevent cracking. To further prevent cracks, add more cream along the short edge that is folded first and do not try to roll the cake too tightly. Cut off the sides before placing on a presentation plate.
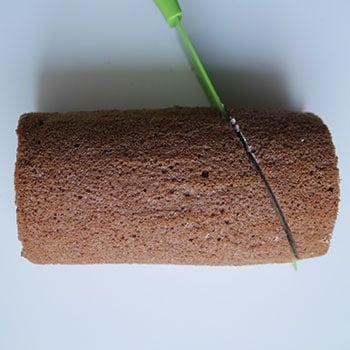
- Cut off one end of the cake on a diagonal.

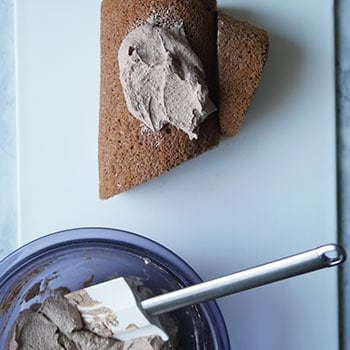
- Place it onto the side of the cake roll.
- Frost the cake with the chocolate whipped cream using an angled spatula.
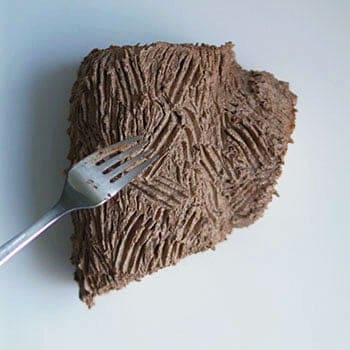
- Use a fork to create wood grain marks in the frosting.
- Place meringue mushrooms and Totoro Cream puff on top before serving. These elements will absorb some of the moisture from the frosting so use sparingly. Place the rest of the meringues and cream puffs off onto the side for guests to enjoy.
- Enjoy!
Notes
*Castor sugar is also known as 'fine granulated sugar' or 'berry sugar'. Can also be substituted with regular granulated sugar but castor sugar is preferable.
** Stiff peaks is characterized by egg whites that hold a stiff peak that stands upright without falling over when the whisk is pulled out of the egg whites. Additionally, the egg whites don't slip in the bowl when tipped upside down.
*** Can be substituted with whipping cream 33%. Heavy cream will produce a more stable whipped cream.


Chel says
I have made just the chocolate swiss roll (tailored to my family's tastes using less whipped cream filling, etc.) six times now, and this is an amazing recipe! My family loves it every time.
For anyone curious, I like to substitute 30ml of the milk with espresso. I also had no dutch processed cocoa, so I melted maybe 80-90g of a failed fudge recipe into the milk-espresso mixture, strained it into the egg yolk mixture, and it was delicious. Other than those accommodations made for my pantry, this recipe is lovely as is. Thank you for demystifying rolled cakes!
Mimi says
Thank you so much for sharing your experience and adaptations. It will help my readers a lot! I love how you tried adapting it. It sounds delicious. XOXO,
Mimi
Lyn says
Than you so my for sharing I will try this recipe for Christmas . I also enjoyed your video on Macroons
Mimi says
Lovely! I'm so happy to hear that! I am itching to make one again soon for this year's Xmas dinner.
Happy holidays!
Mimi