
First Laduree in Canada
I used to just dream about having a Laduree in my city and had looked up various ways to order Laduree macarons in Canada. After some research I discovered that not only were there no Canadian locations whatseover, there also seemed to be no official shipping service to Canada either.
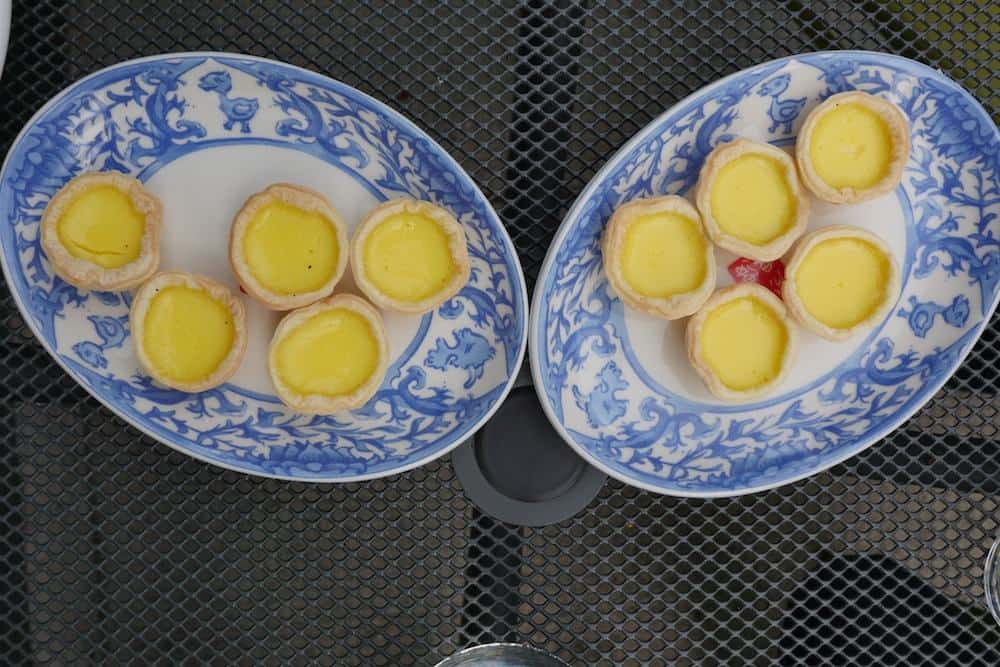
 Two years ago, I happened to be travelling to Hong Kong so I was excited to have an opportunity to finally taste Laduree macarons, even if it's not in it's birthplace, Paris. Blog post here. Then not long after, I heard the wonderful news that Laduree would be opening their first Canadian location and it would be right here in Vancouver!
Laduree Vancouver officially opened its doors in March last year and just this month they opened their second Vancouver location rightfully situated in the luxury department store Holt Renfrew.

What about the crowds?
The first few weeks of Laduree's opening in Vancouver drew big crowds and line ups that were hours long. On our visit last month, a Sunday, we did not have to contend with the huge crowds. Arriving at 1 pm, we were one of the first groups in the salon. The room was slowly filled up to near full capacity midway into the day and the gift shop experienced a short burst of frenzied activity while we were there. The servers told us that the day before (a Saturday) was much busier so keep that in mind if you're trying to avoid the crowds.

Delicious and Photogenic
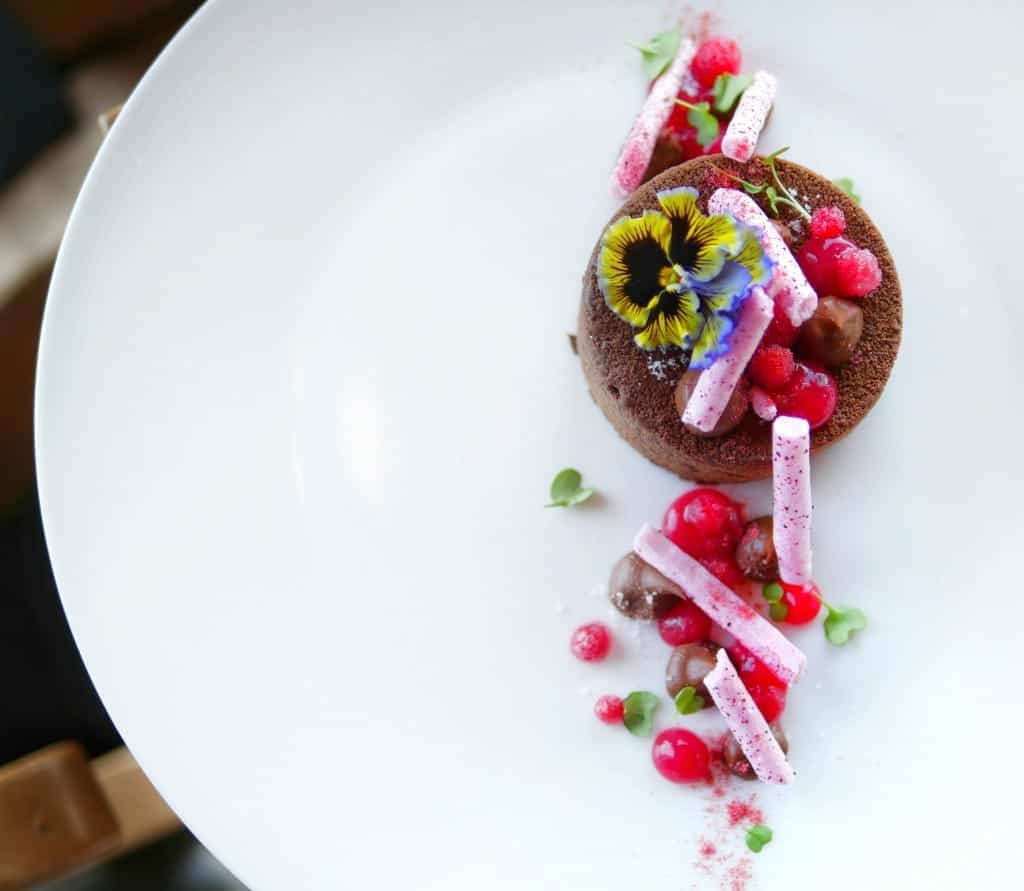
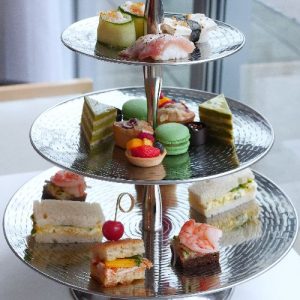
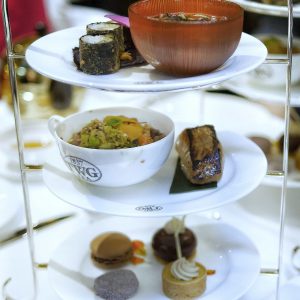
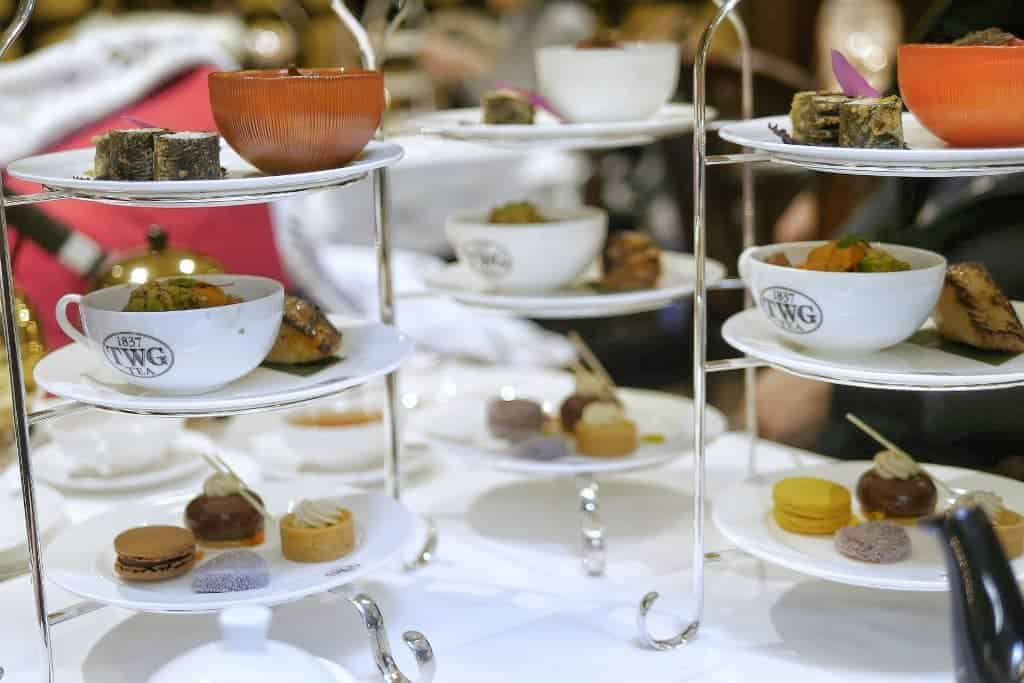
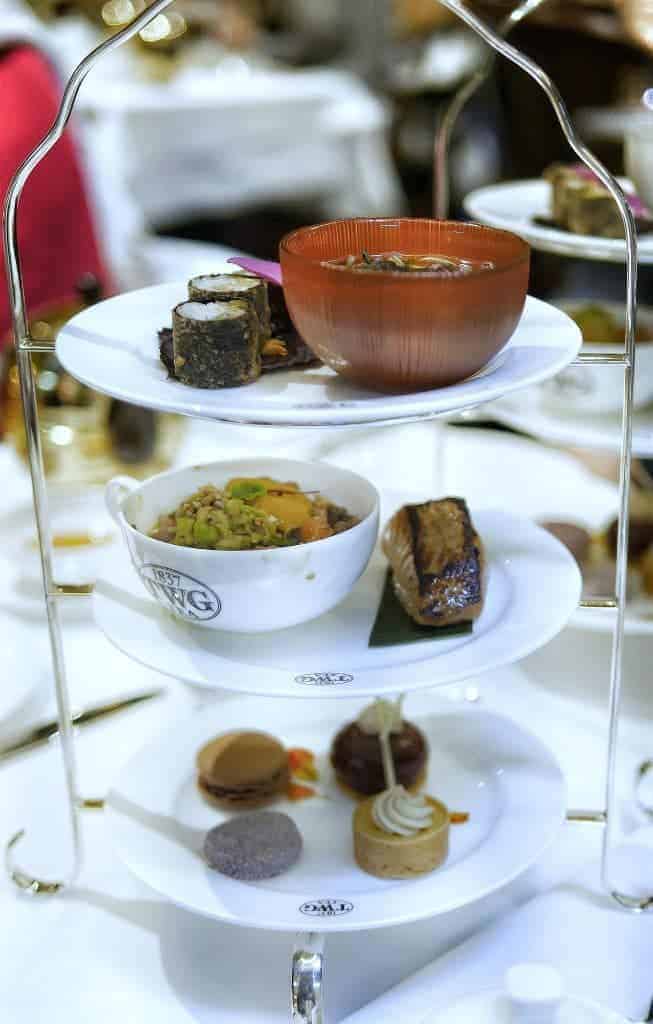
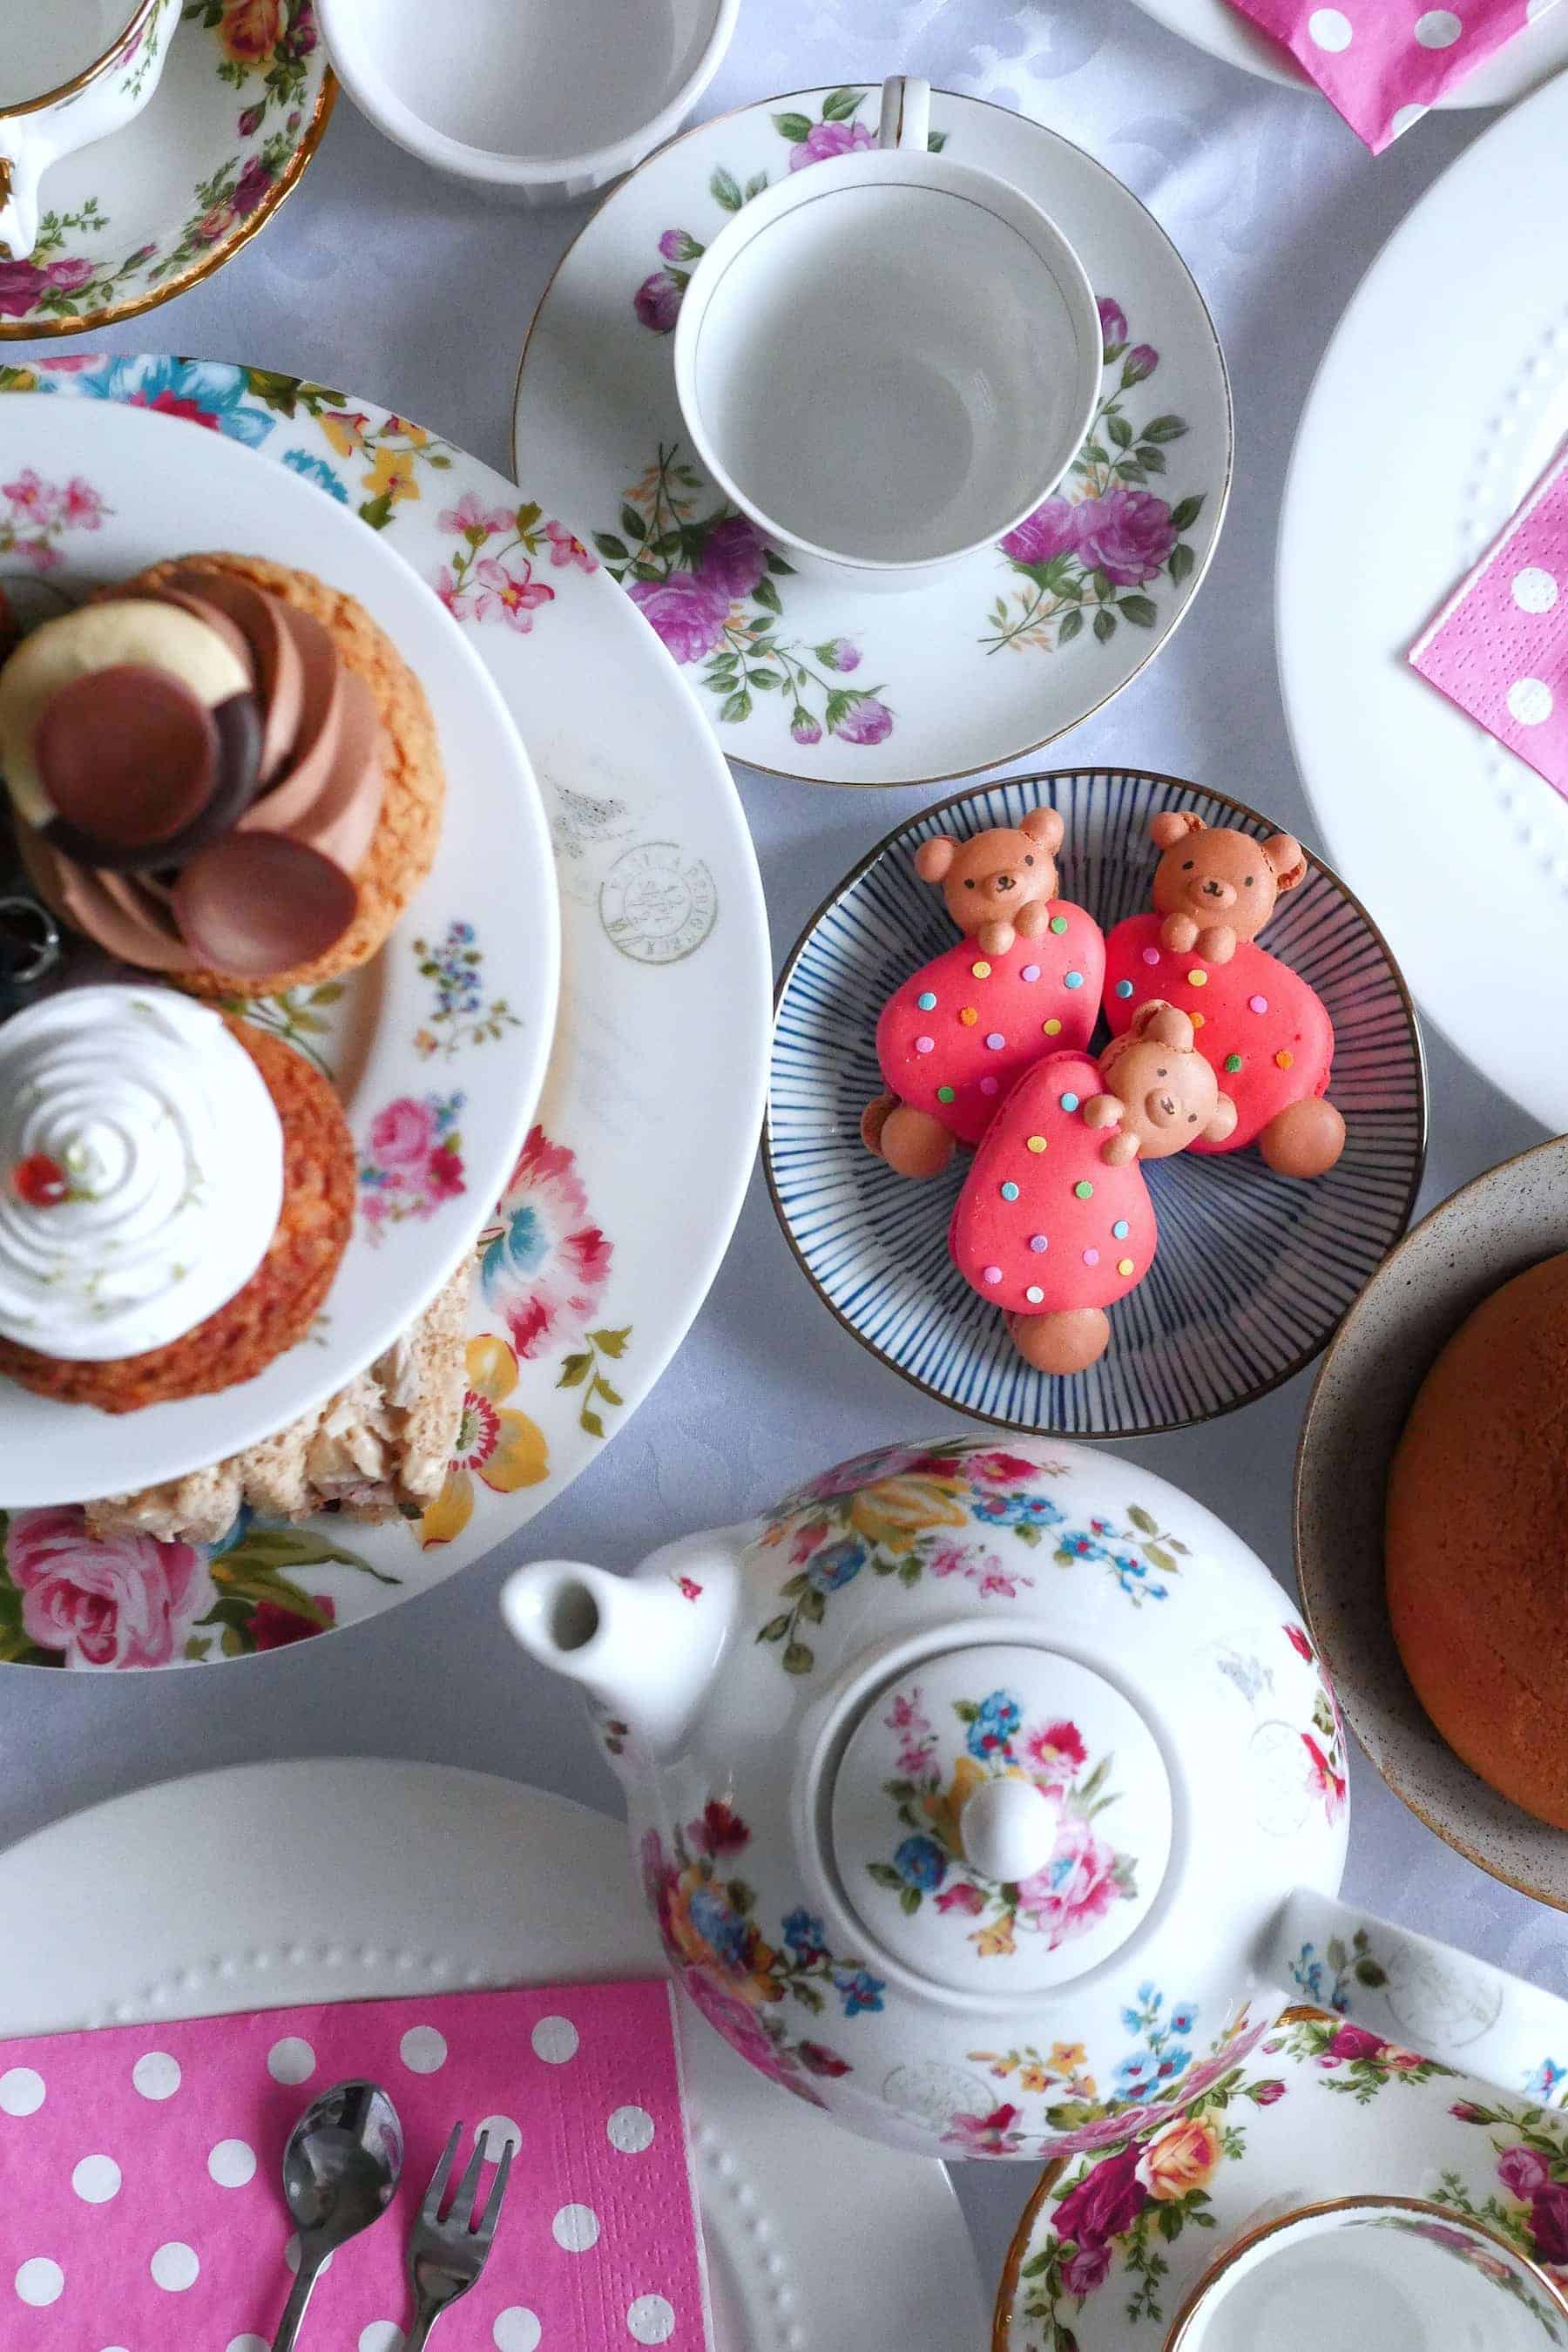
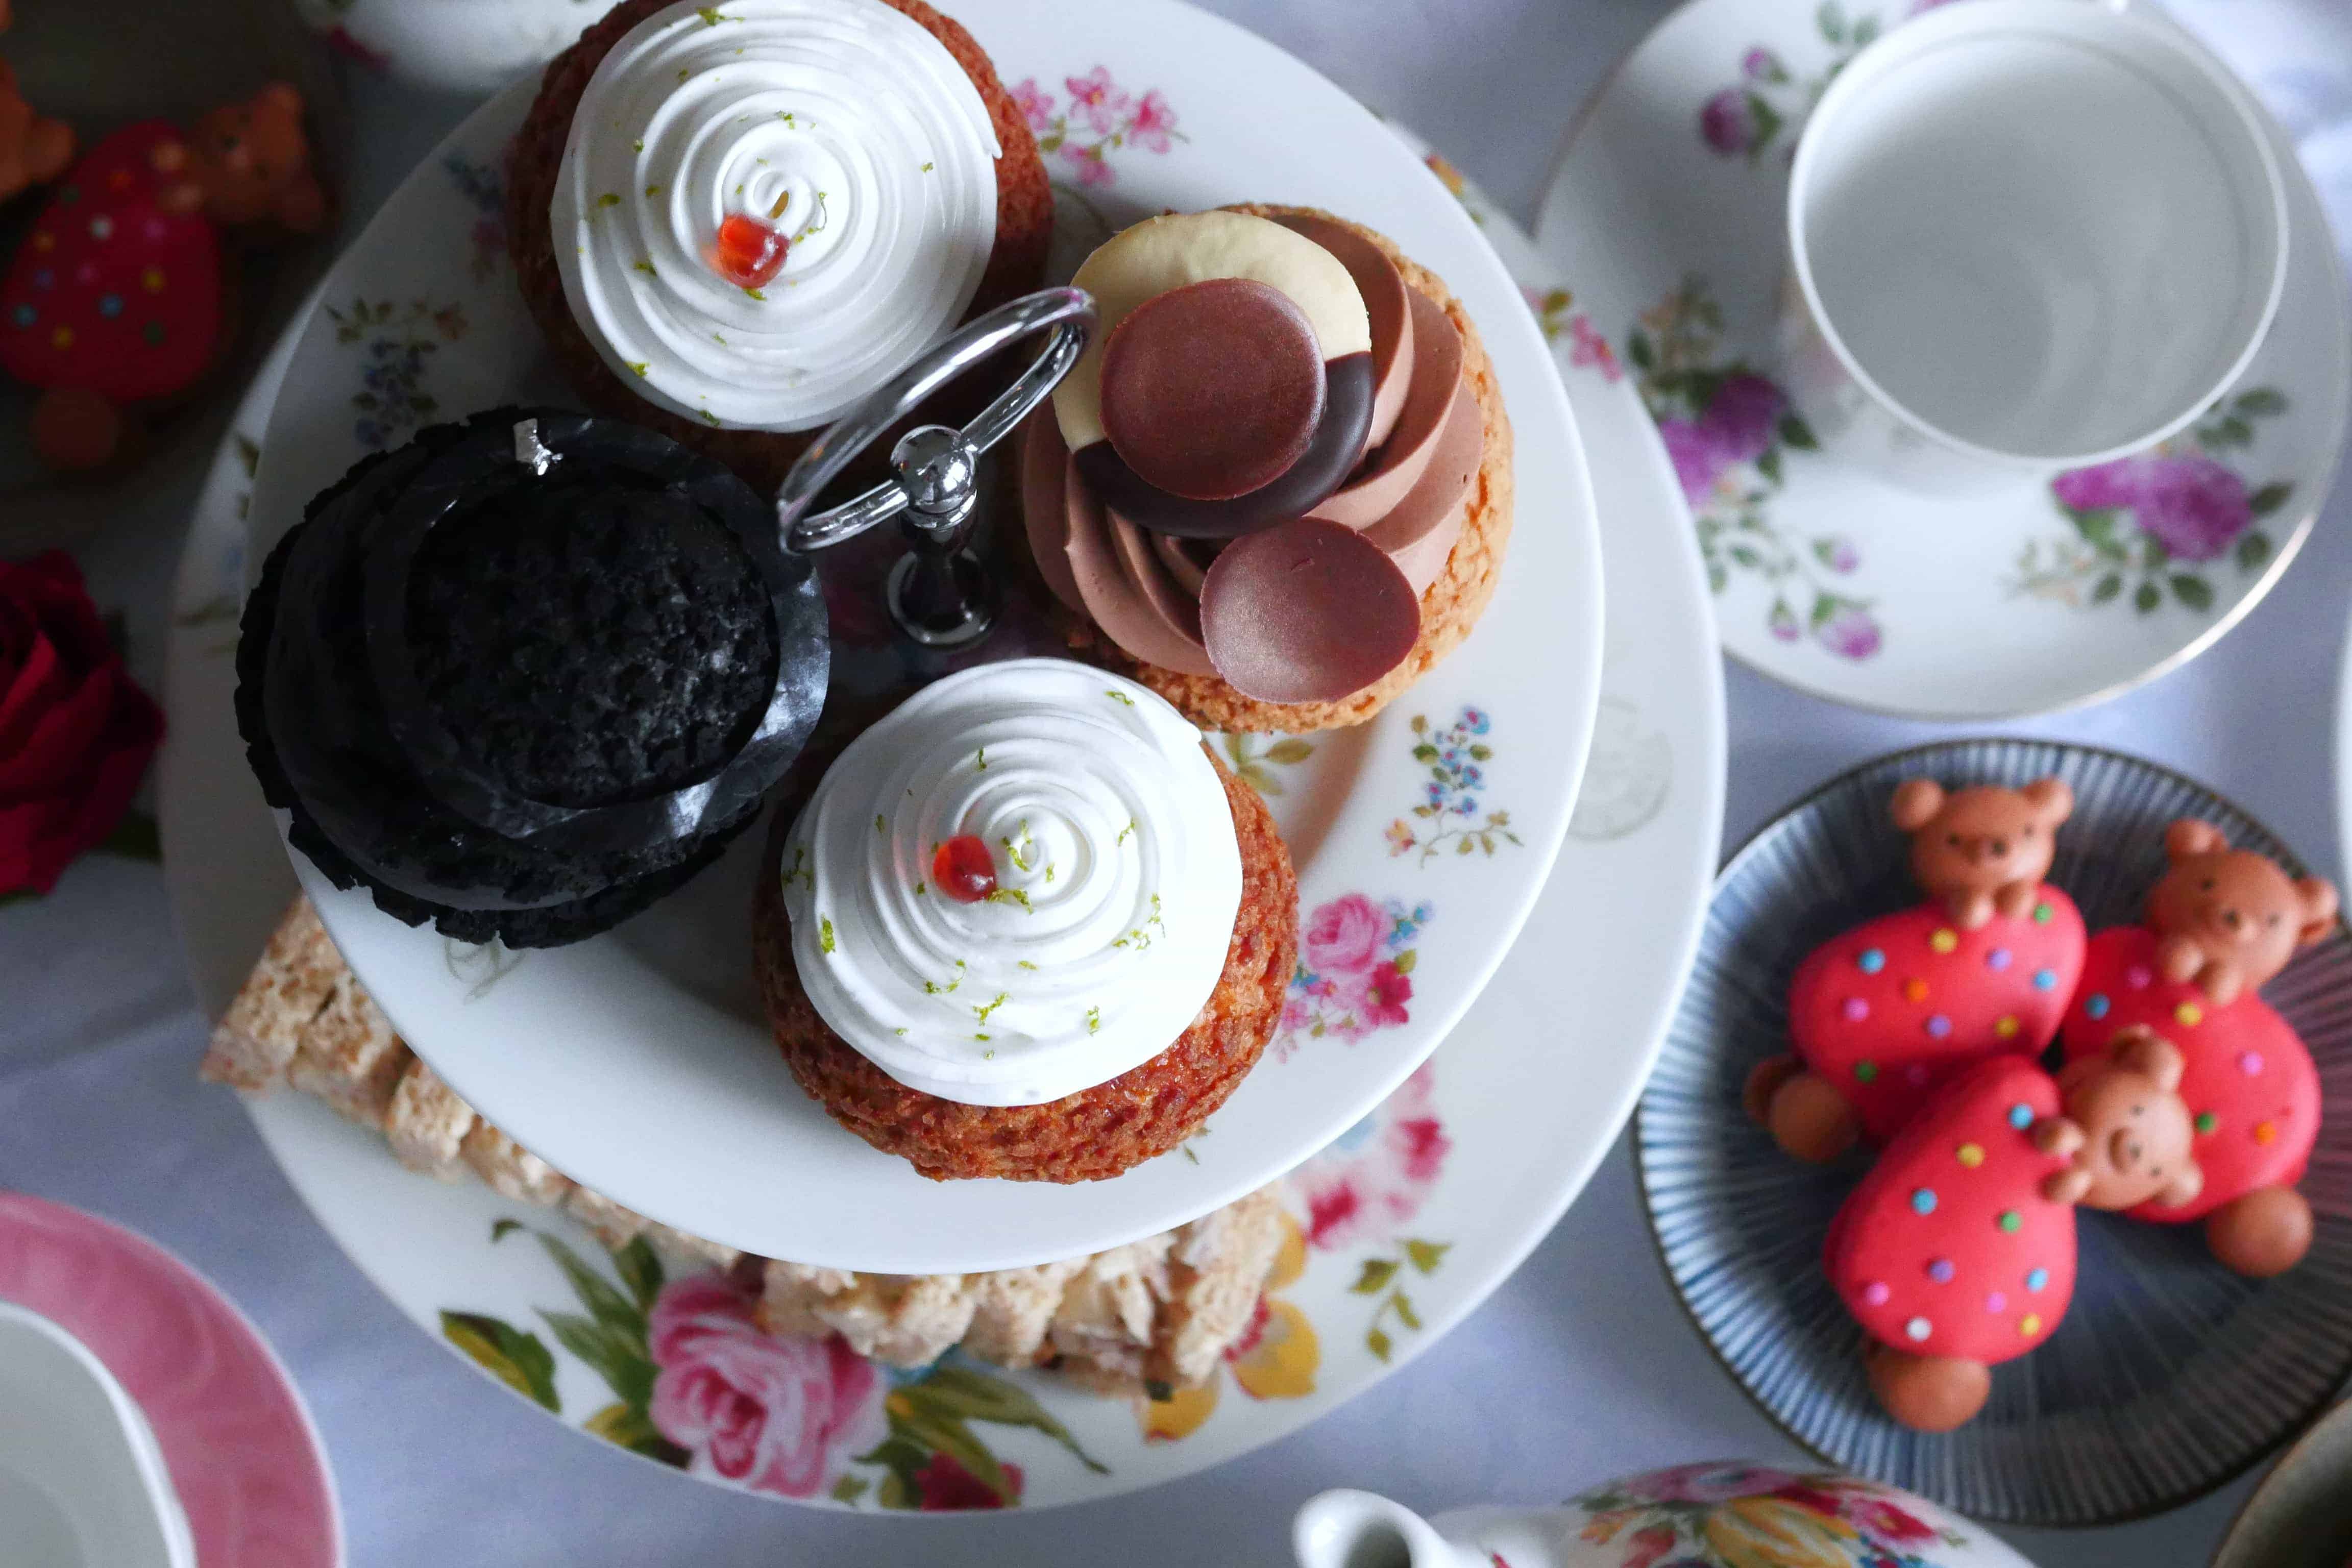
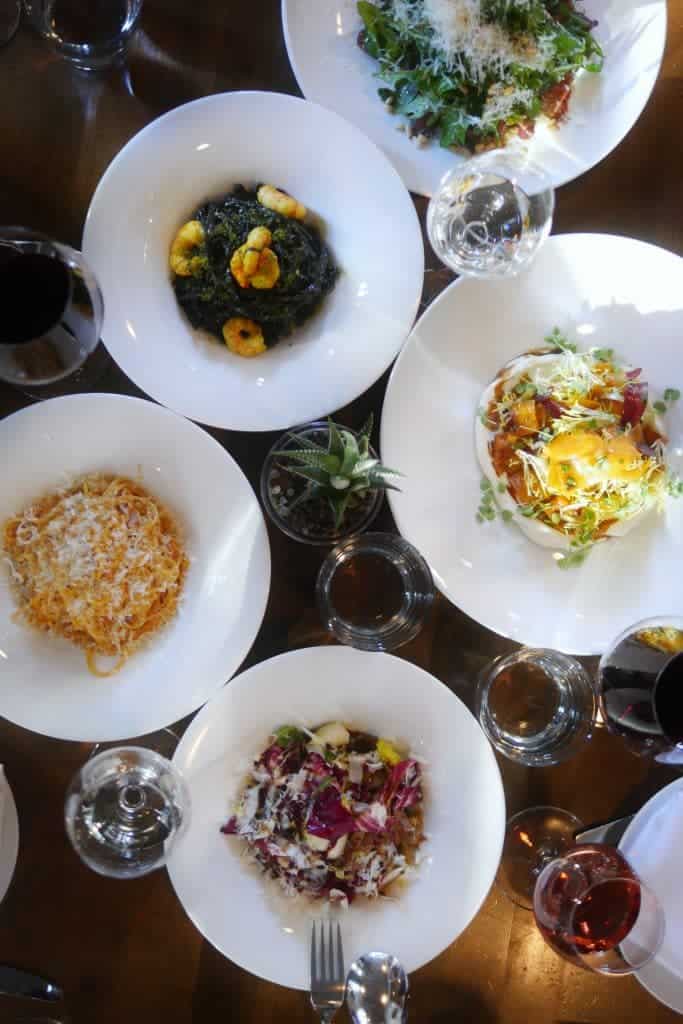
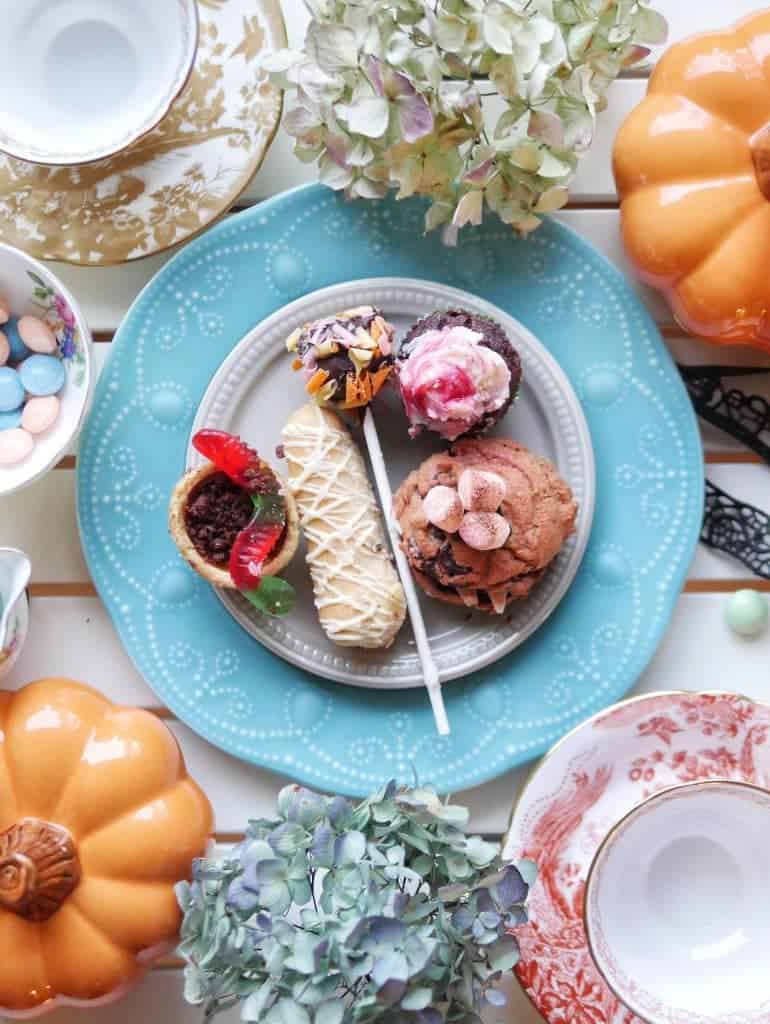
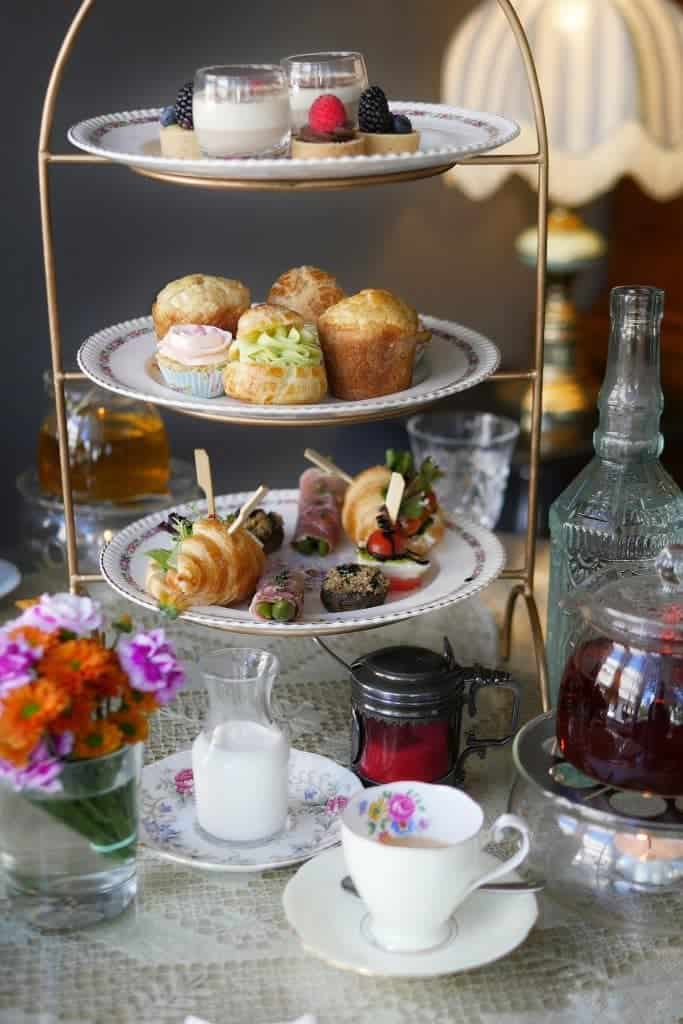
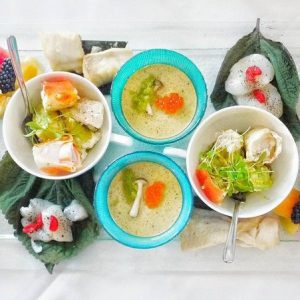
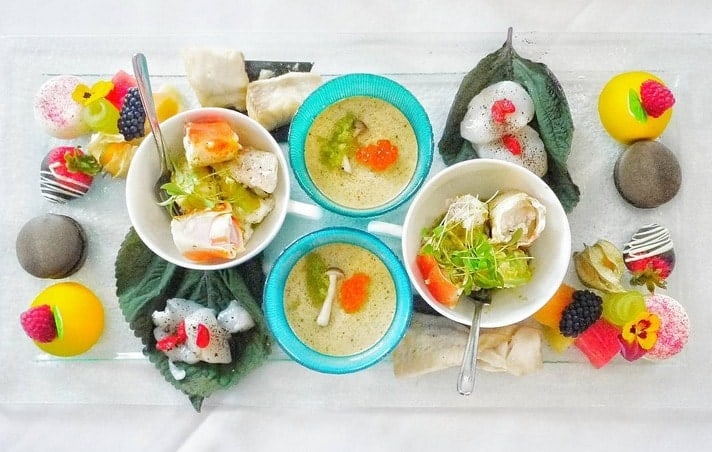
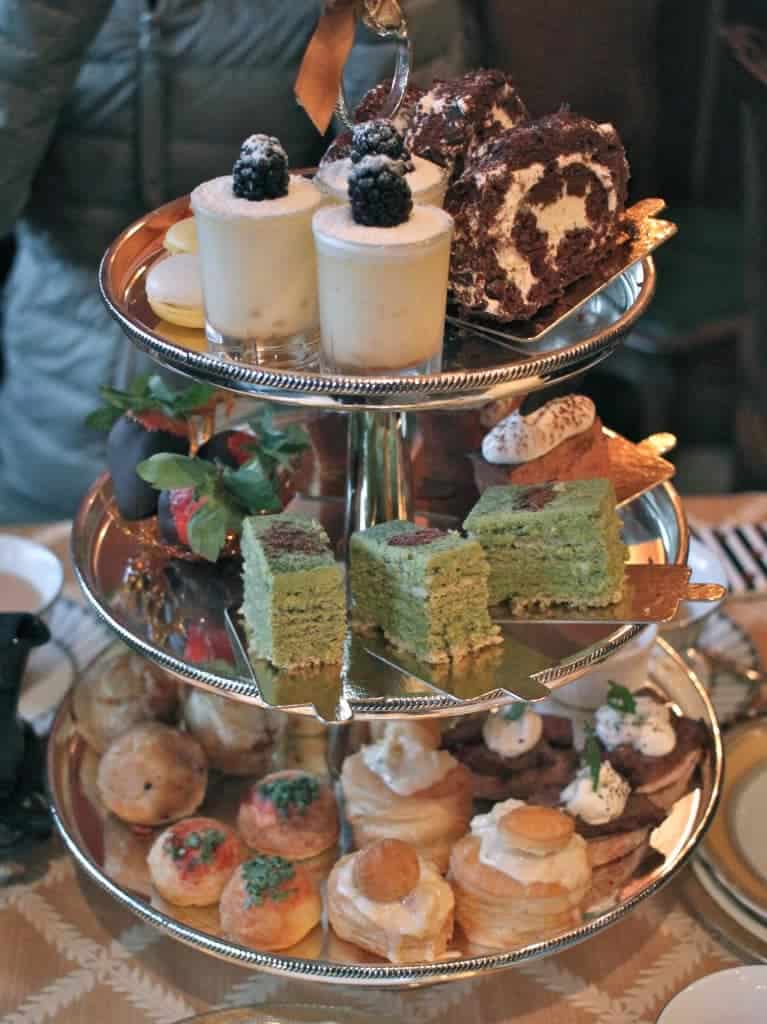
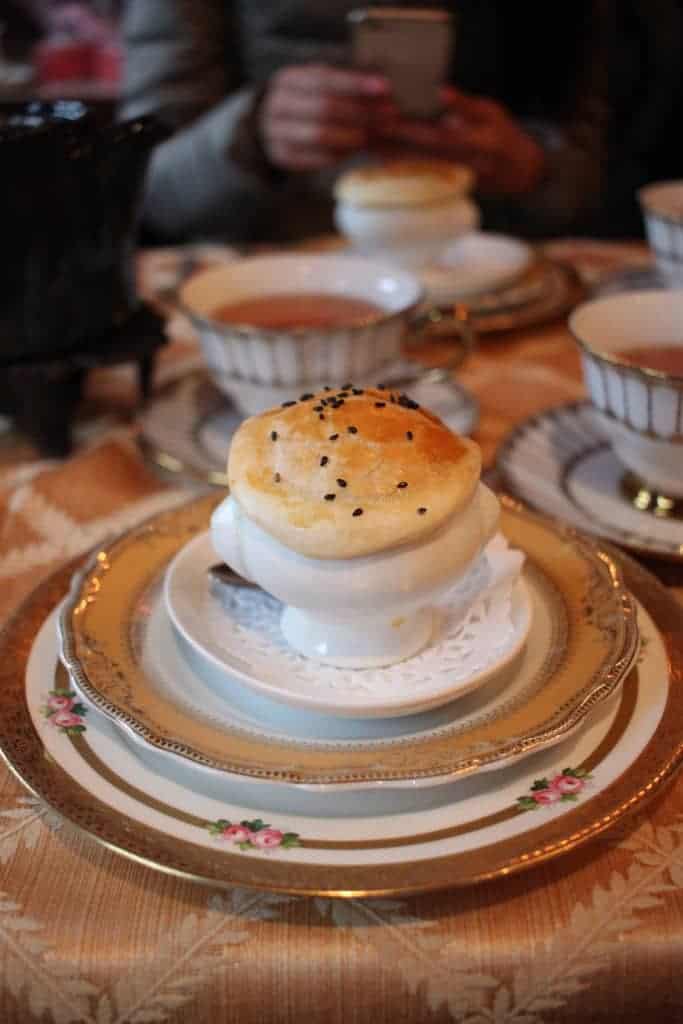
The most outstanding point of our tea experience was how all the food exceeded our expectations. Besides being incredibly photogenic, it also tasted delicious. All the sweets were incredibly flavorful and had the proper consistency and texture.
 What about the macarons?
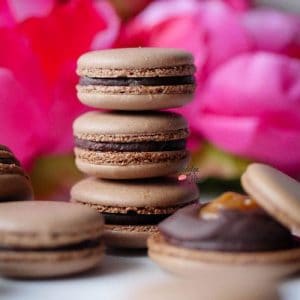
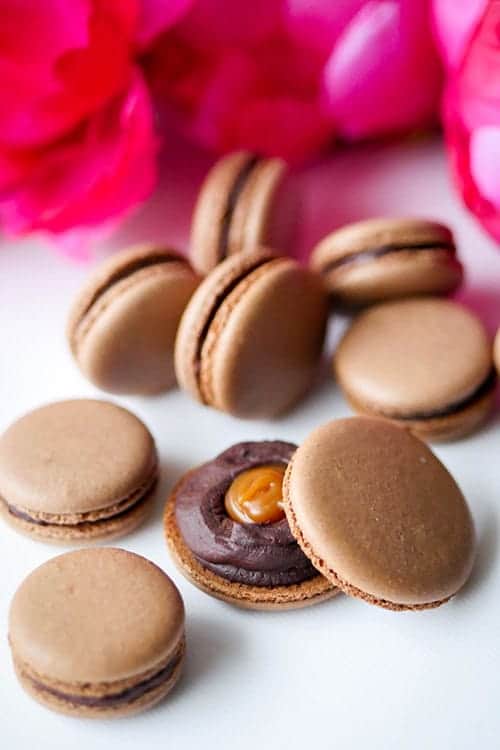
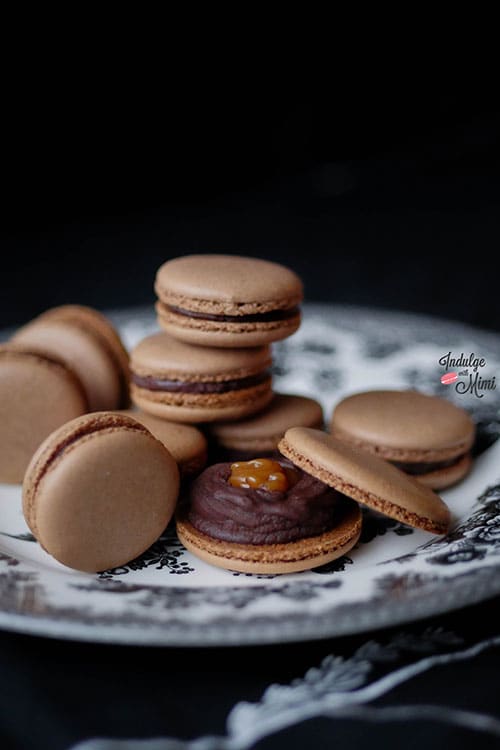
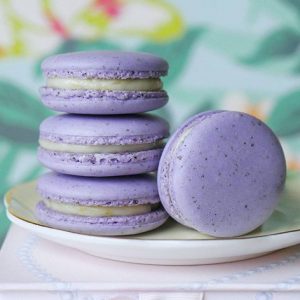
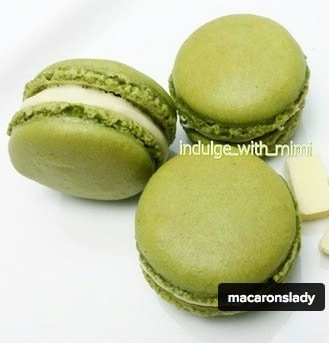
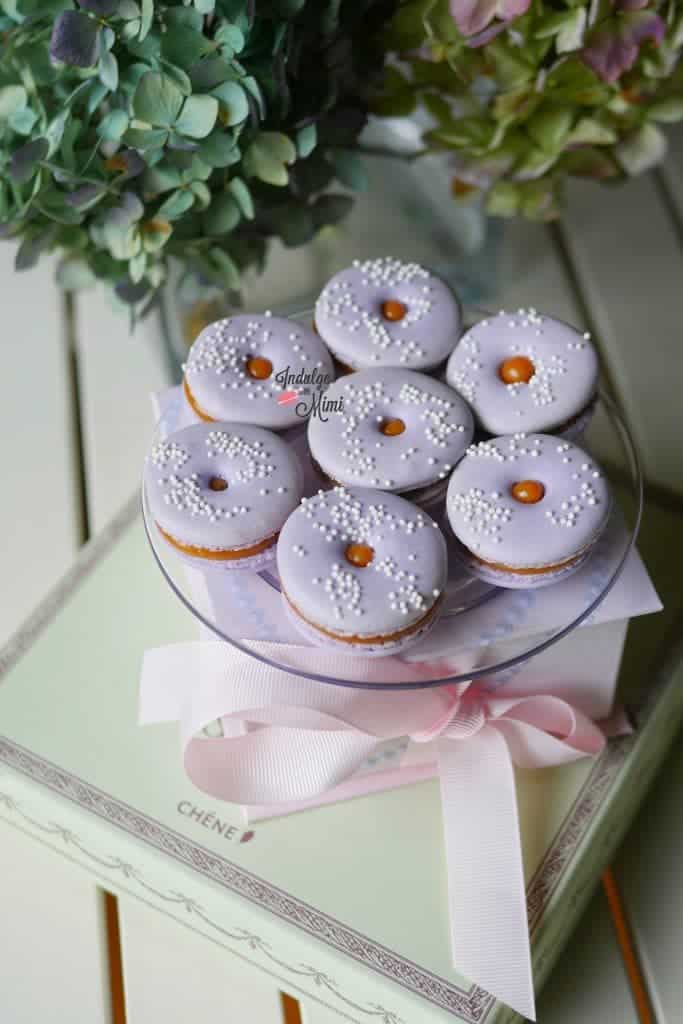
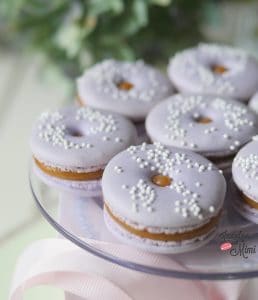
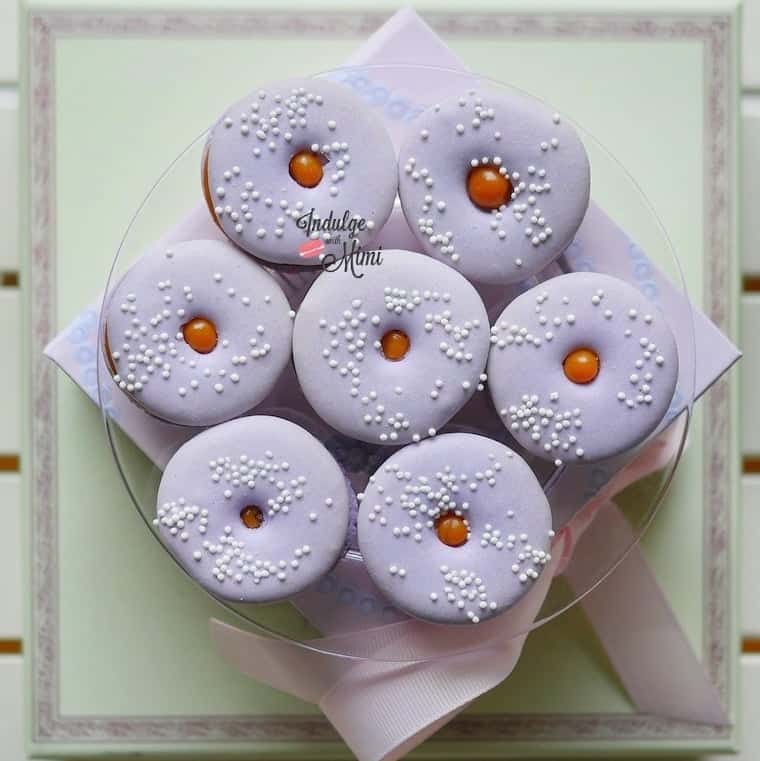
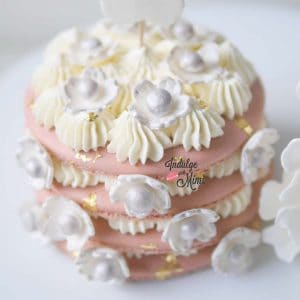
The macarons were also everything you'd imagine world famous Laduree macarons to be - a crispy egg shell like crust with a slightly chewy interior. It wasn't soggy or crispy - just right in the consistency department. The fillings were also loaded with flavour. And this is all after surviving a plane ride from France where they were originally made, flash frozened and shipped to all their locations around the globe. We were told by our server that the Vancouver location happens to receive two shipments a week. I think this is a great way to preserve a sense of consistency with their core product.
The Menu
The menu offers a respectable selection of sweets and a smaller list of savouries. There are lots of options for little sweet bites, making it easy for you to drop in for a quick pot of tea and a small treat. I know that is something I will not hesitate to do the next time I need a little break while on Robson street.
I can't say enough how much I love everything that is Laduree and this experience made an even bigger fan of me. I will be revisiting again very soon.
Until next time.
XOXO,
Mimi
❤ OTHER NOTES:
Notable Points:
- Parisian sweetness right in Vancouver!
- Photogenic teaware
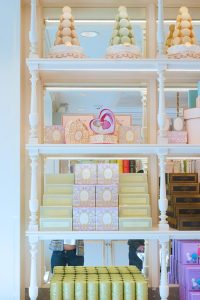
- Mesmerizing gift shop
- Laduree macarons!
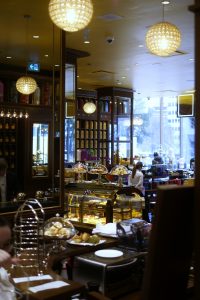
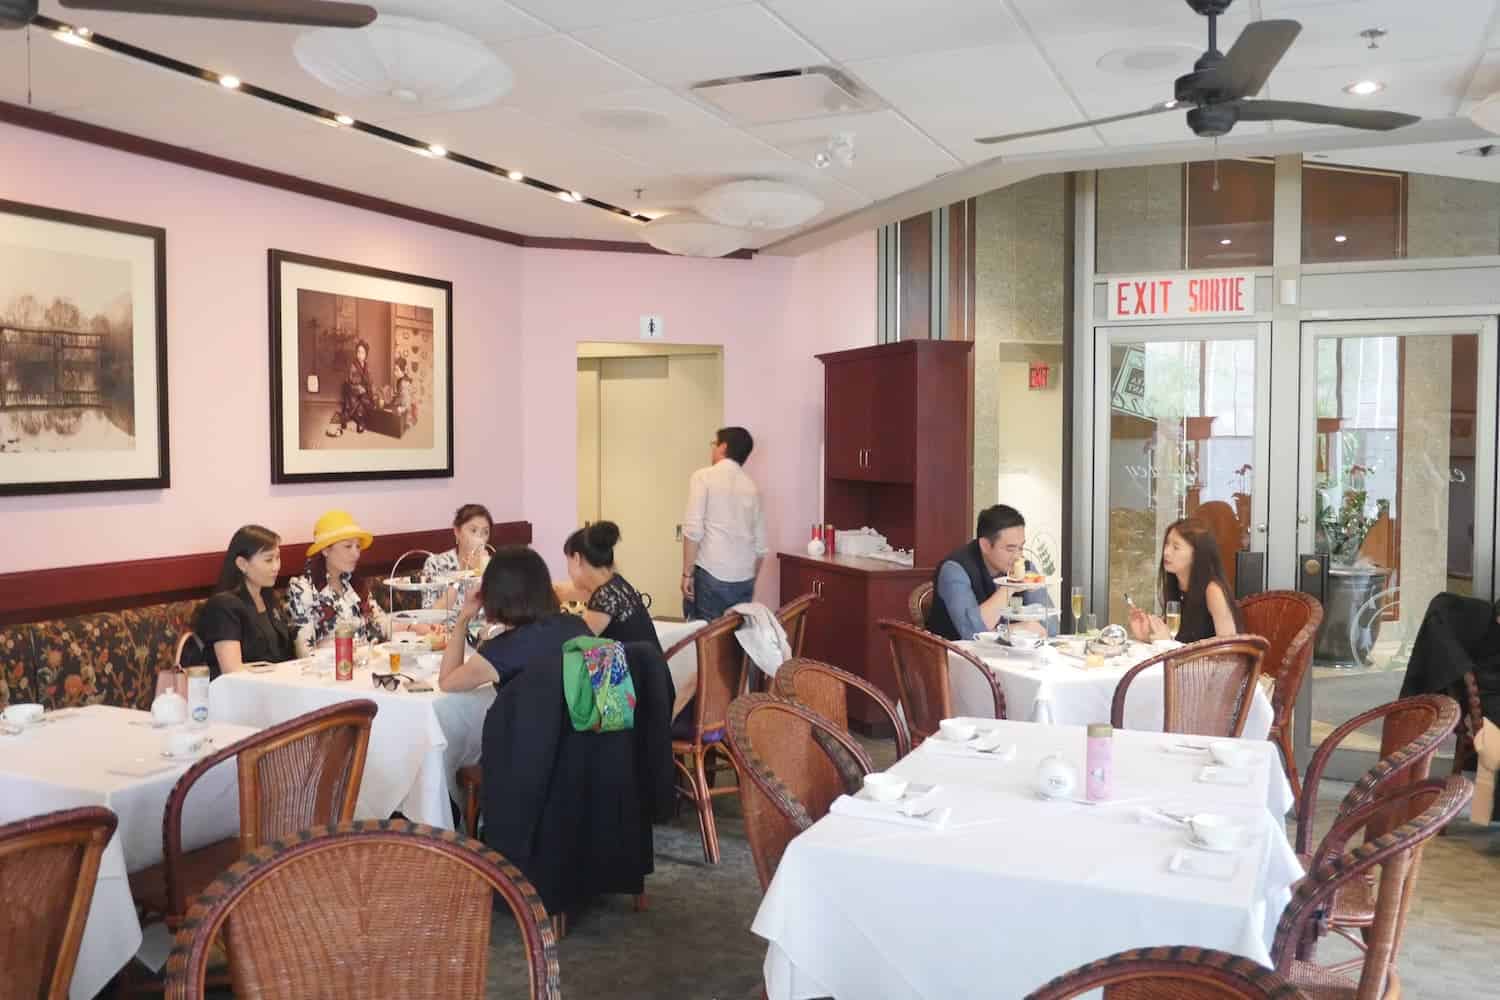
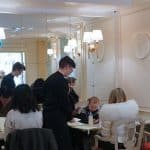 Ambience: Dreamy Parisian tea salon that's colorful, elegant and feminine without being overly cute. Floral wall papered walls, white furnishings and photogenic marble tables. There is a brightly lit gift shop that is street facing. The approximately 20 seat tea salon is located at the back and in comparison, it is a bit underwhelming due to the absence of natural light since it is windowless.
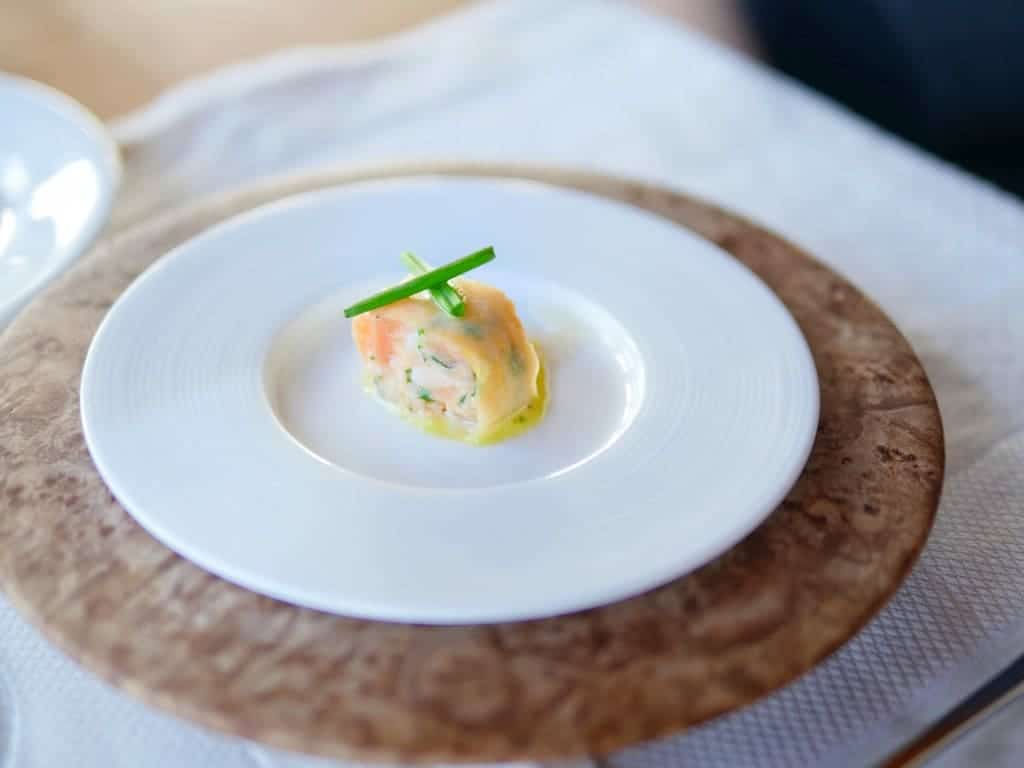
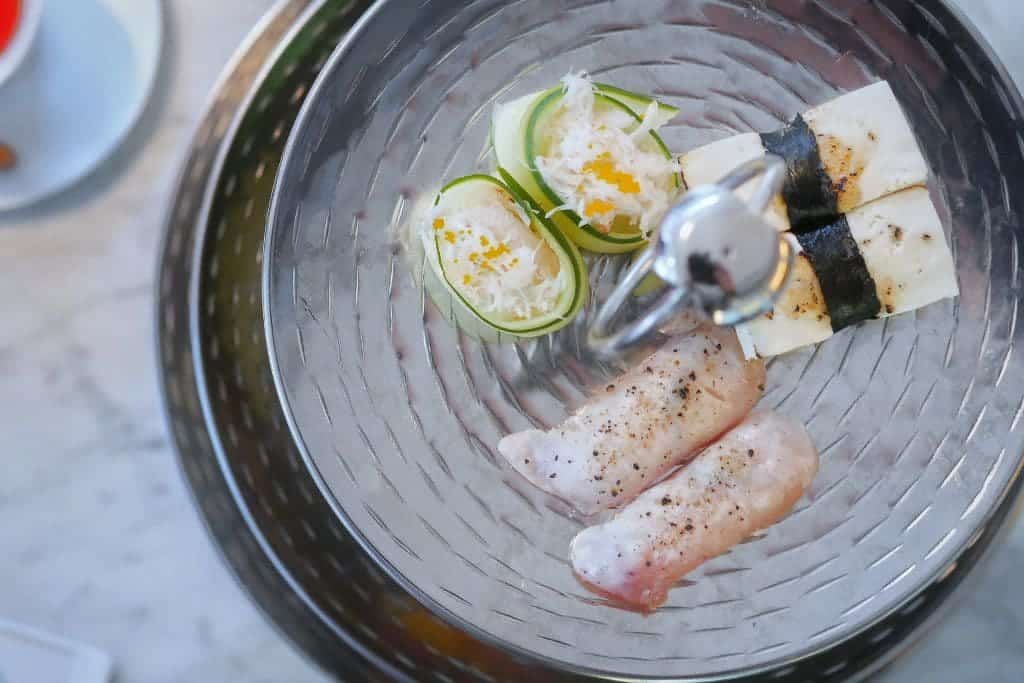
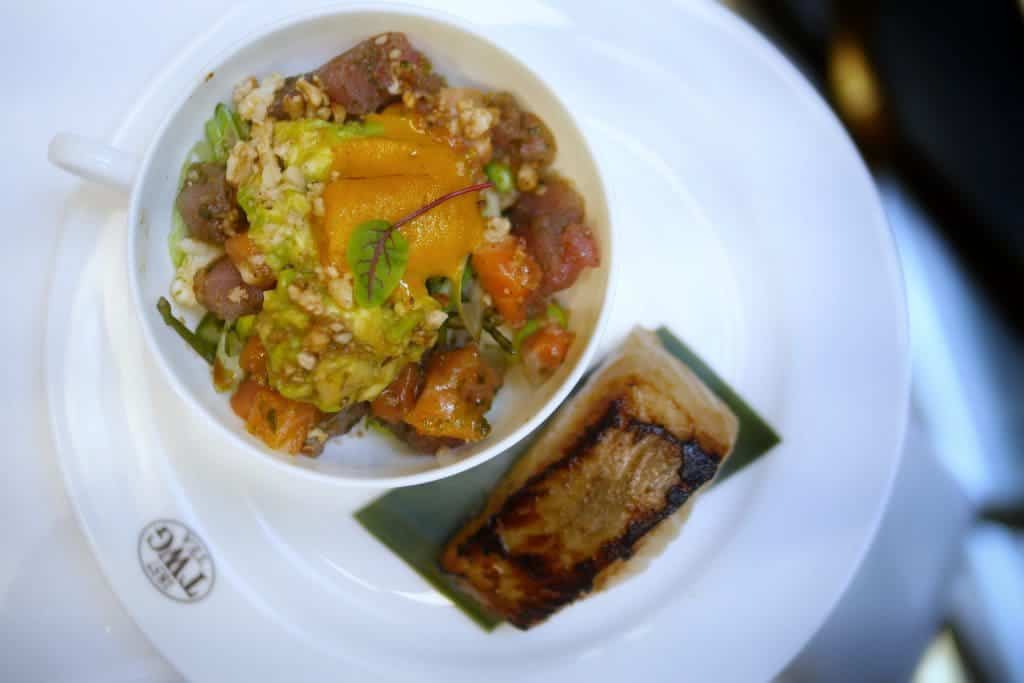
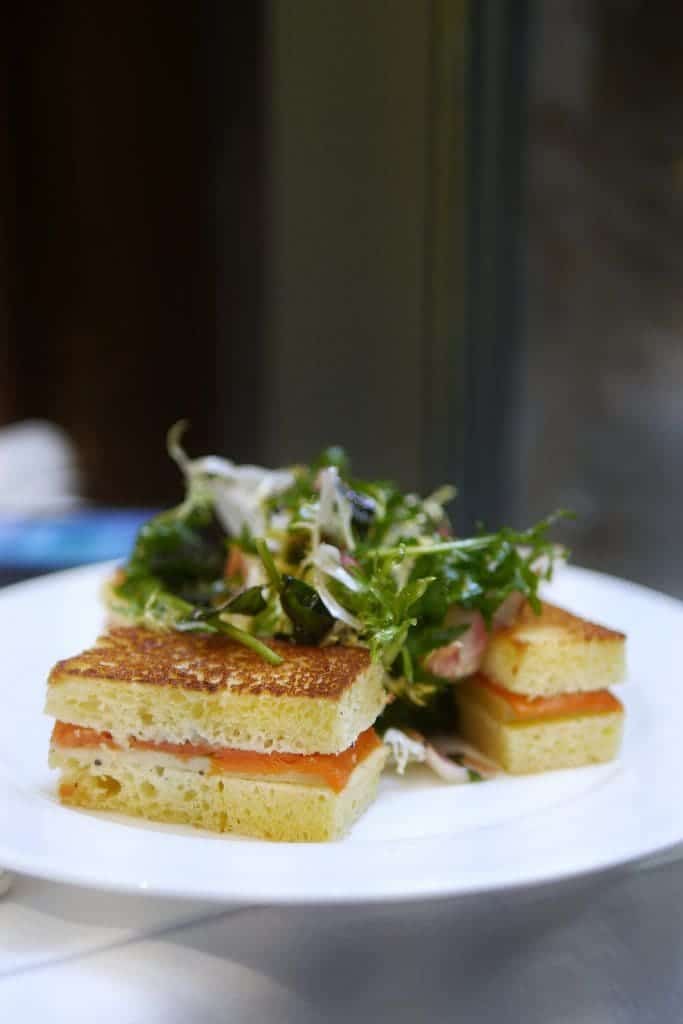
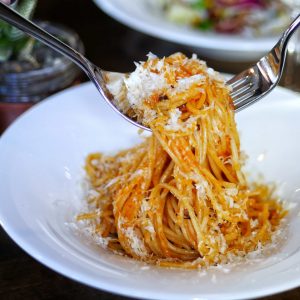
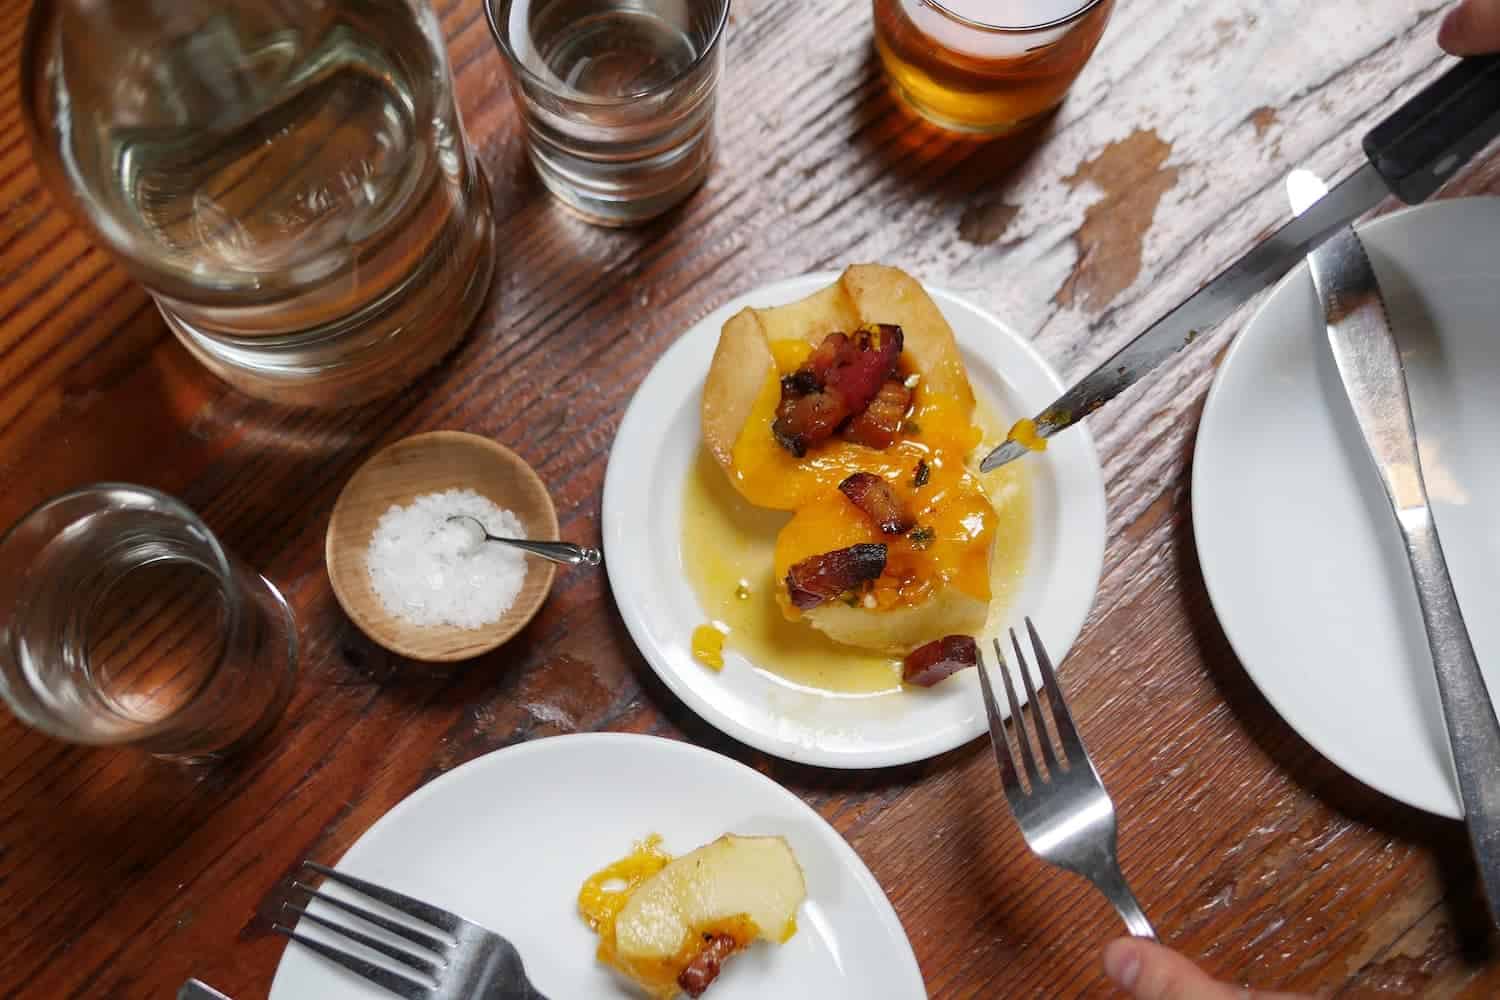
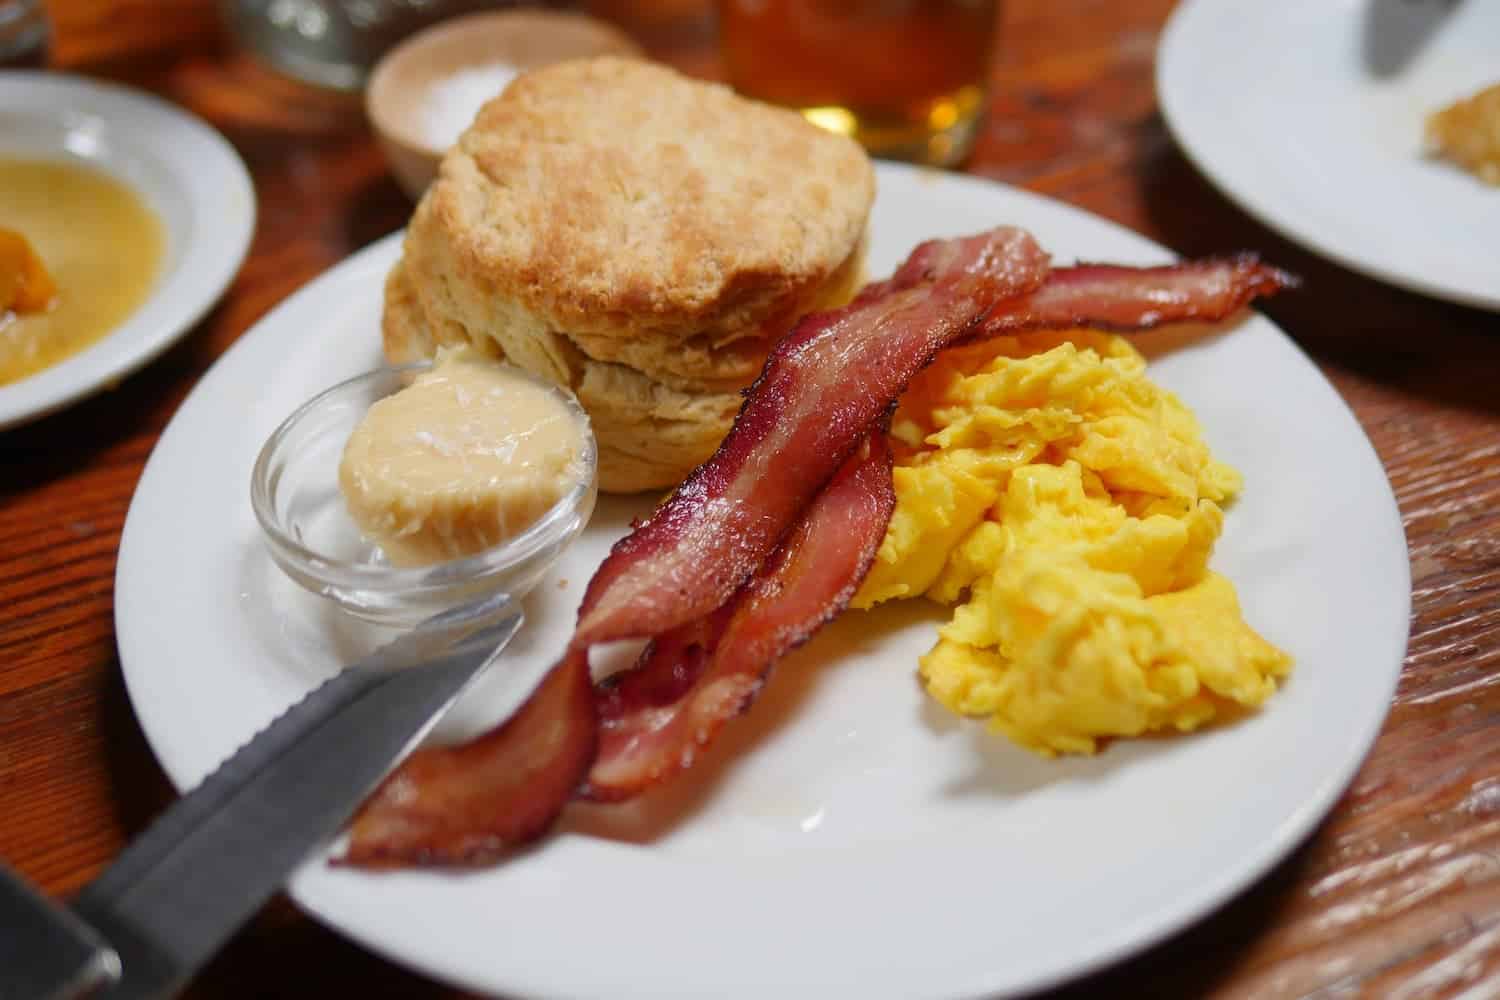
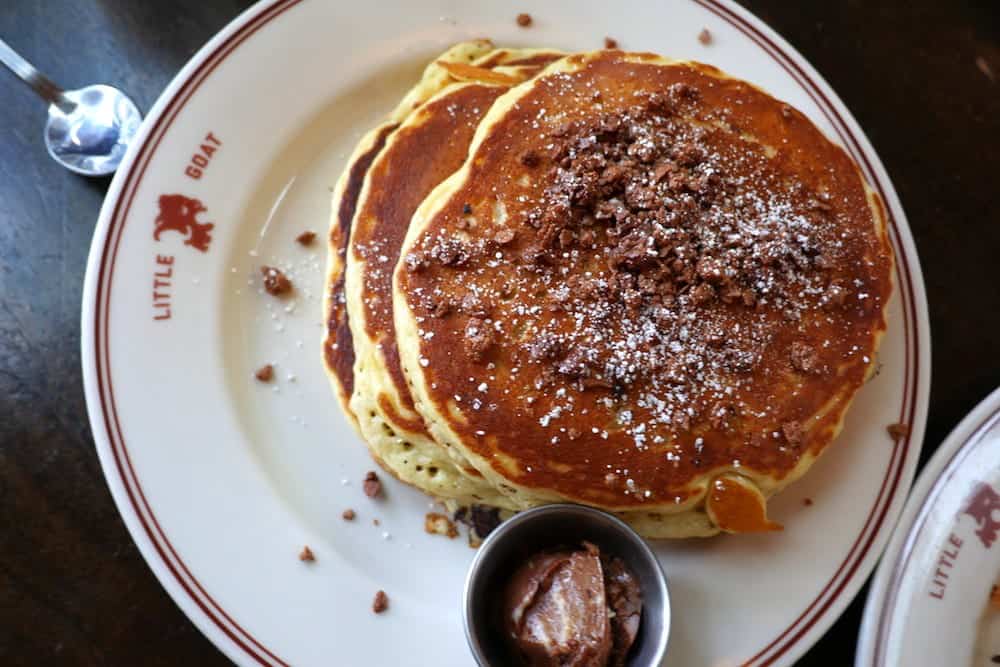
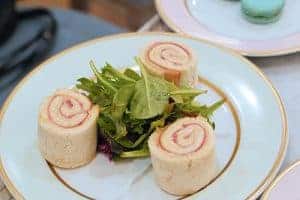 Savoury: Good. A small savoury menu consisting mainly of croque monsieurs and french toast. Unlike the macarons, the savoury items are made in house and they were well-made, delicious and beautifully plated. The french toast was my favourite item. It had a nice bouncy texture and tasted like lychee. The raspberry sauce which comes on the side added a bit of tart and sweetness which tied everything together very well. It was so flavourful even on it's own that it was still enjoyable without the raspberry sauce. The tea sandwiches were quite small and meticulously wrapped in wax paper which turned out to be a good thing since the bread remained fresh. The smoked salmon and cucumber fillings were also nicely prepared.
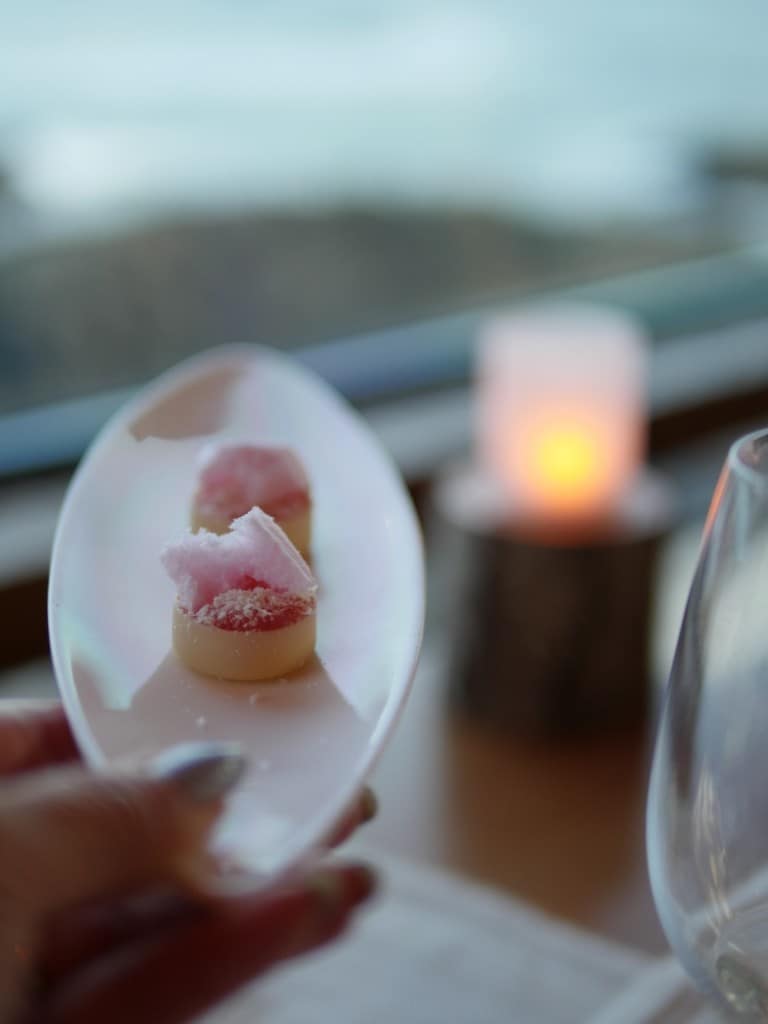
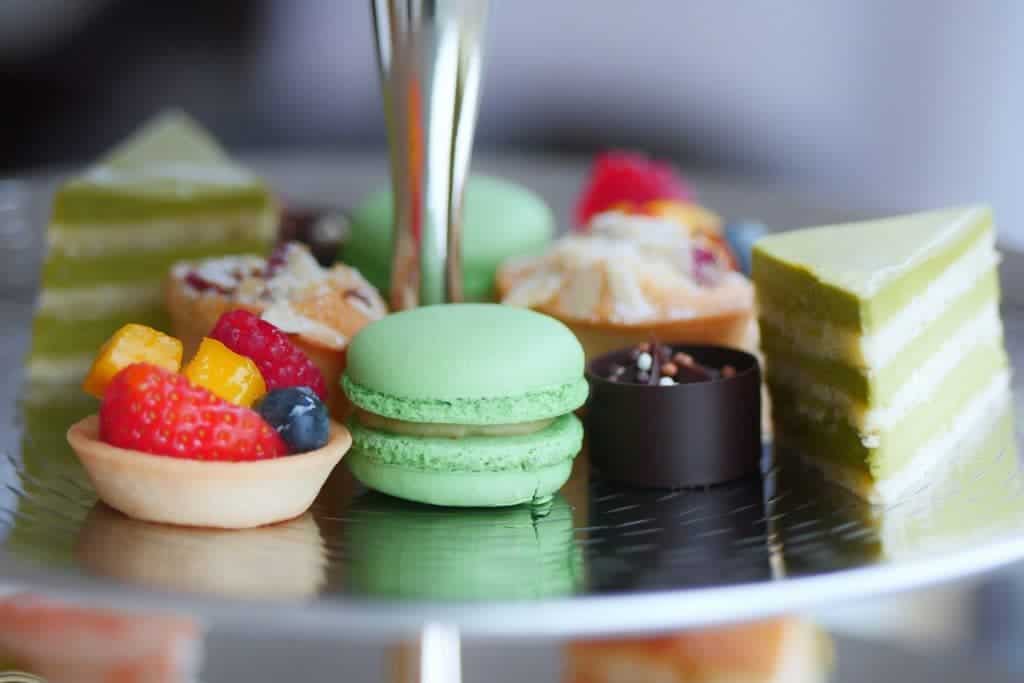
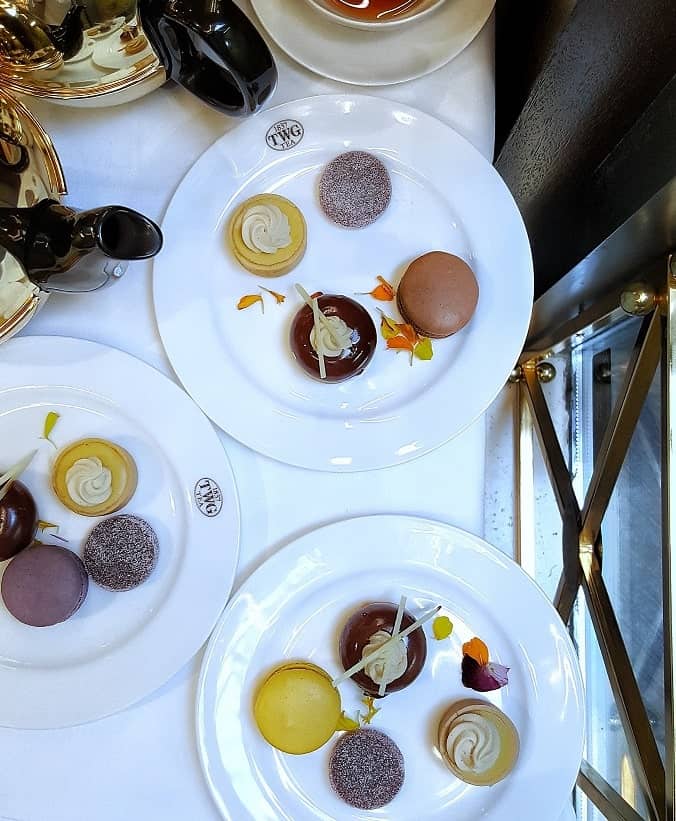
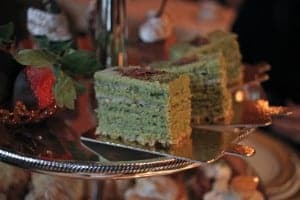
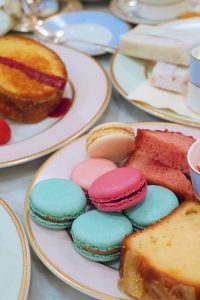 Sweets: Excellent. We were really impressed with all the sweets. They were all equally flavourful and fragrant. The cakes all had appropriate textures to their respective type. The macarons were excellent. They had an egg shell like crust and a chewy interior. The shells seemed to be a bit better than the ones I had in HK. I think the humidity there is just not kind to macarons. If I had to compare Laduree macarons from the other bakeries in the city, I would say the shell reminds me most of the ones found at Faubourg. Just to be objective, if I had to pick one "problem" with their sweets, it would be that the flavours were on the one-dimensional side. It's strong and enticing but tasted artificial.
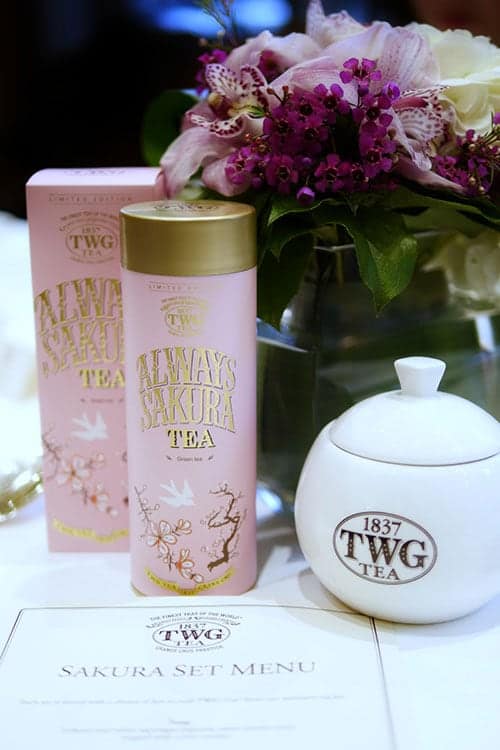
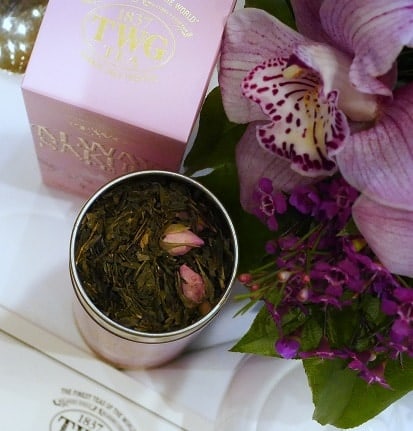
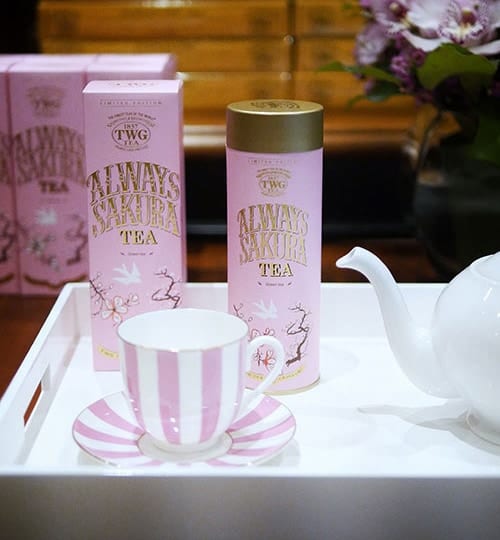
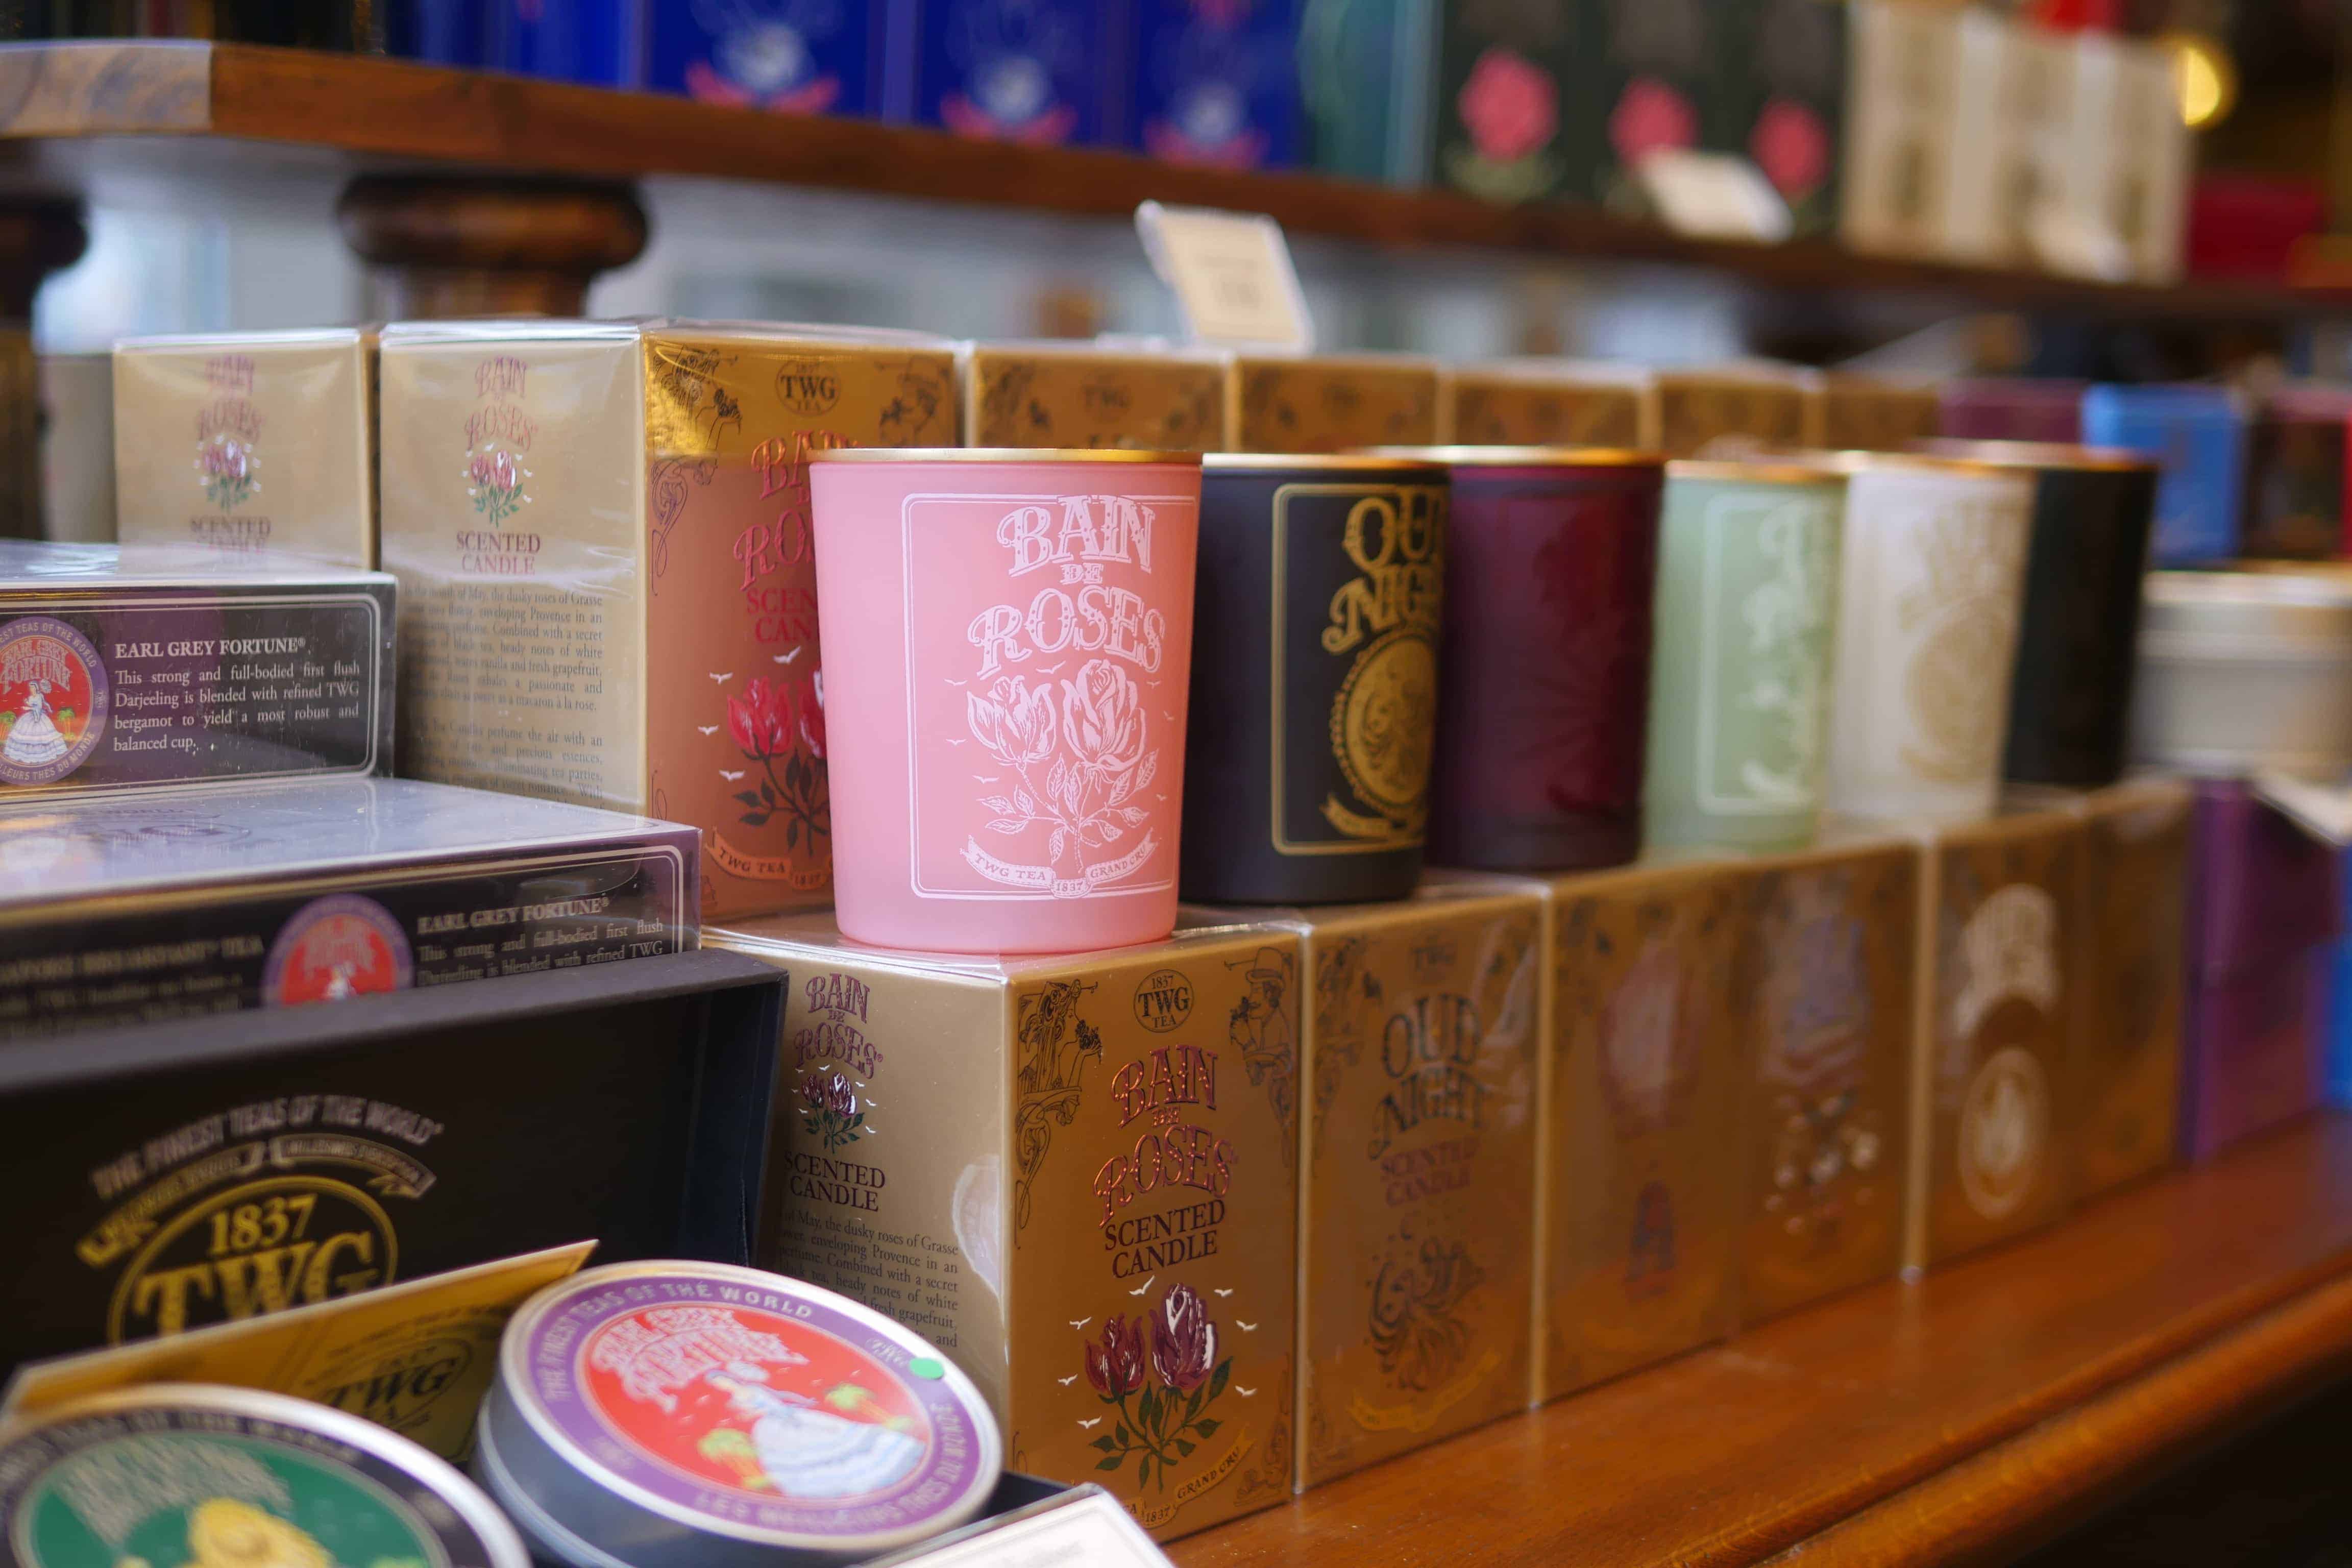
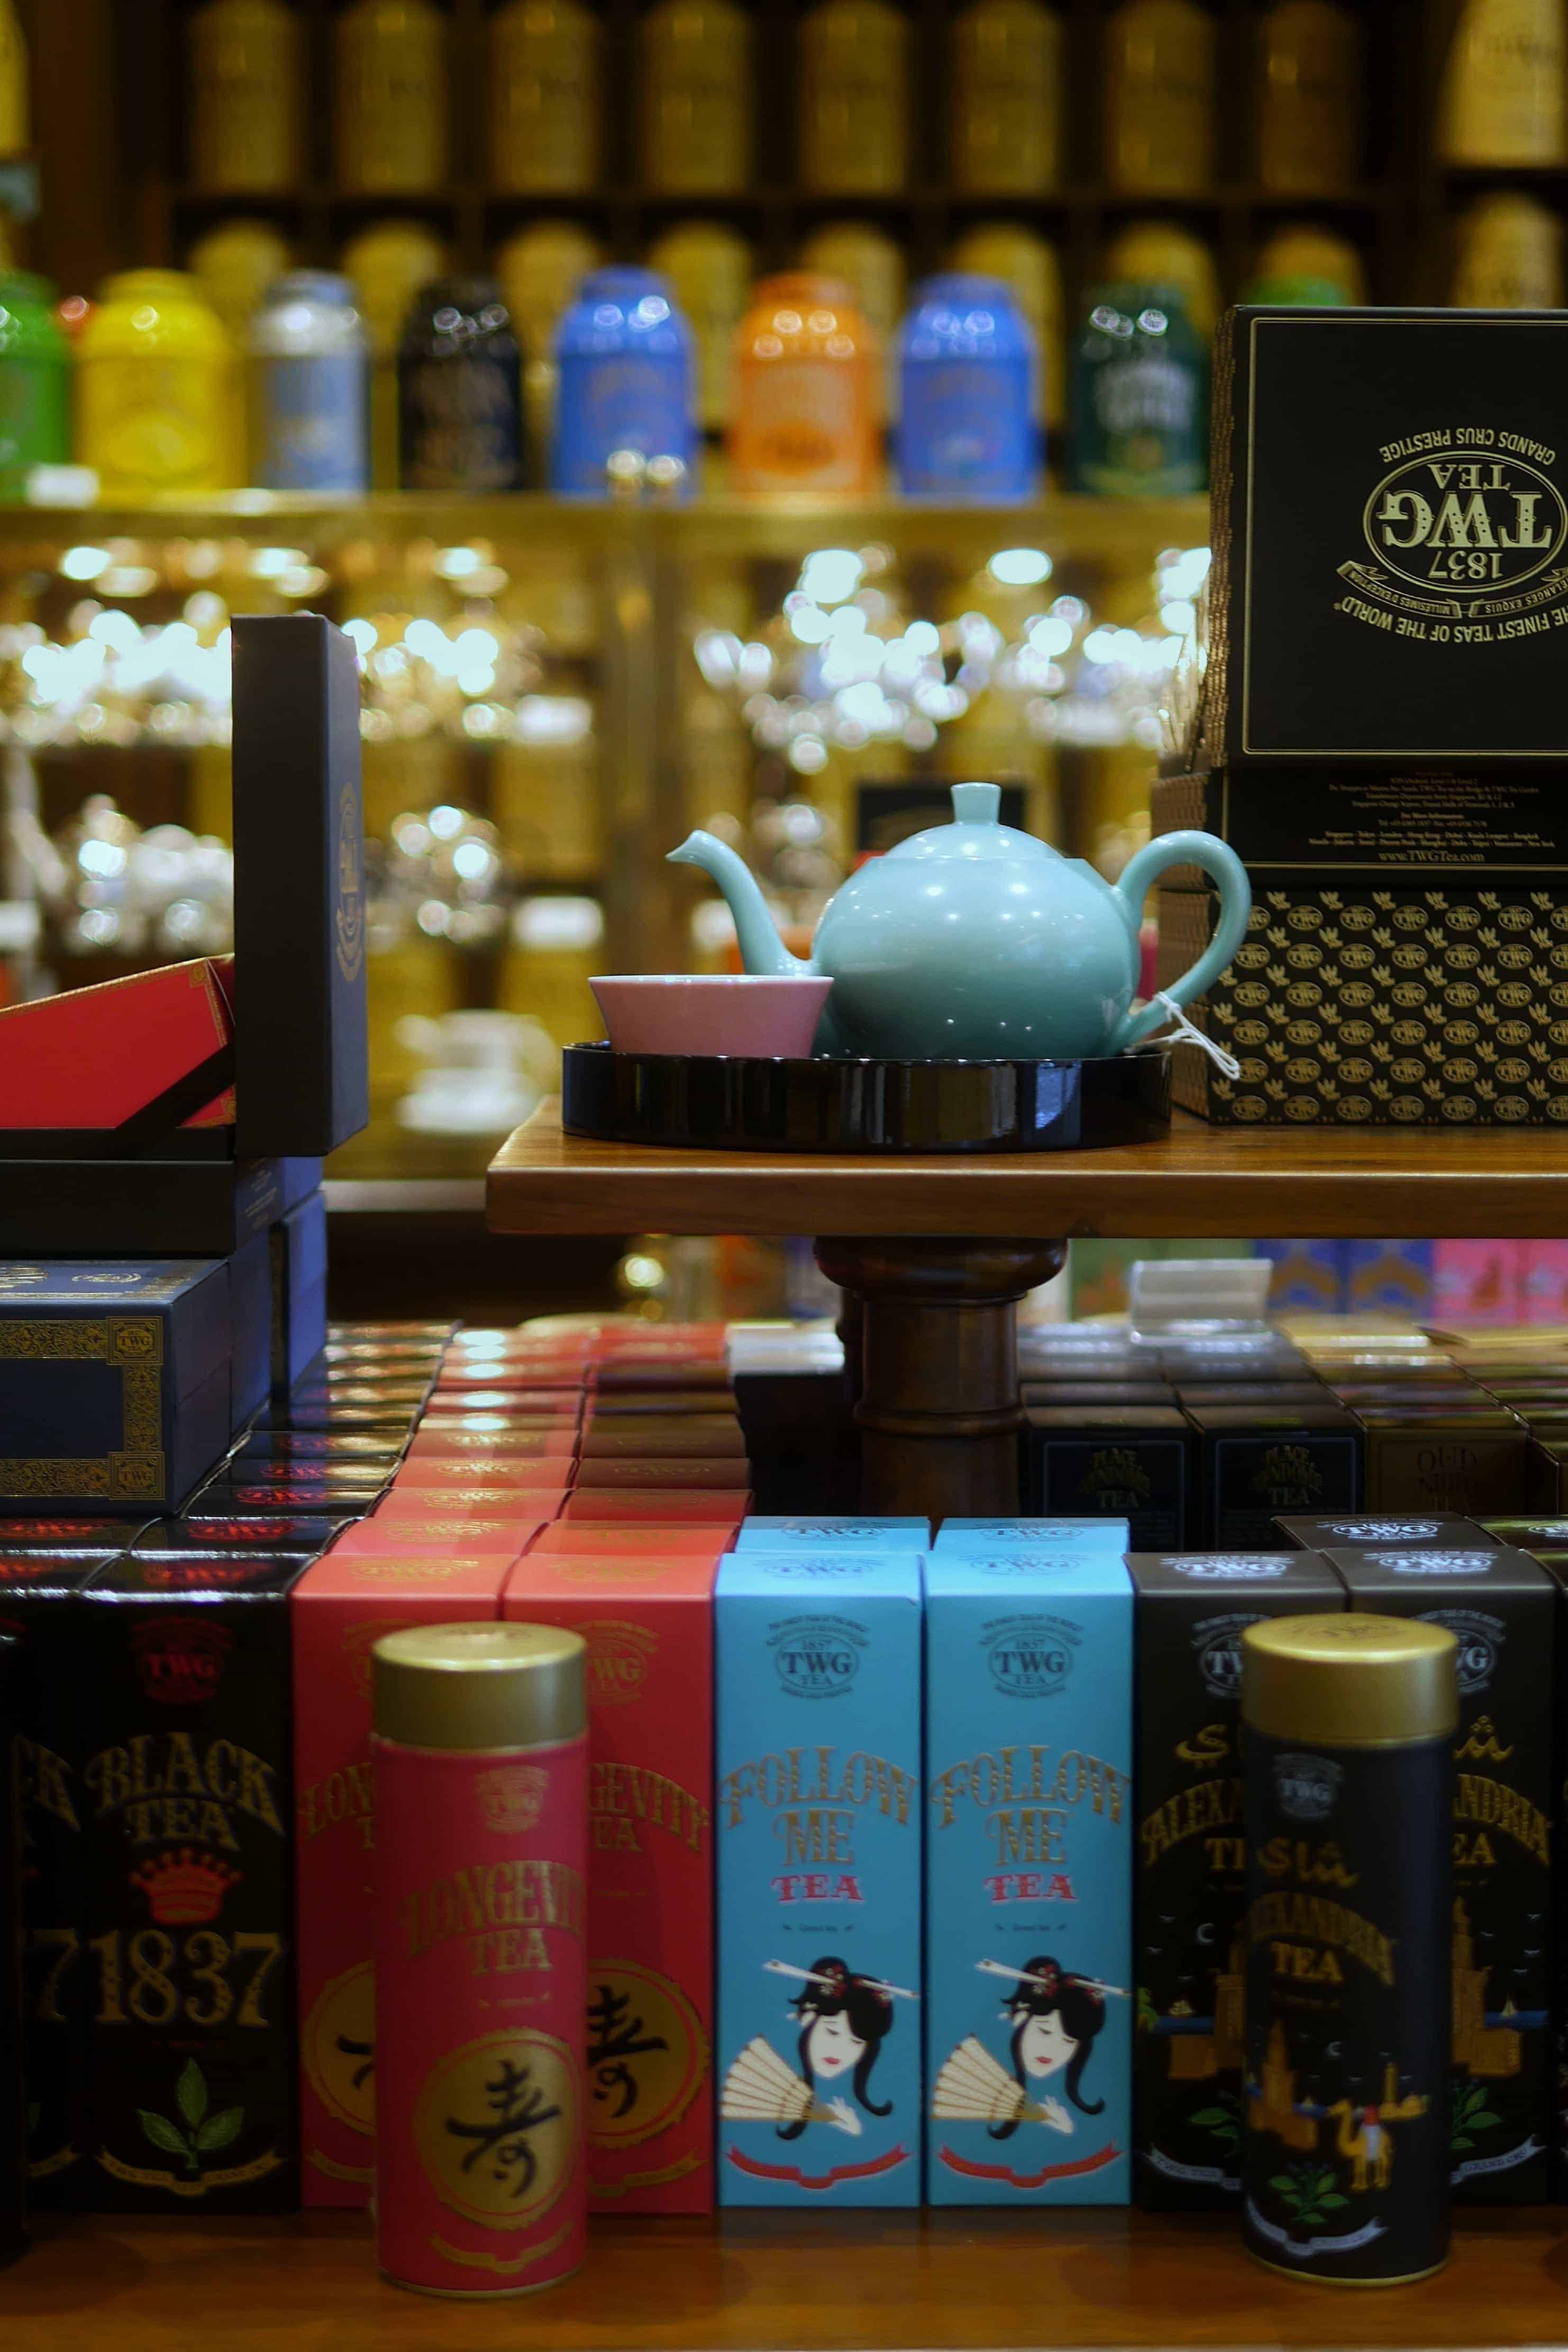
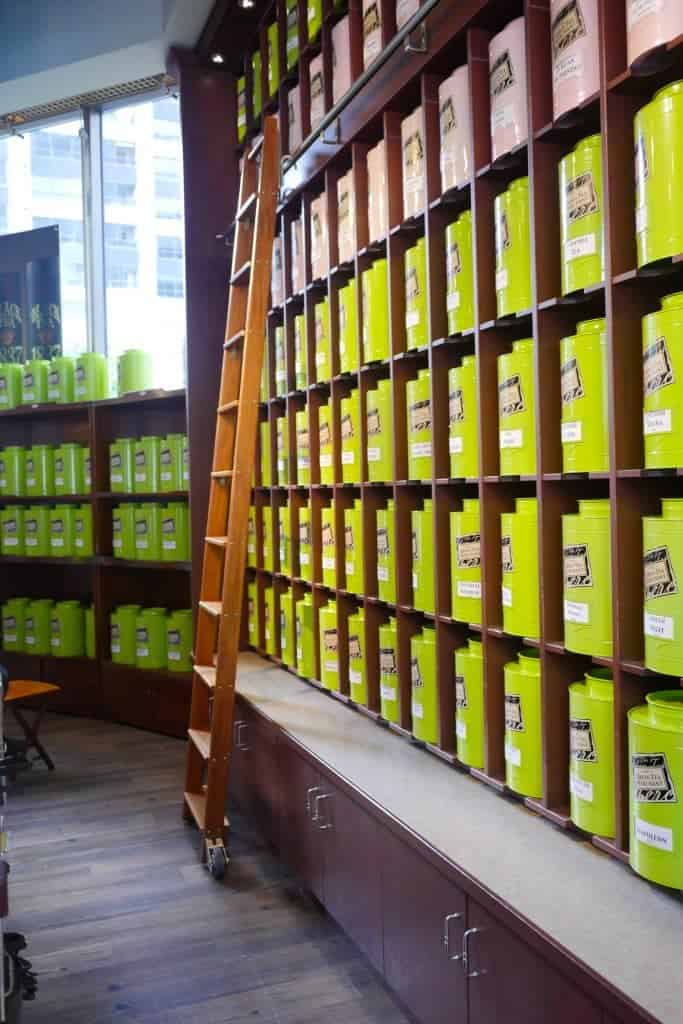
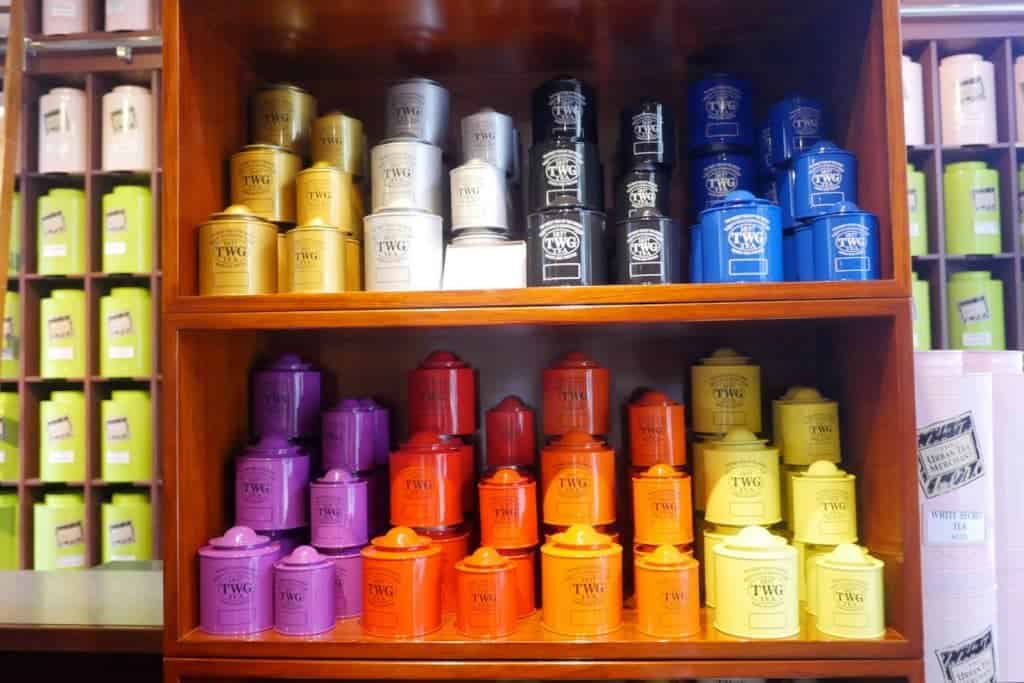
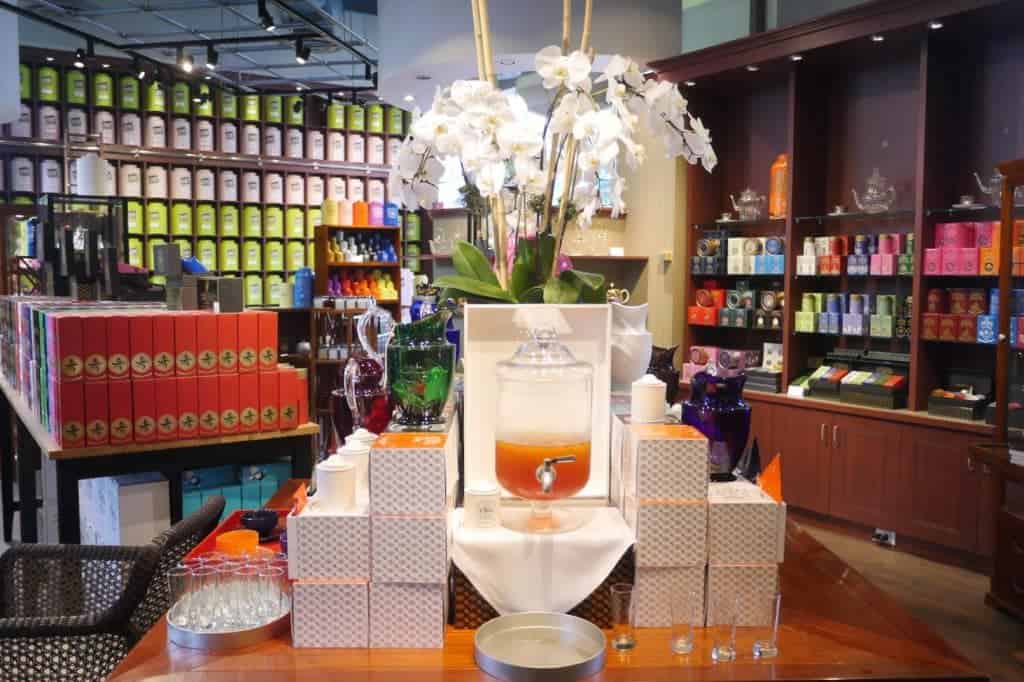
 Tea: A small collection. Teas are also available for sale as well (similar to TWG). I'm sure you're aware that their packaging is just to die for so they'll also look nice in a display case. I recommend the Marie Antoinette tea. I had the Jasmine one this time but didn't find it special enough to purchase.
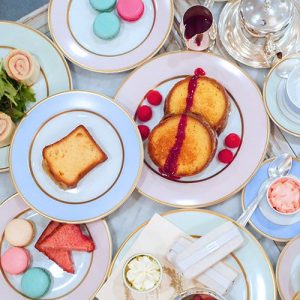
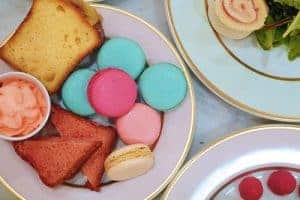
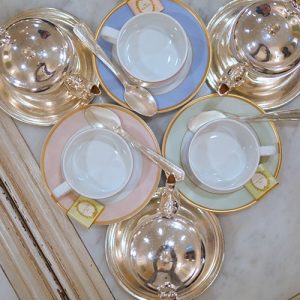
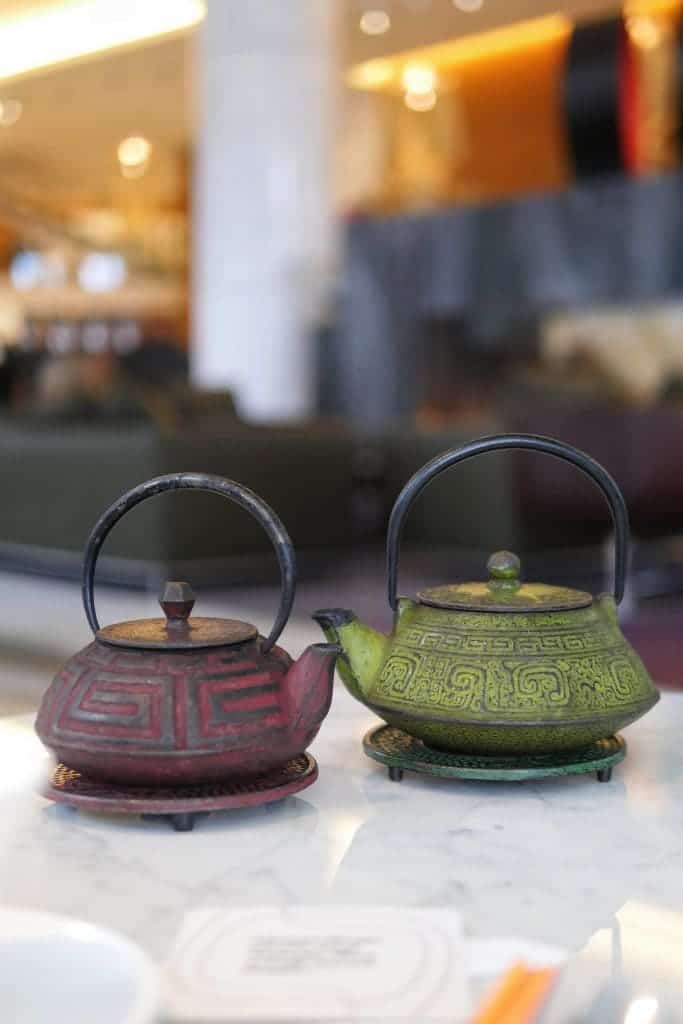
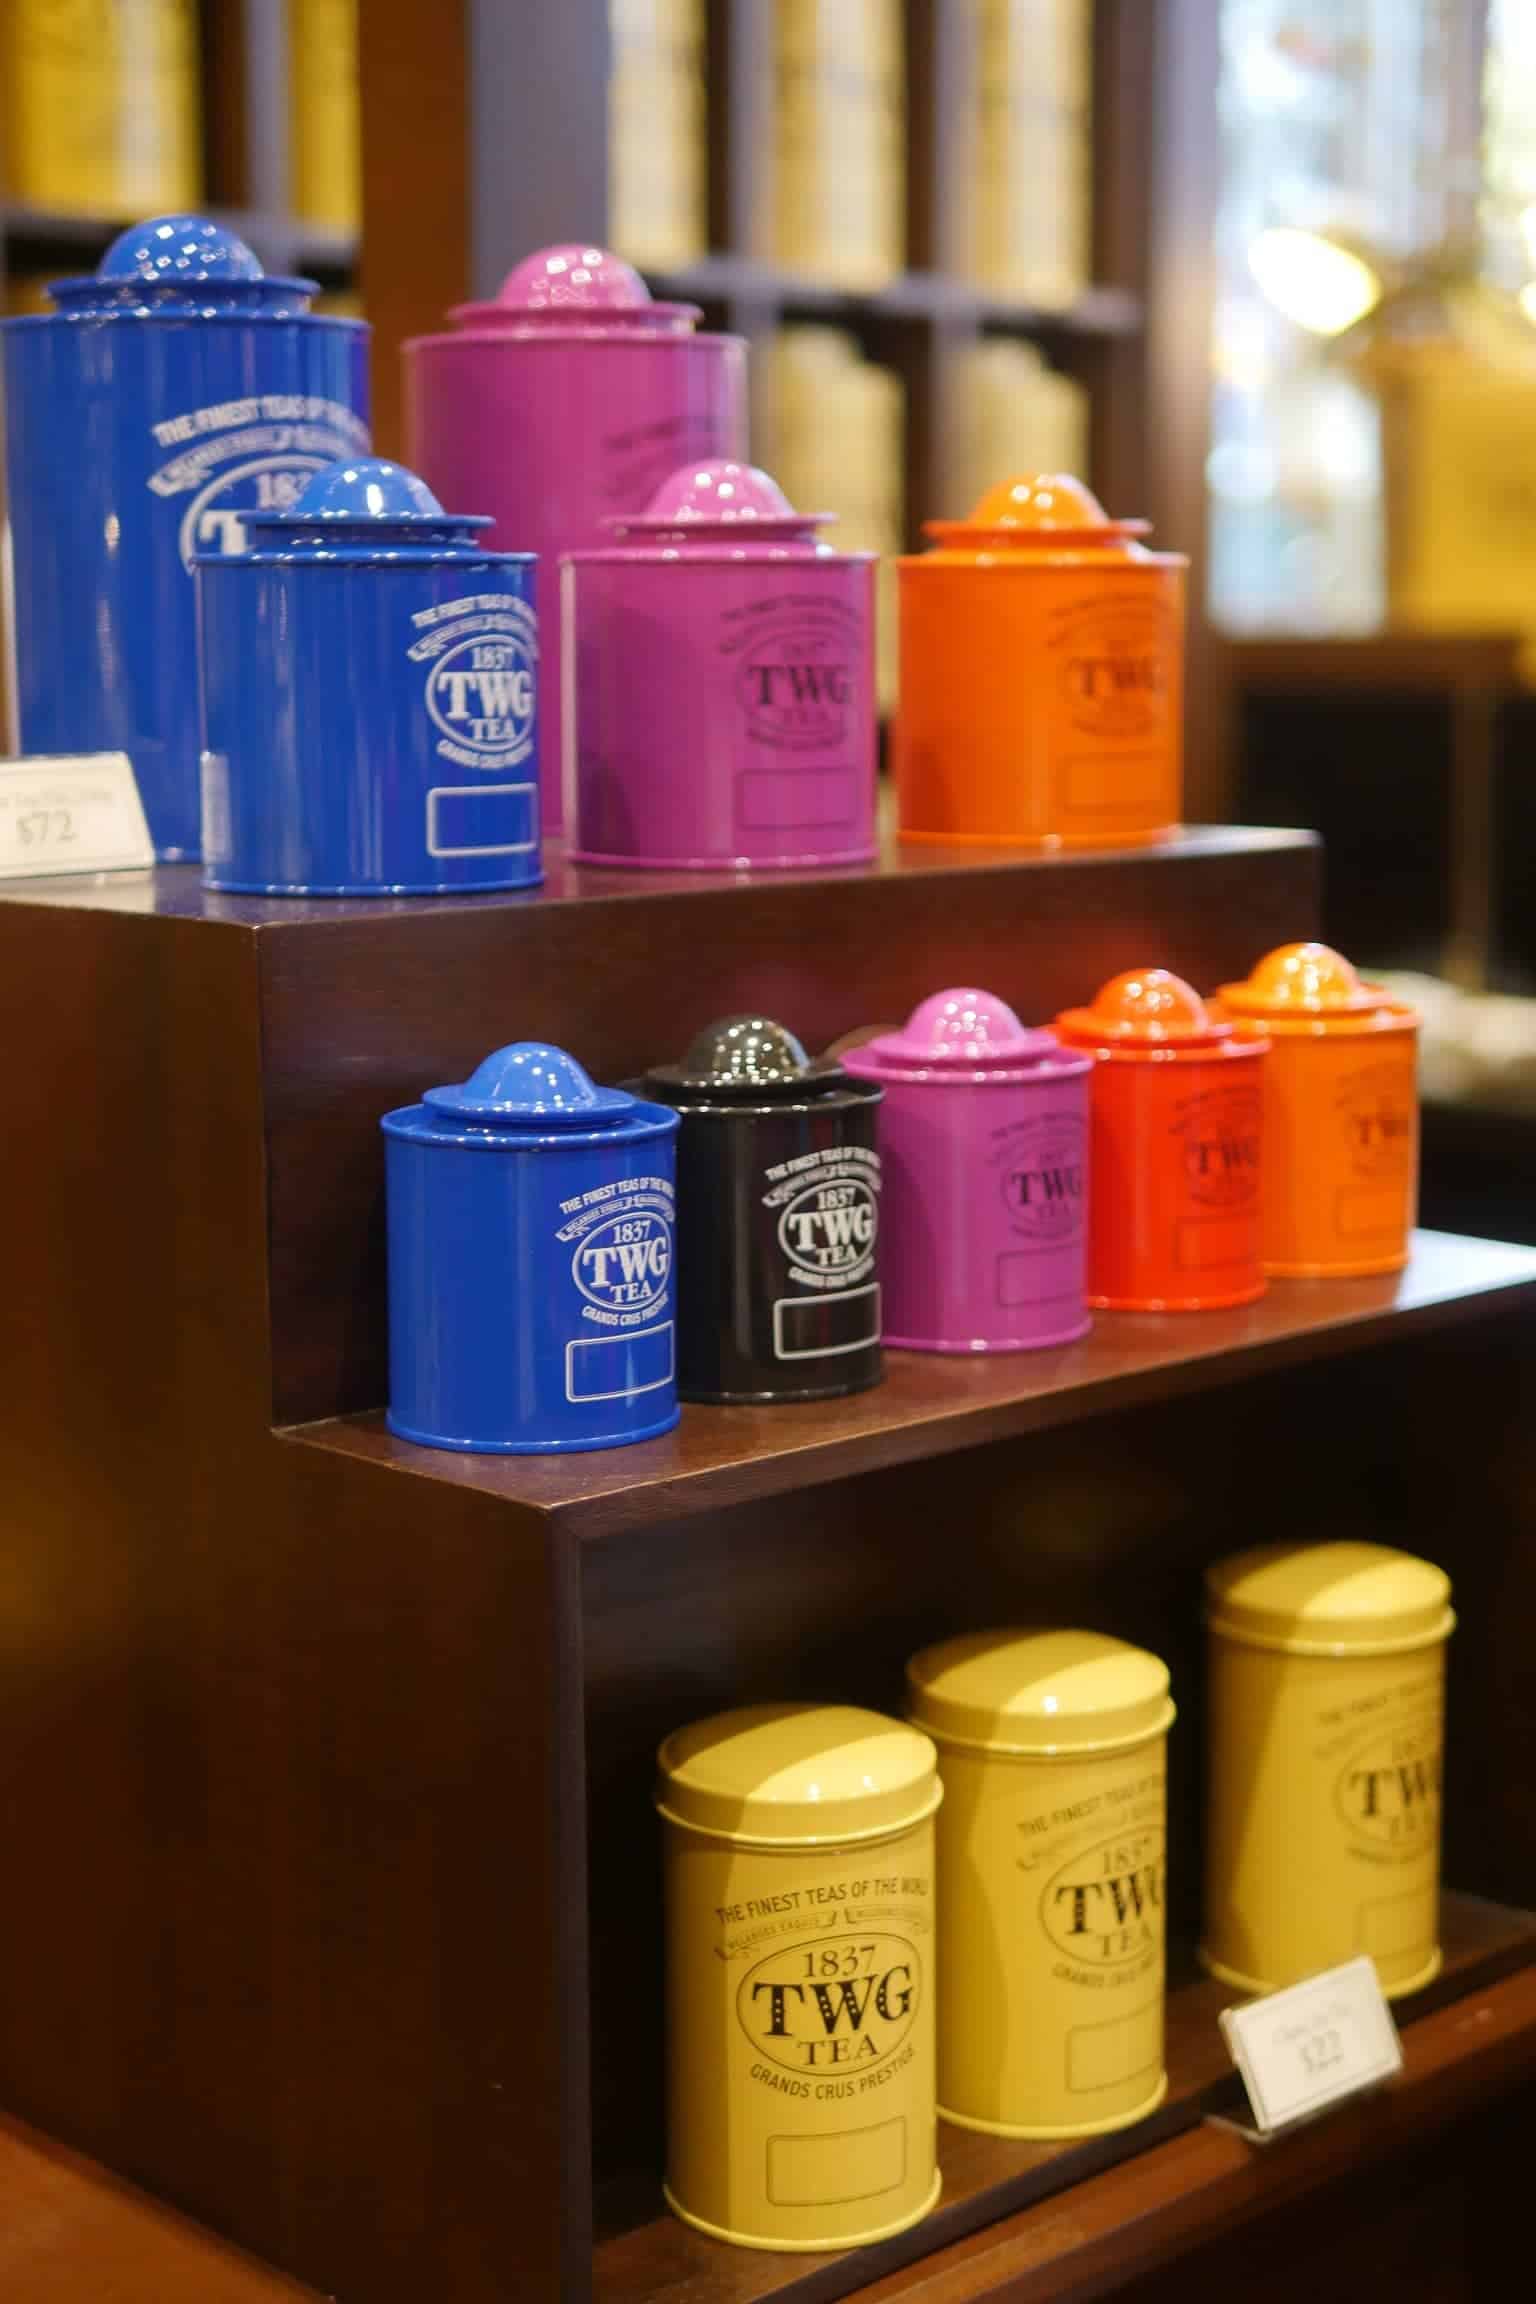
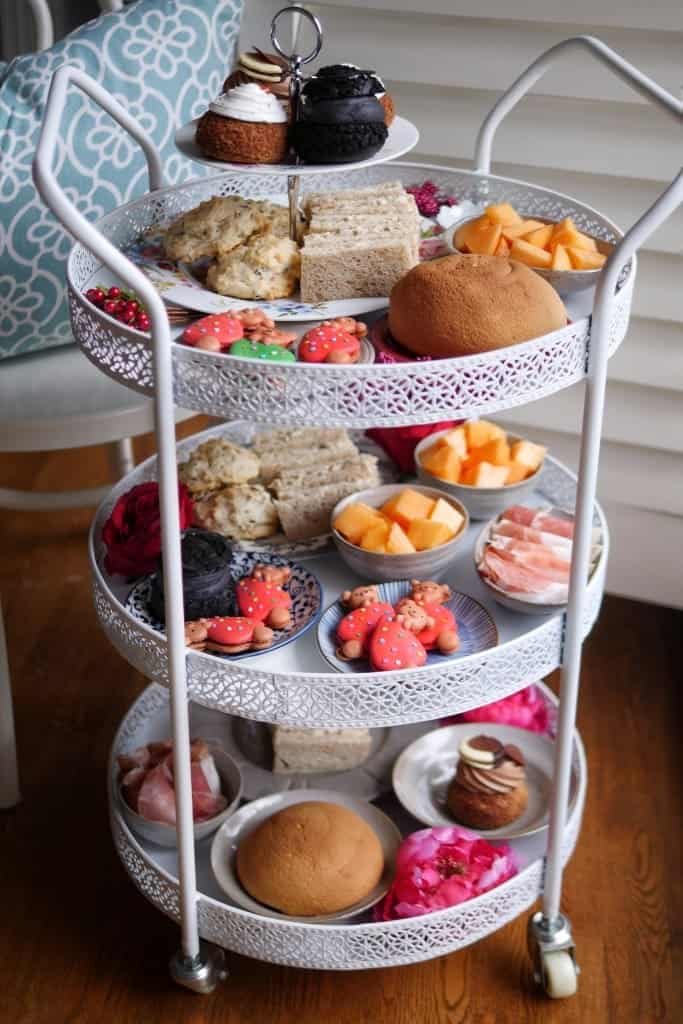
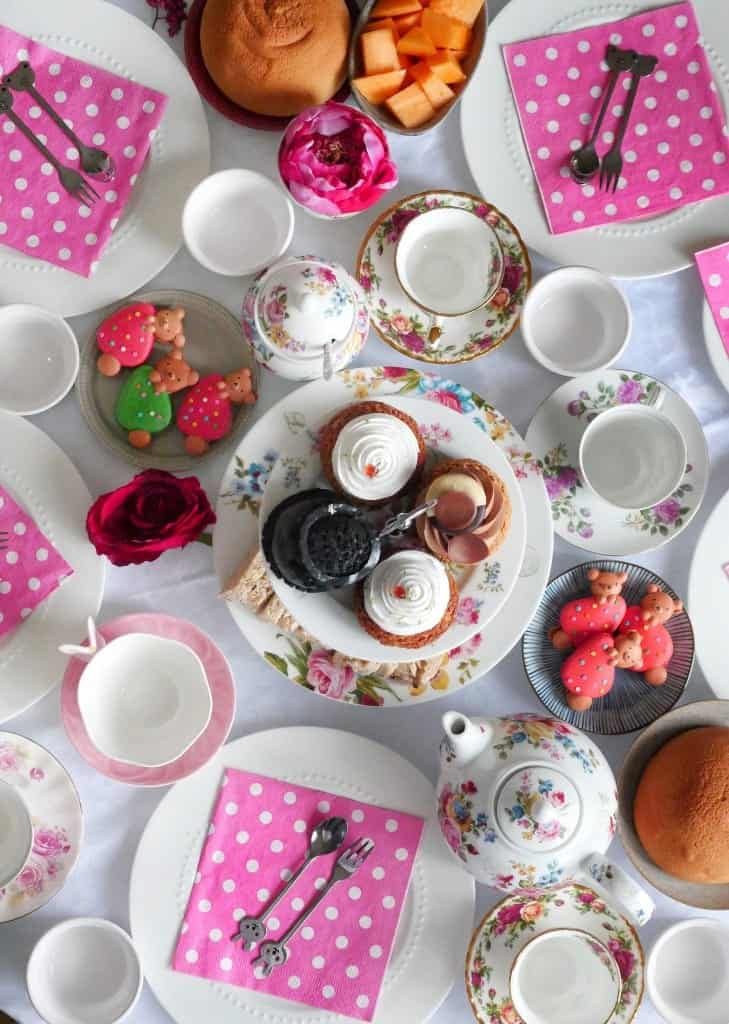
Tea Ware: Perfectly photogenic teaware! It is the most inspiring set of tea ware I've encountered at afternoon tea in Vancouver. Easily recognizable, these pastel colored tea sets are used in all their salons around the world. Your camera will just beg you to capture all this goodness.
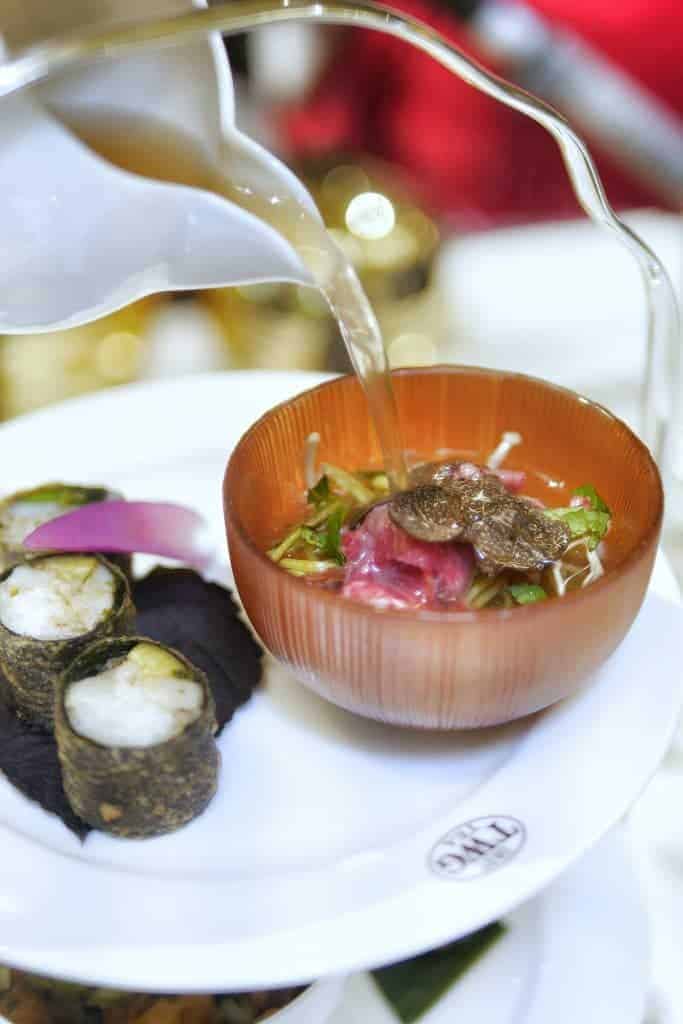
 Service: Fully staffed, professional and well trained. We were checked on constantly and never felt unattended. We had one principal server along with other team members who would work together, serving or cleaning. They were all well-trained and professional but not so stuffy that they did not enjoy a few side conversations with each other when we were perusing the menu. Our main server was only two days into the job but I felt she was well trained enough to carry the day which seems to show how thorough their training must be. When the French Toast was brought out, there was a raspberry sauce pour which added a small theatrical touch.
Location: 1141 Robson St, Vancouver, BC V6E 1B5
Parking: Metered Street parking available right outside on Robson Street $6/hour. It is a 7 minute walk from the Burrad Street Skytrain Station.
Other notes:
♥ Tea Set $45/per person
(includes one pot of tea)
♥ Reservations can be made by calling the salon at (604) 336-3030, 1141 Robson St, Vancouver, BC V6E 1B5

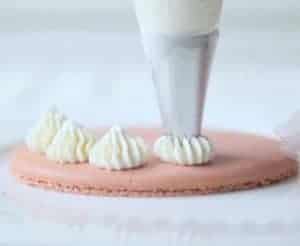
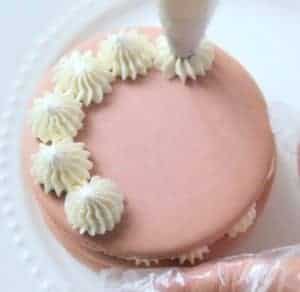
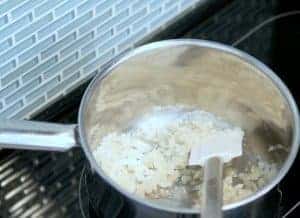 Use a small pan to heat up the cream. Once you see it steam, take it off the heat immediately and set it aside.
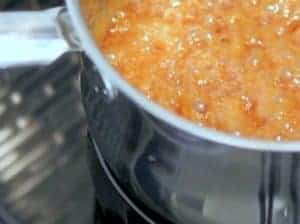 Nex, slowly pour in the cream. The mixture will bubble up again and this time it will be even higher. Let it boil for 1 minute. Stir occasionally to break up the bubbles.
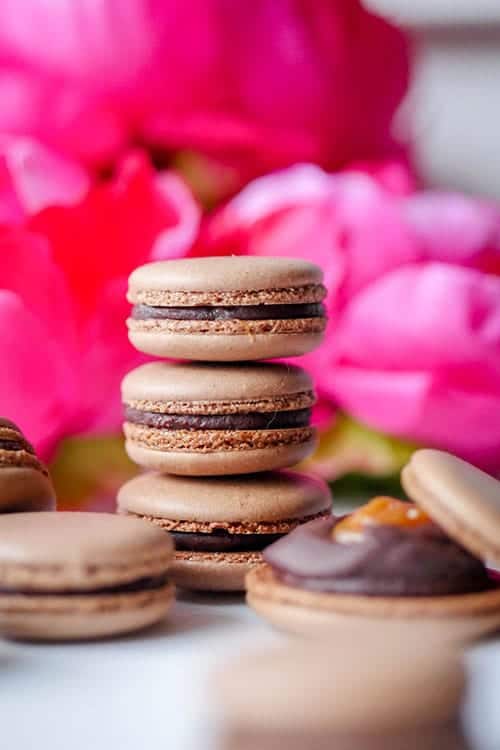


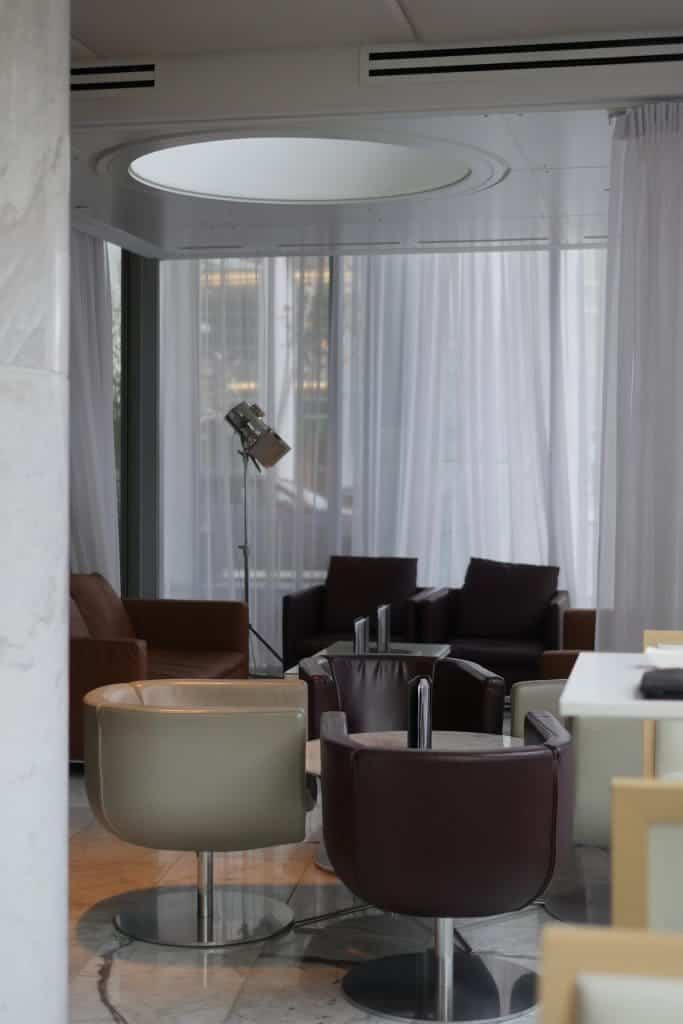
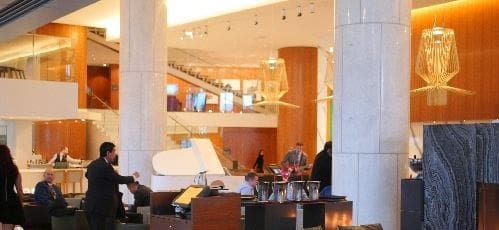
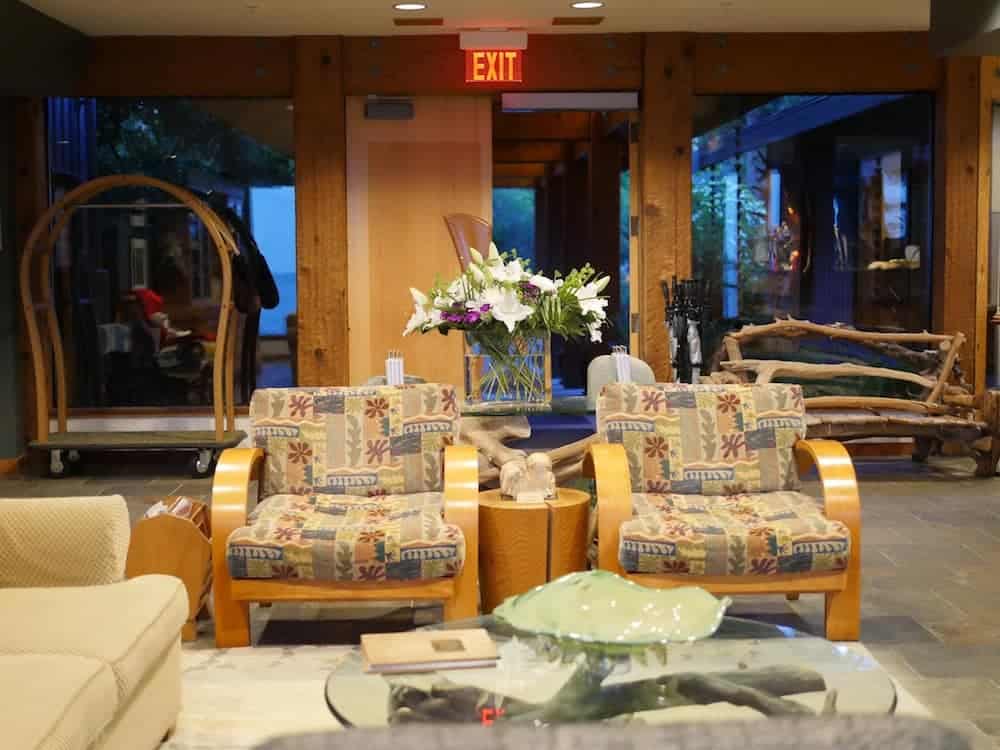
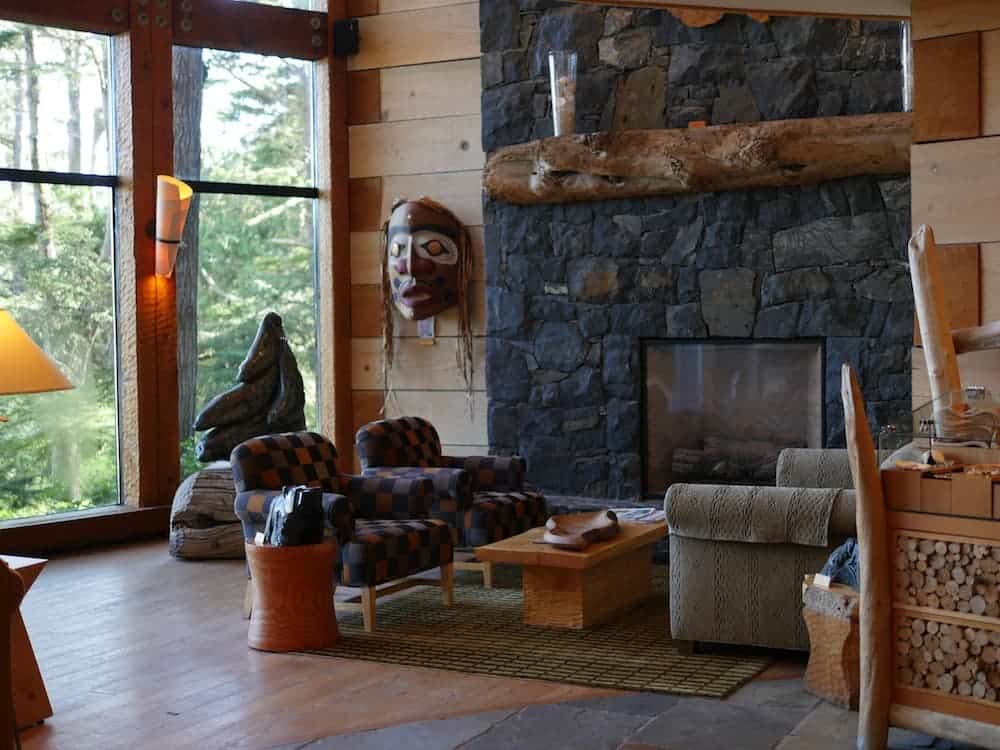
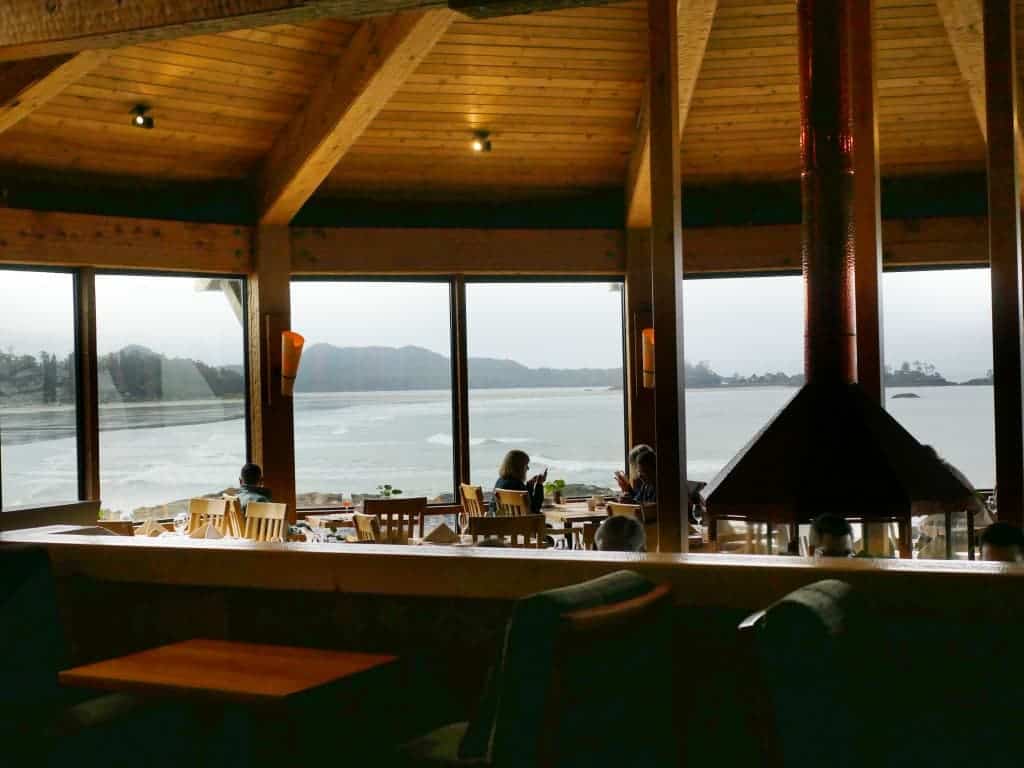
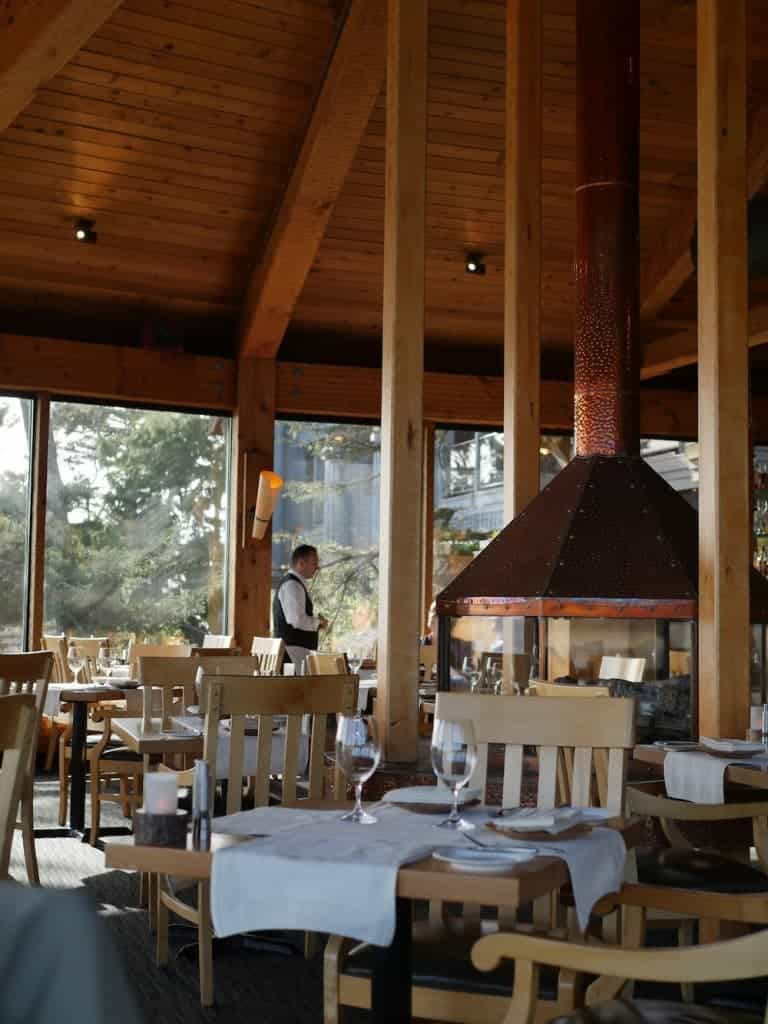
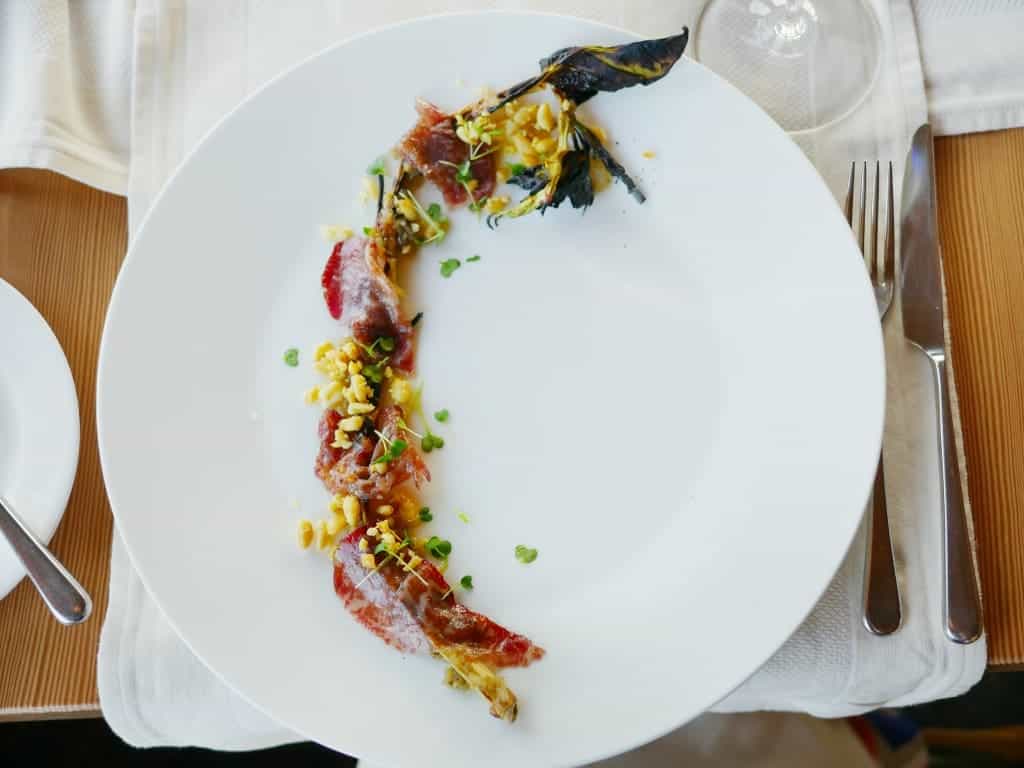
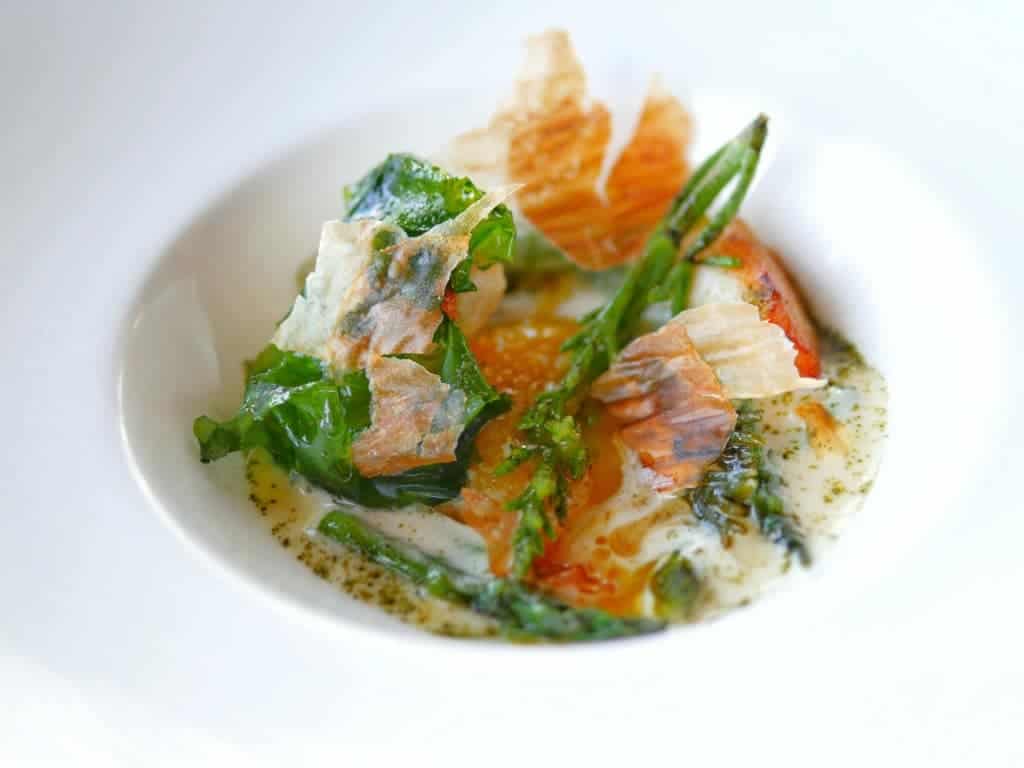
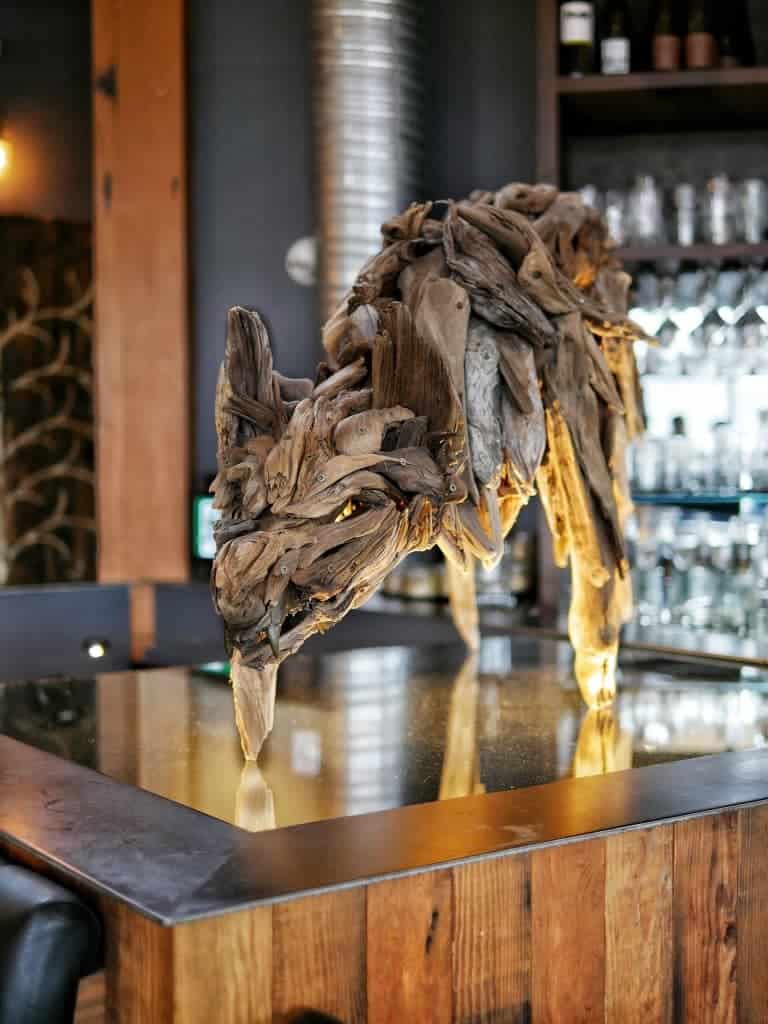
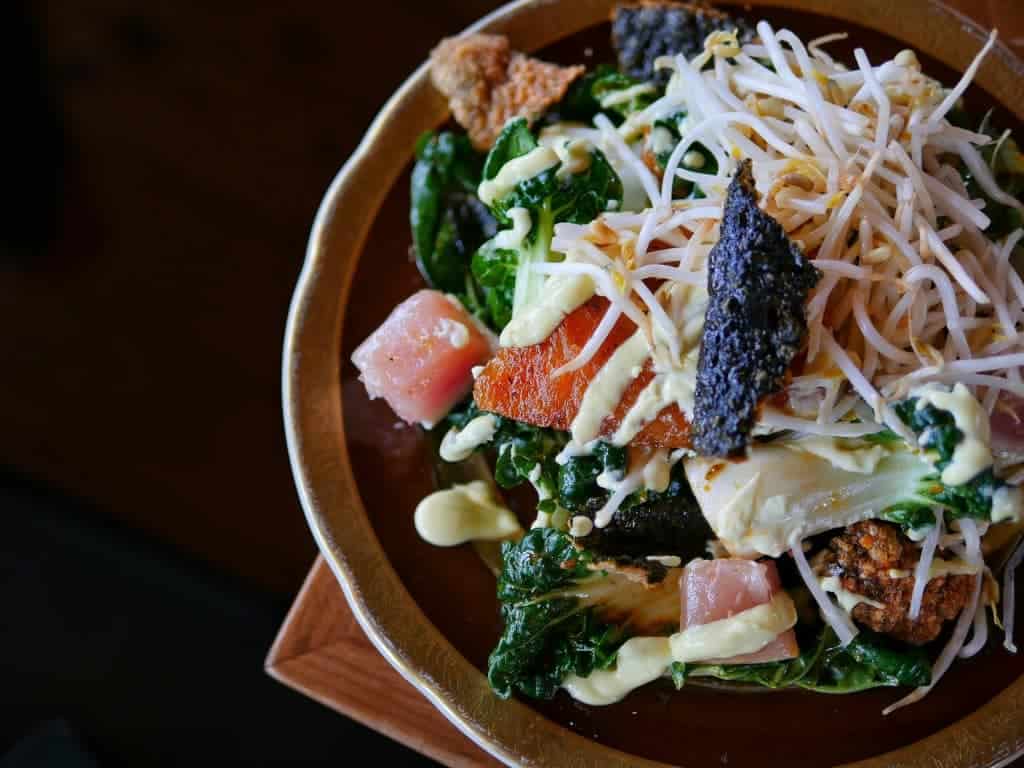
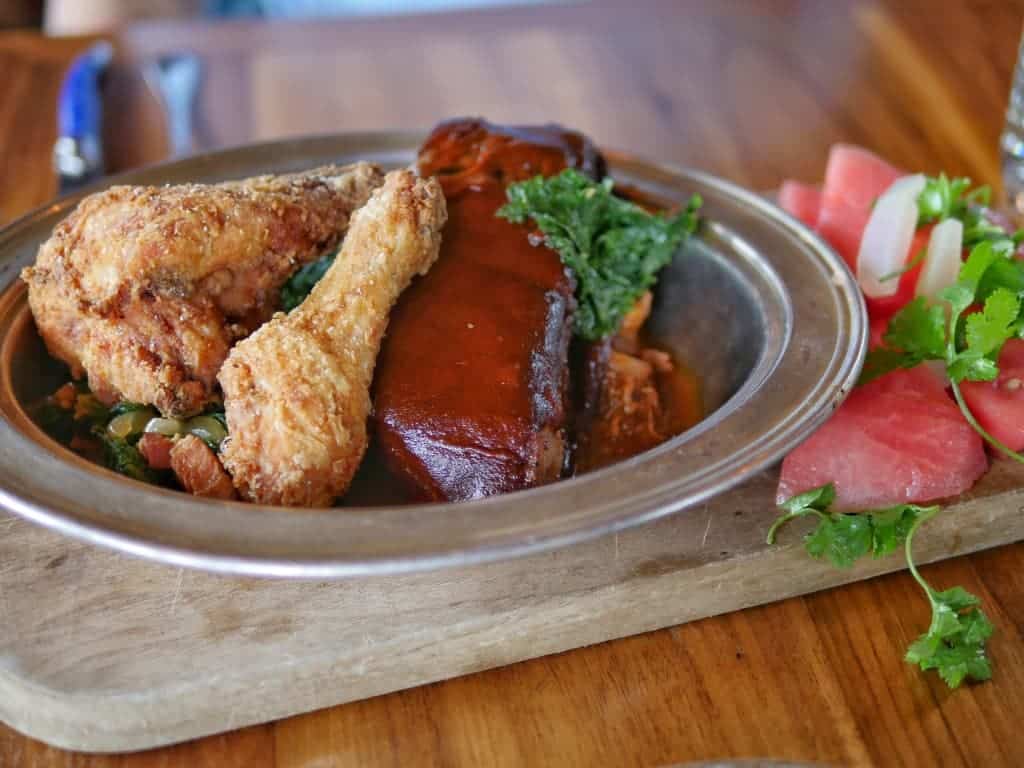
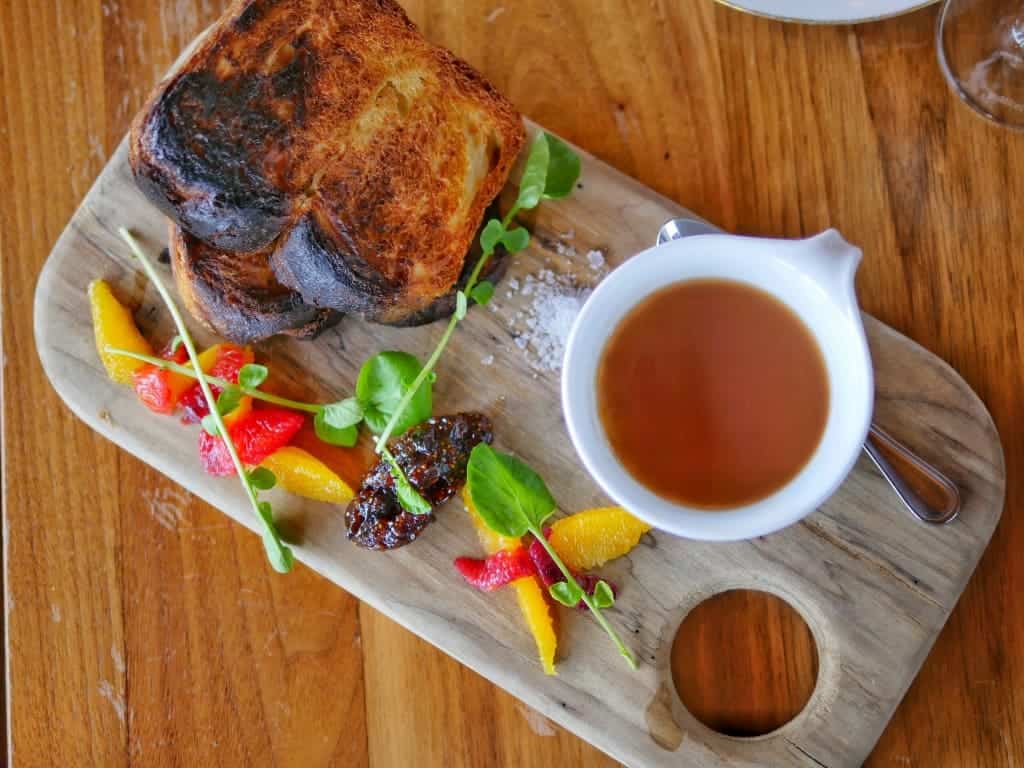
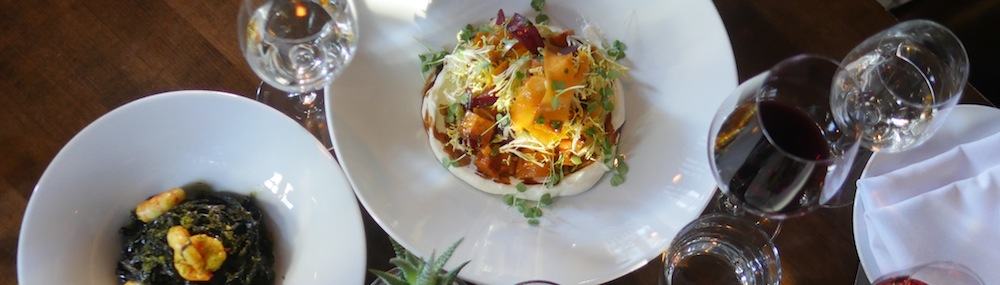
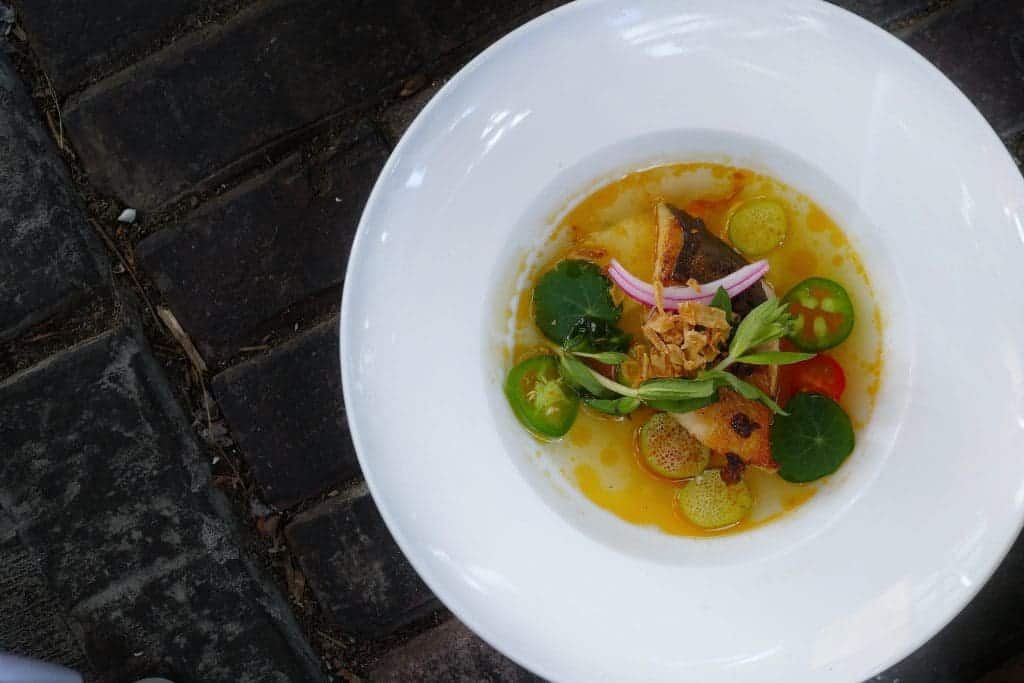
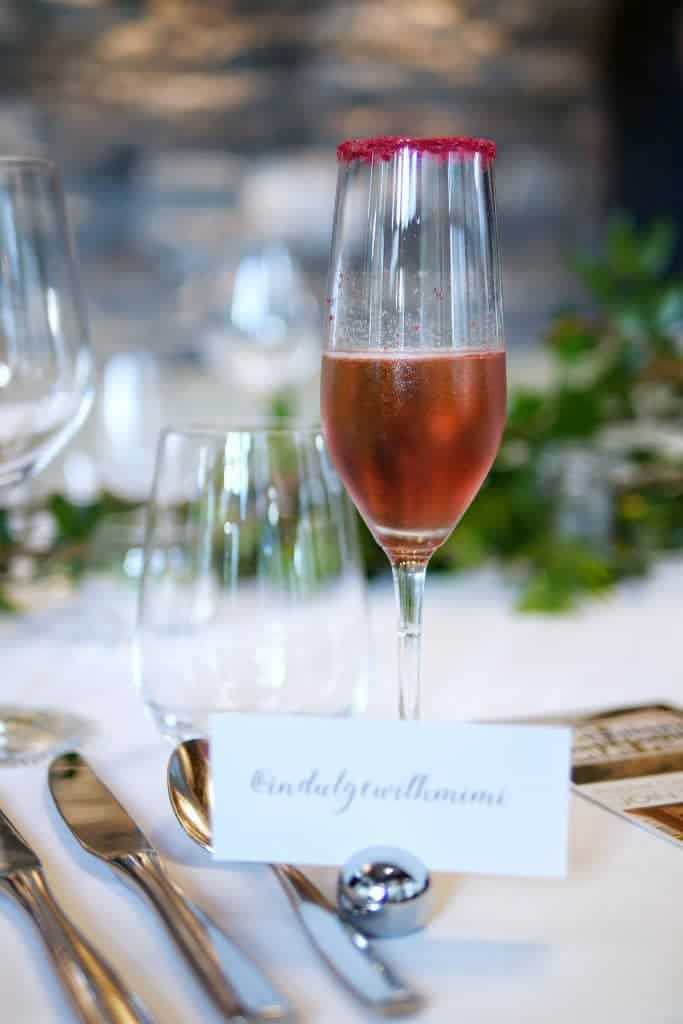
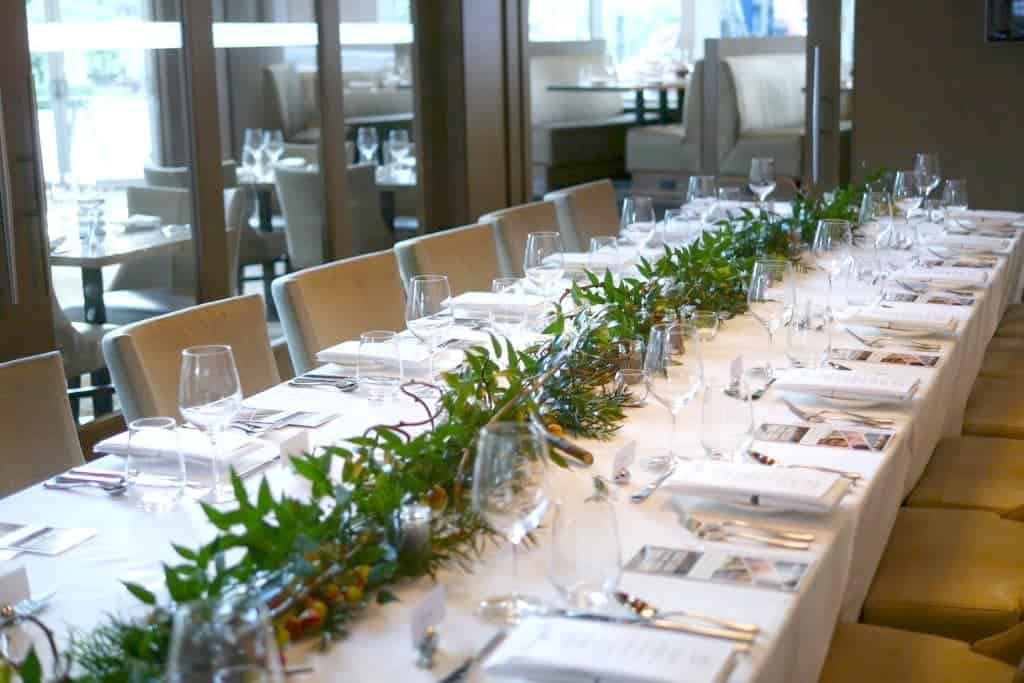
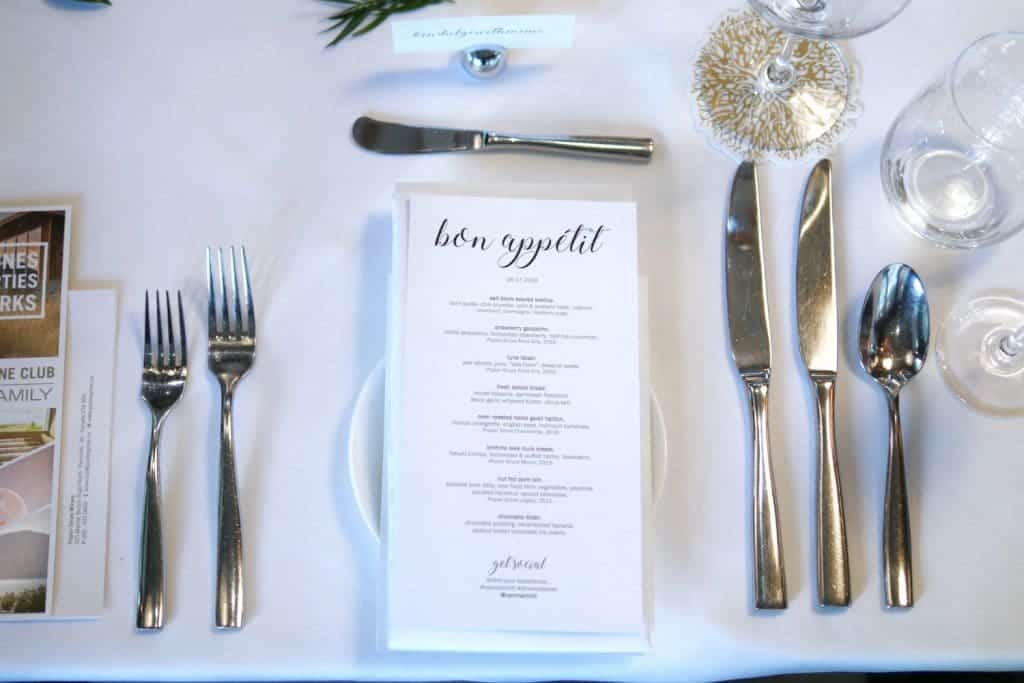
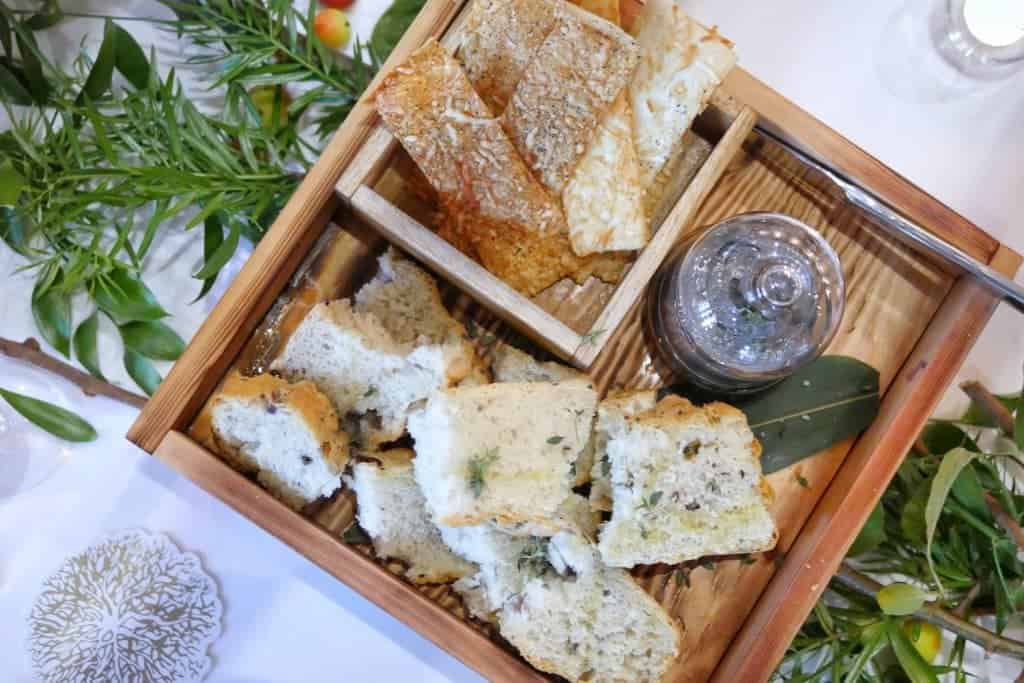
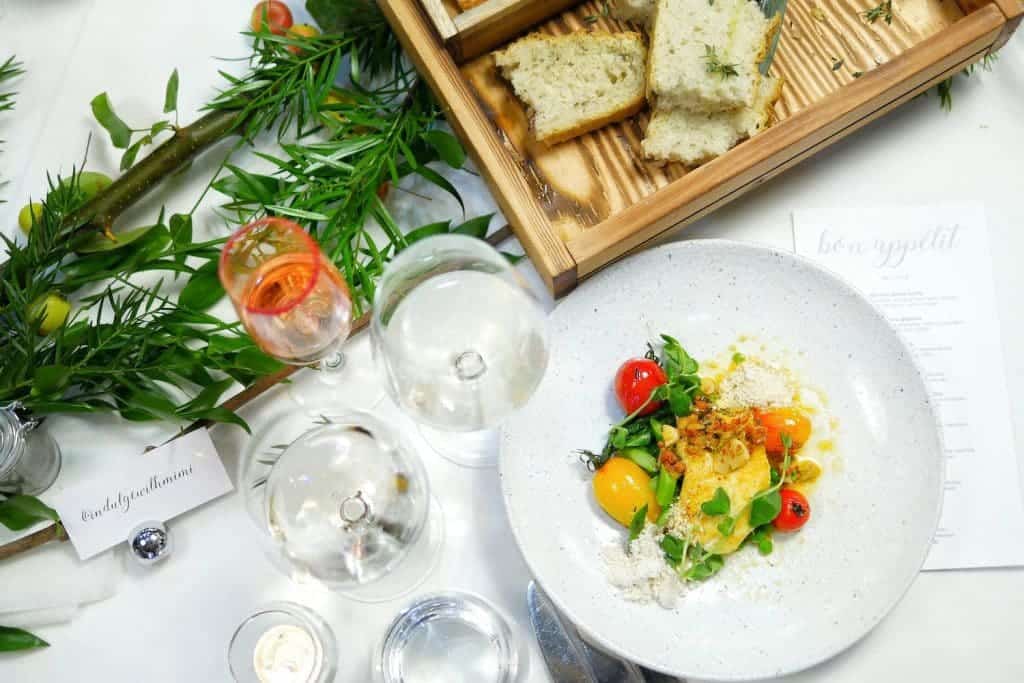
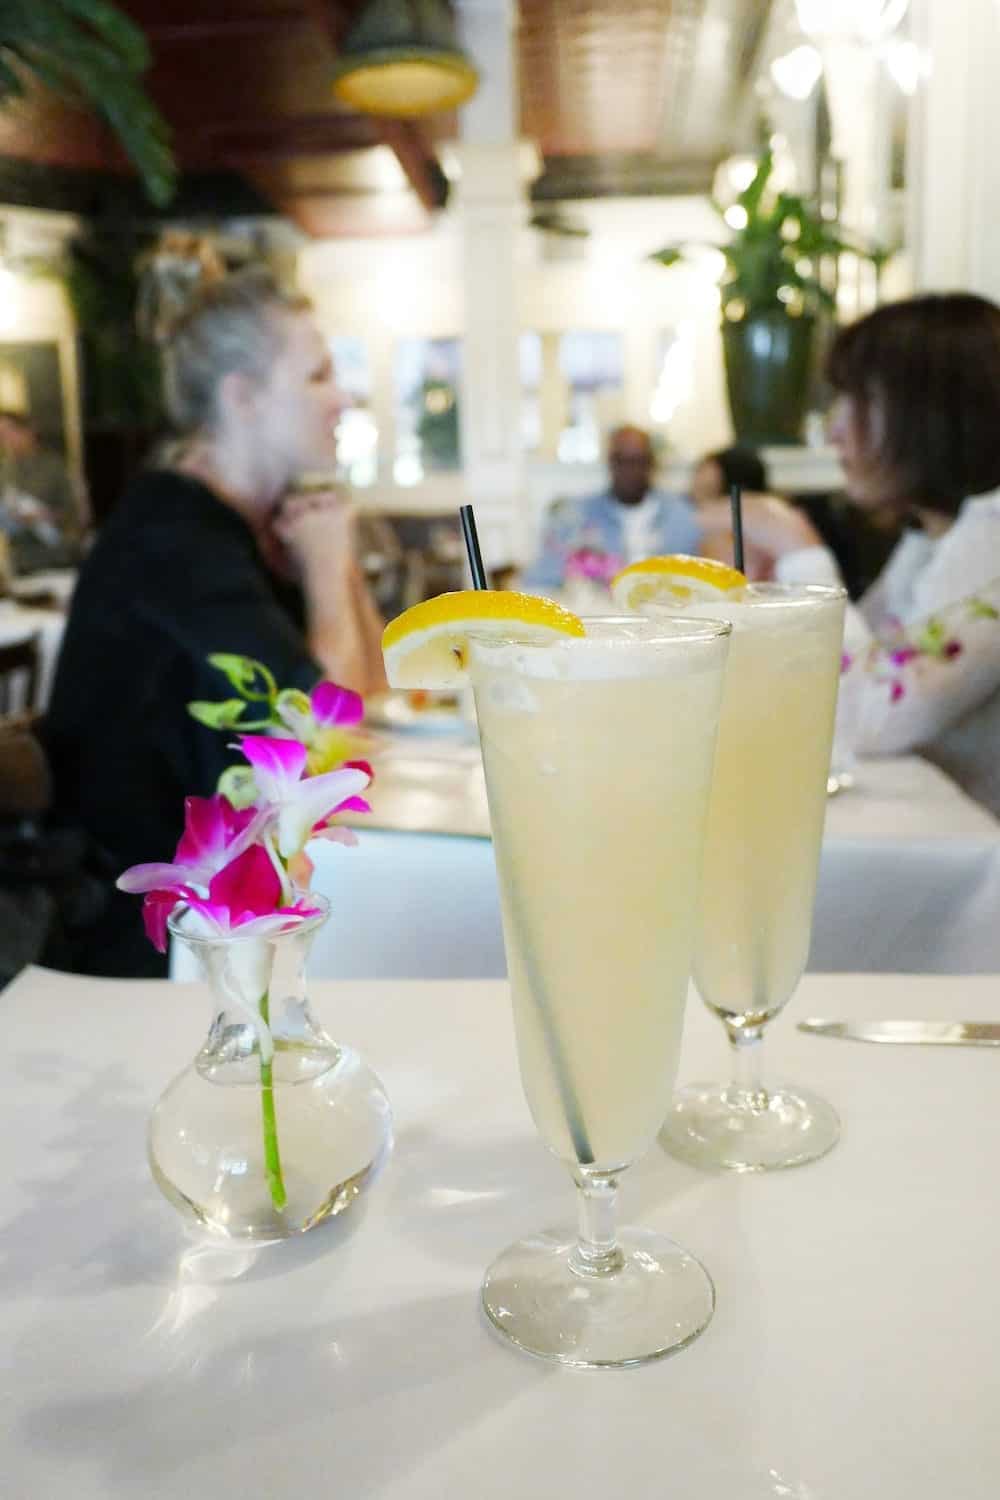
 Ambience: You are welcomed to have your tea service in the main lobby lounge around the fireplace or you can also move over to the Raw Bar which is located along the side of the lounge with lots of natural light that pours through the floor to ceiling windows. At first glance, the marbled tables, fireplace, and live music help give off a very sleek and polished vibe but don't be intimidated to plop down in any one of their comfy lounge chairs and sit for as long as you like. Taking a nod to their name, the atmosphere is relaxed and unpretensious, a definite ode to the West Coast lifestyle.
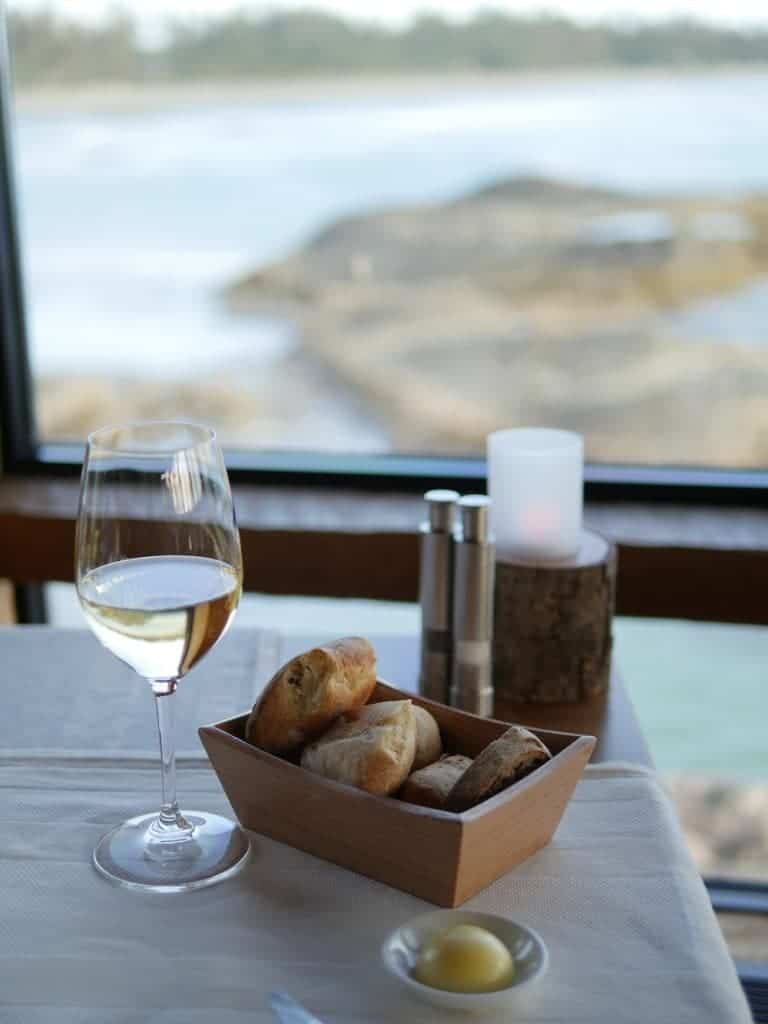
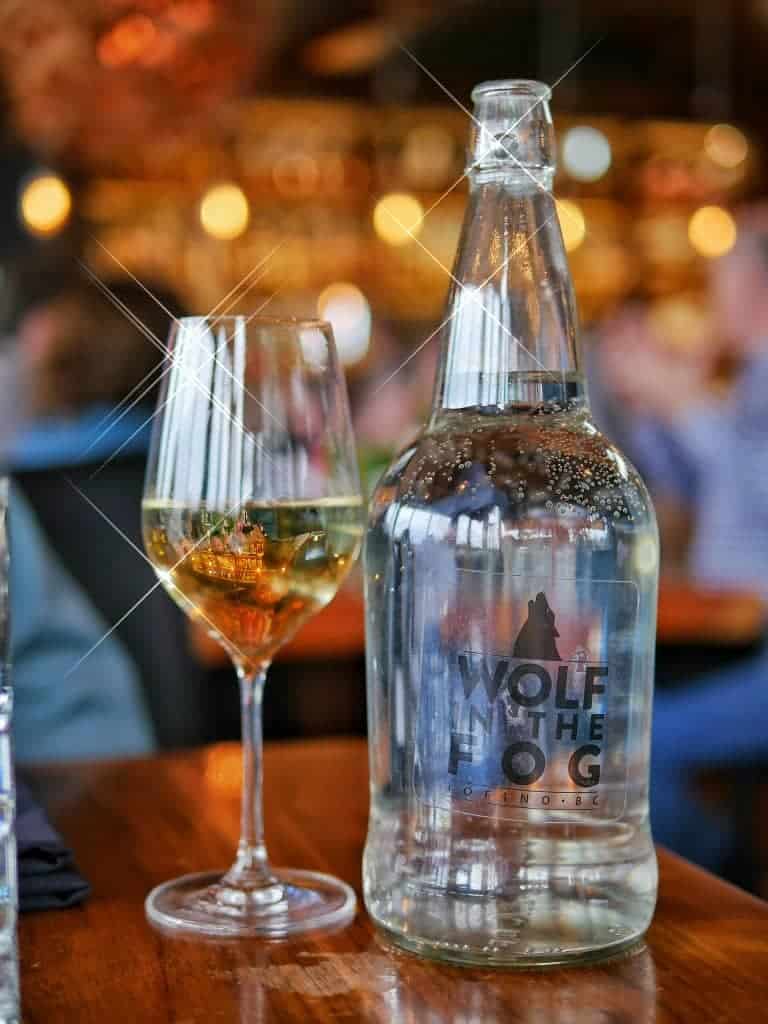
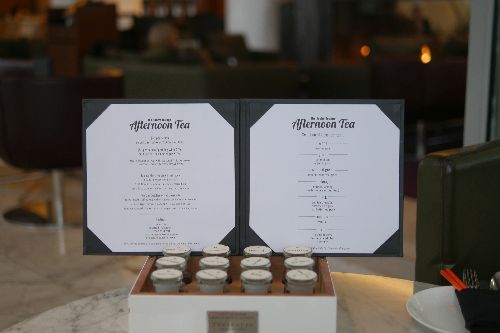
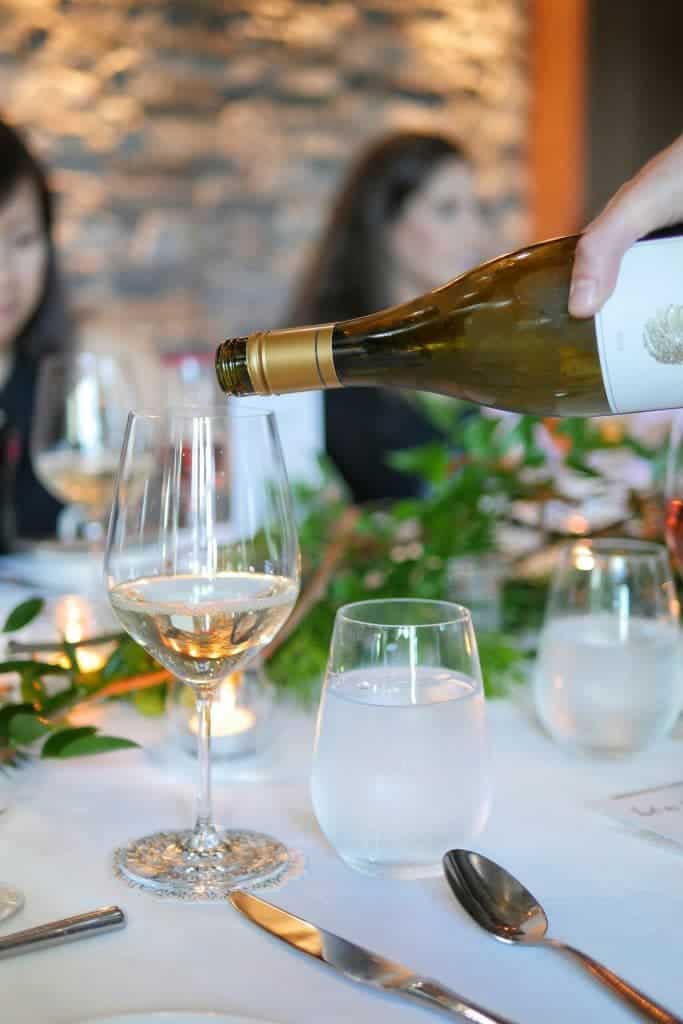
 Tea: A small collection of interesting blends and single flavours. We were provided with a tea box filled with a sample of each tea in a jar for us to smell. It was a nice interactive way to start our tea service. I enjoyed it so much since it helped me easily decide which tea I wanted. Sometimes I make the mistake of ordering acidic teas which I don't enjoy but the process of smelling the tea reminded me which flavours I would prefer. In the end I chose an aromatic black tea called Mad Hatter which allowed me to add sugar and cream (always crazy for cream).


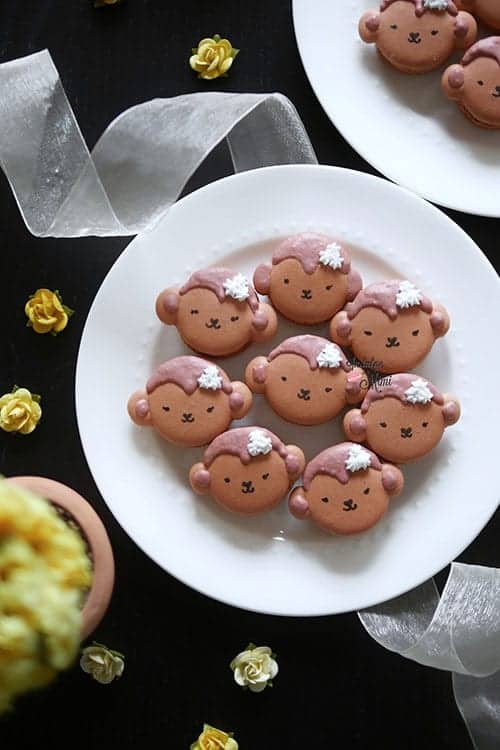
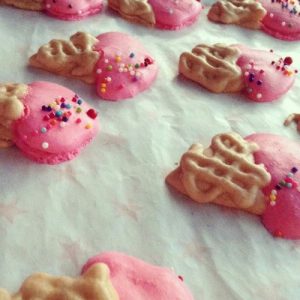
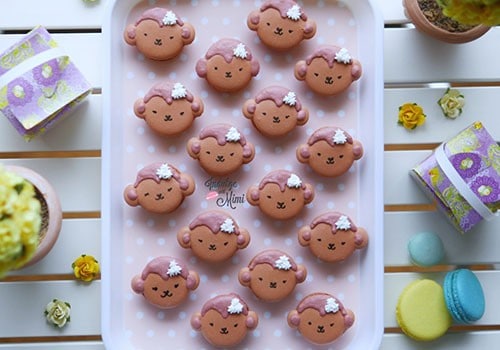
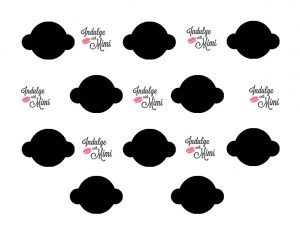
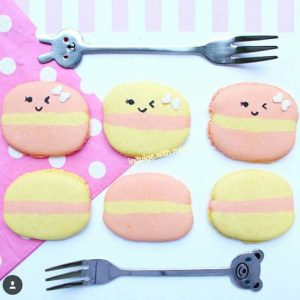
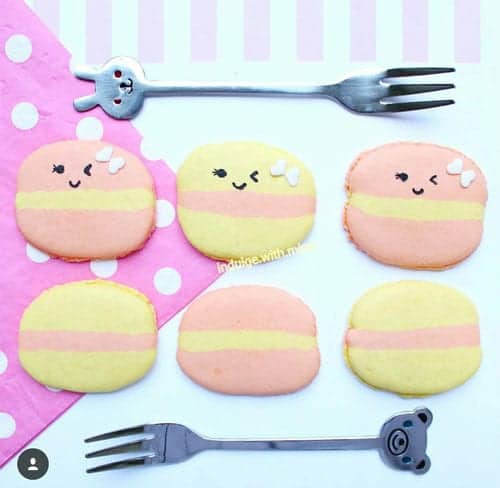
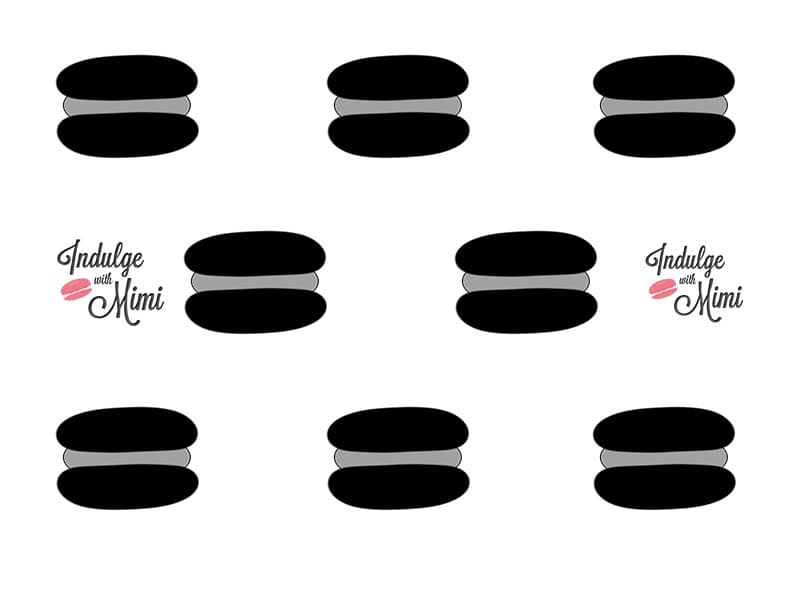
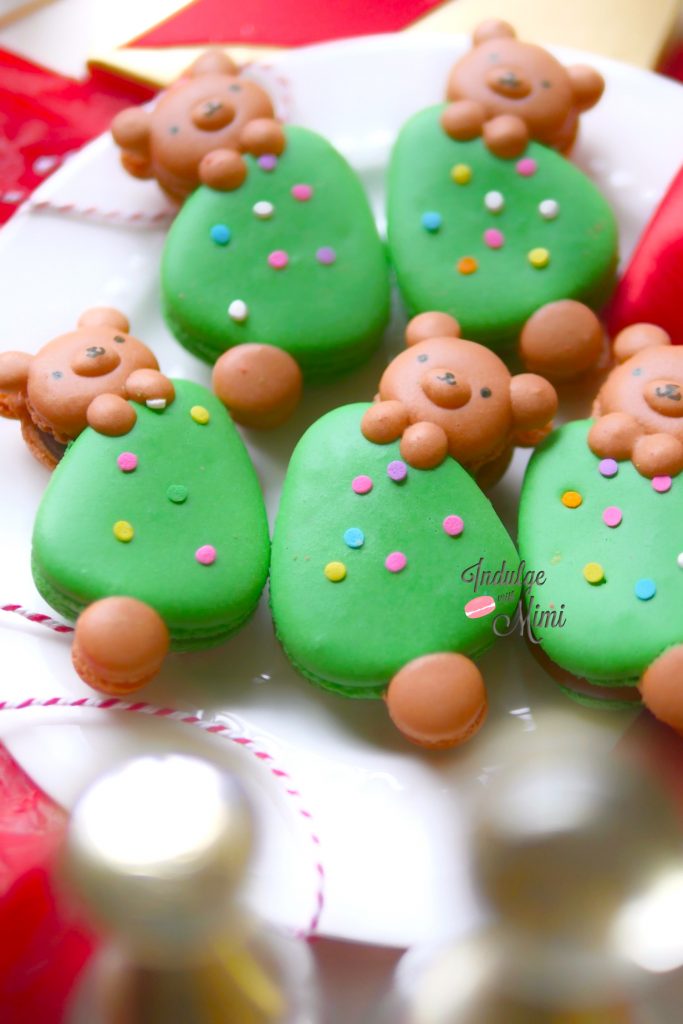
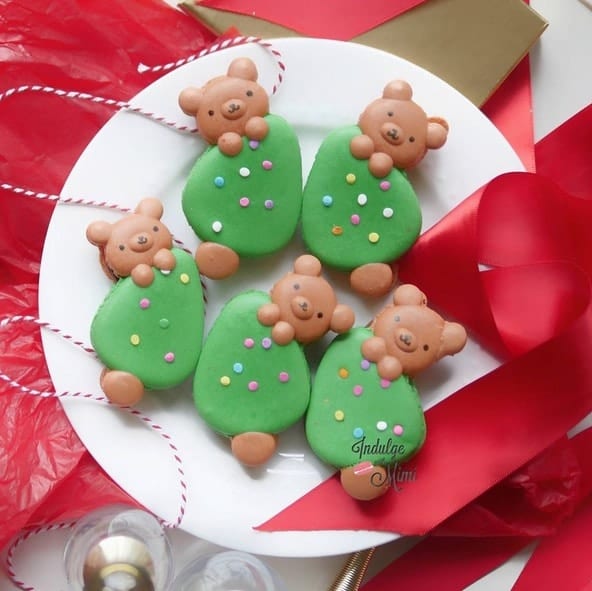
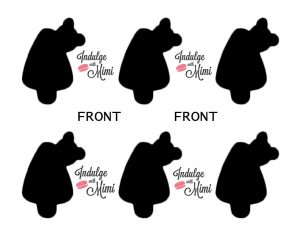
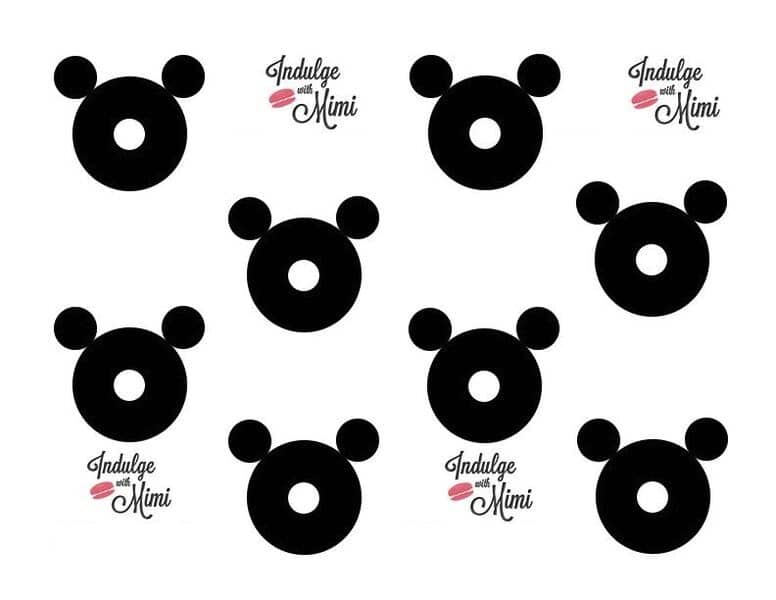
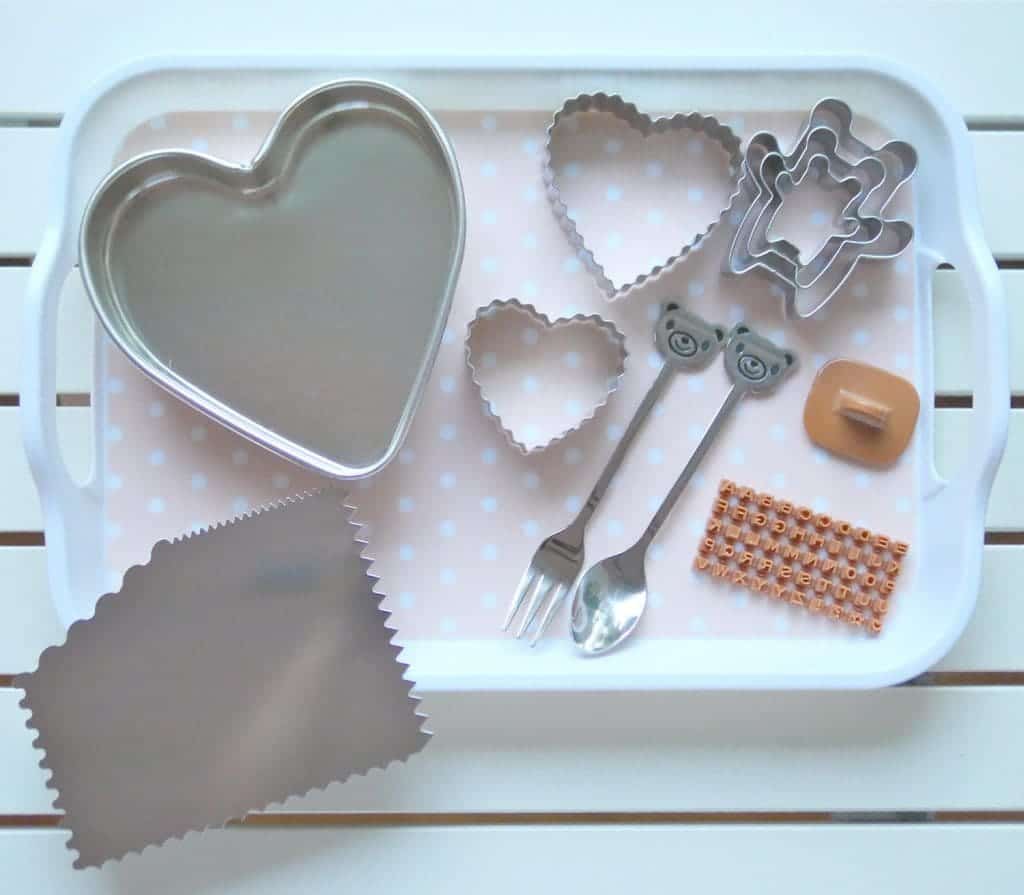
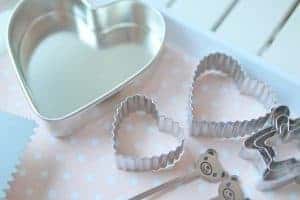
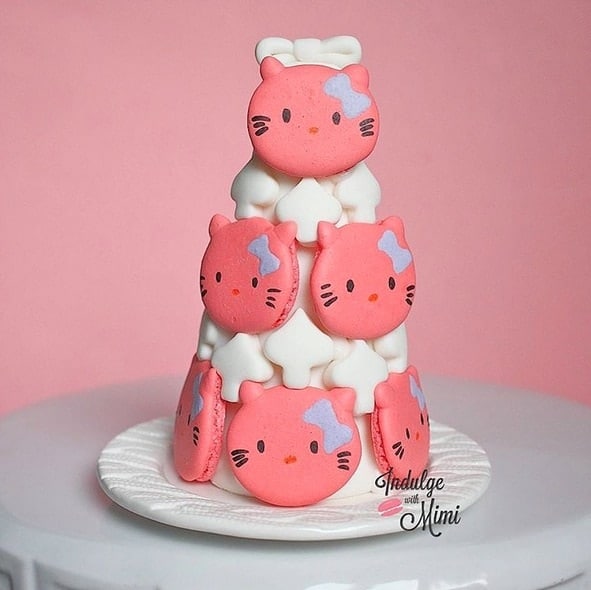
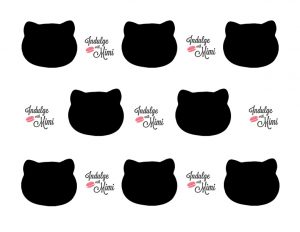
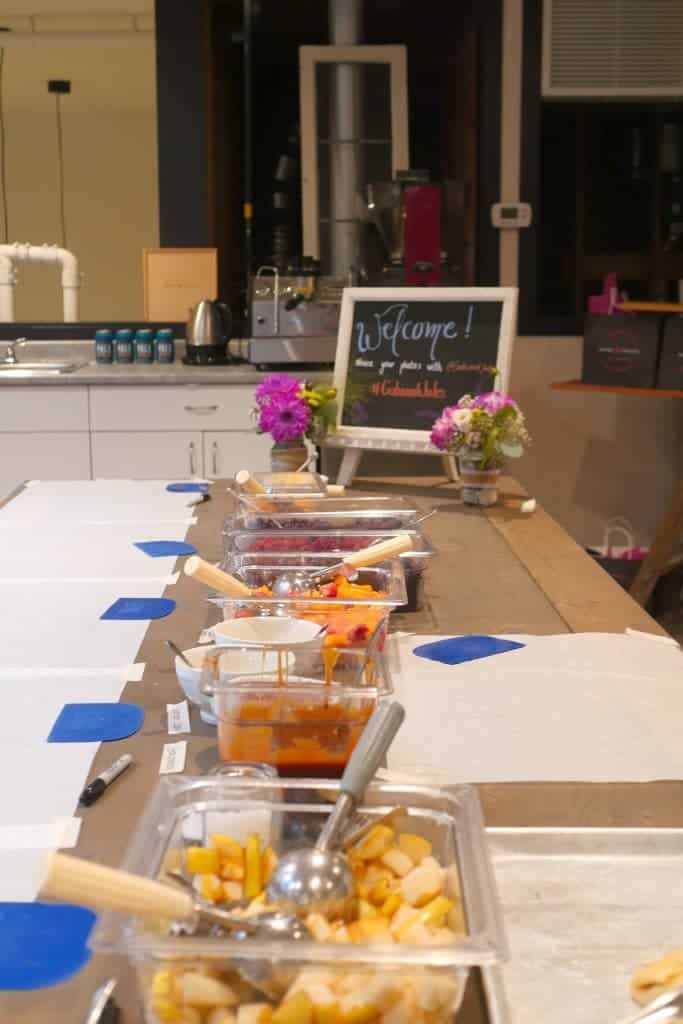
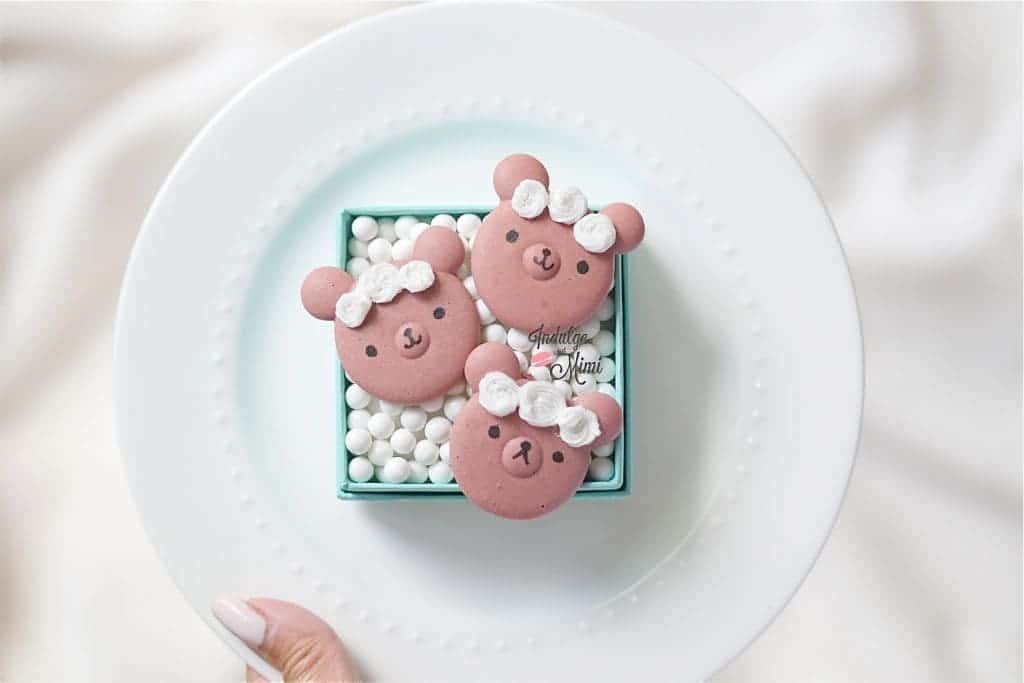
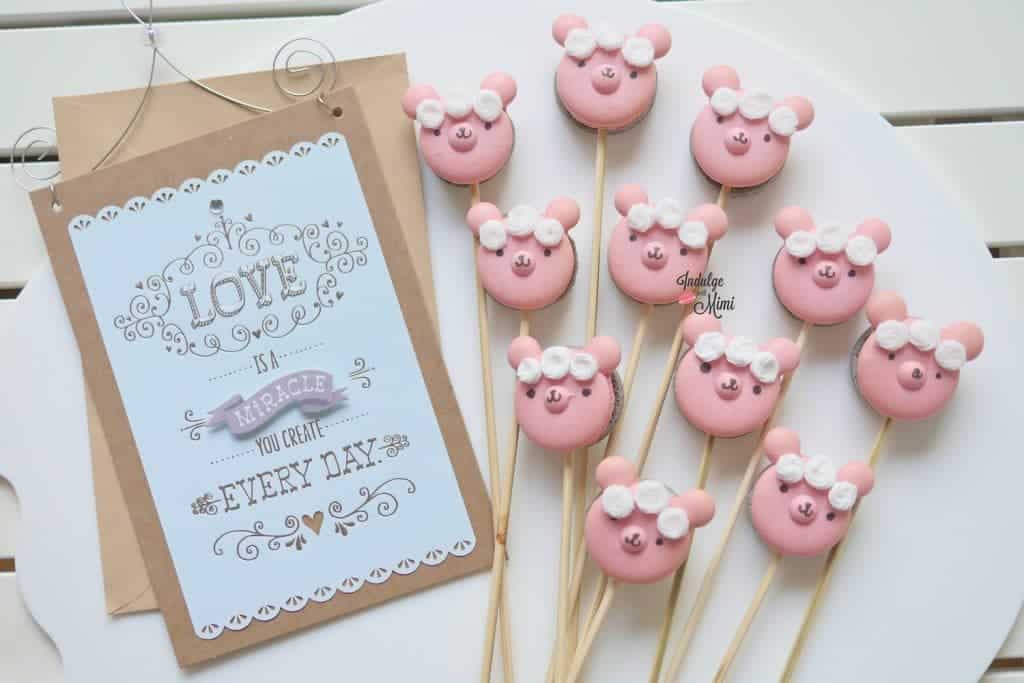
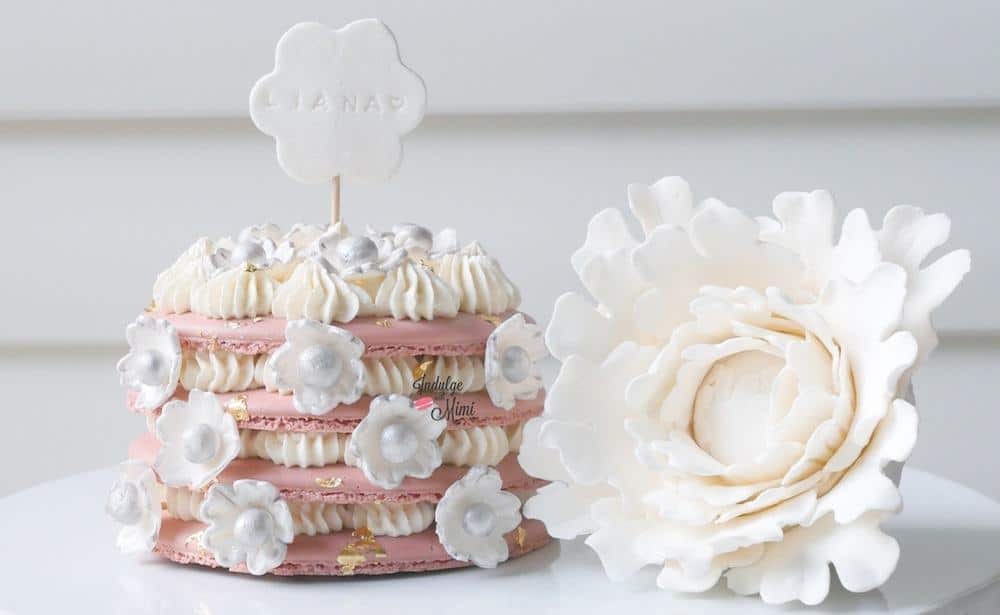
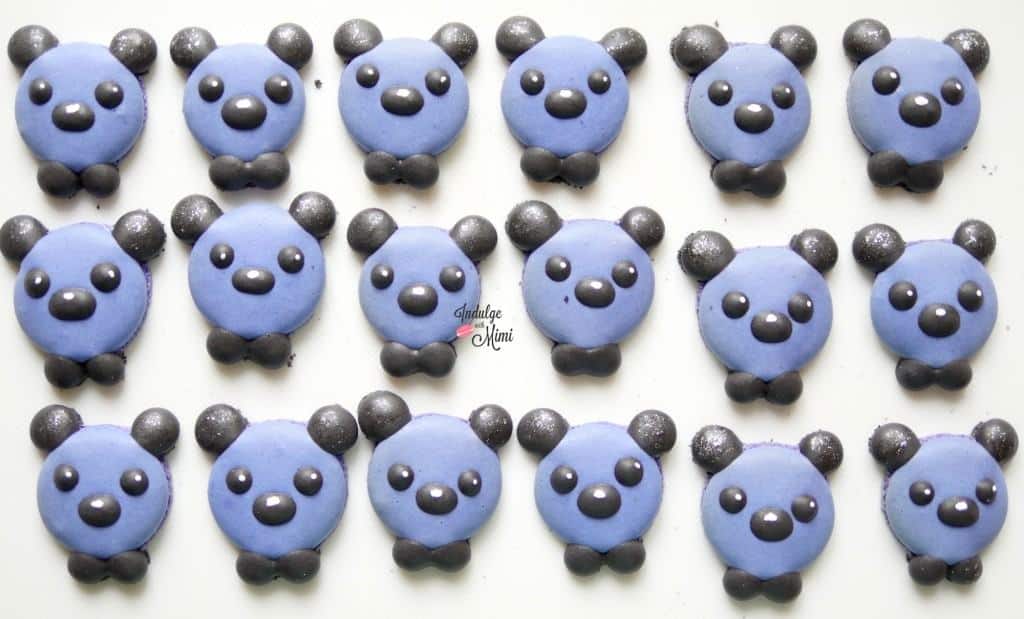
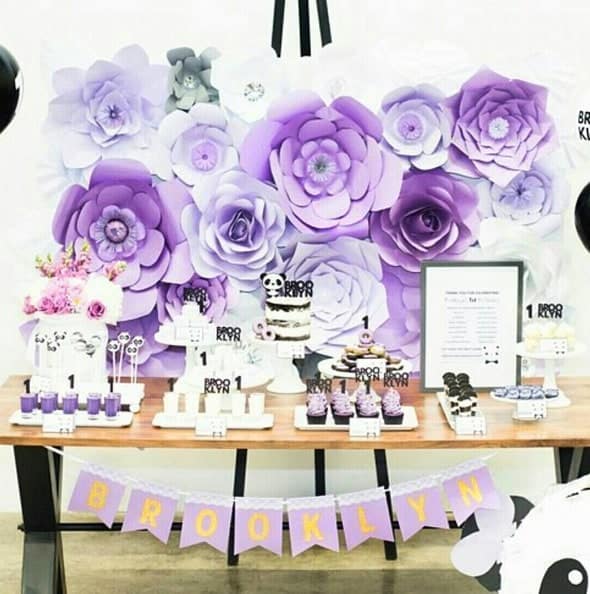
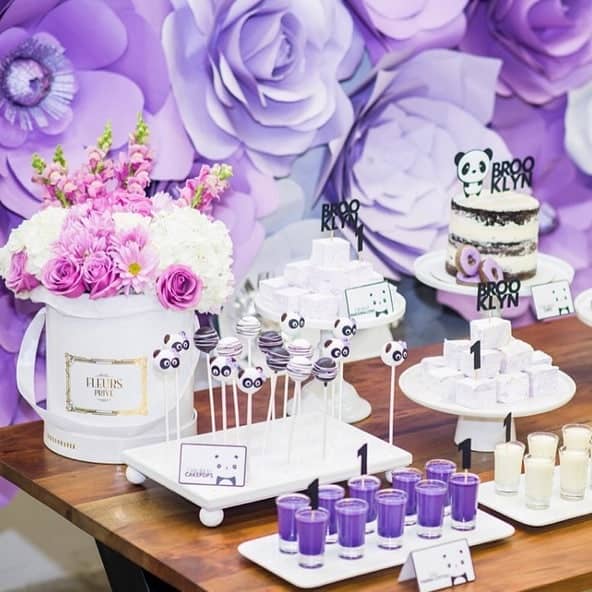
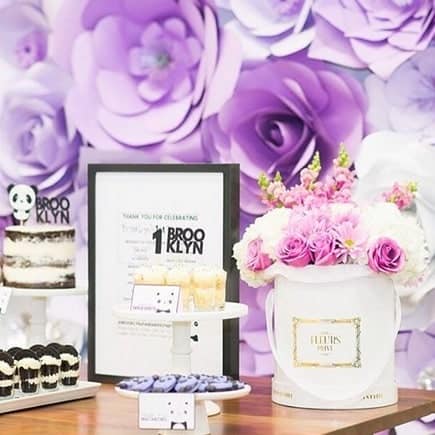
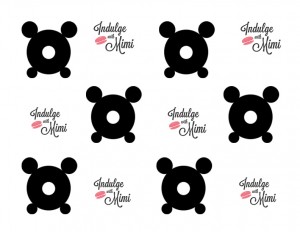
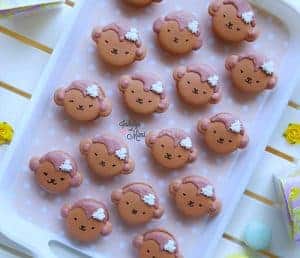 Here are some photos from the celebration and I've included the monkey macaron template for you to download. Even though the monkey year has just passed us (it's now the year of the chicken), the template should still come in handy for celebrating the little babies are who are turning one this year. It would also be great for anyone who loves monkeys because really, who doesn't love monkeys?

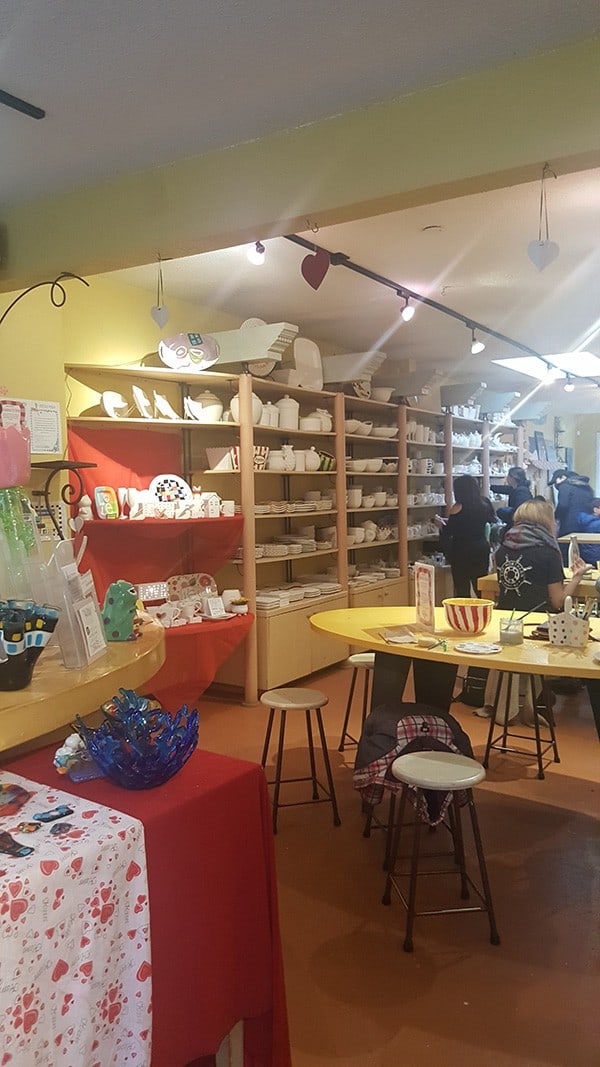
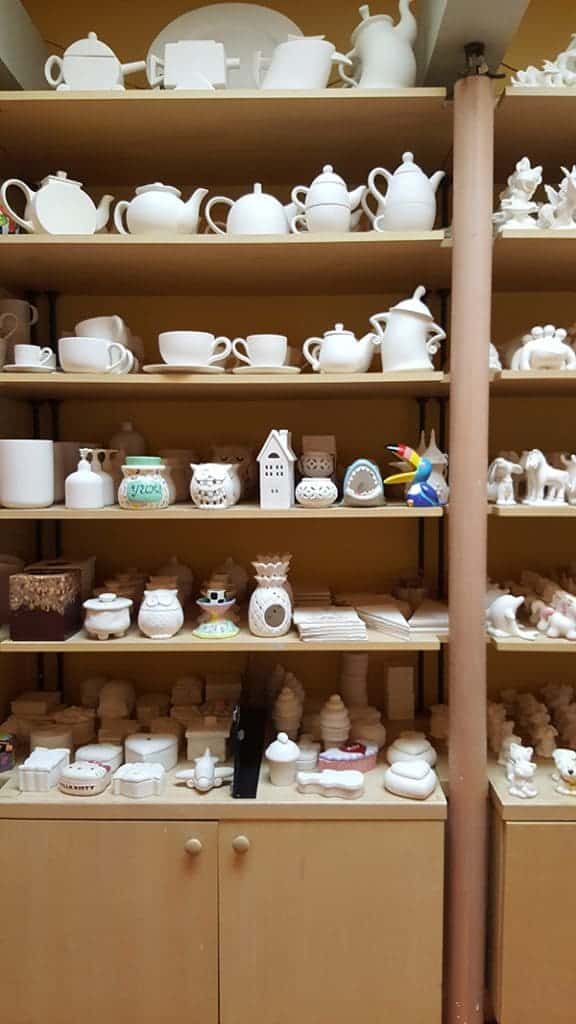
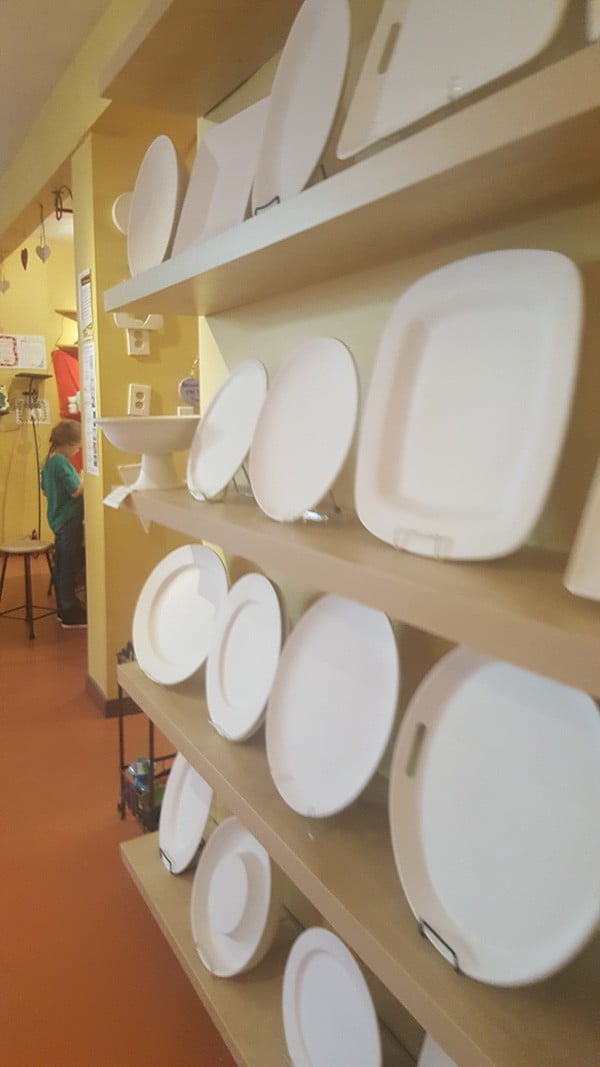
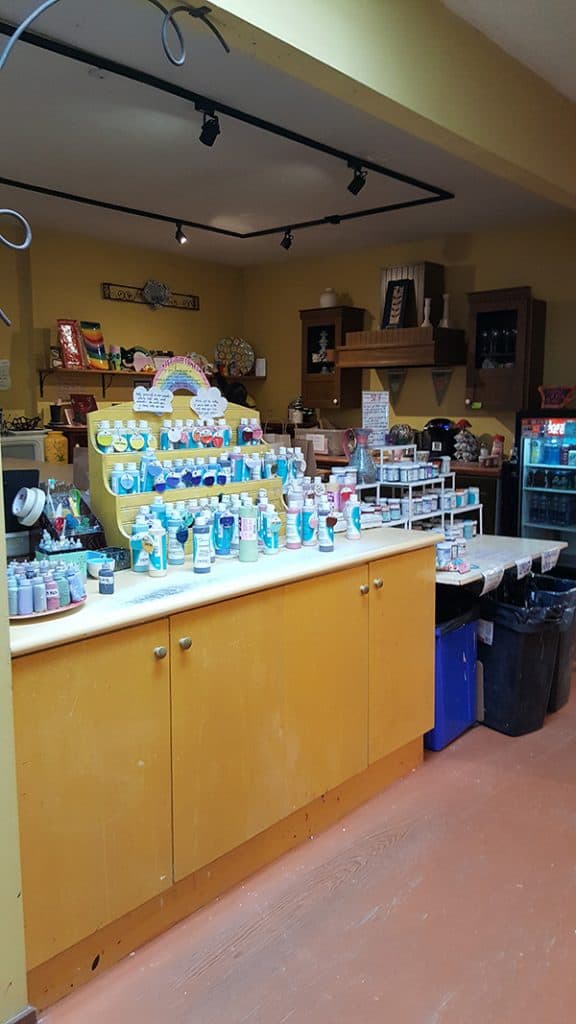
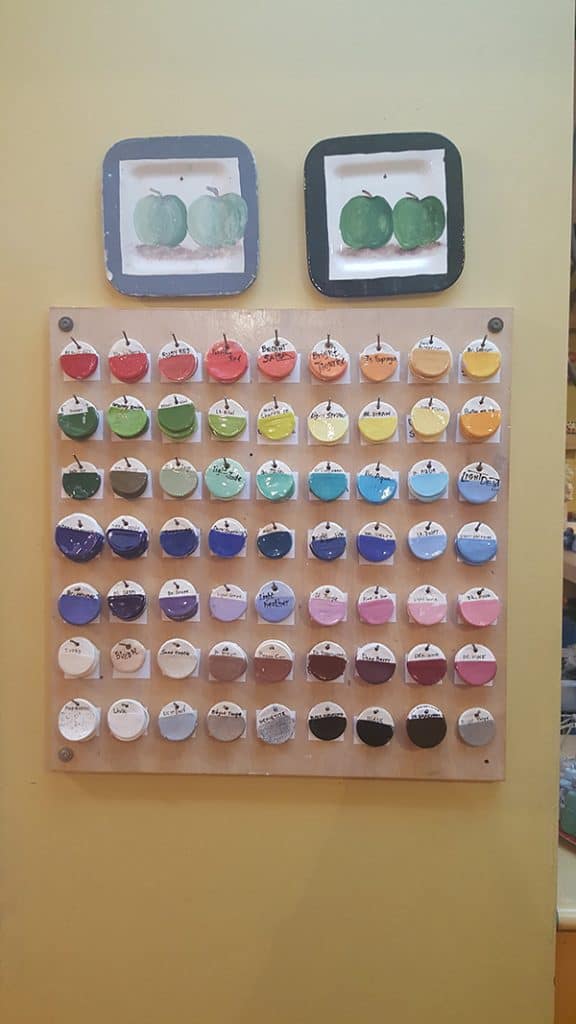
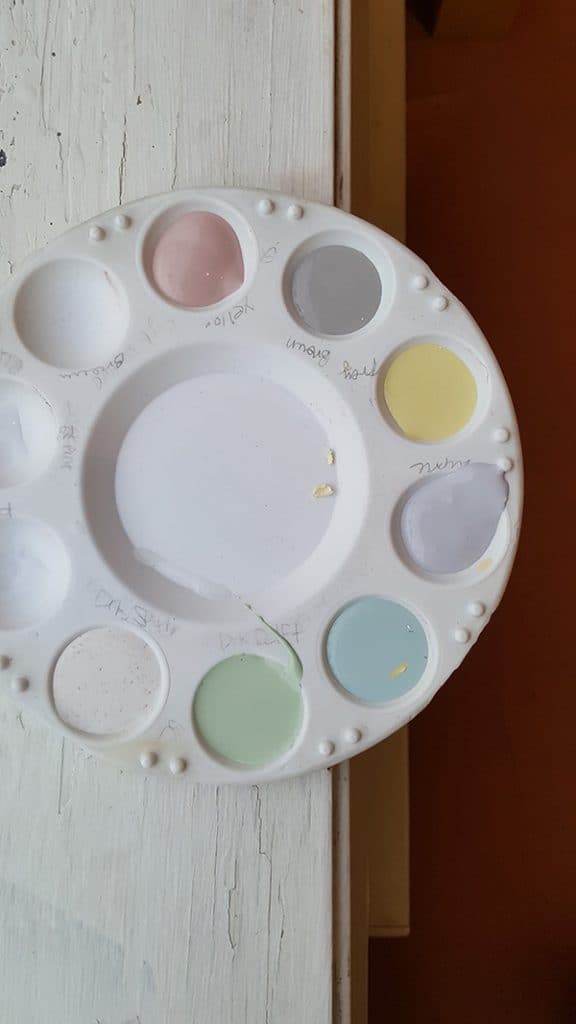
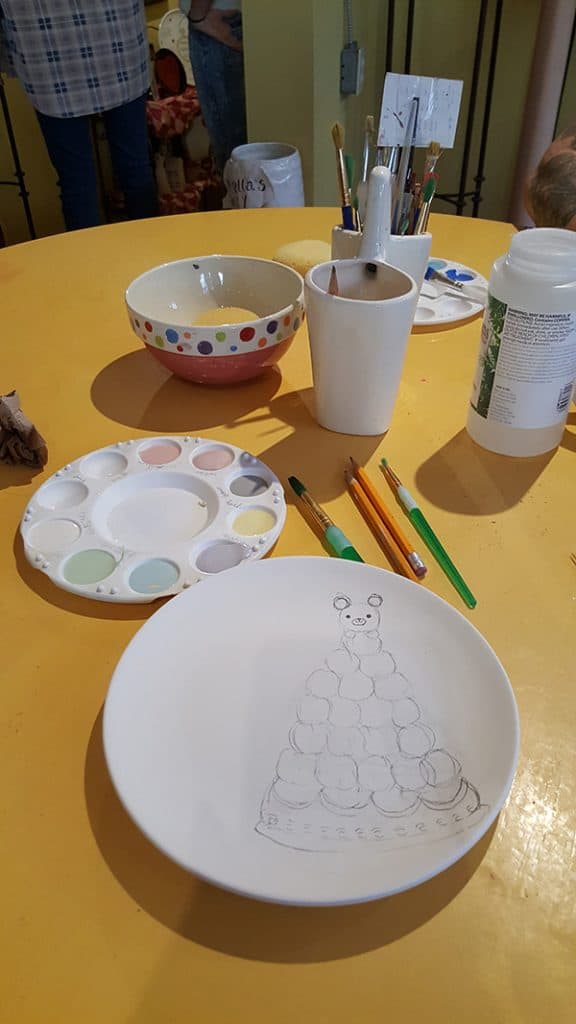
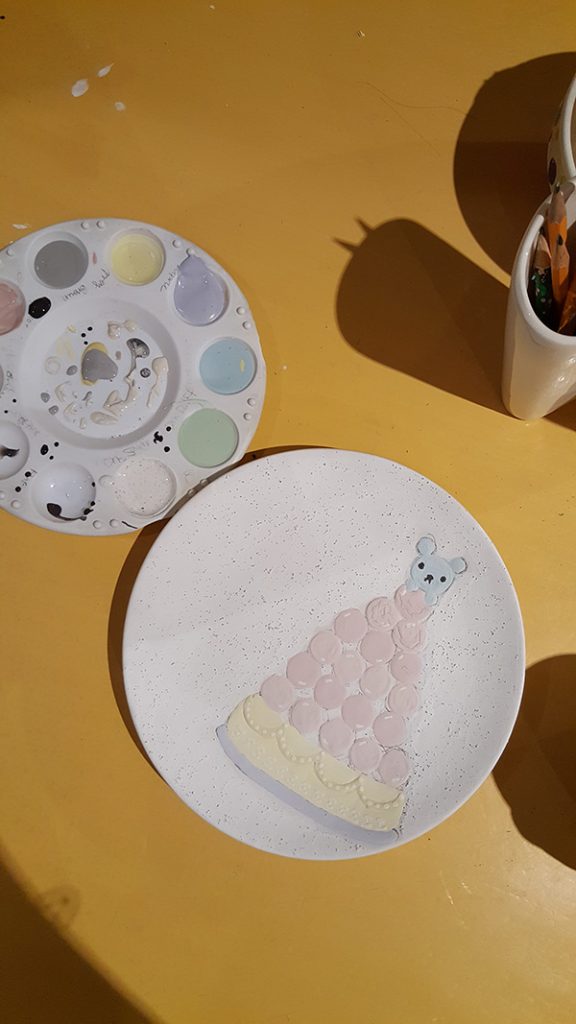
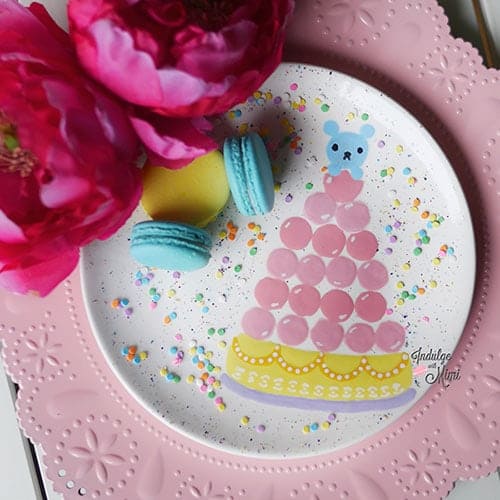
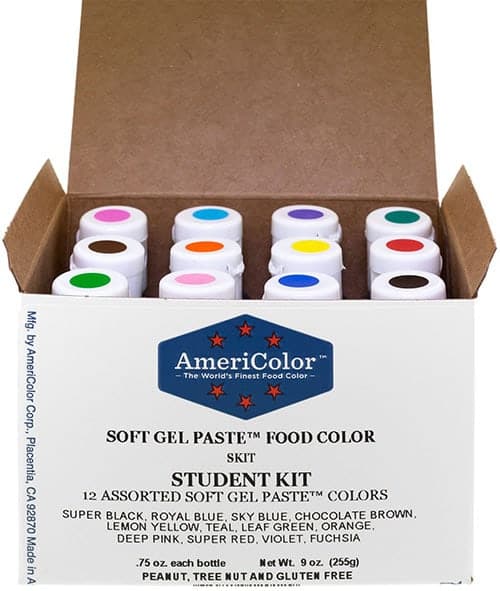
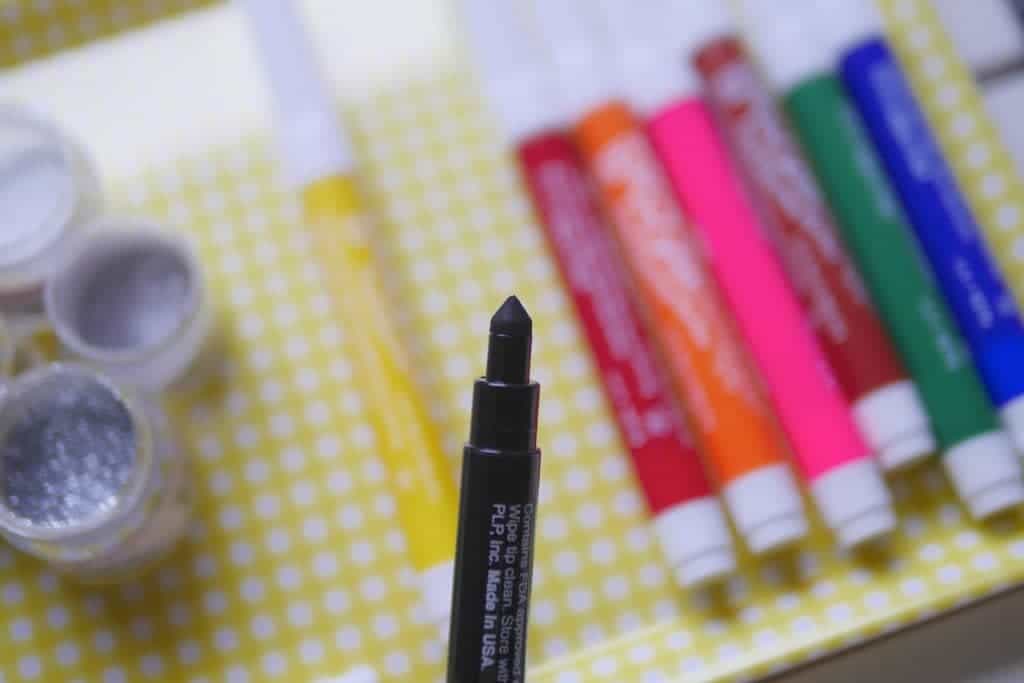
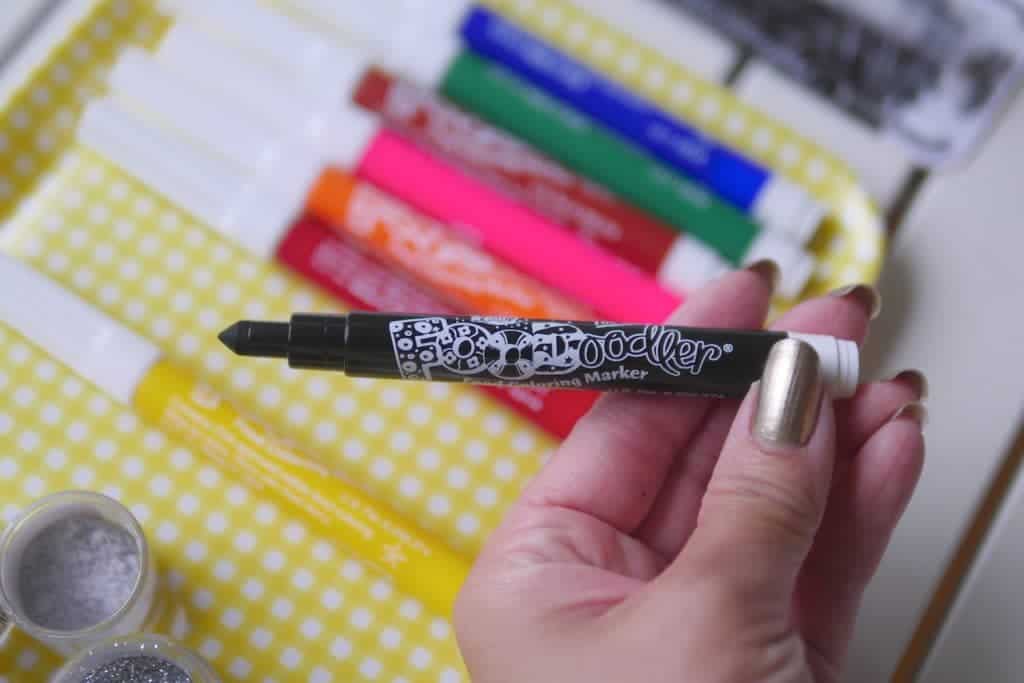
 My previous conceptions of painted pottery are from childhood. In my mind, self-painted pottery had bold colours and crude paintbrush strokes. You know, the typical type of handcraft you'd make at school to bring home as gifts for mom and dad. I was pleasantly surprised to find out that wasn't the case. Although the studio is perfect for children, it is also a great place for adults too. They offer so many different colour of paints (pastels being my favourite) and they even have fine tipped brushes which they will lend you upon request since they don't want the children to be too rough with them.
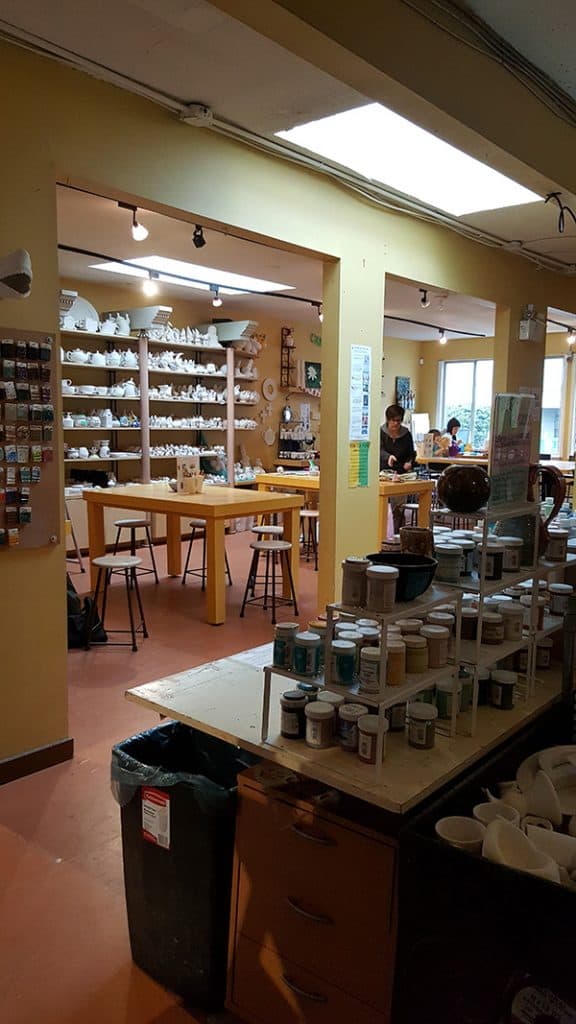


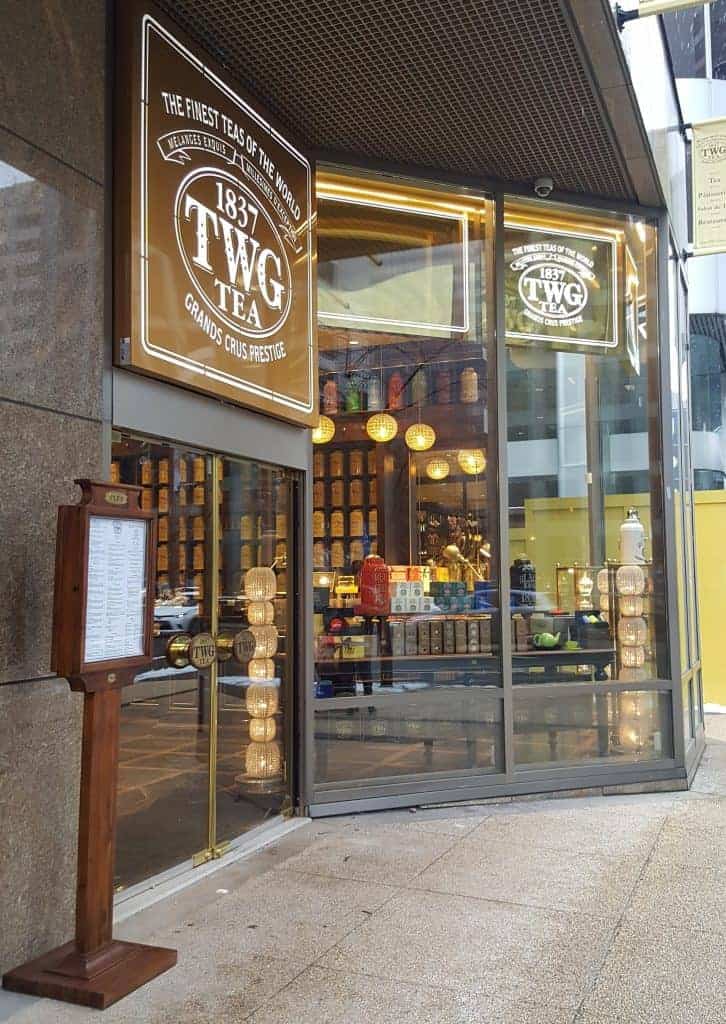
 Their new location in Vancouver is housed in the former
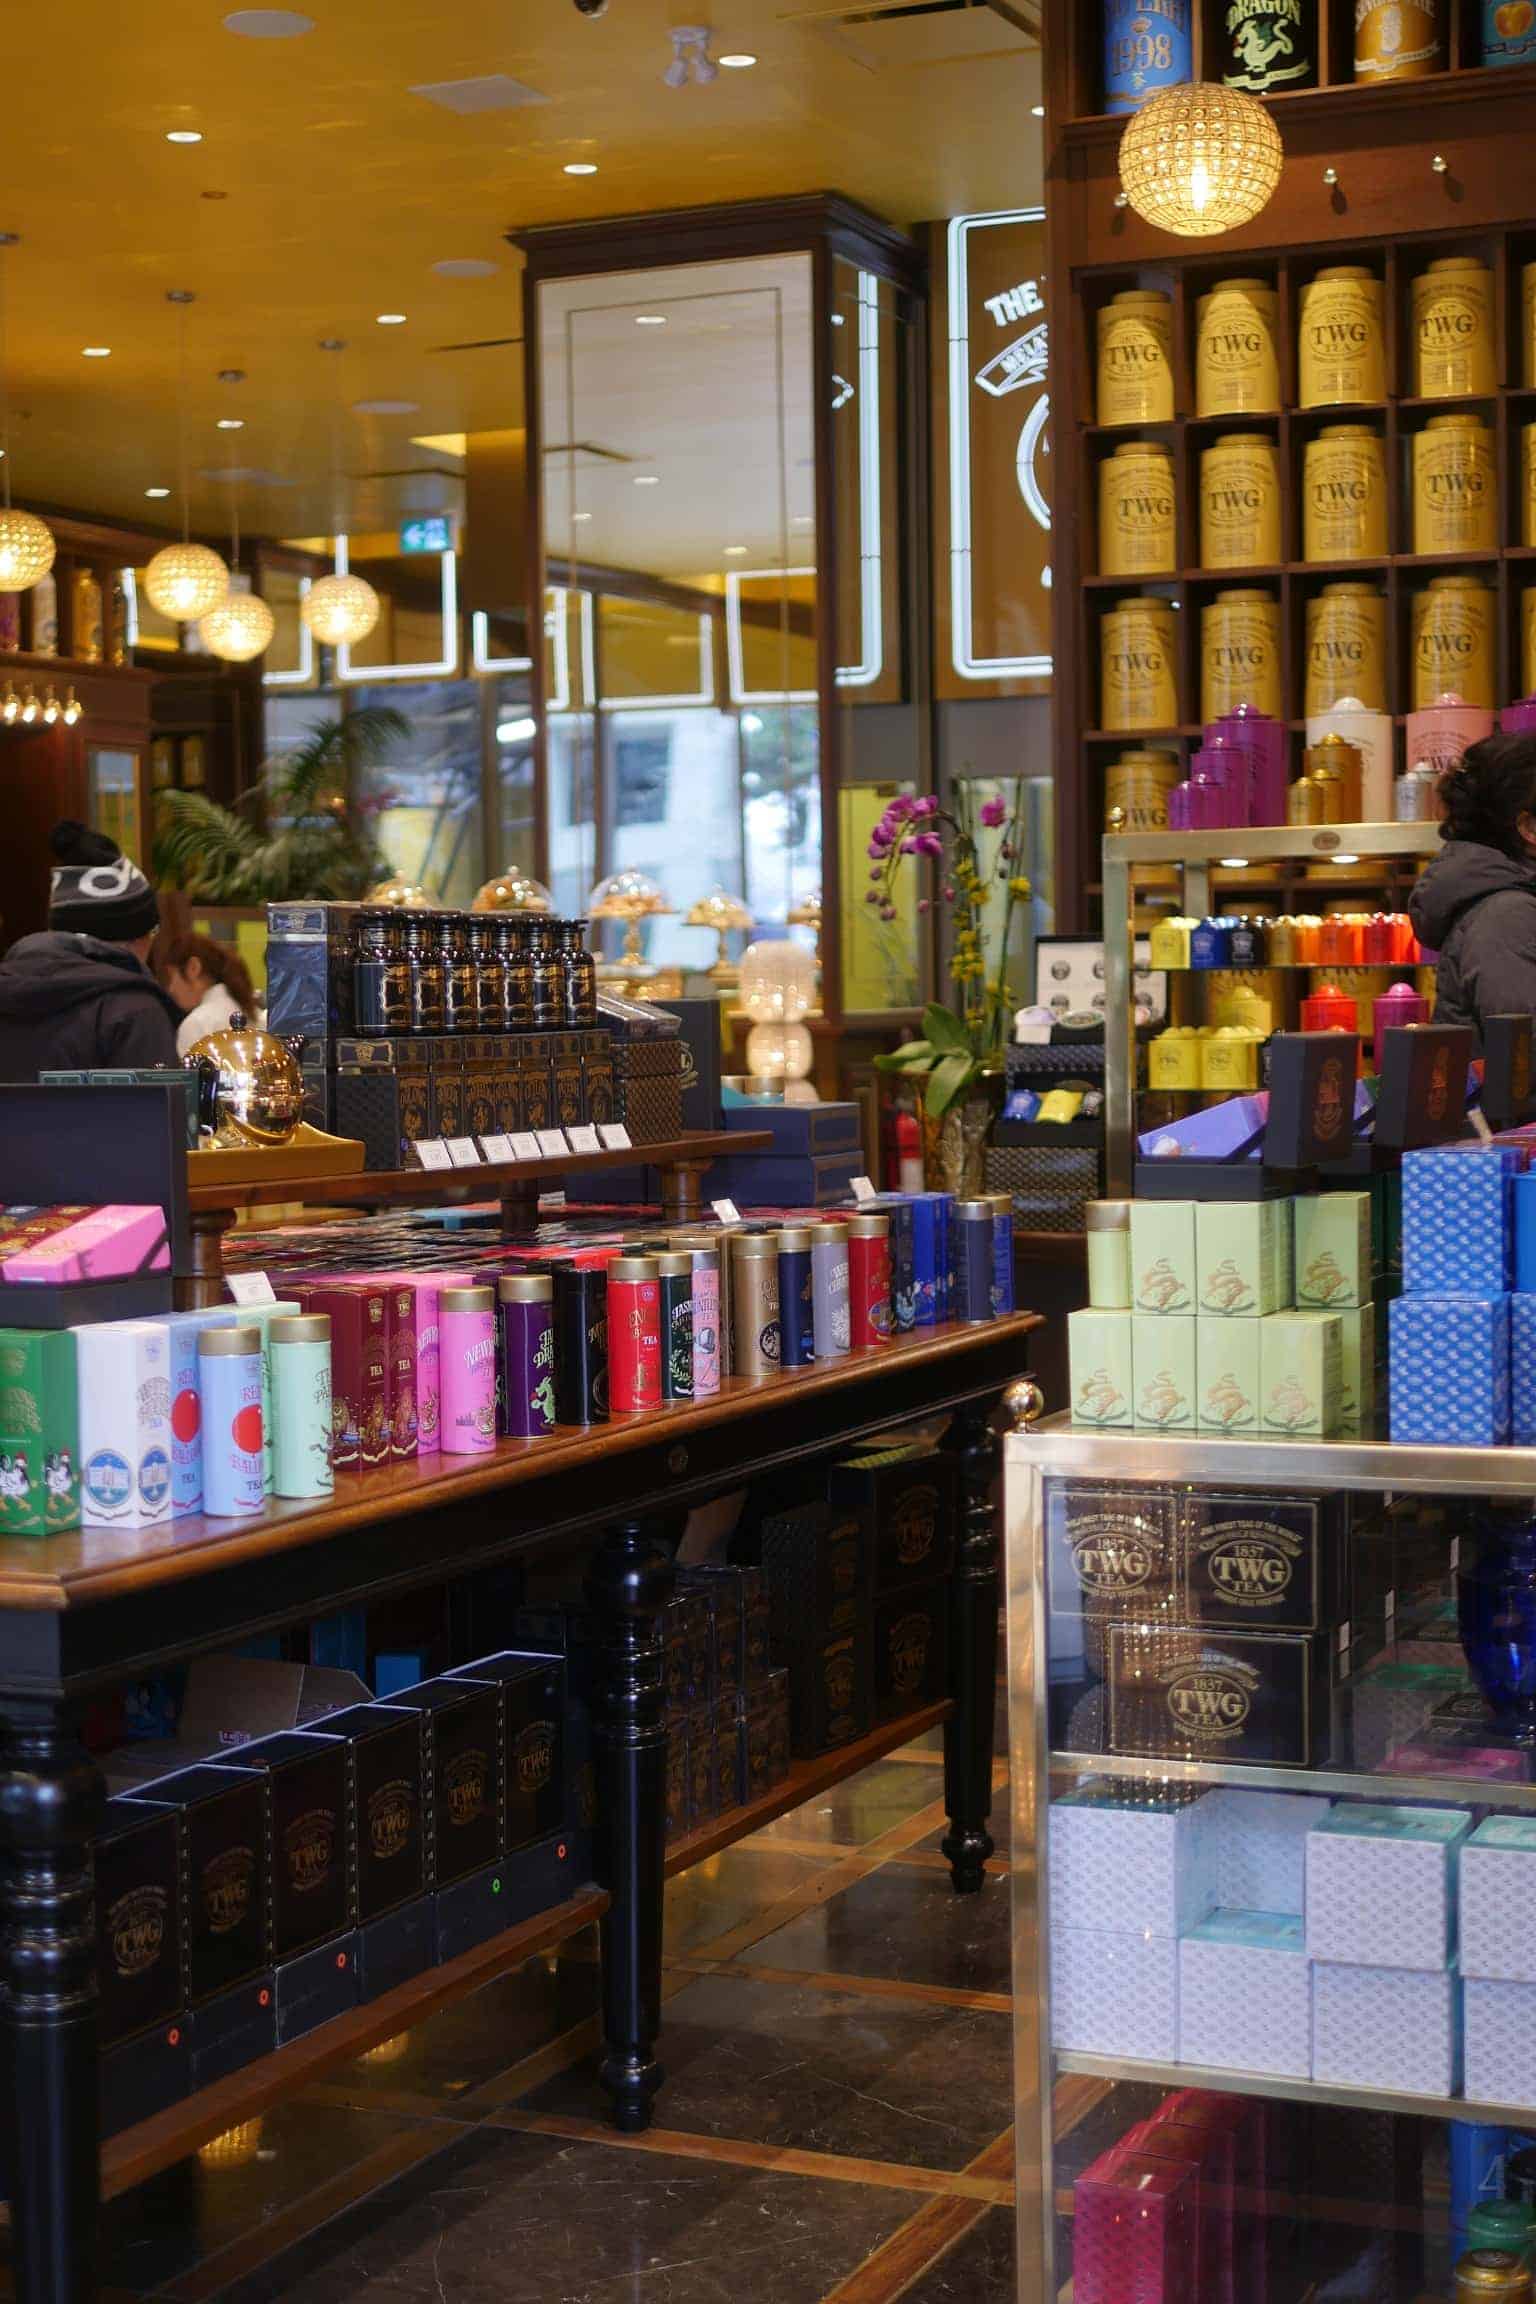
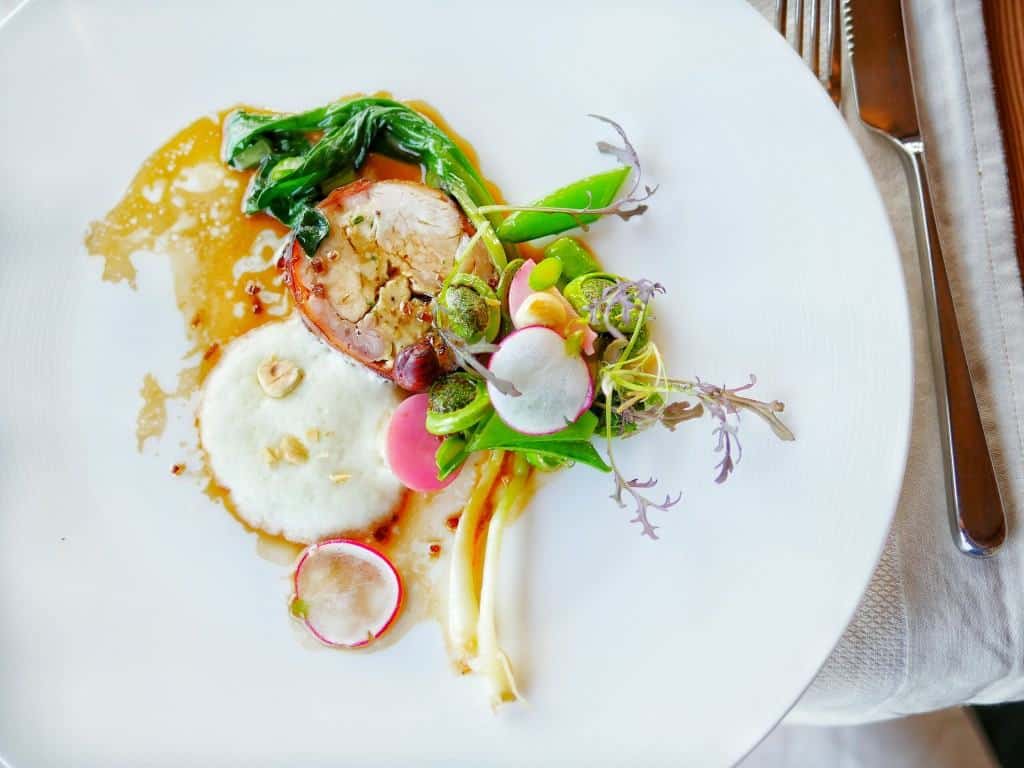
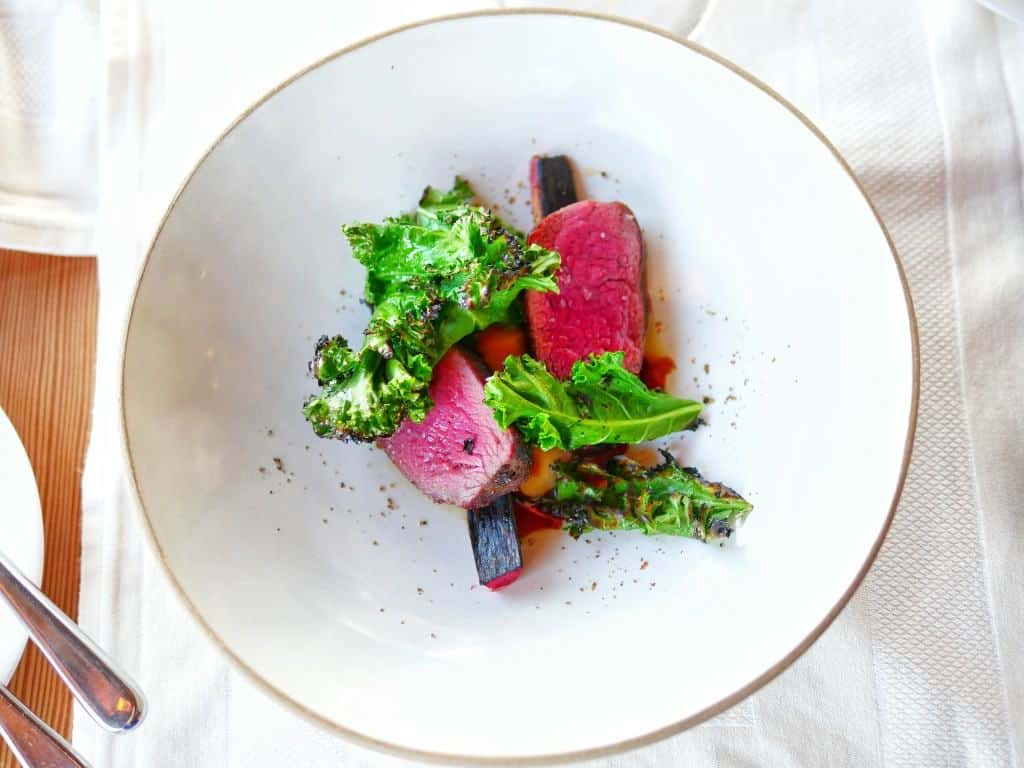
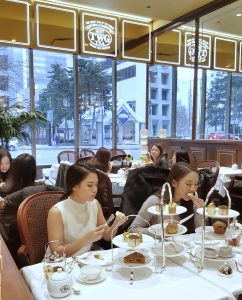
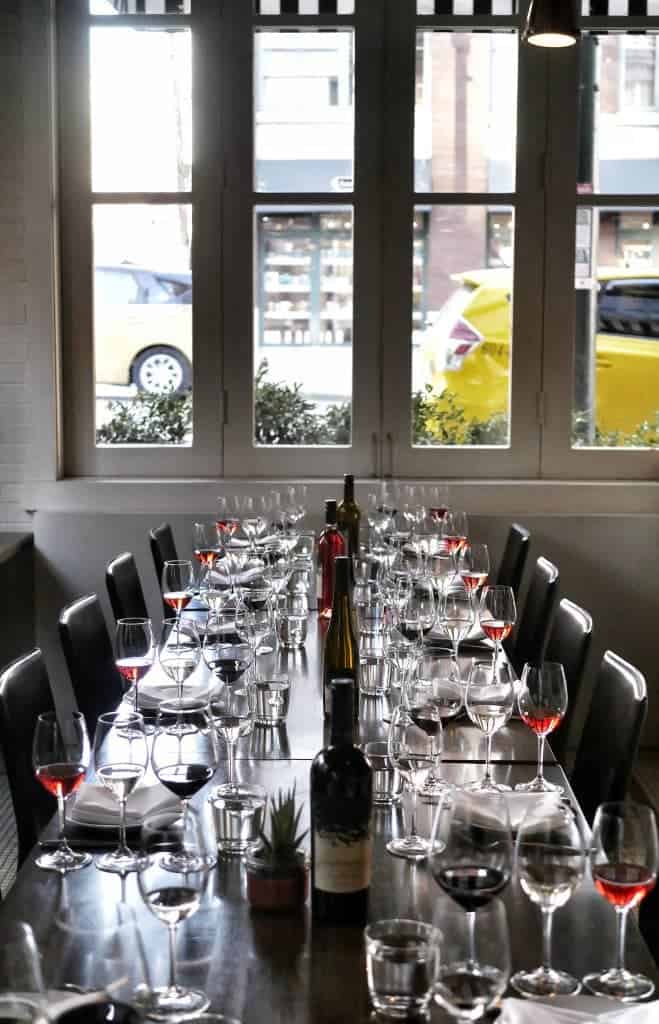
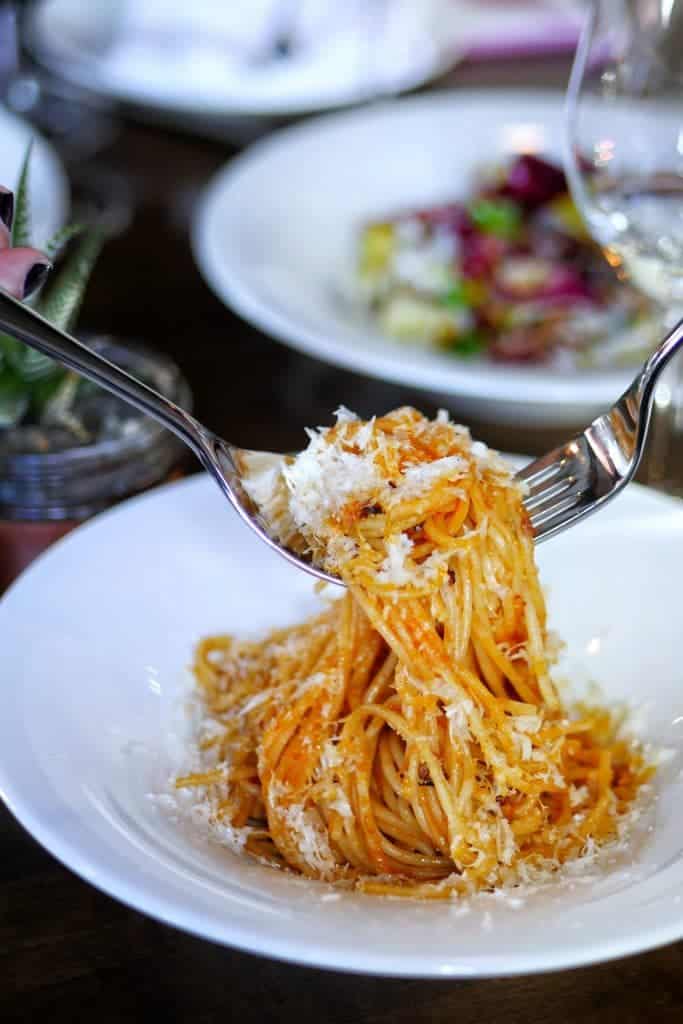
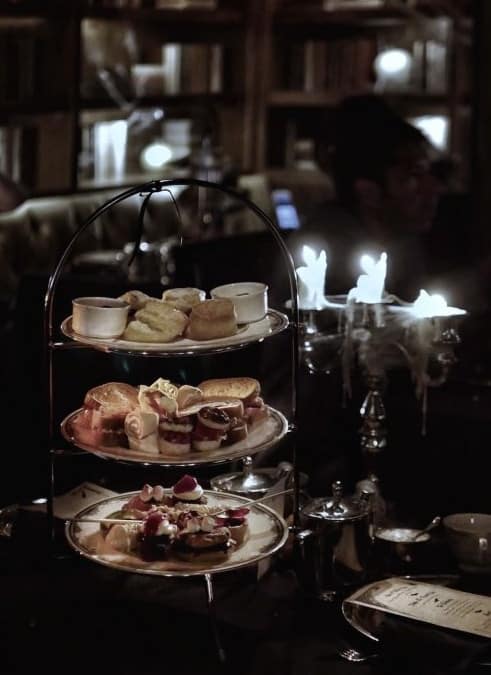
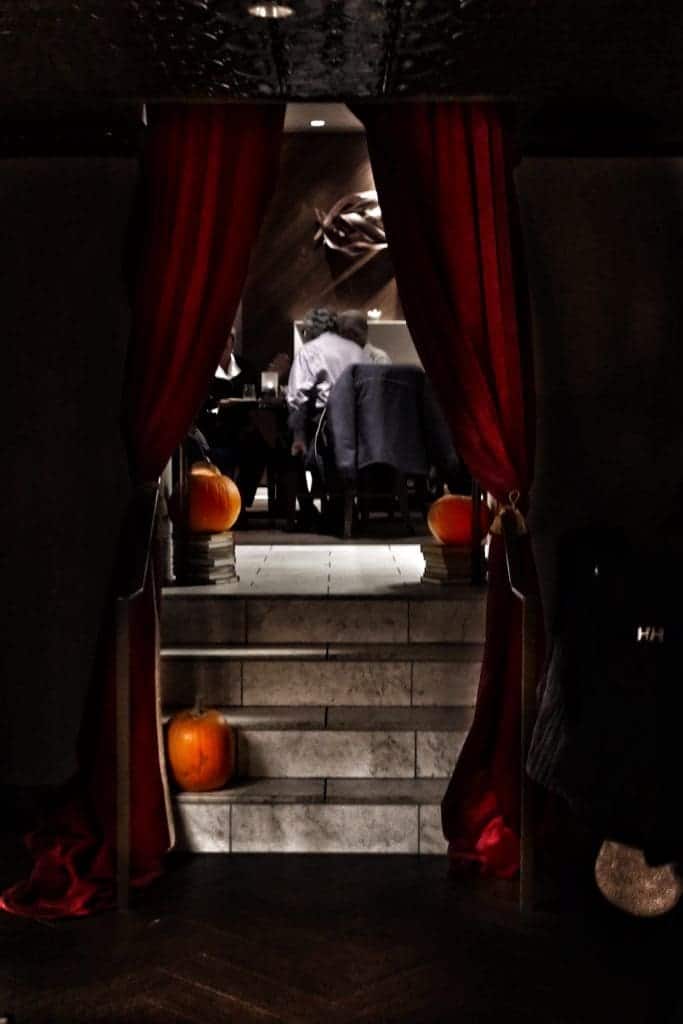
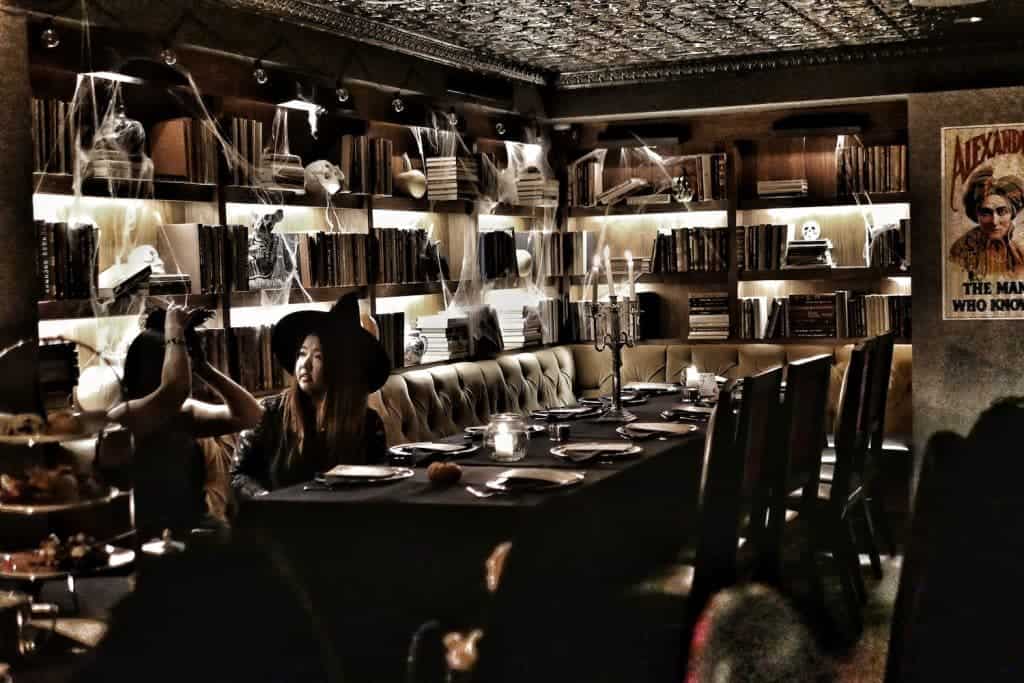
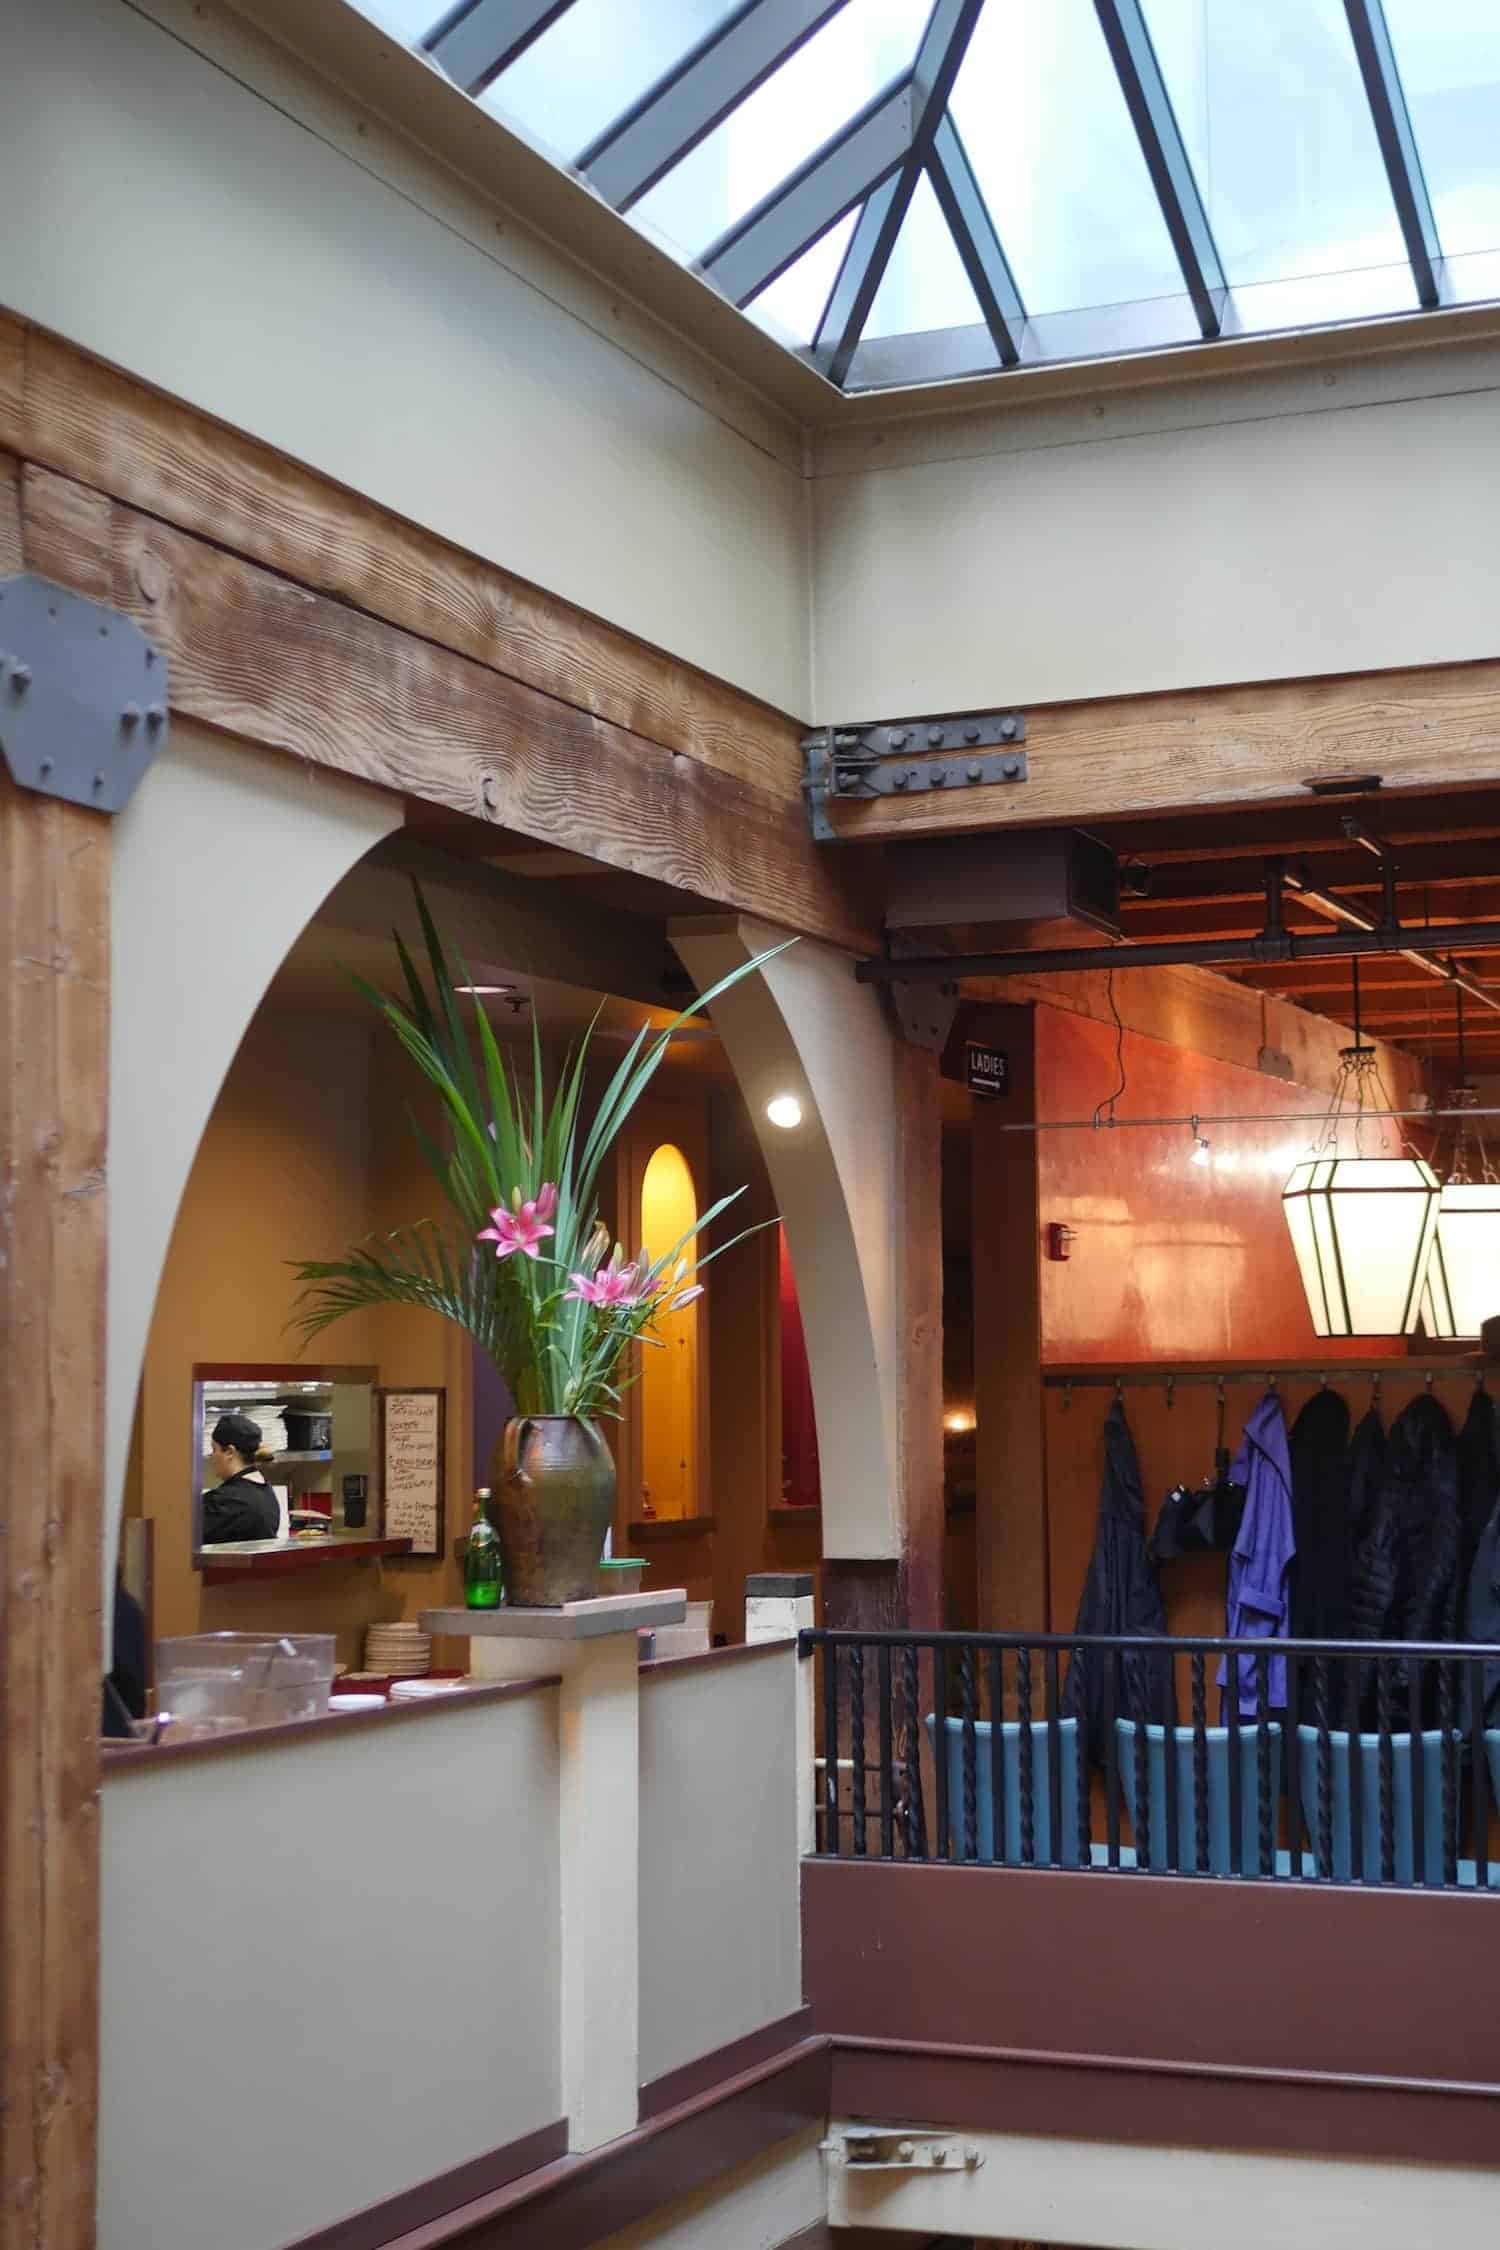
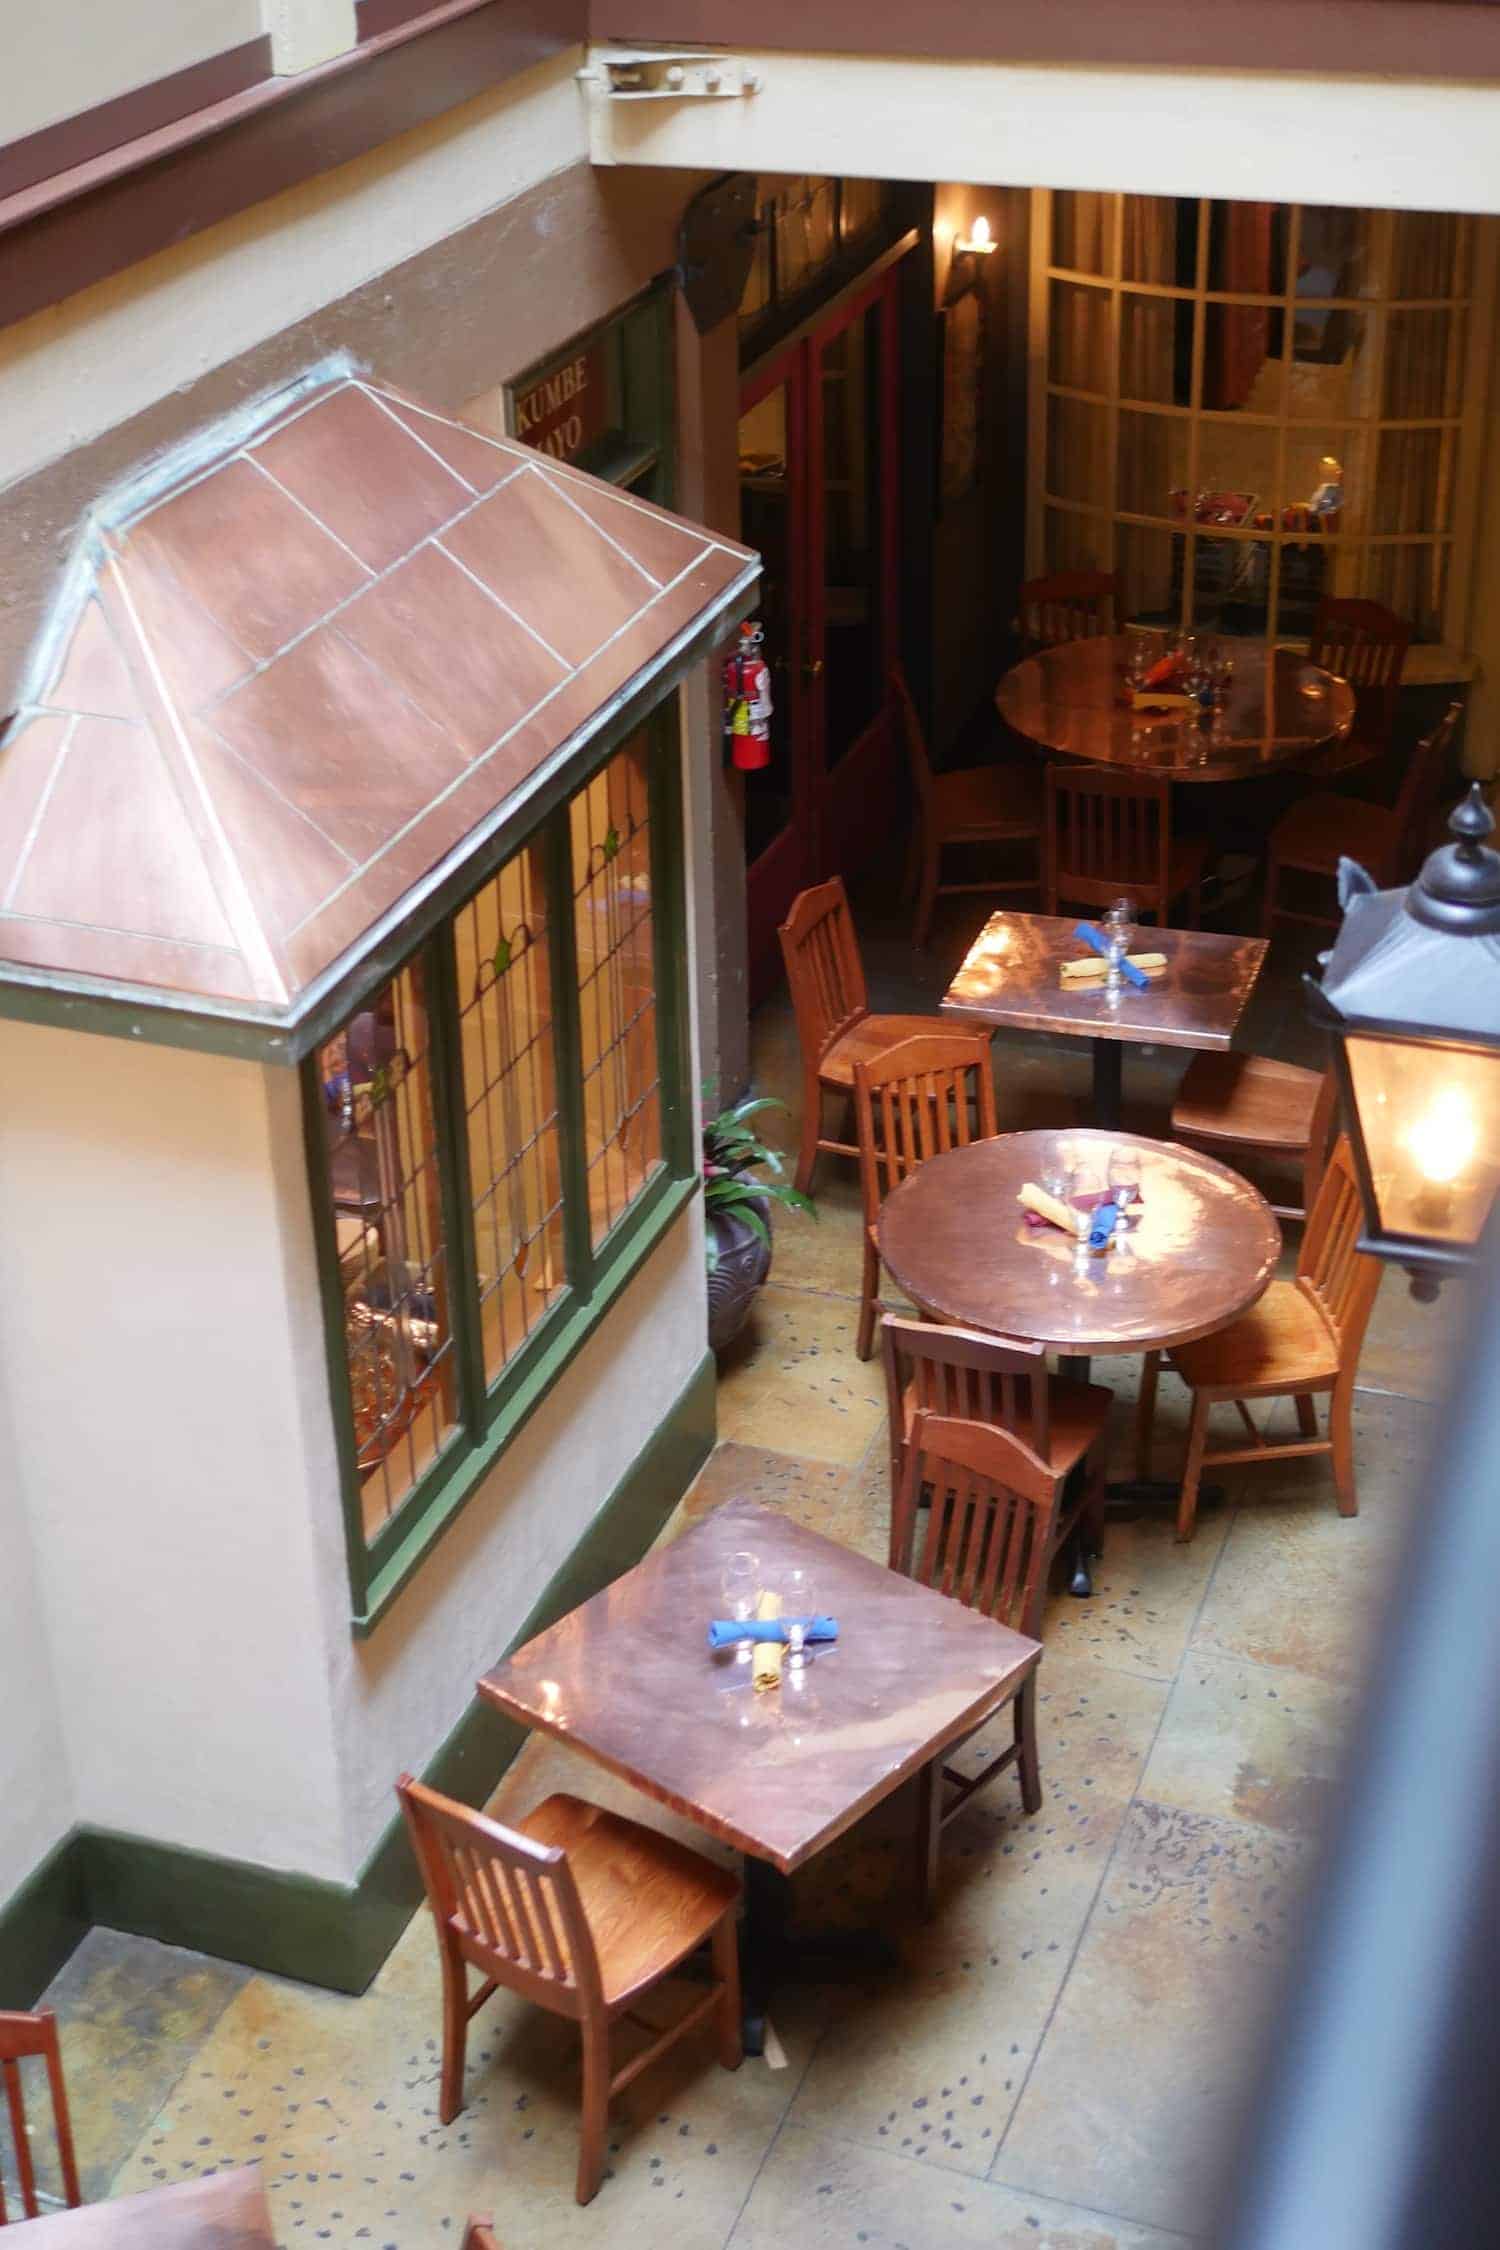
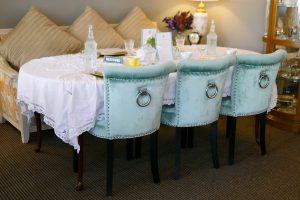
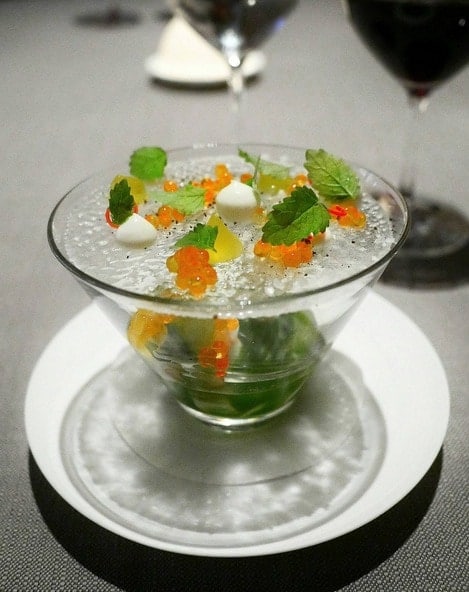
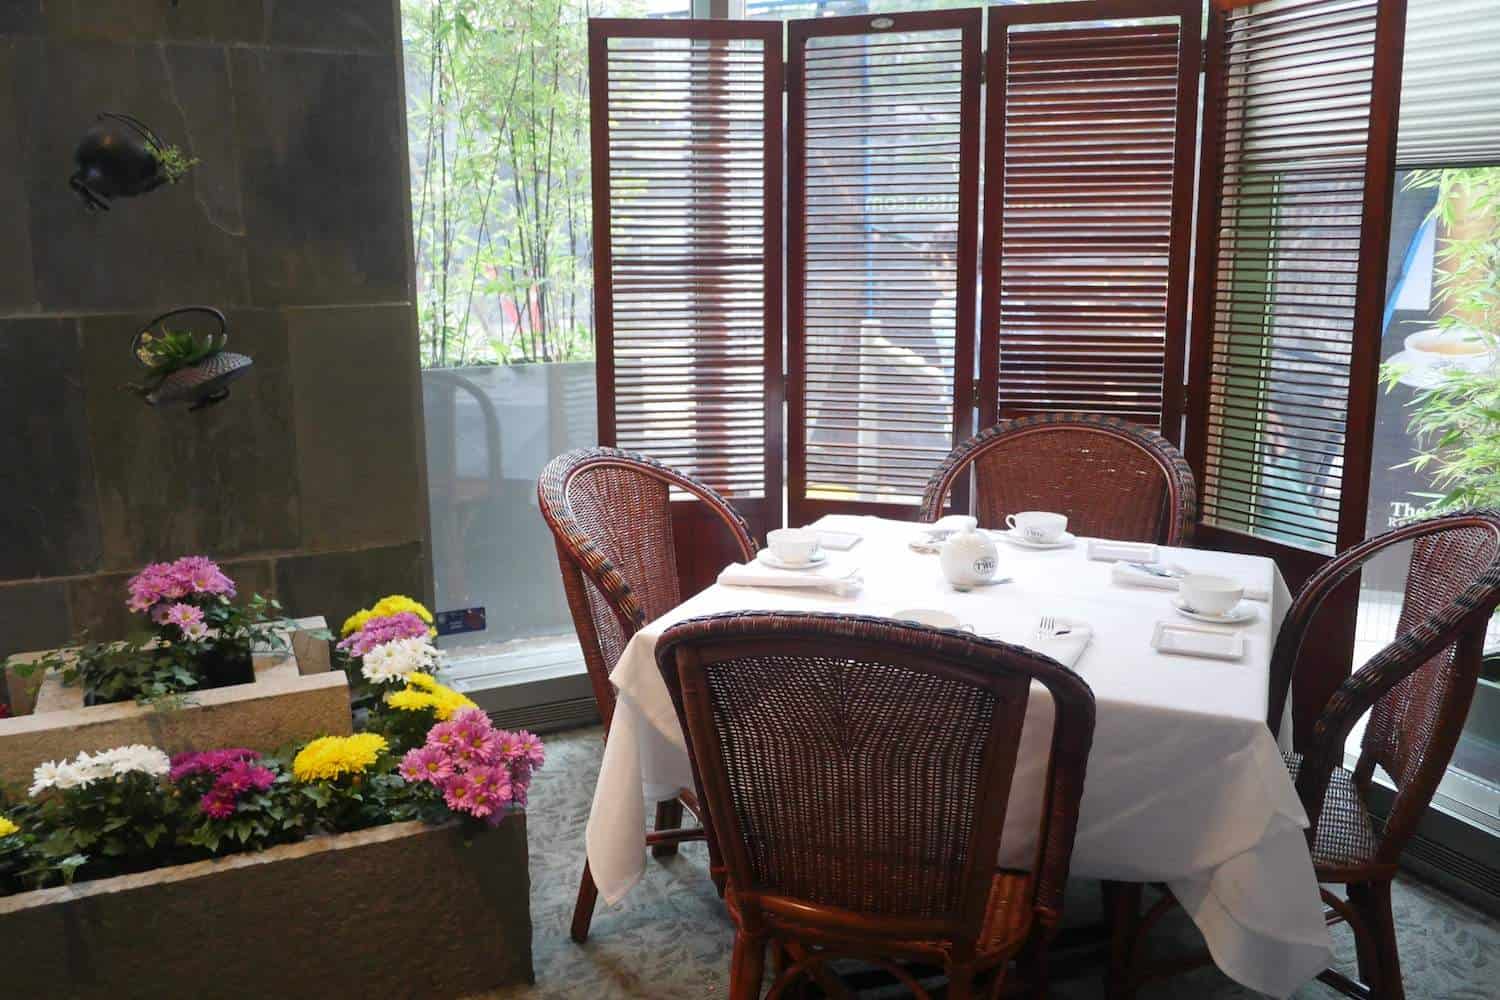
 Ambience: Classic opulence on the inside. Dark wood furniture, velvety soft covered dining chairs, white table cloths, hanging pendant lamps. The space is on the small side with 2 levels. The two levels are separated by a ramp with a slight incline. The lower level has approximately eight tables seating 2-6 people, depending on the configuration. The upper level has approximately 4 tables, seating 4-6 people, depending on the configuration. Seating is a bit cramped. There is a very limited amount of window tables and not a lot of sunshine comes through since there is an awning and downtown Vancouver is a concrete jungle. However, the space is adequately lit due to the thoughtful placement of spot and flood lighting.
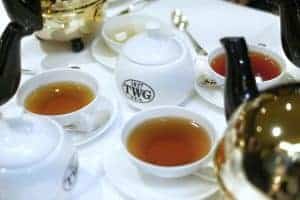 Tea: An A-mazing collection of over 300 teas which will eventually be updated to 500 at a later date. The tea menu is split into regions and by type. Even if you're not very tea-literate, you will have an easy time selecting one from your favourite region or you can ask for a recommendation which they will be able to give at the drop of a hat.
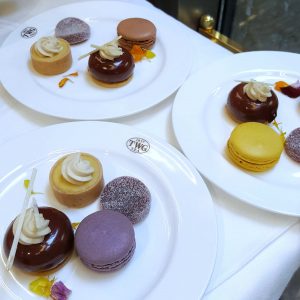 Location:

 Notes:
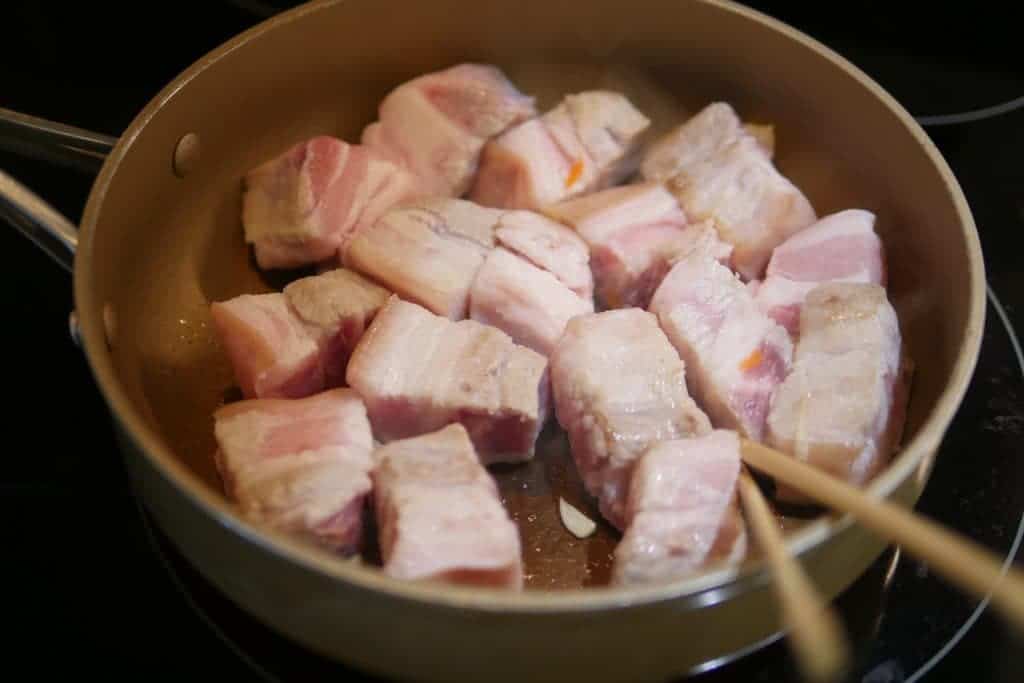

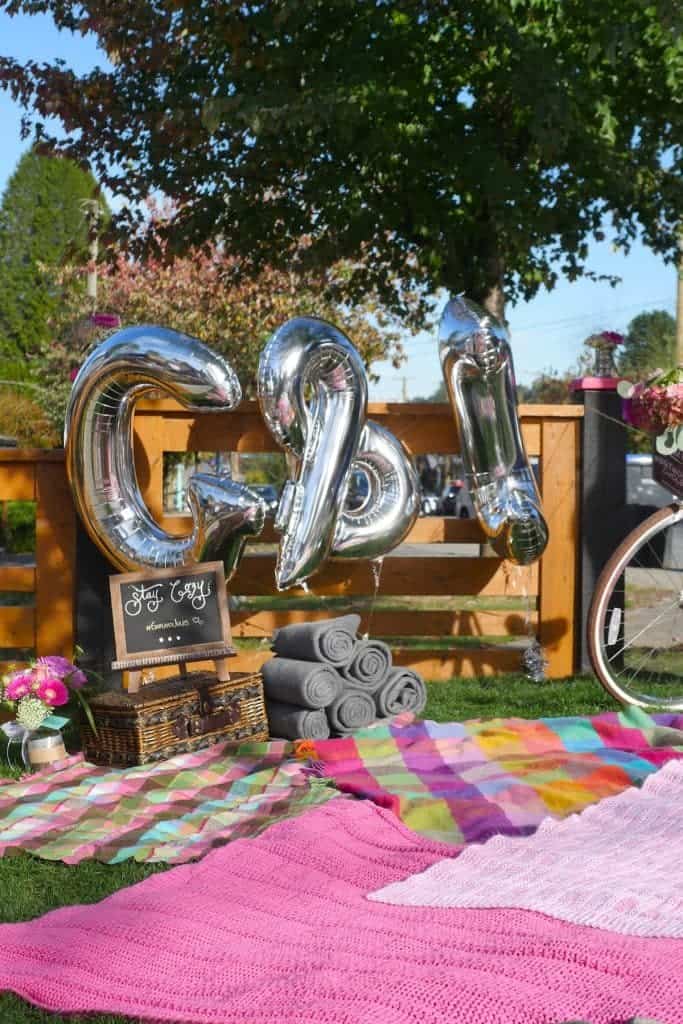
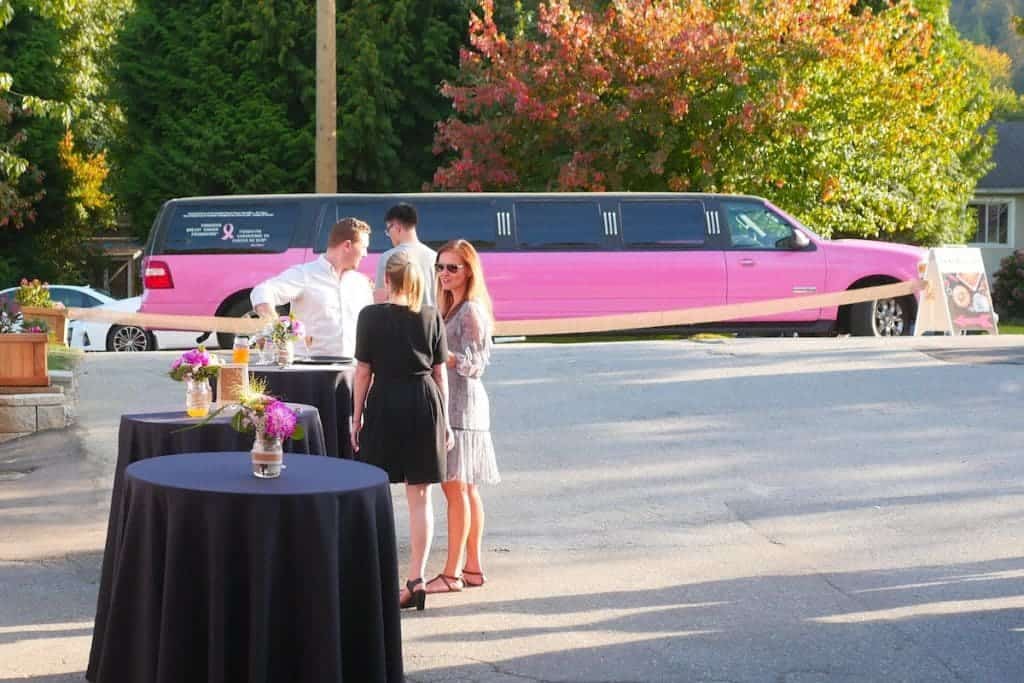
 The week of the party was a busy one which included two Vancouver foodie events and my first visit with Deborah Moore on her
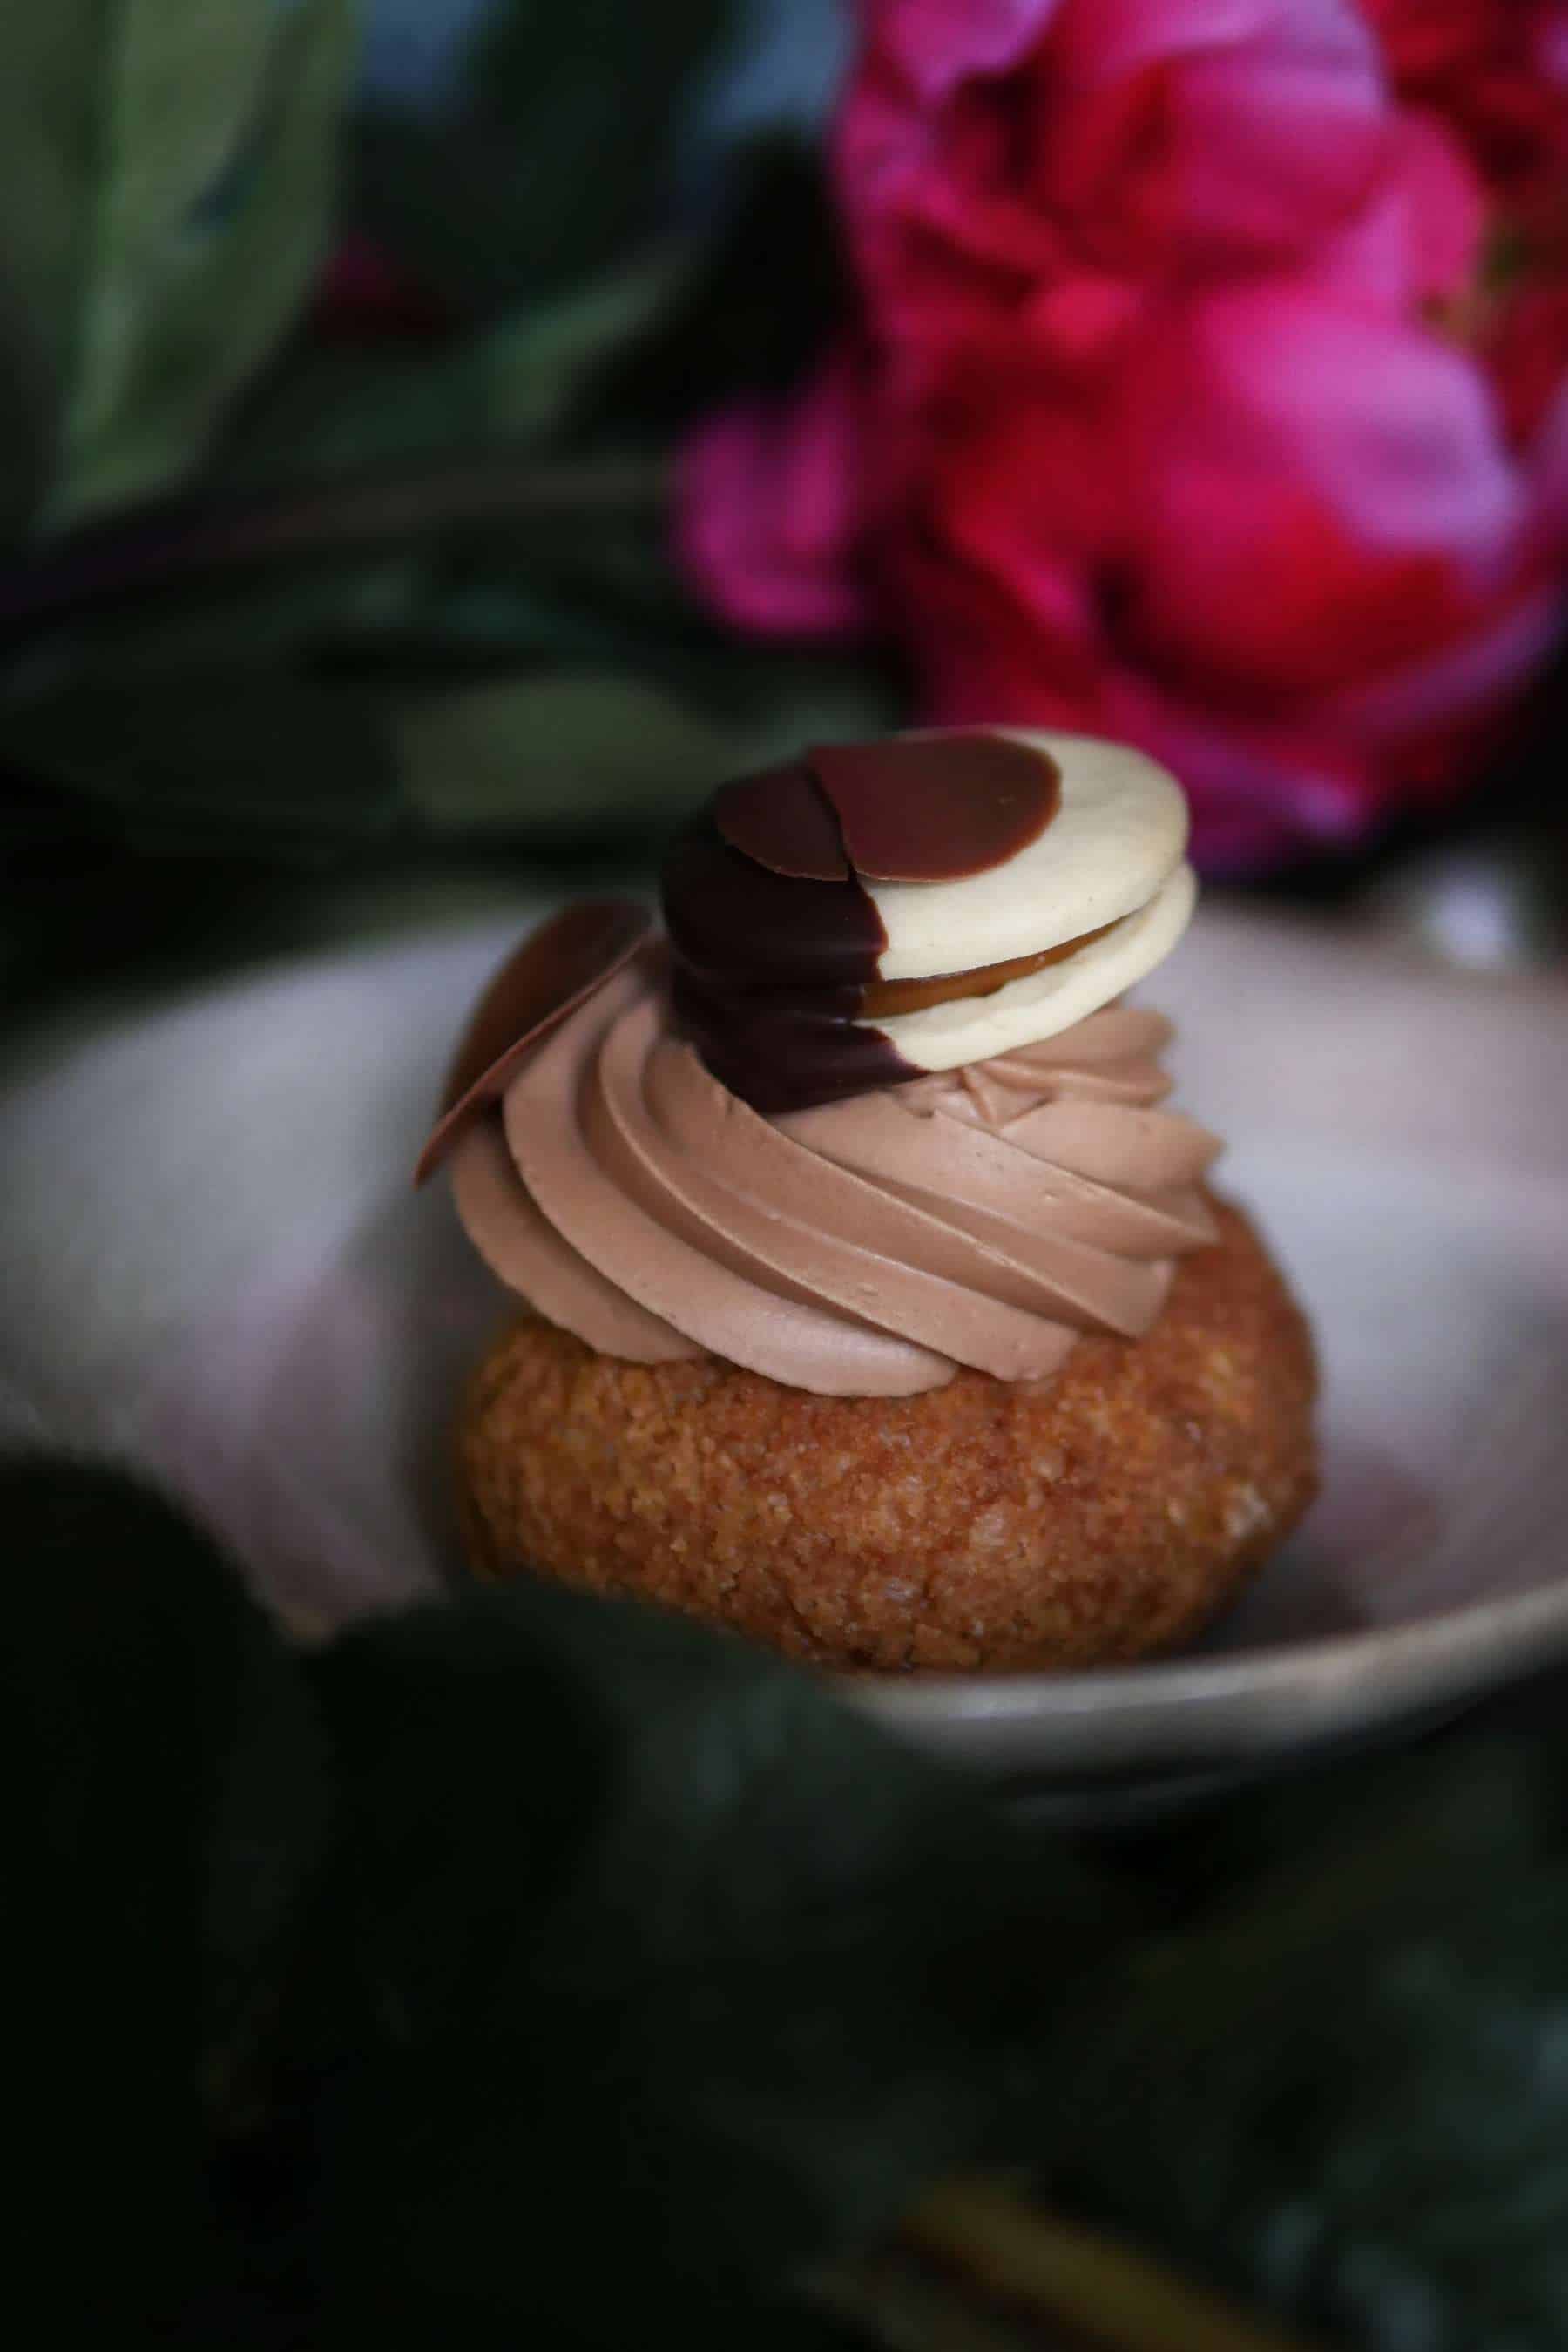


 ♥ PINK BATTER INGREDIENTS:
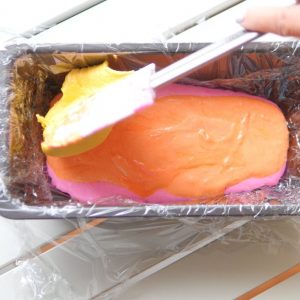 ♥ YELLOW BATTER INGREDIENTS:


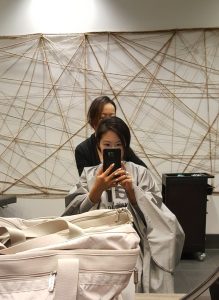 I didn't even dare trim my hair for fear of losing another precious inch and after nearly two years in total, I finally grew enough hair to cut a 13-inch ponytail from. It sounds long but I know some pieces are probably not usable since the sides might be shorter but for the most part, the majority of the hair in the ponytail should be eight inches or more with a small center portion of hair making up the 13 inch section. I was happy to have finally reached that goal but also a bit surprised that, upon re-reading the instructions, it takes from 8 to 15 ponytails just to make one wig. My oh my, if I were to do it alone, it would take me perhaps 16 years just to make one wig. Luckily, over 70,000 ponytails have been donated from all over the country since the program began and if you're interested in donating as well. Here are the details you'll need:

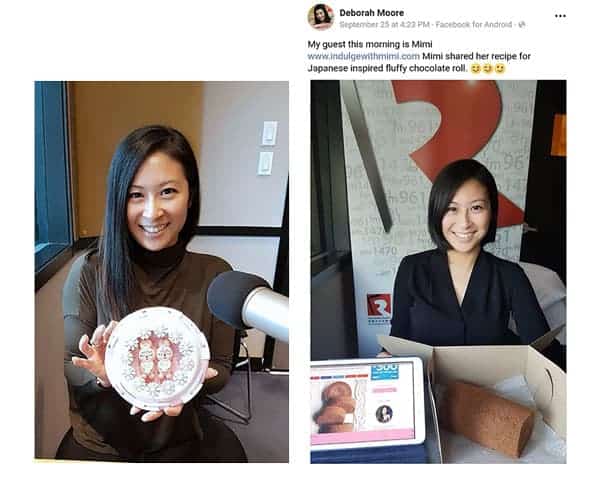


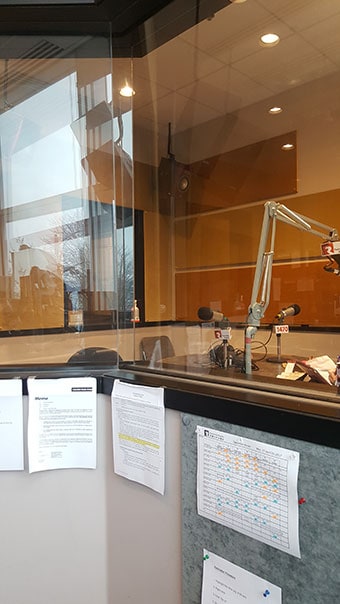
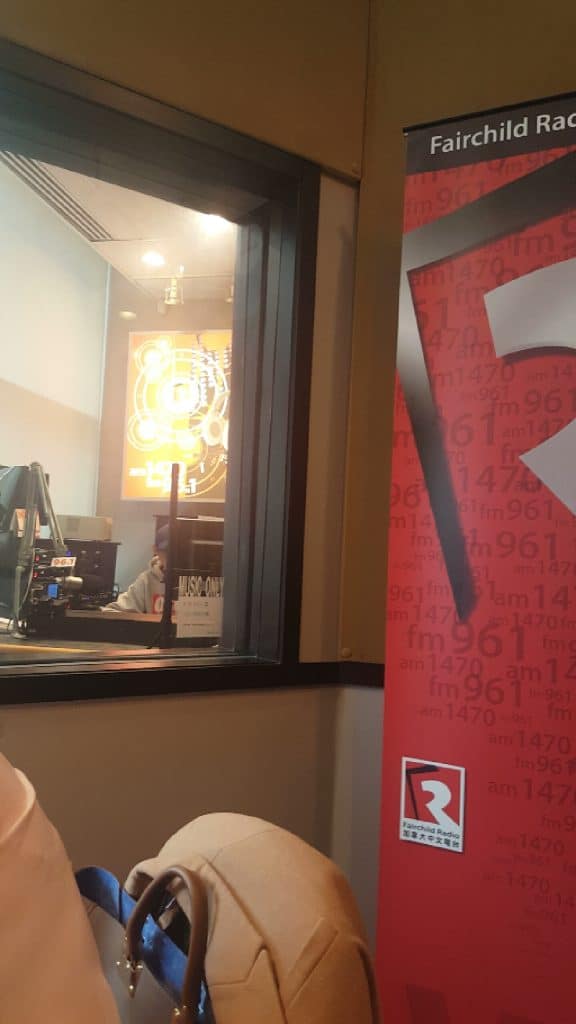
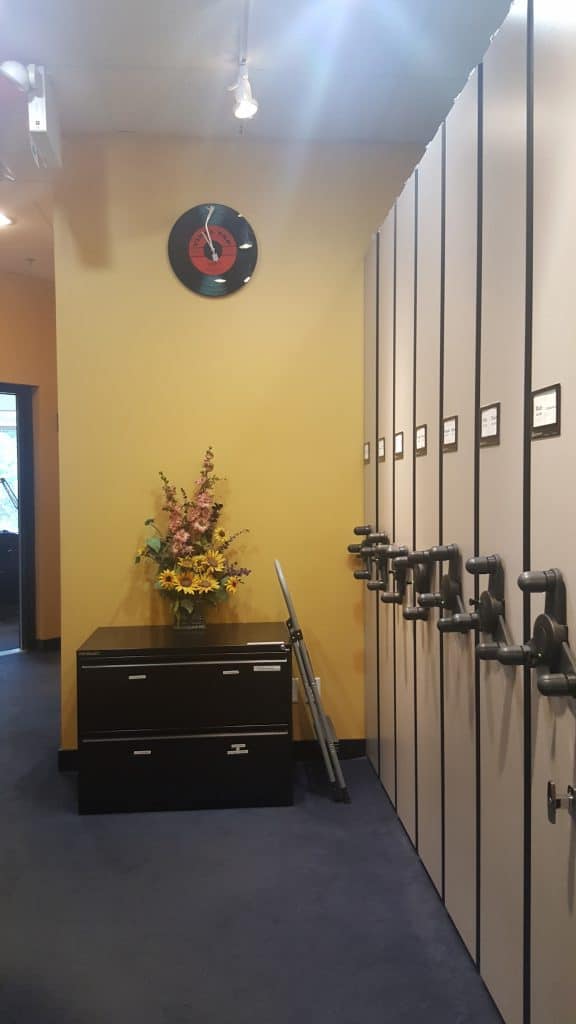
 The interview was conducted mainly in Cantonese Chinese on Fairchild Radio so I had an opportunity to utilize my unpolished language skills that you may have already heard once in my
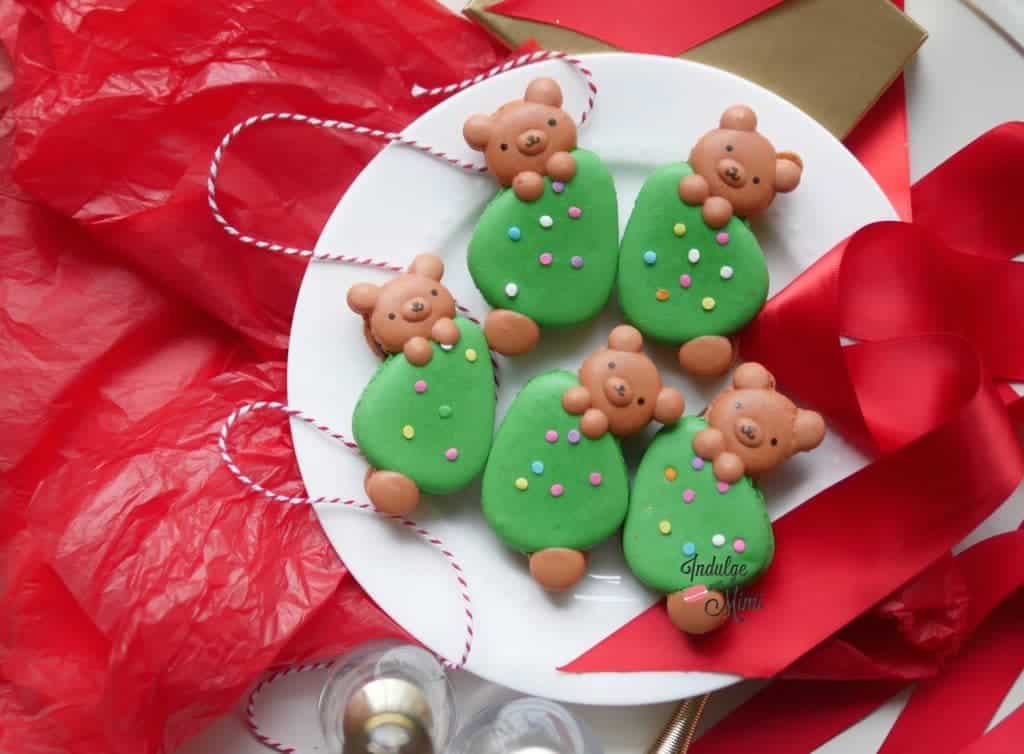


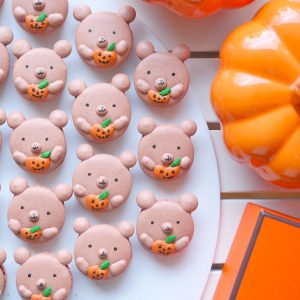
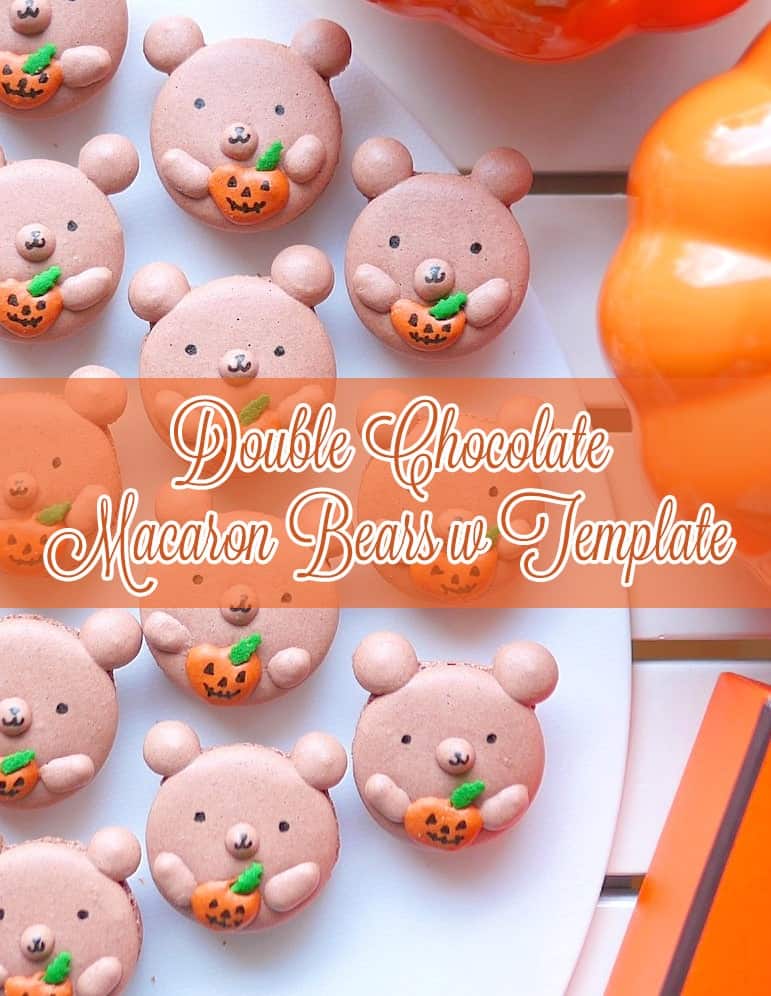
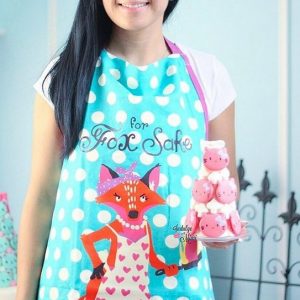
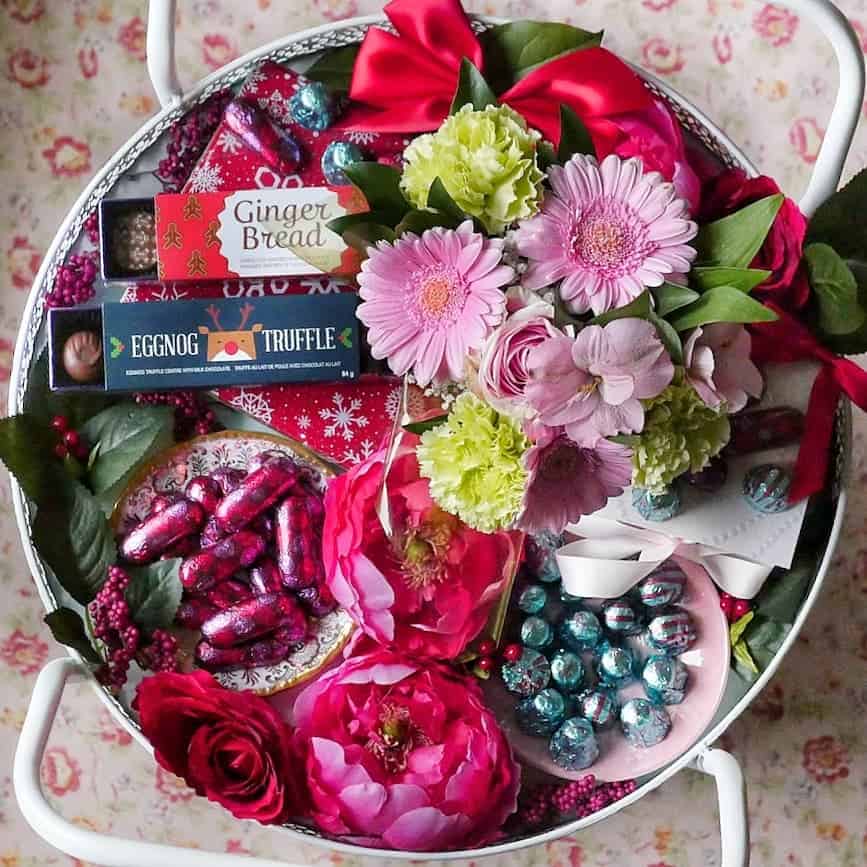
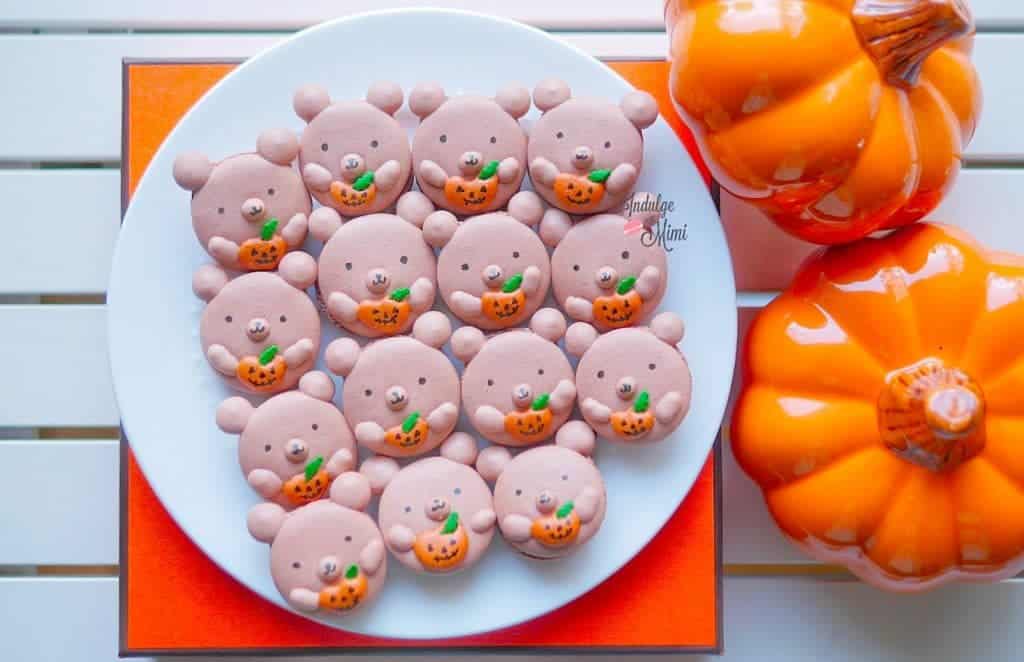
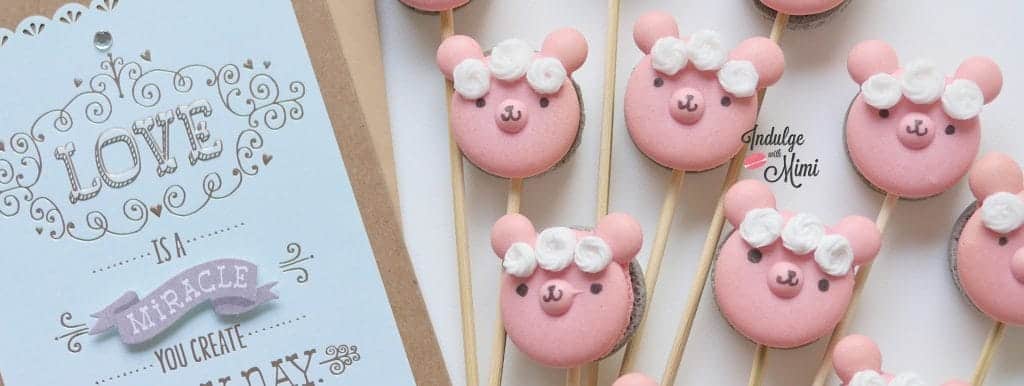
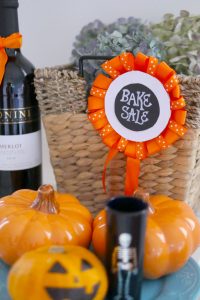 This year I did end up getting my Halloween bake on since an opportunity came up to raise funds for charity. I was happy to create this new bear character holding onto his tiny Jack-O-lantern. Everybody seemed to love them and they ended up raising $50. I even won this gift basket so I guess I can now say I'm a baking champ? Just kidding. It was all in good fun and I was happy to be part of such a good cause.
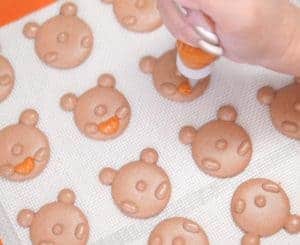

 ♥ CHOCOLATE BATTER INGREDIENTS:
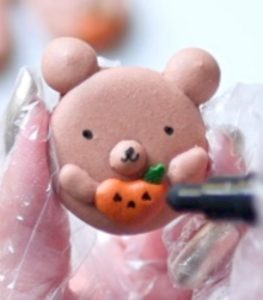 ♥ PUMPKIN BATTER INGREDIENTS:
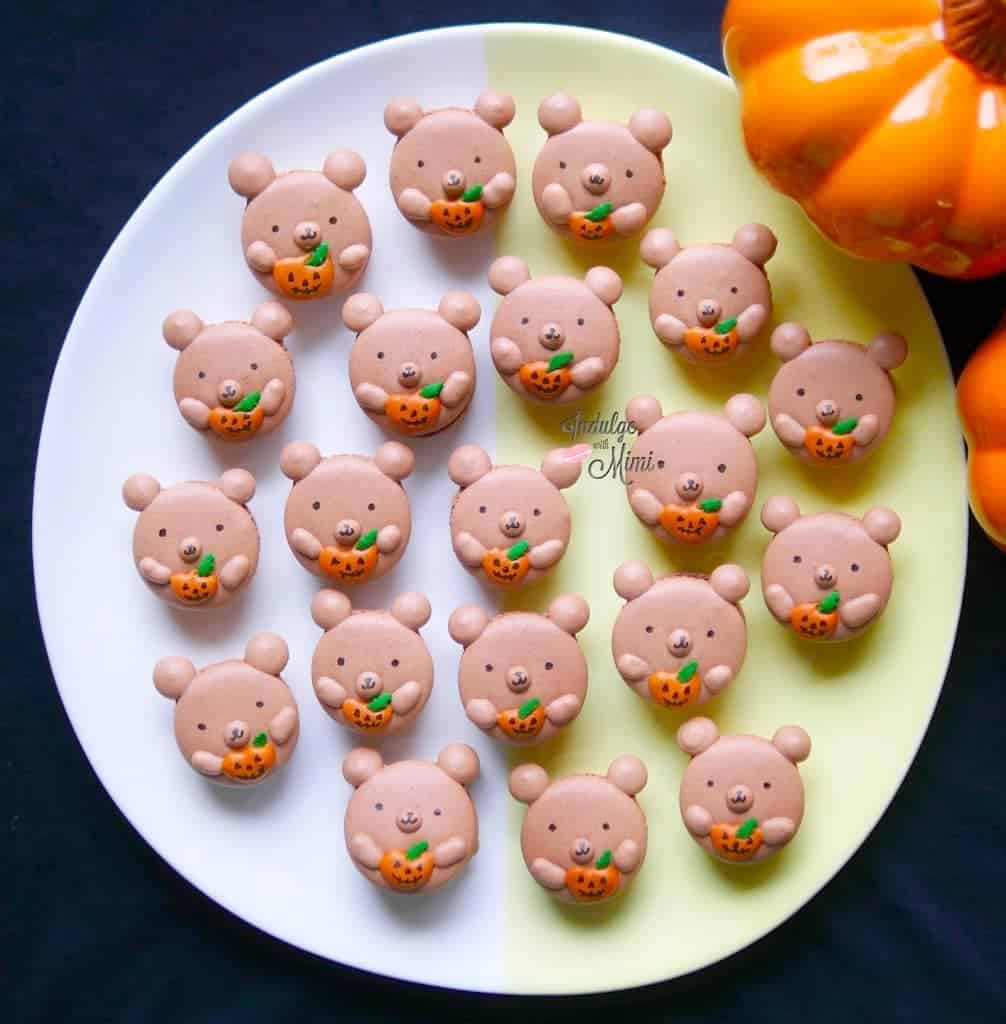


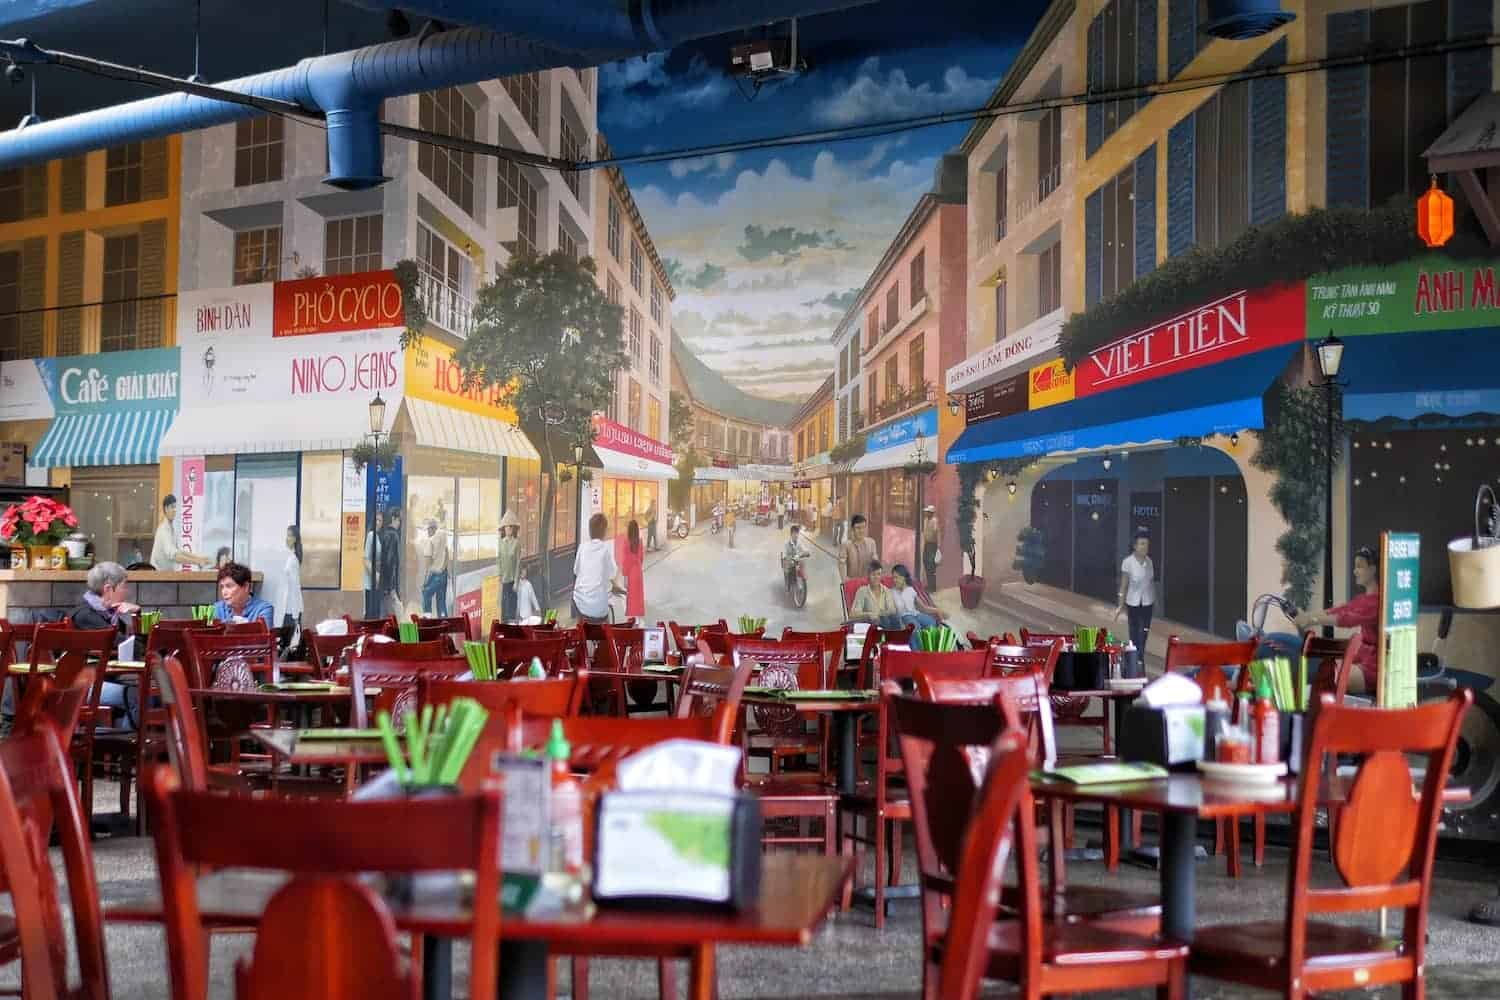
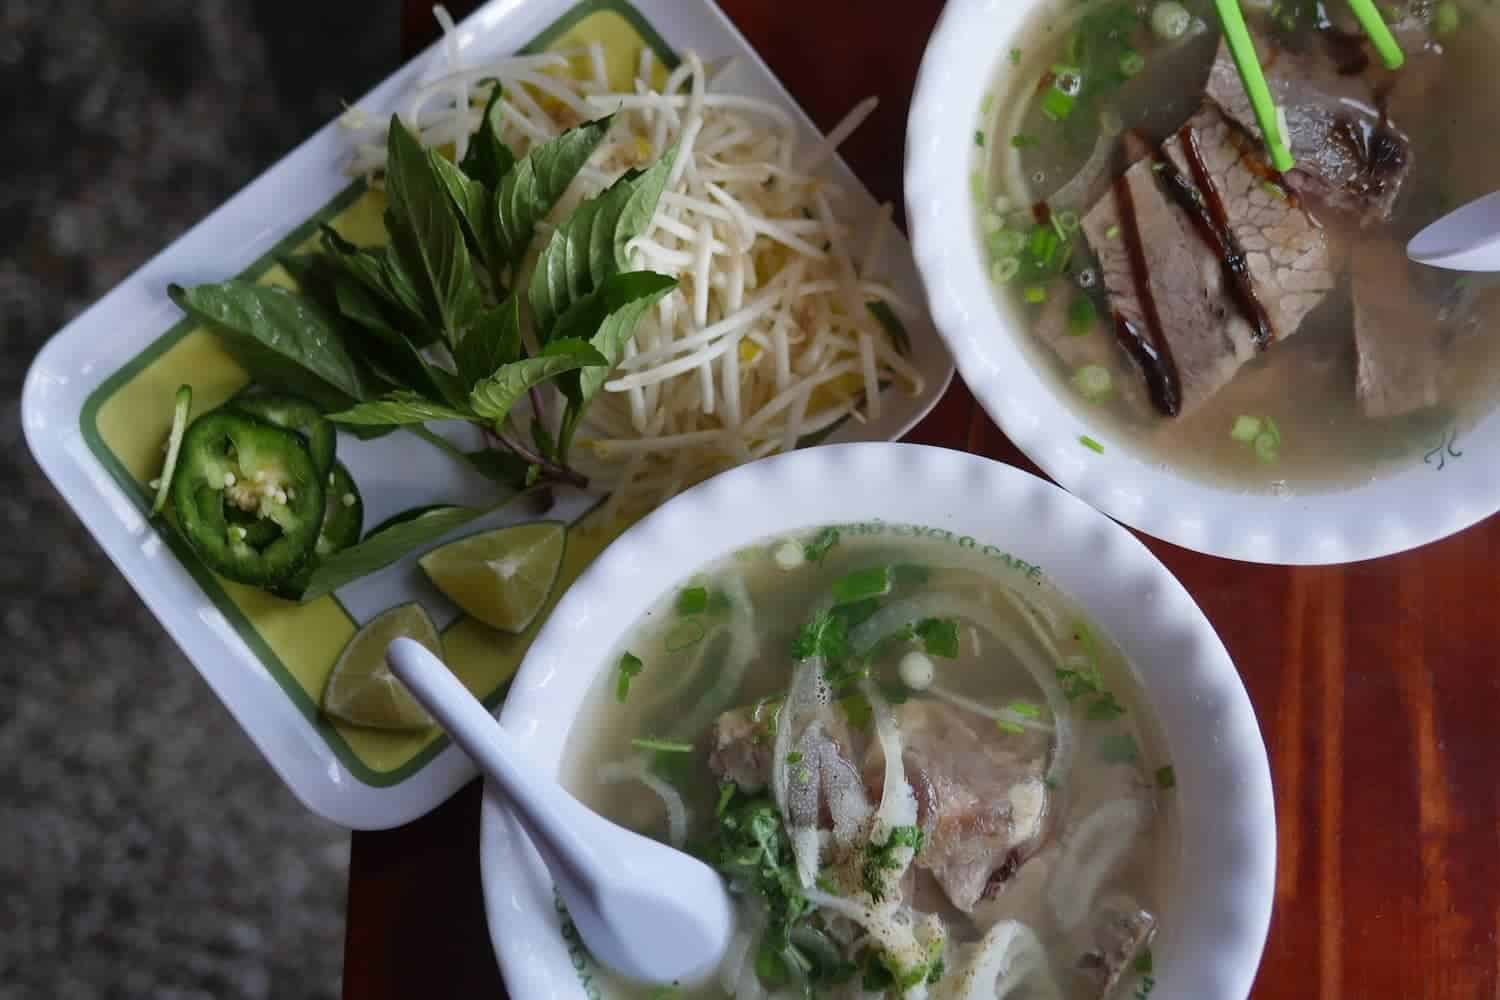
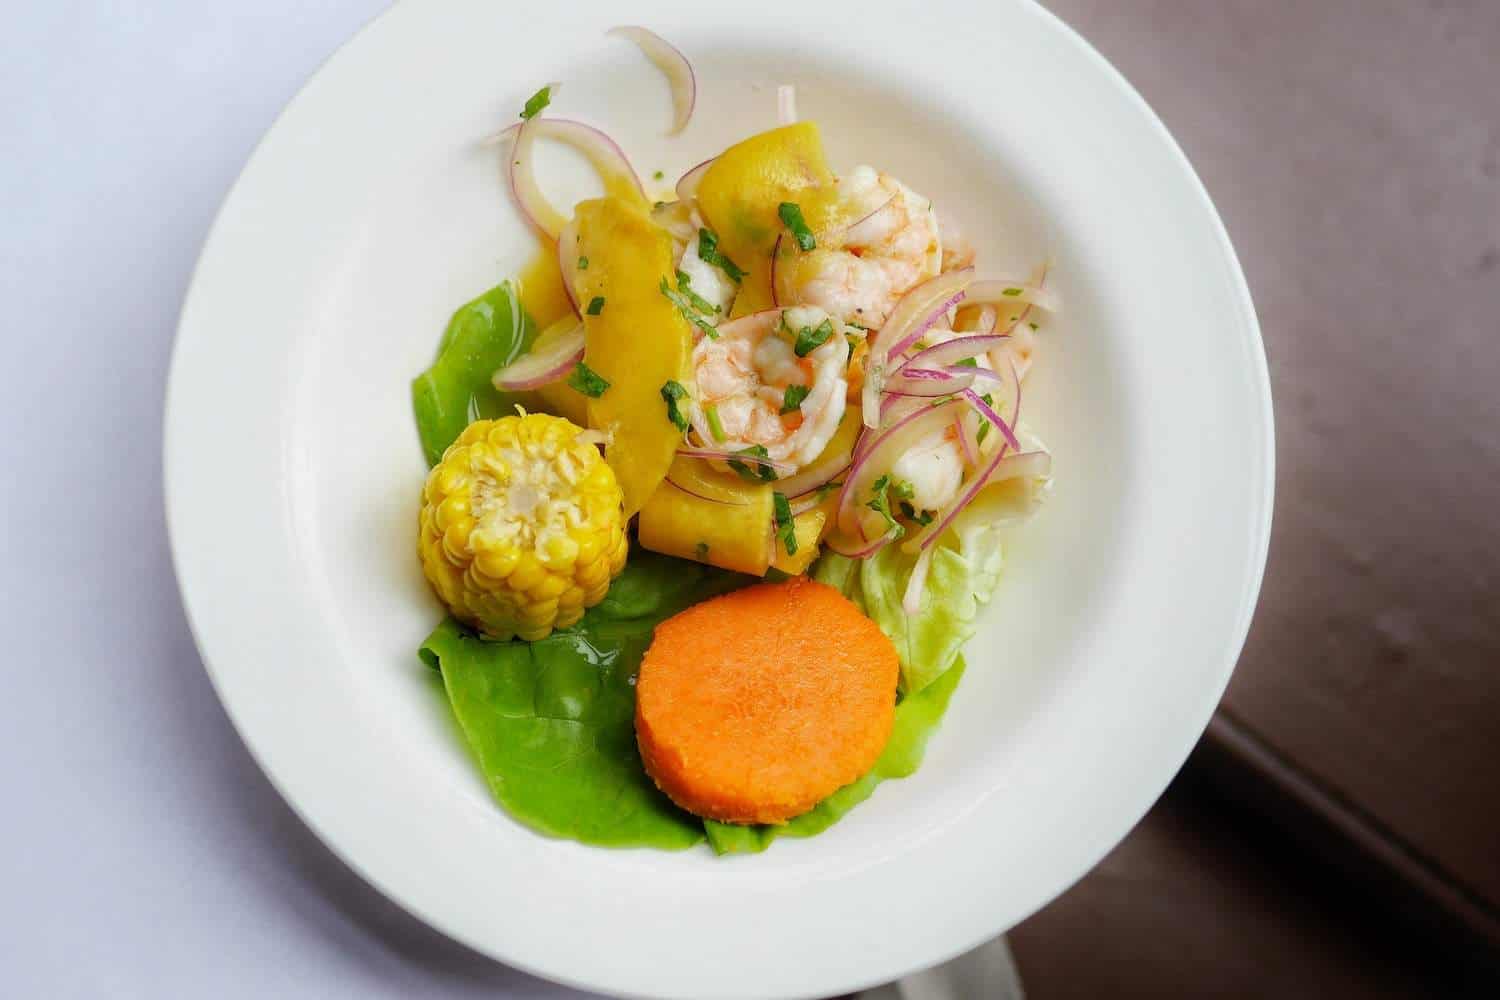
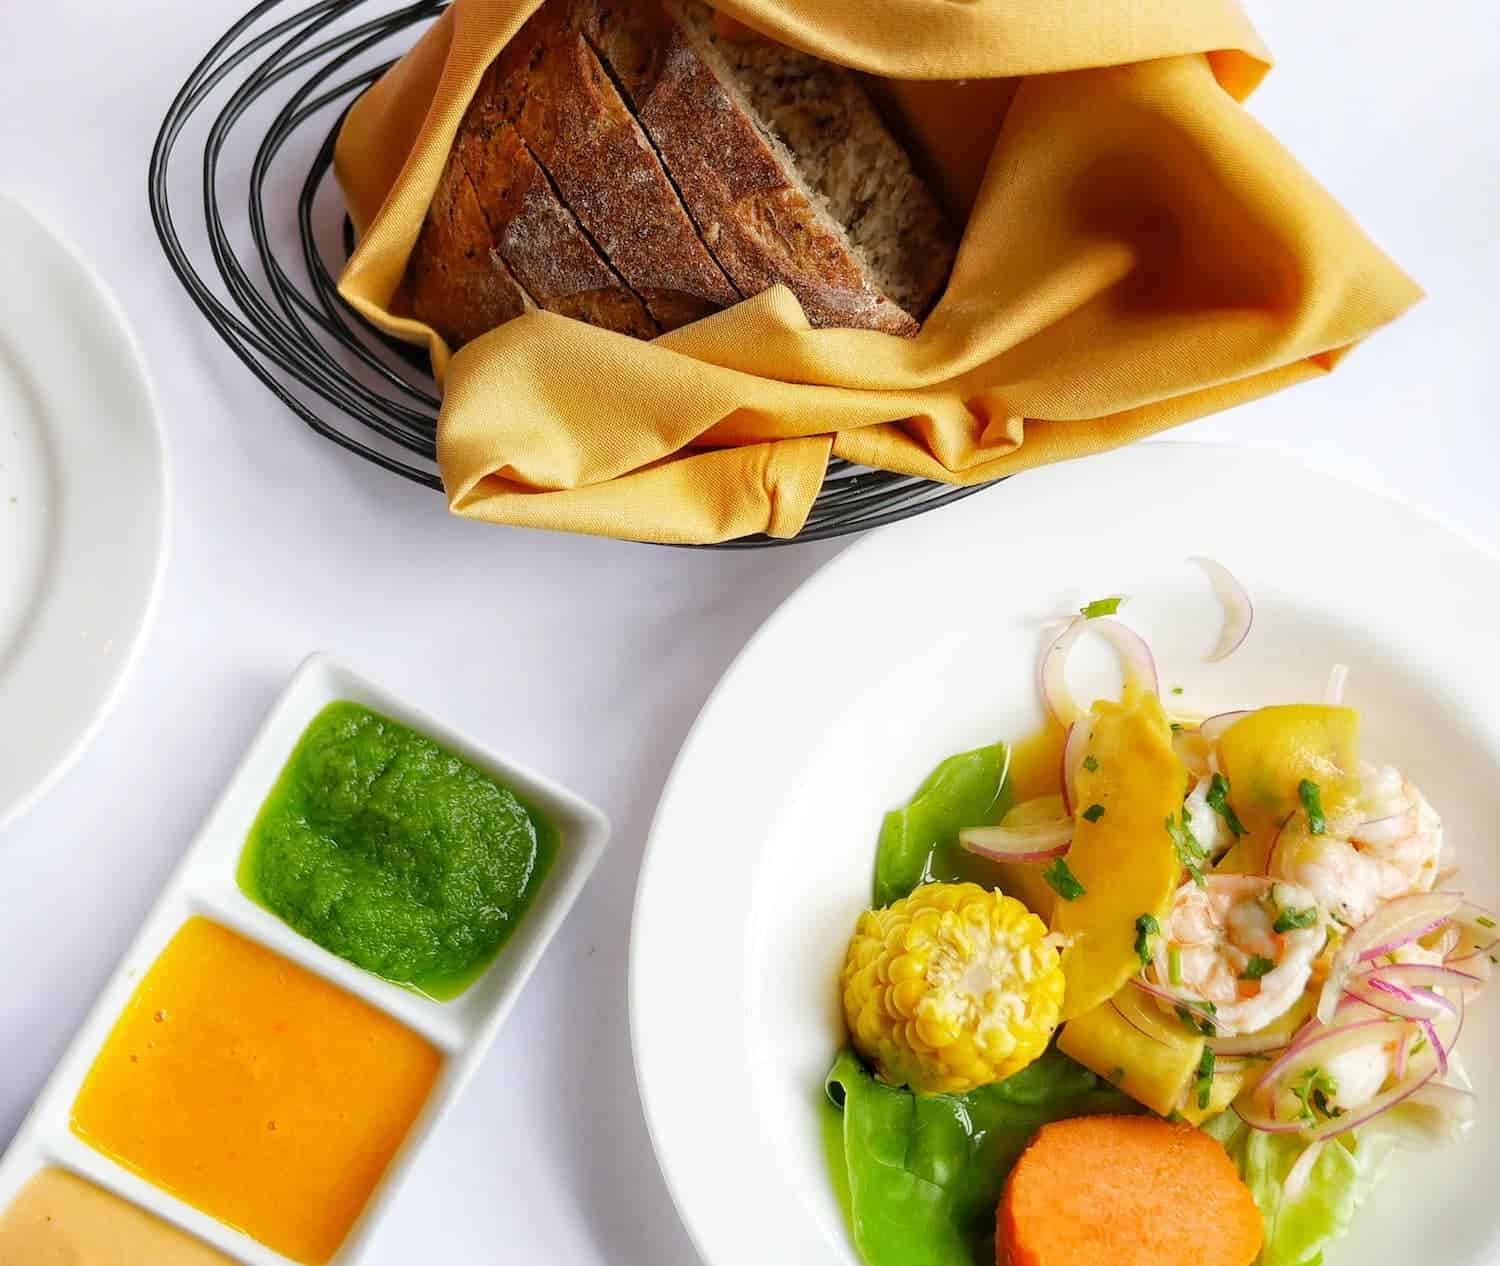
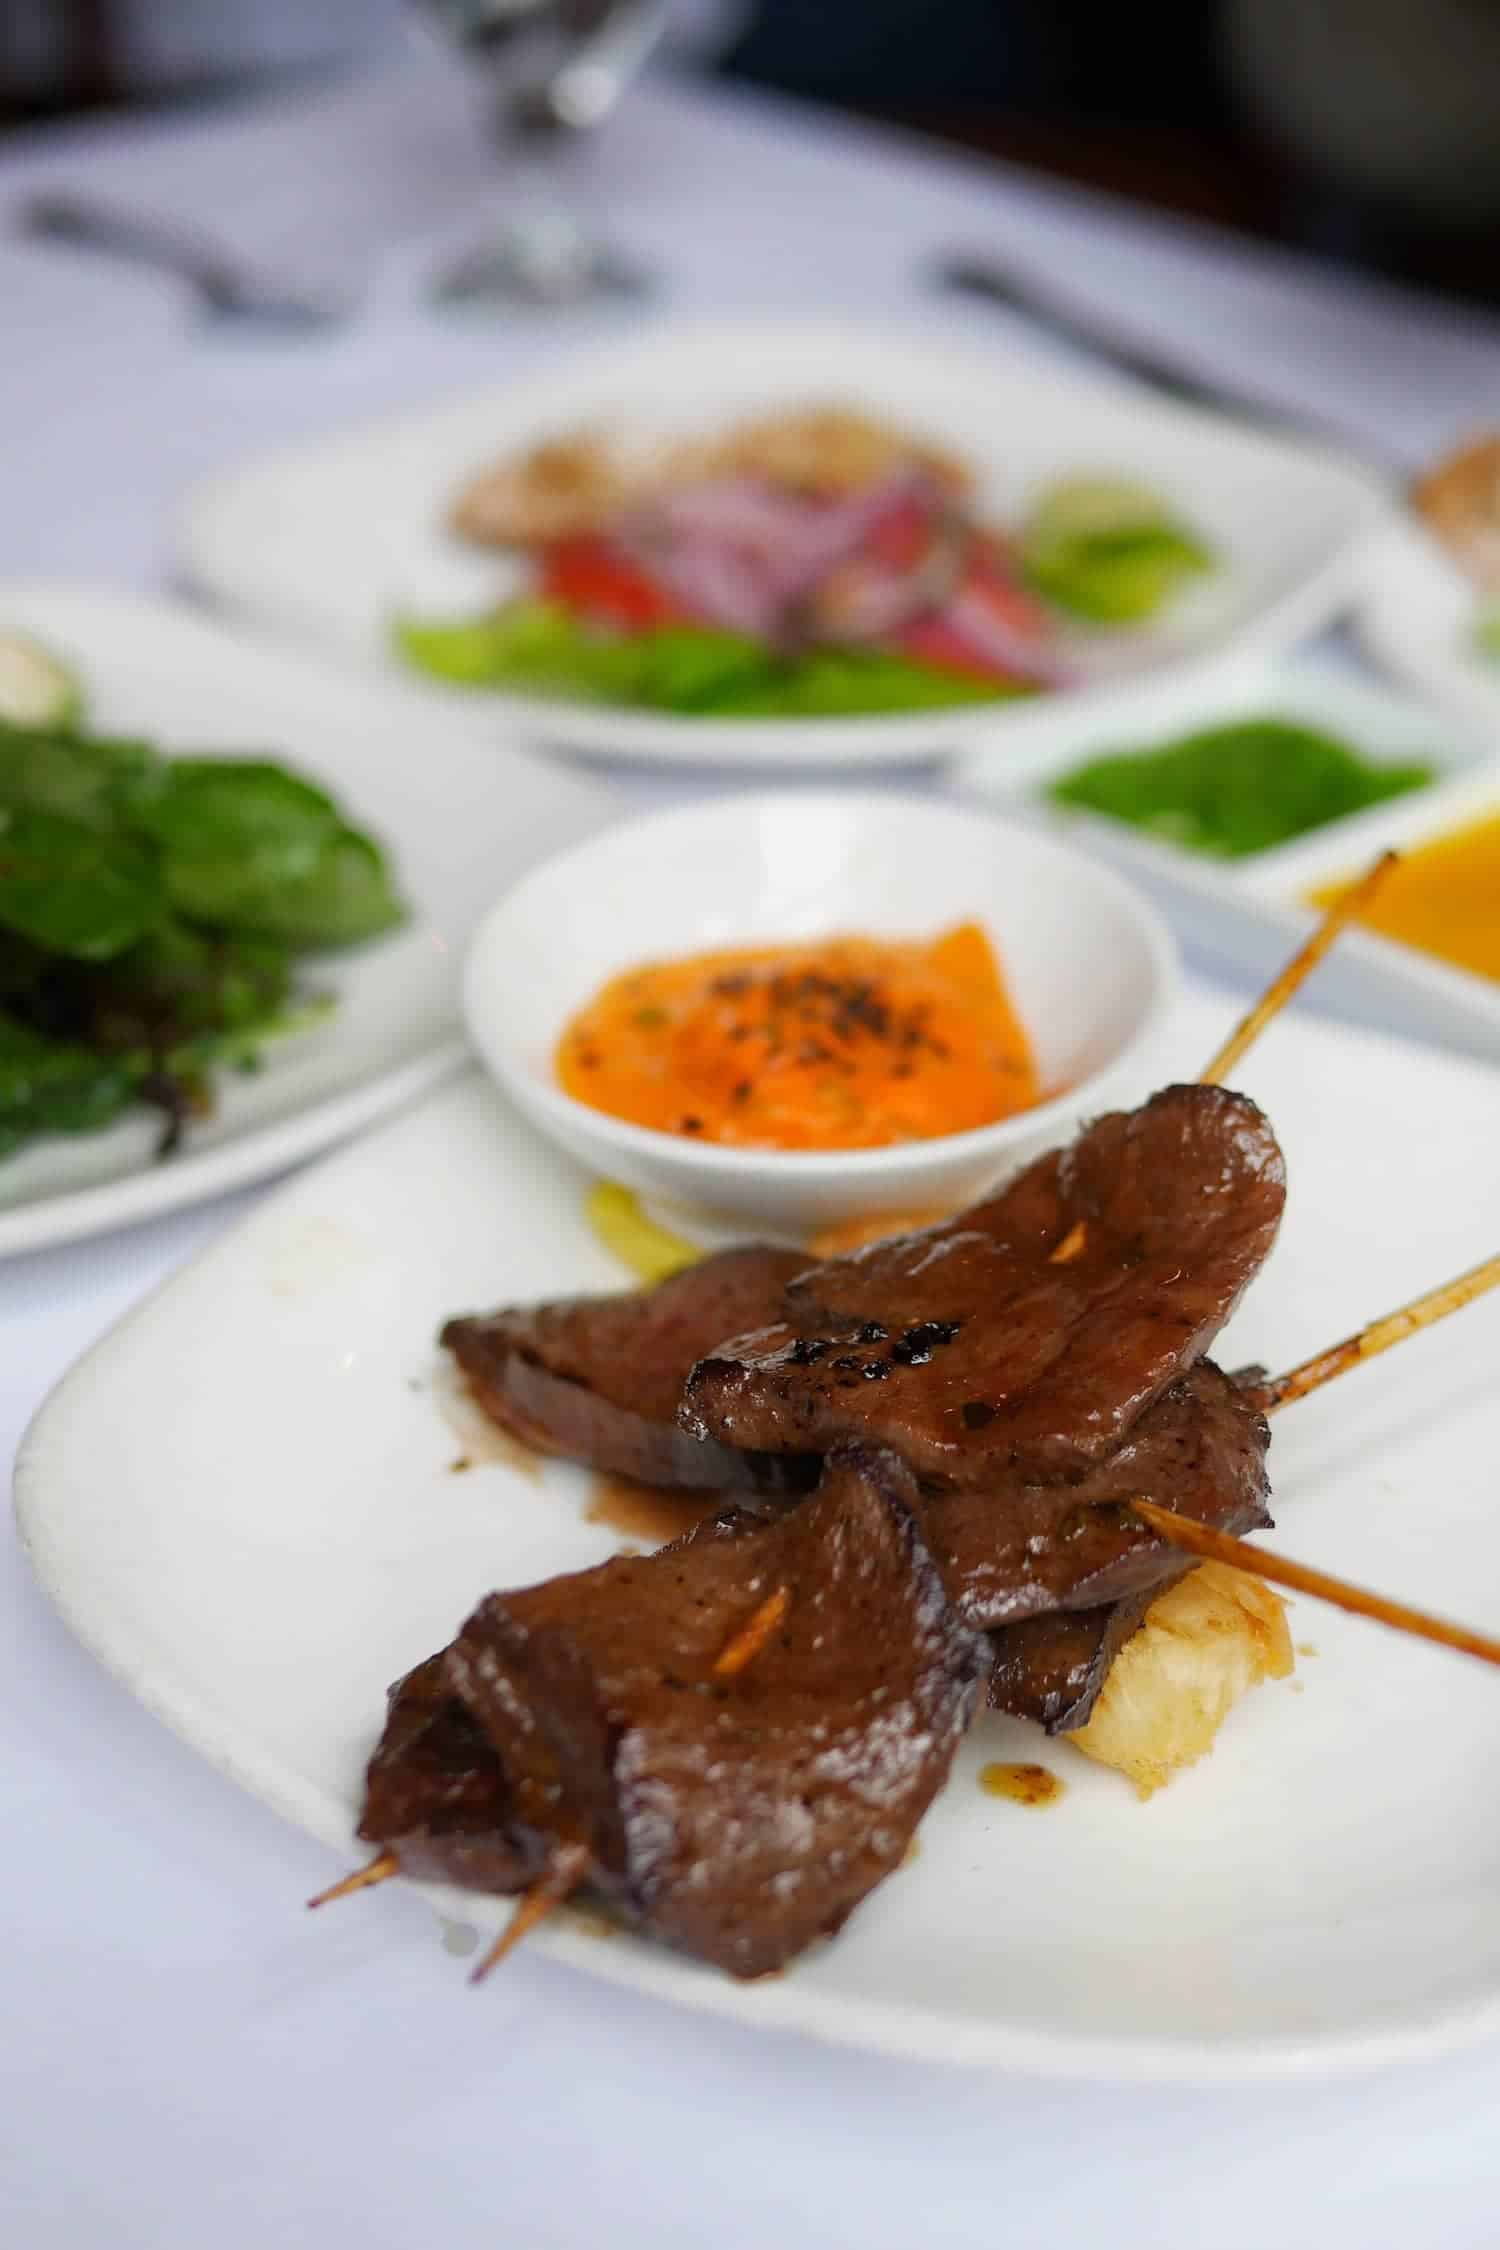
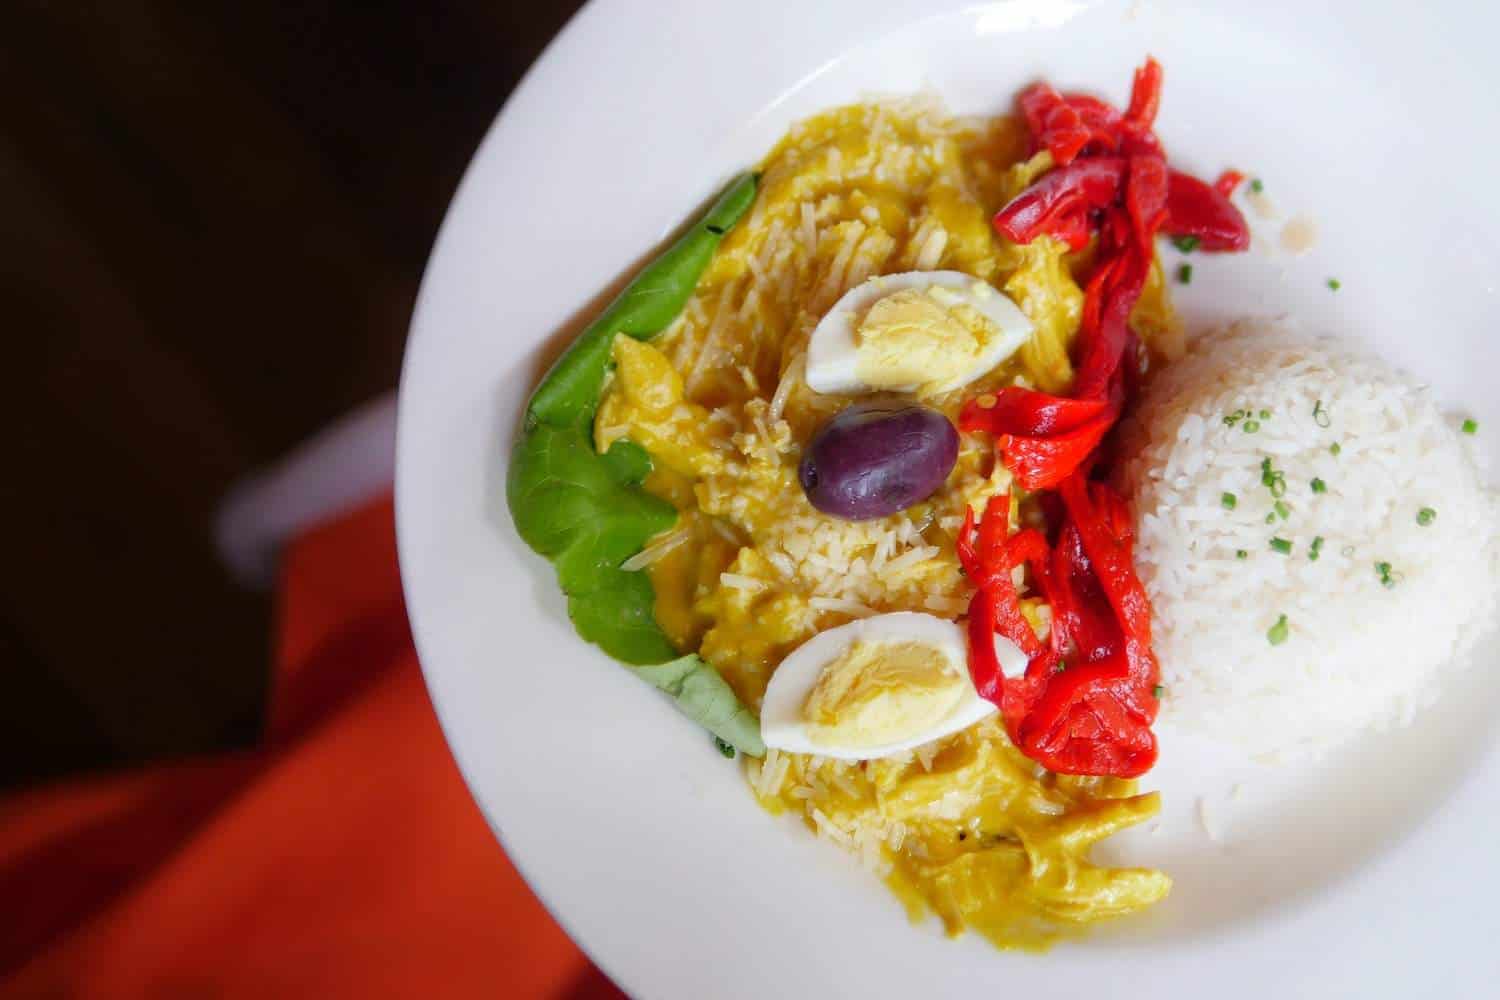
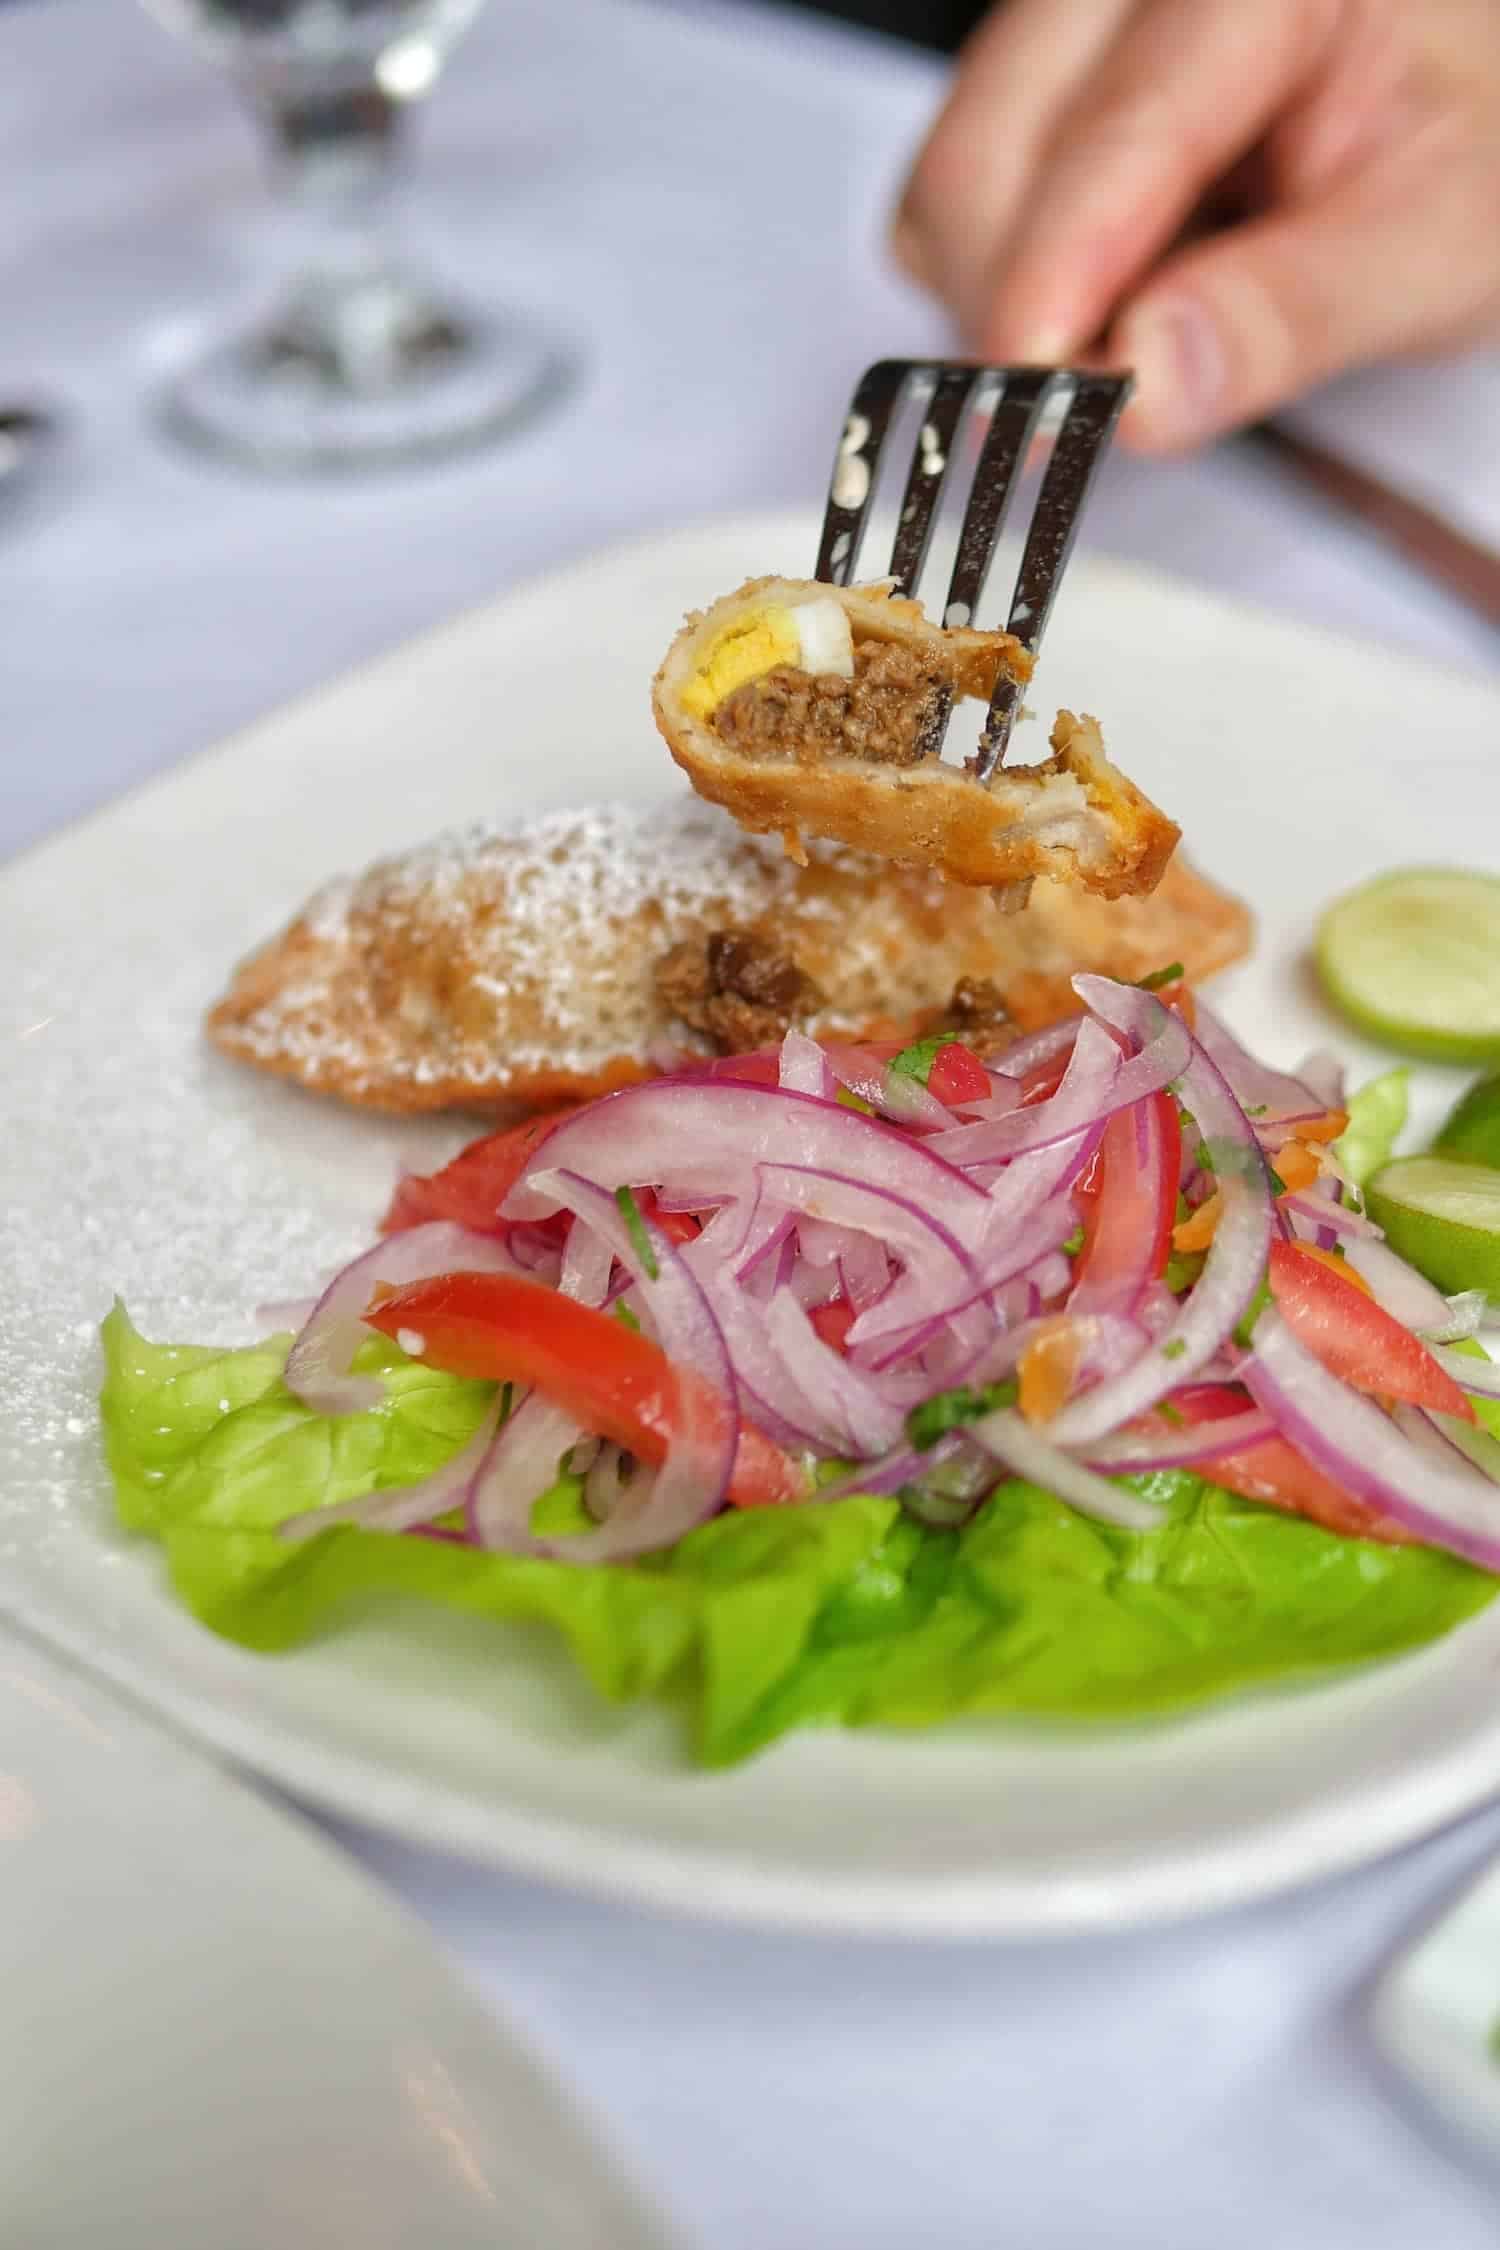
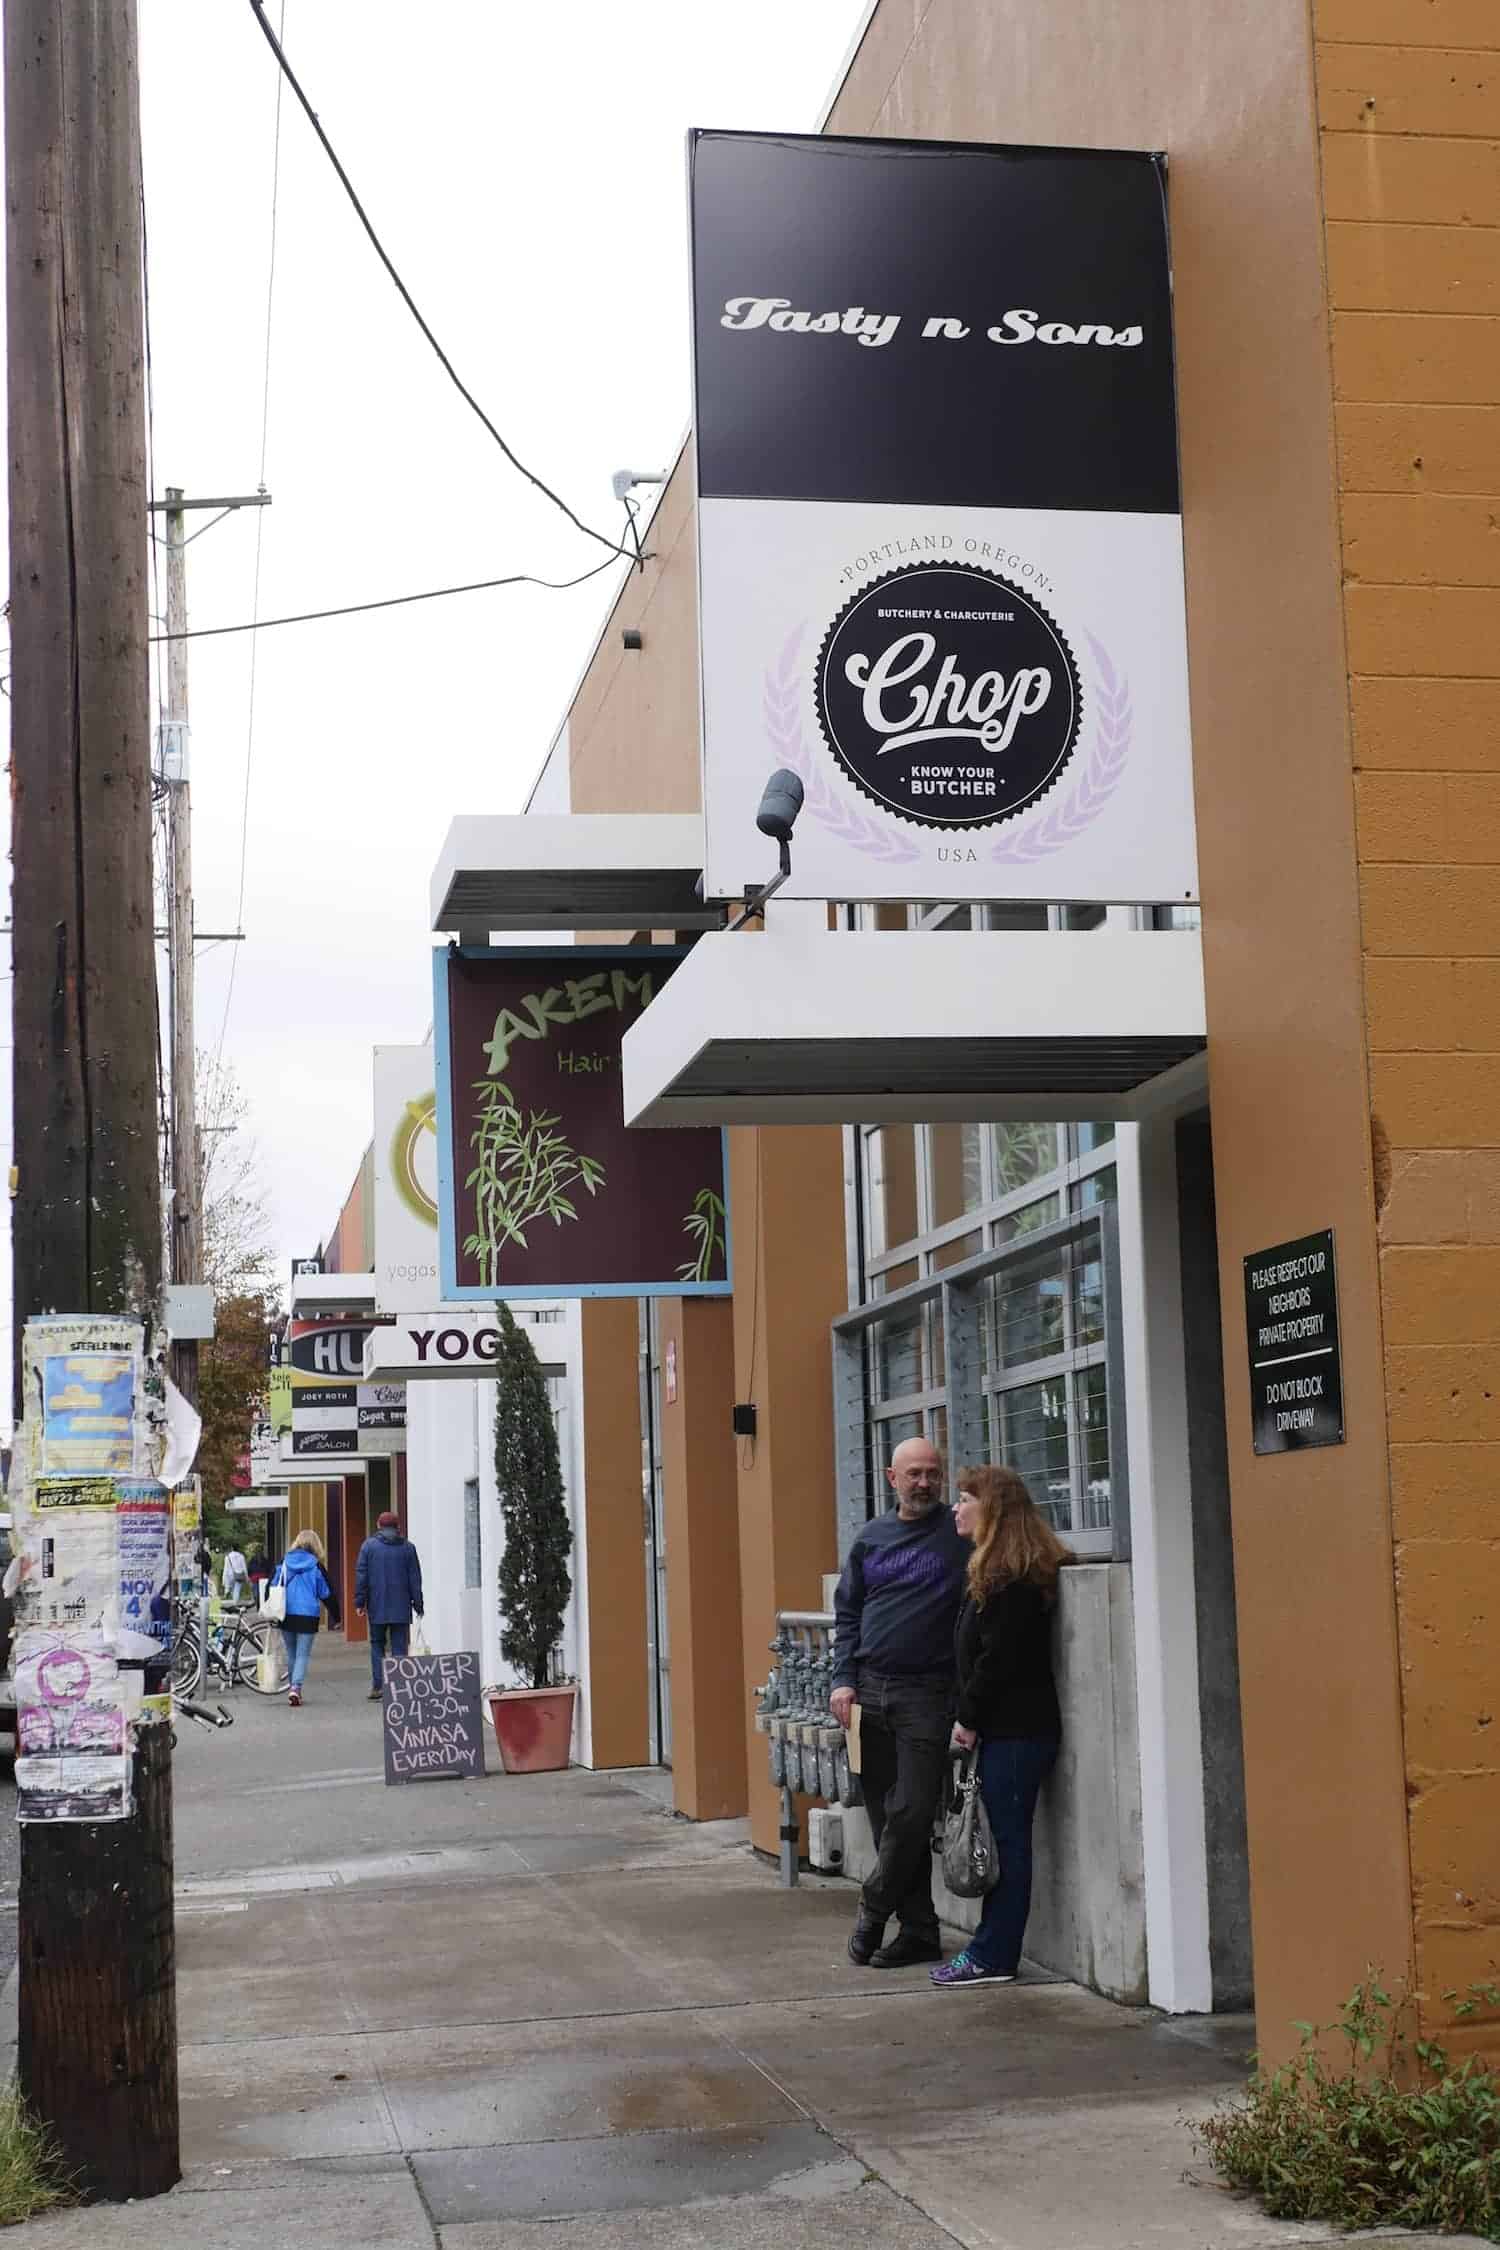
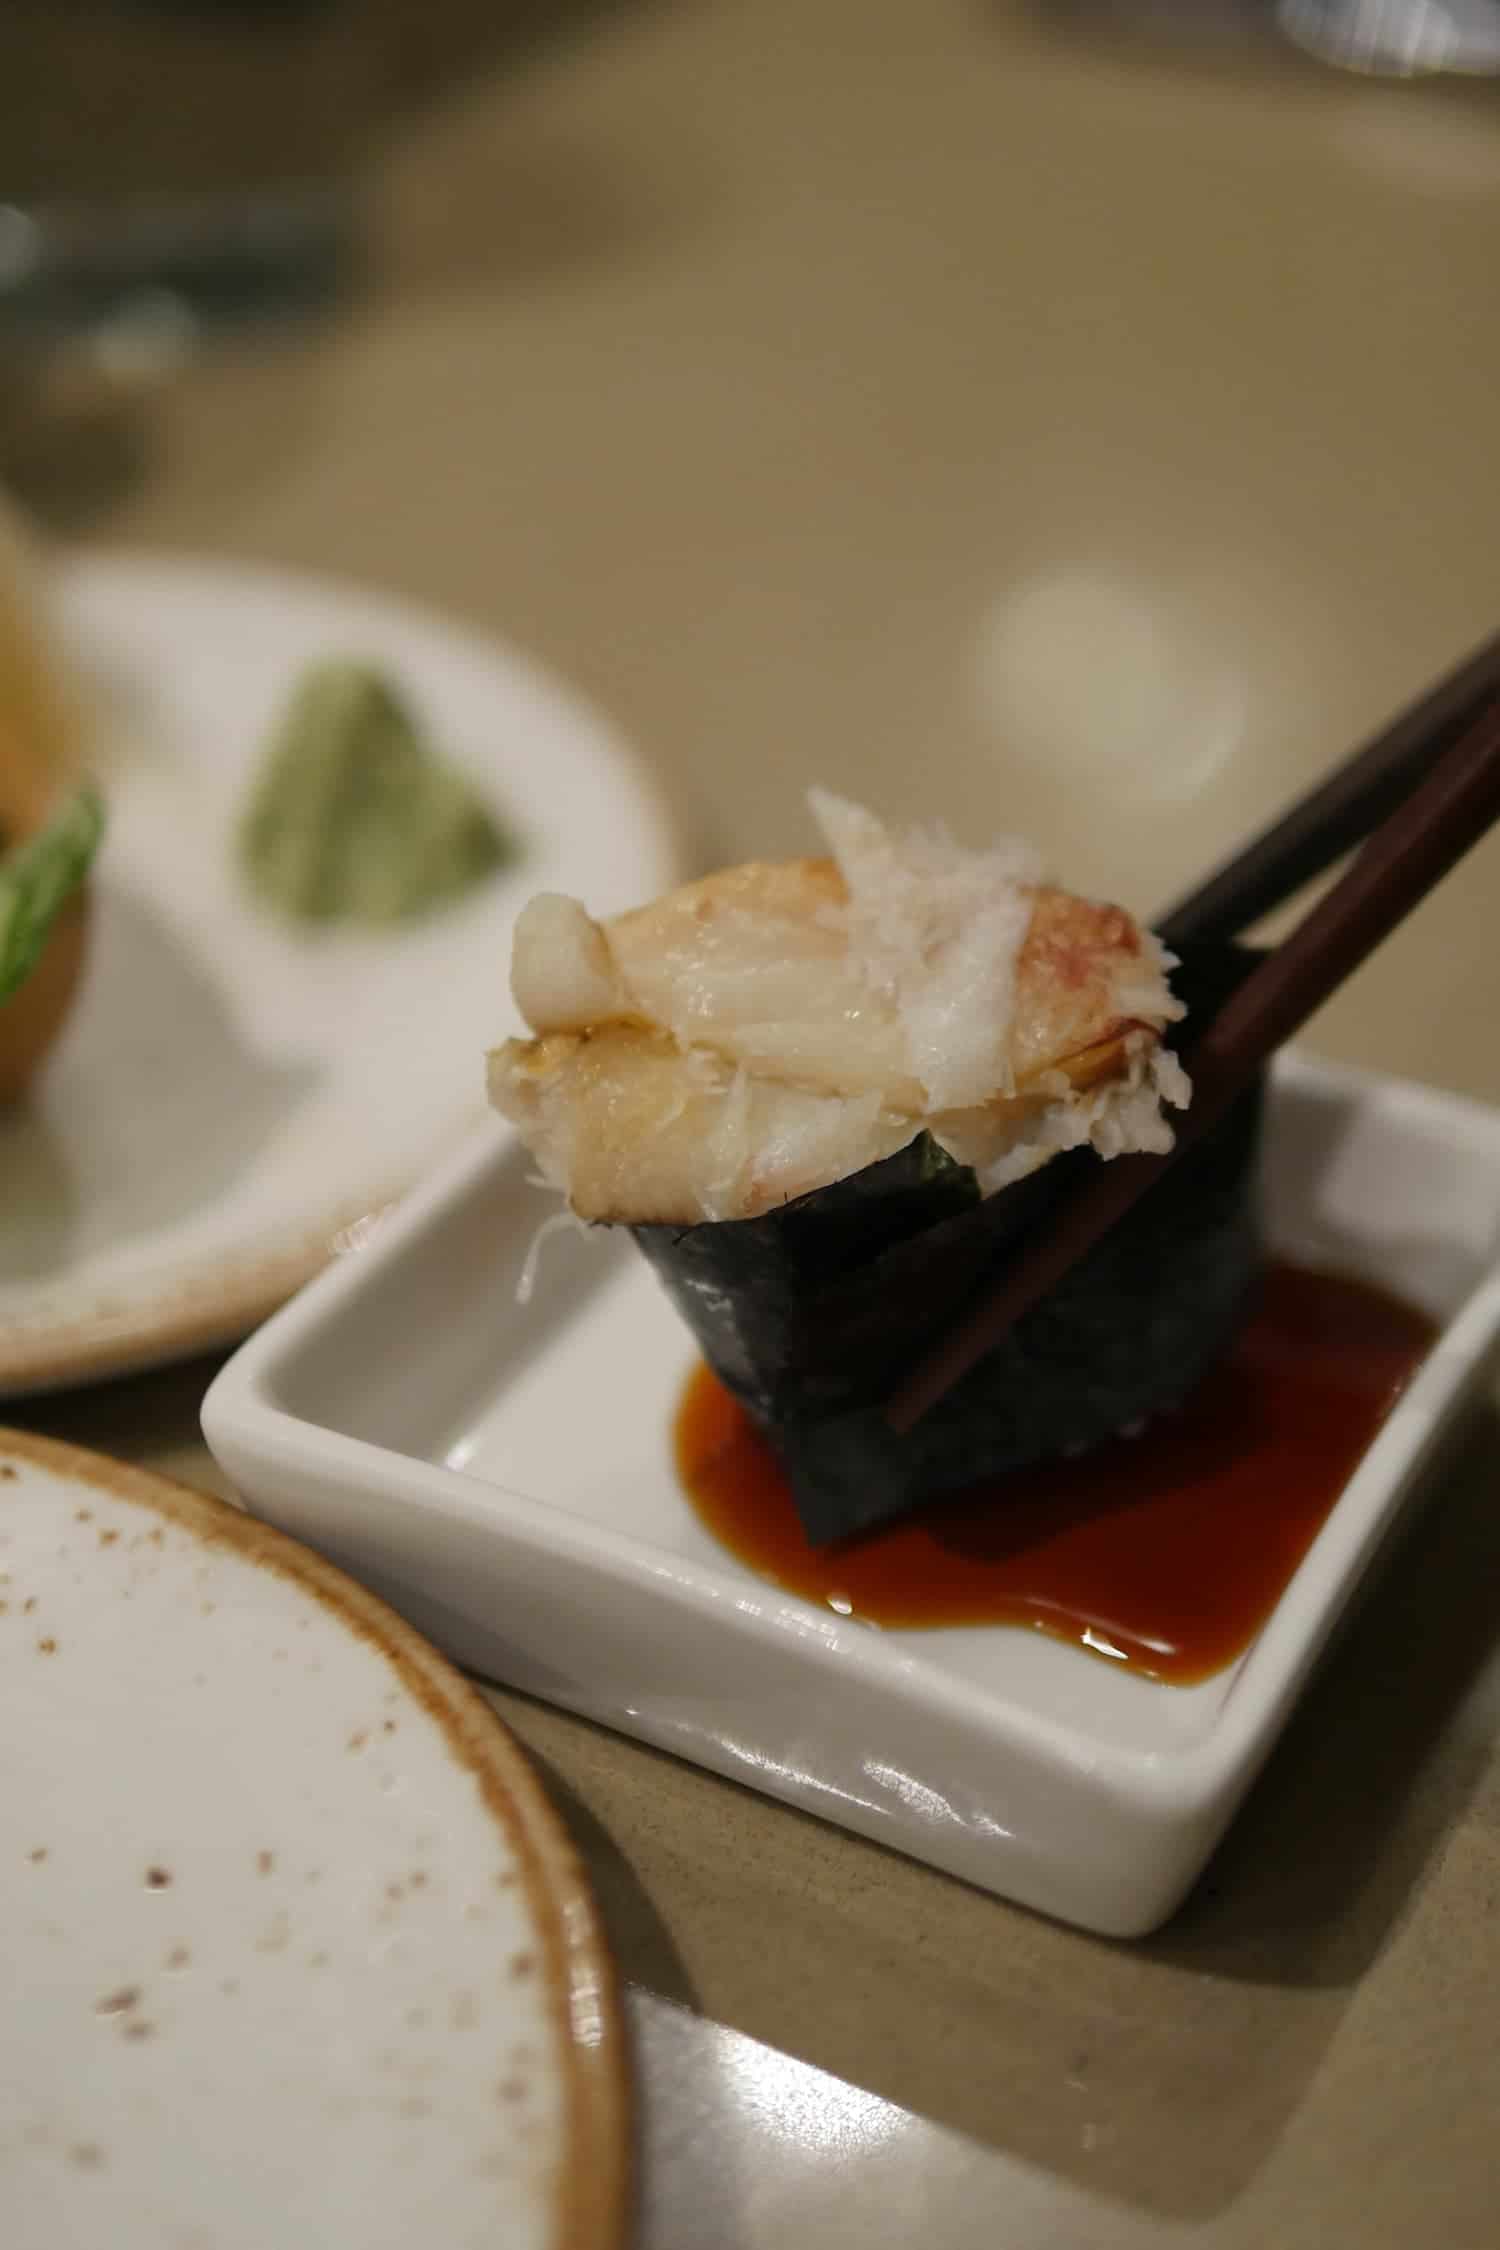
 There is one restaurant in particular which we have visited every year for the last five and that is Andina Peruvian. It is one of our favourite restaurants (possibly in the whole world) and a visit to Portland would not be the same without it. Each visit brought new memories. One year, we even went there with both of our parents. Besides Andina, we had no other restaurants in mind and the thought of researching so many eateries was just daunting. Luckily, I had an army of foodie pals who are always indulging on the road less traveled. They gave me many great suggestions and we visited as many as we could in the short amount of time that we had. We didn't go to all of them and it would be a shame for their recommendations to go to waste so I wanted to share it with you all. Thanks to my pal, Vancouver Foodie Princess, Beth from Bites of Vancouver for this particular list:


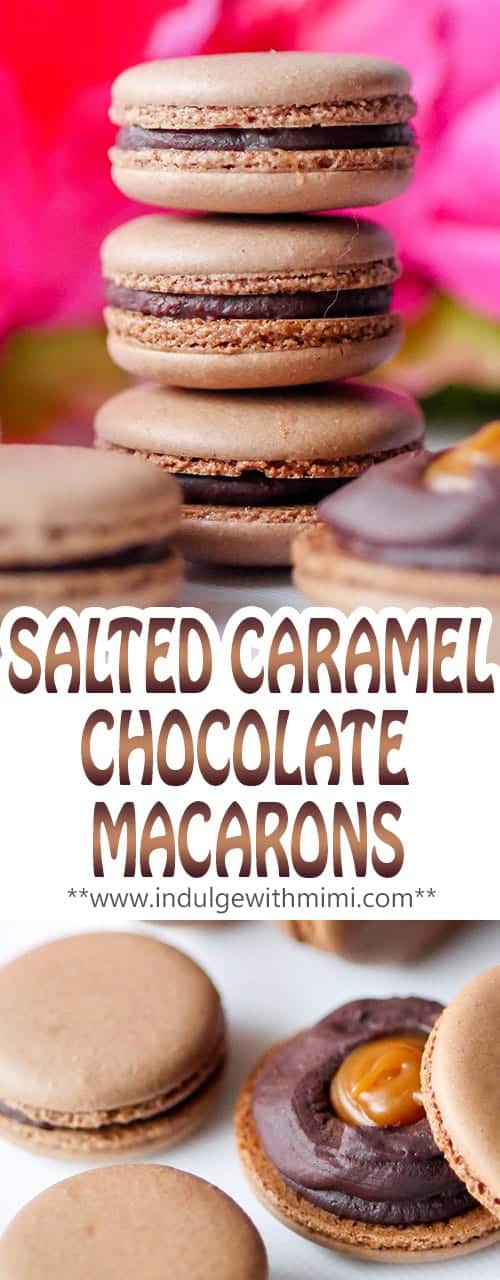
 Even though the ingredients list is short and simple, the process for making caramel can be a little tricky. There are a few things to keep in mind, some obvious and not so obvious. Timing is very important as you have to keep an eye on the mixture at all times. If you burn a caramel, the only thing you can do is cry and start again. You don't necessarily need a thermometer either, learning to judge the colour and consistency at each stage is key. One somewhat counterintuitive rule for making caramel is actually resisting the urge to stir it. You'll see why along with other tips on the bottom so make sure to read it before you start.
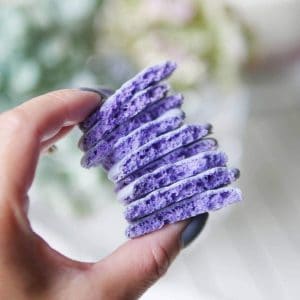


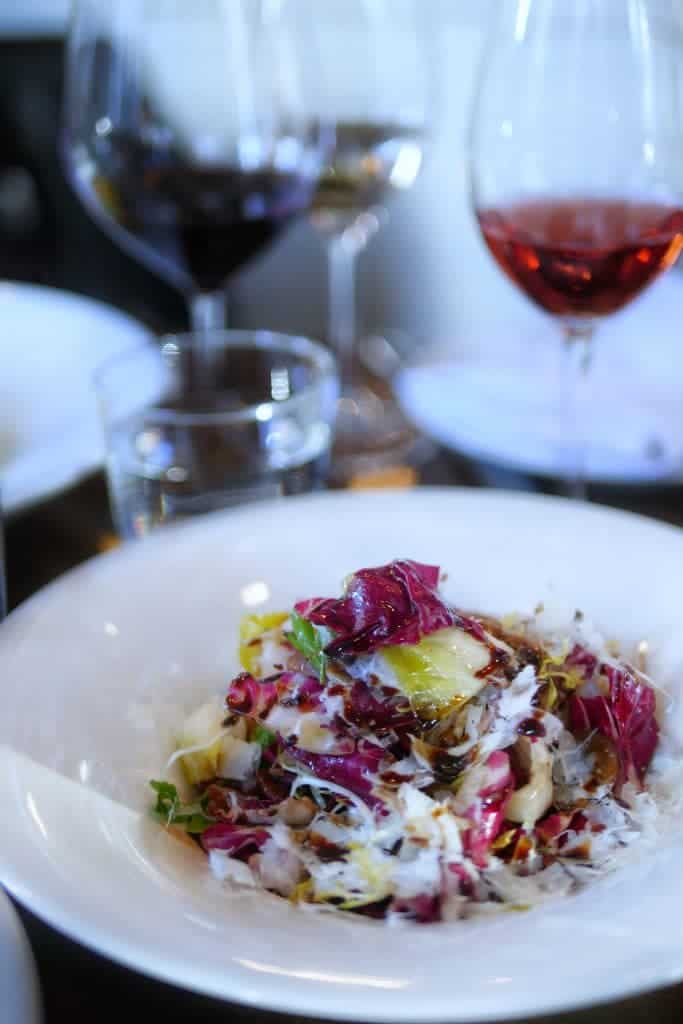
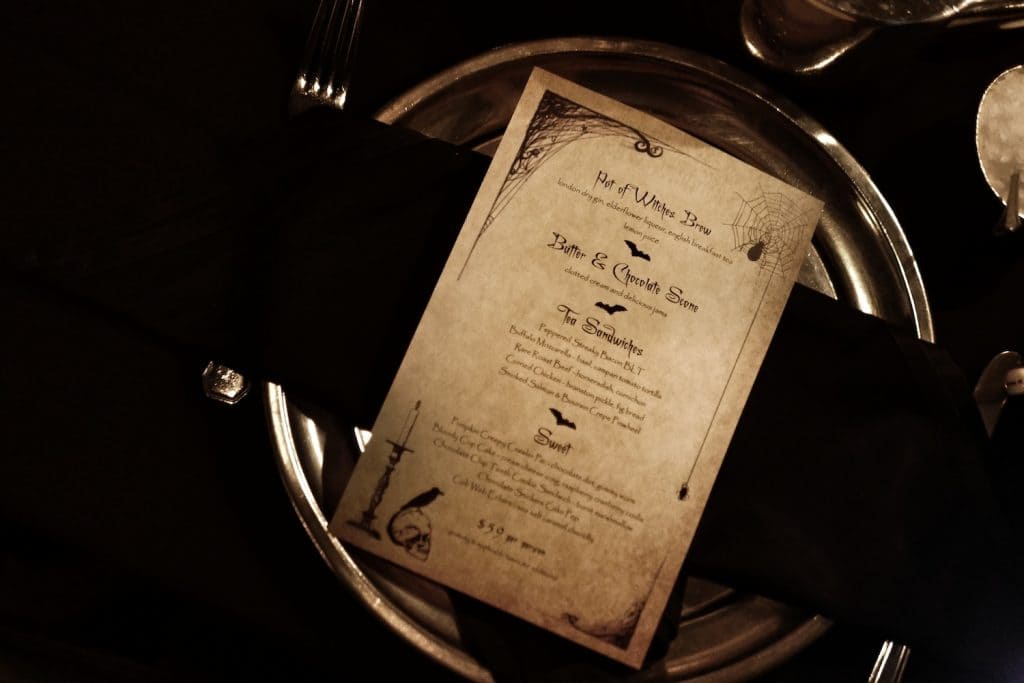
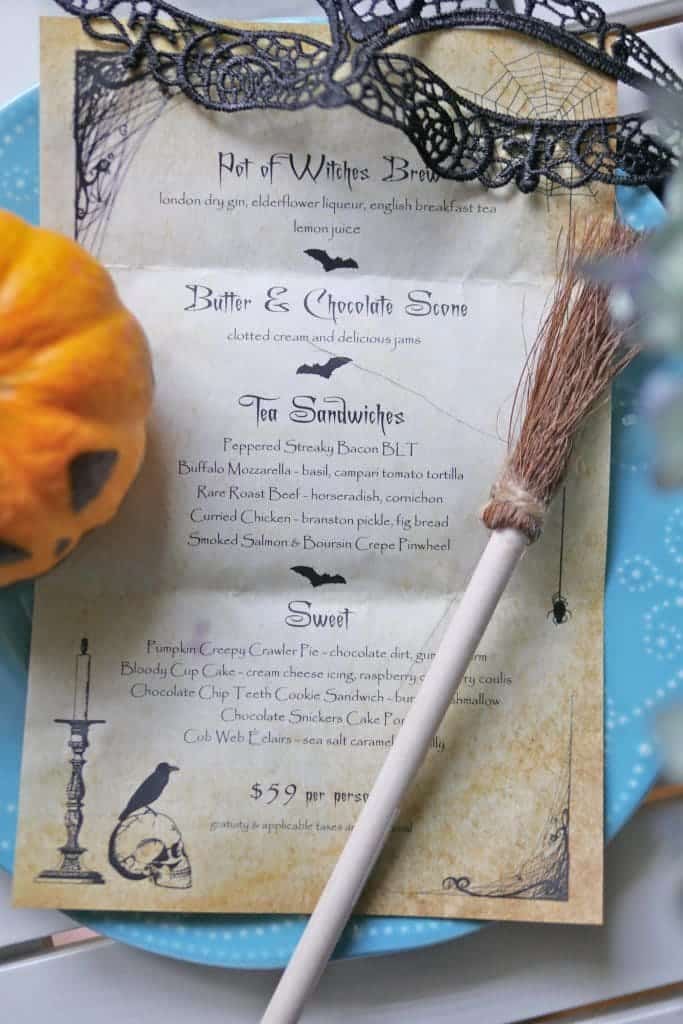
 Soffee Cafe proved to be the perfect location to sit down and chat in a relaxed and beautiful yet unpretentious setting. I really loved their sweet English decor and the teapot warmers they used to keep the tea warm. I found the food quality to be good but the portions were on the smaller side. They were also less substantial items so someone with a heartier appetite might find this tea set a bit underwhelming for $39. A comparable tea set would be the one at
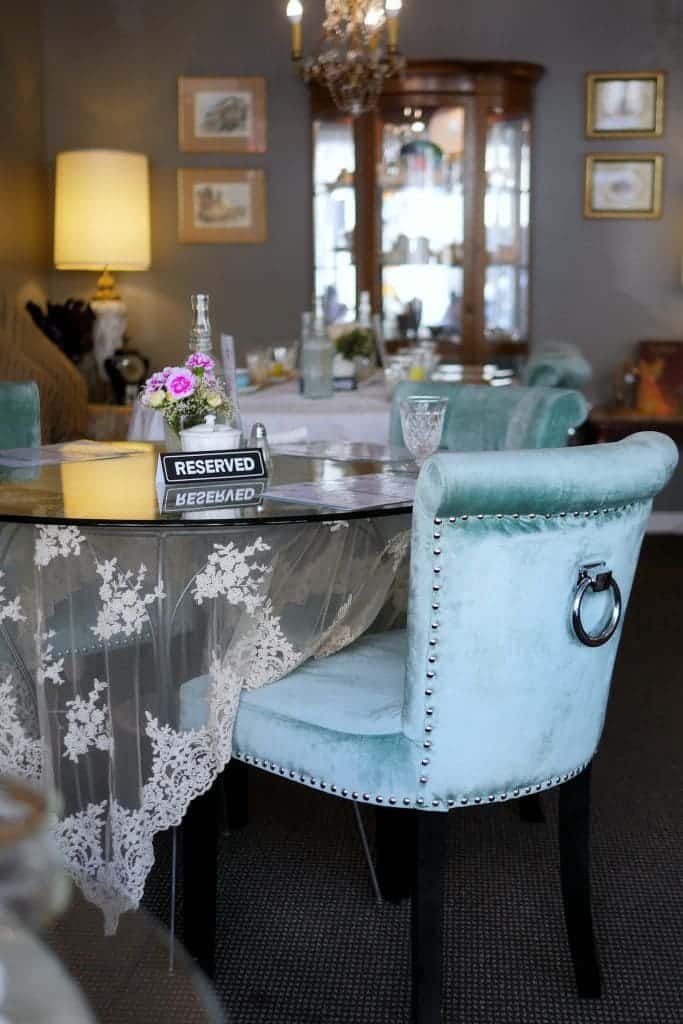
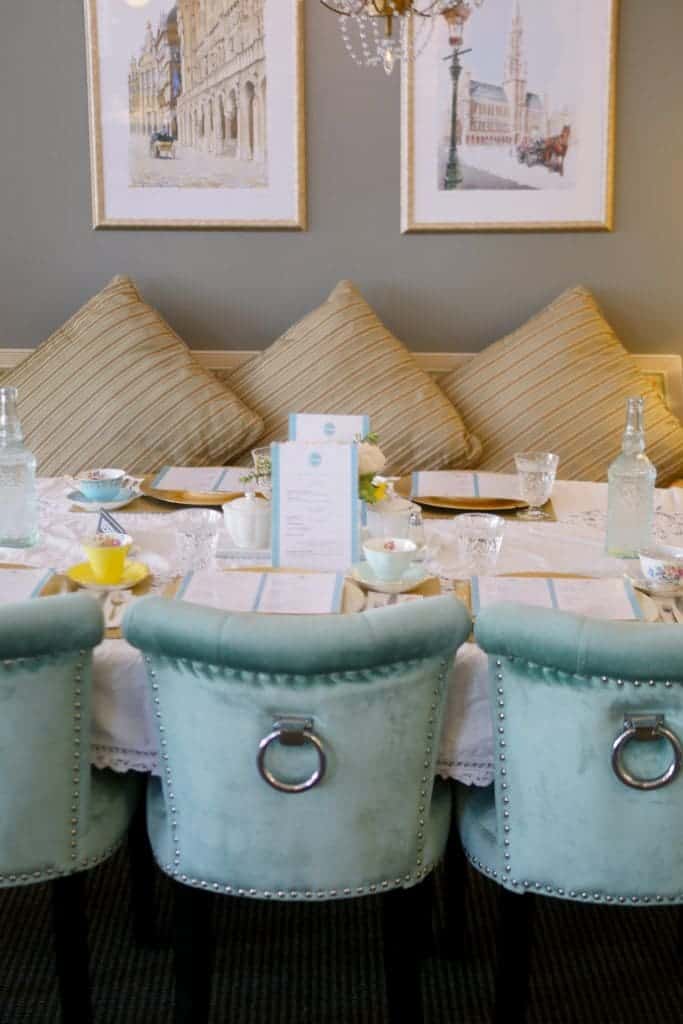
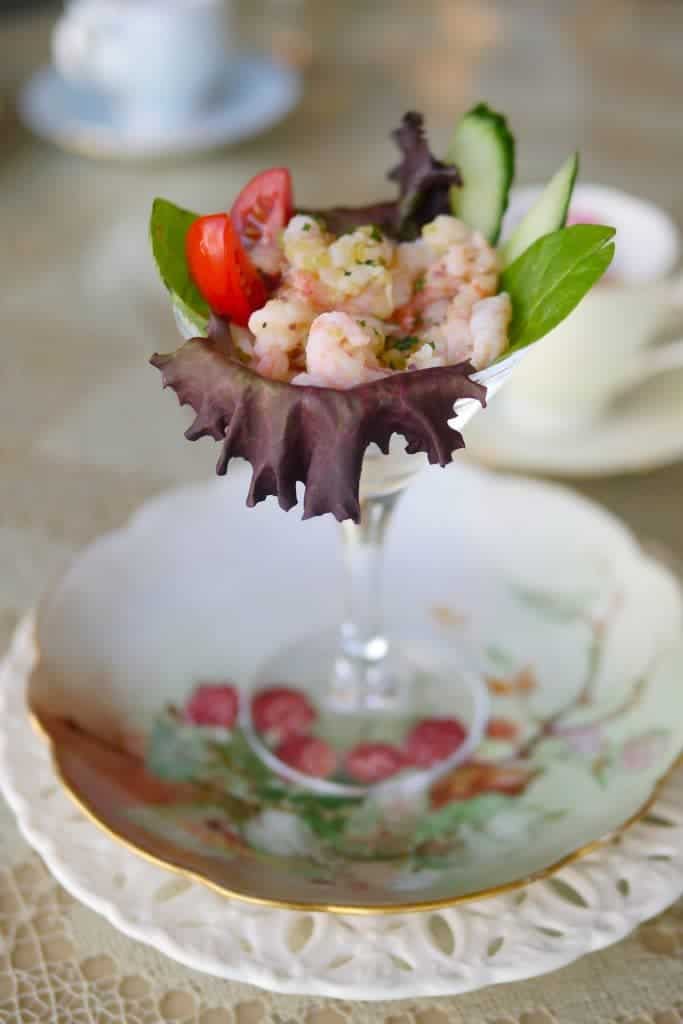

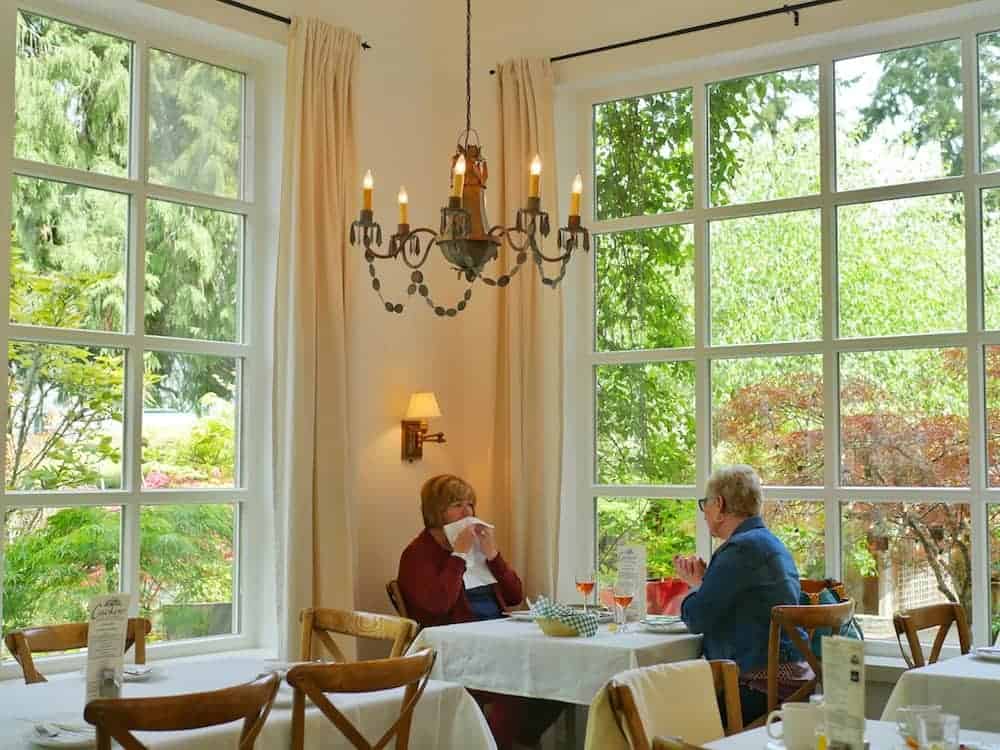
 Ambience: Traditional English manor decor. Dark carved wood furniture, chintz fabrics, lace table cloths. The space is on the small side with approximately eight tables seating 2-4 people, depending on the configuration. There are only two window tables available so keep that in mind when reserving.
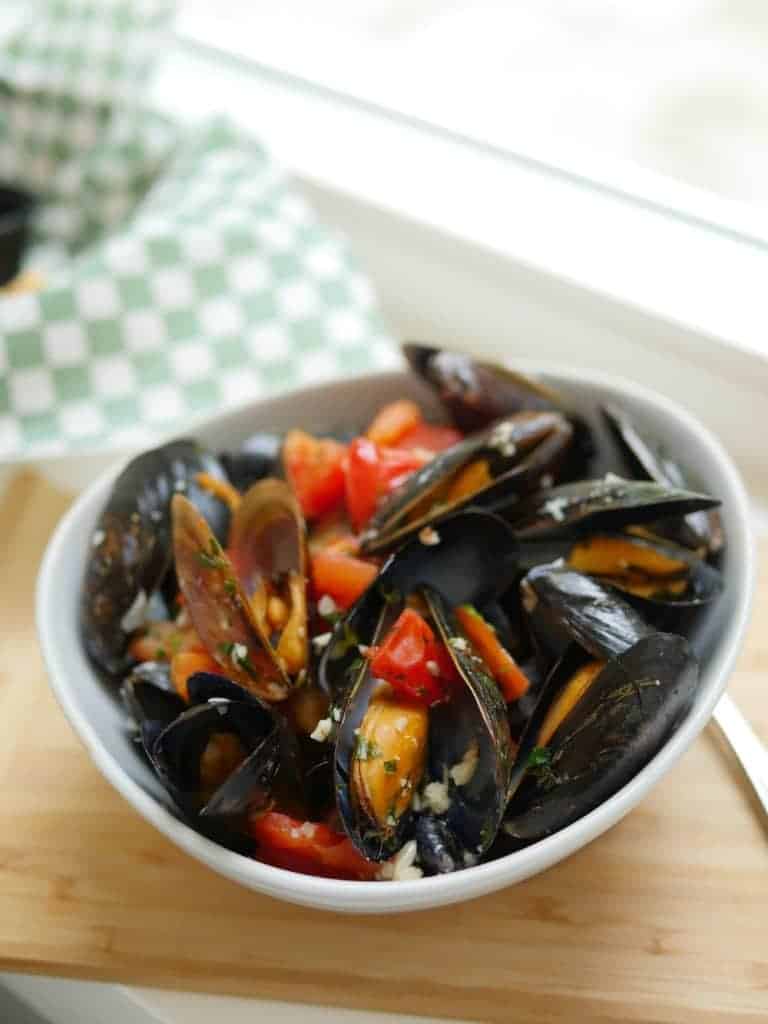
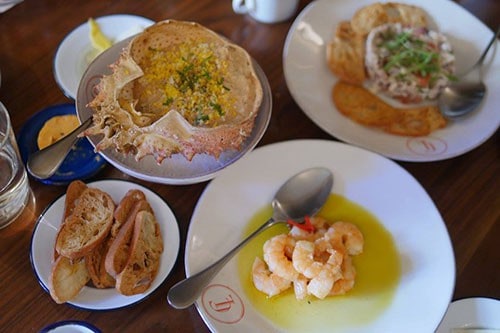
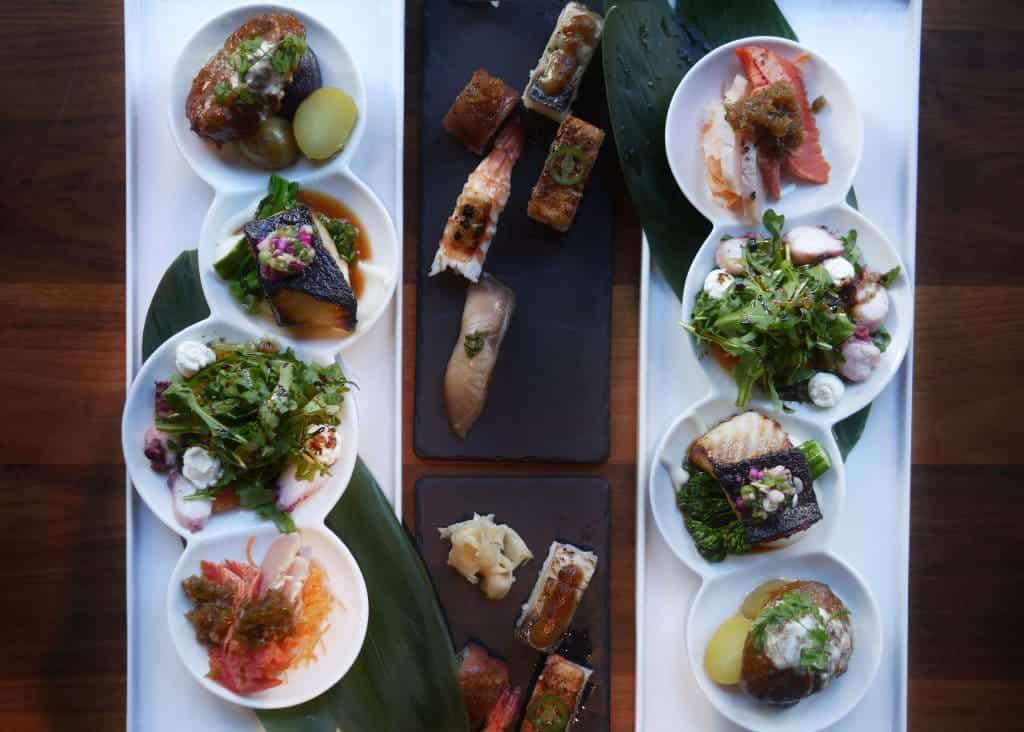
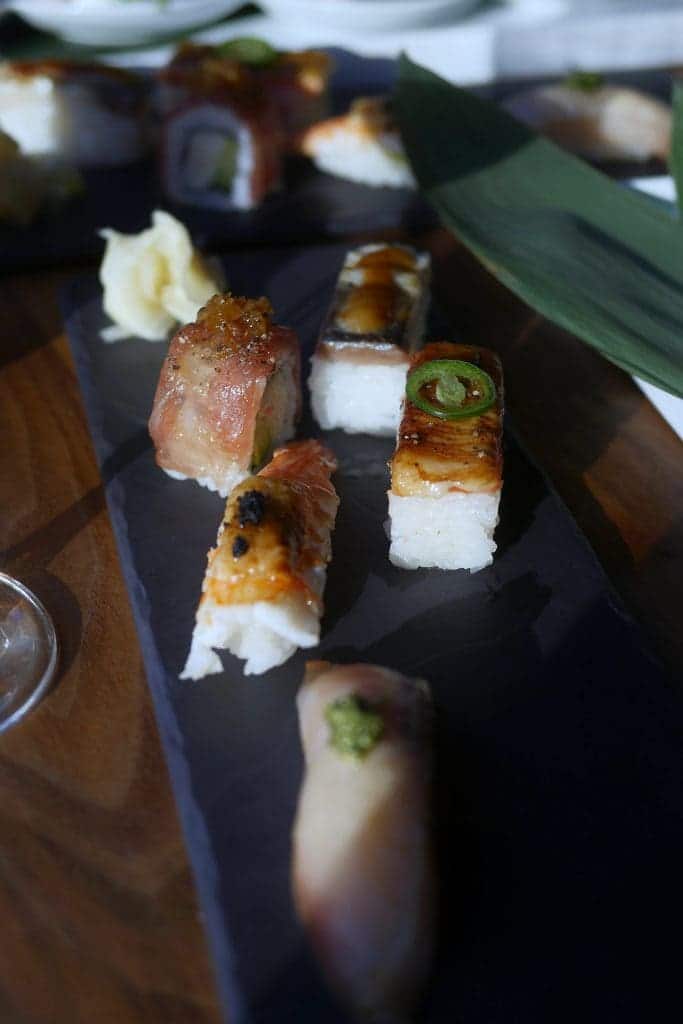
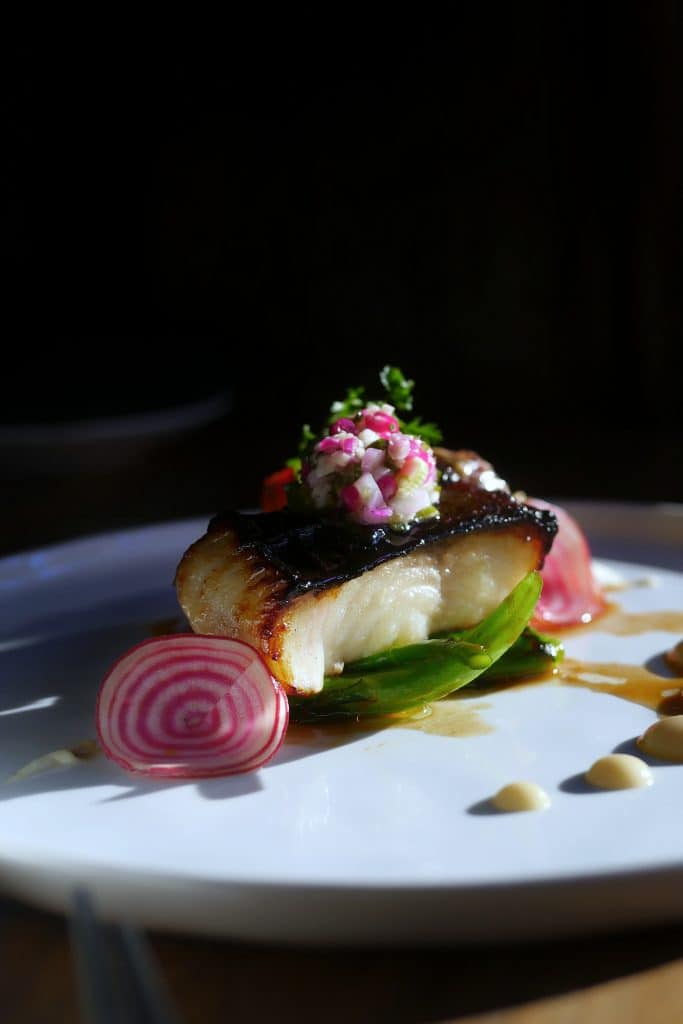
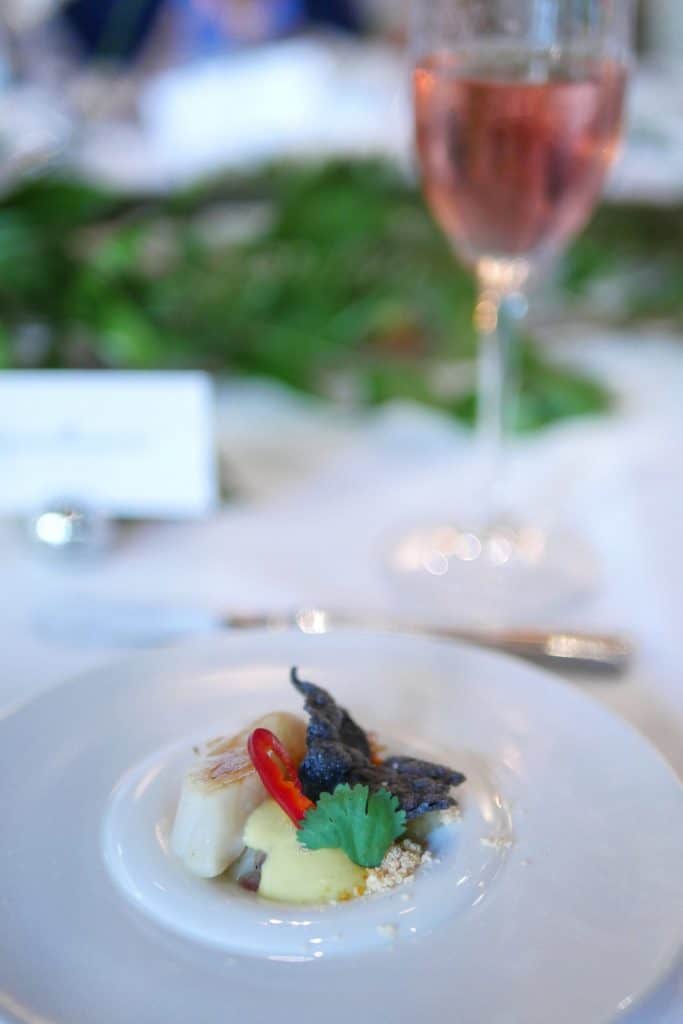
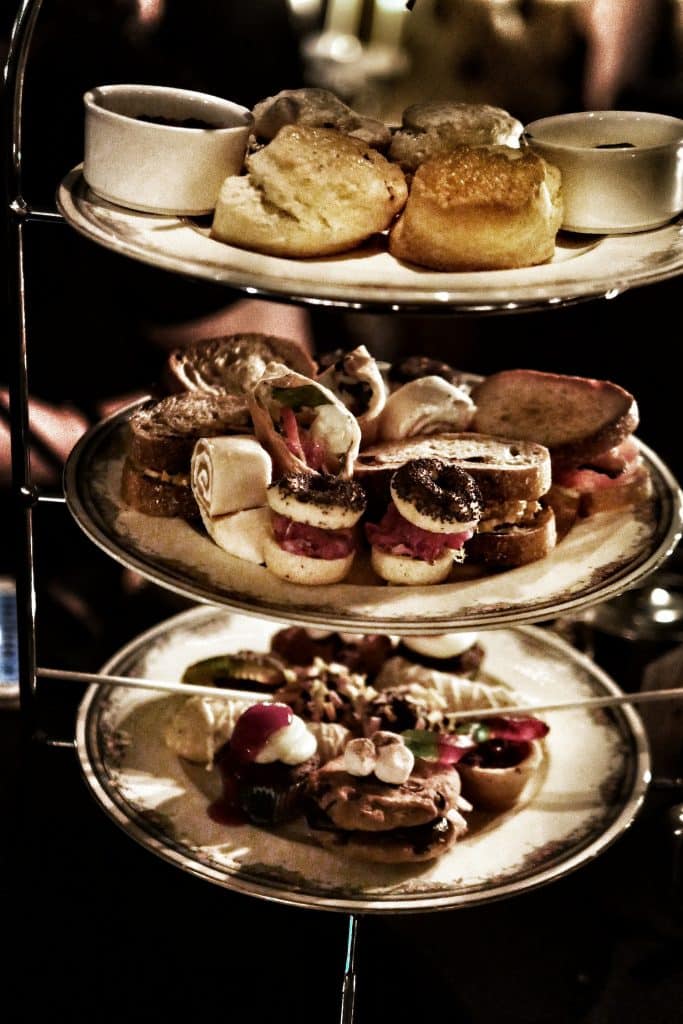
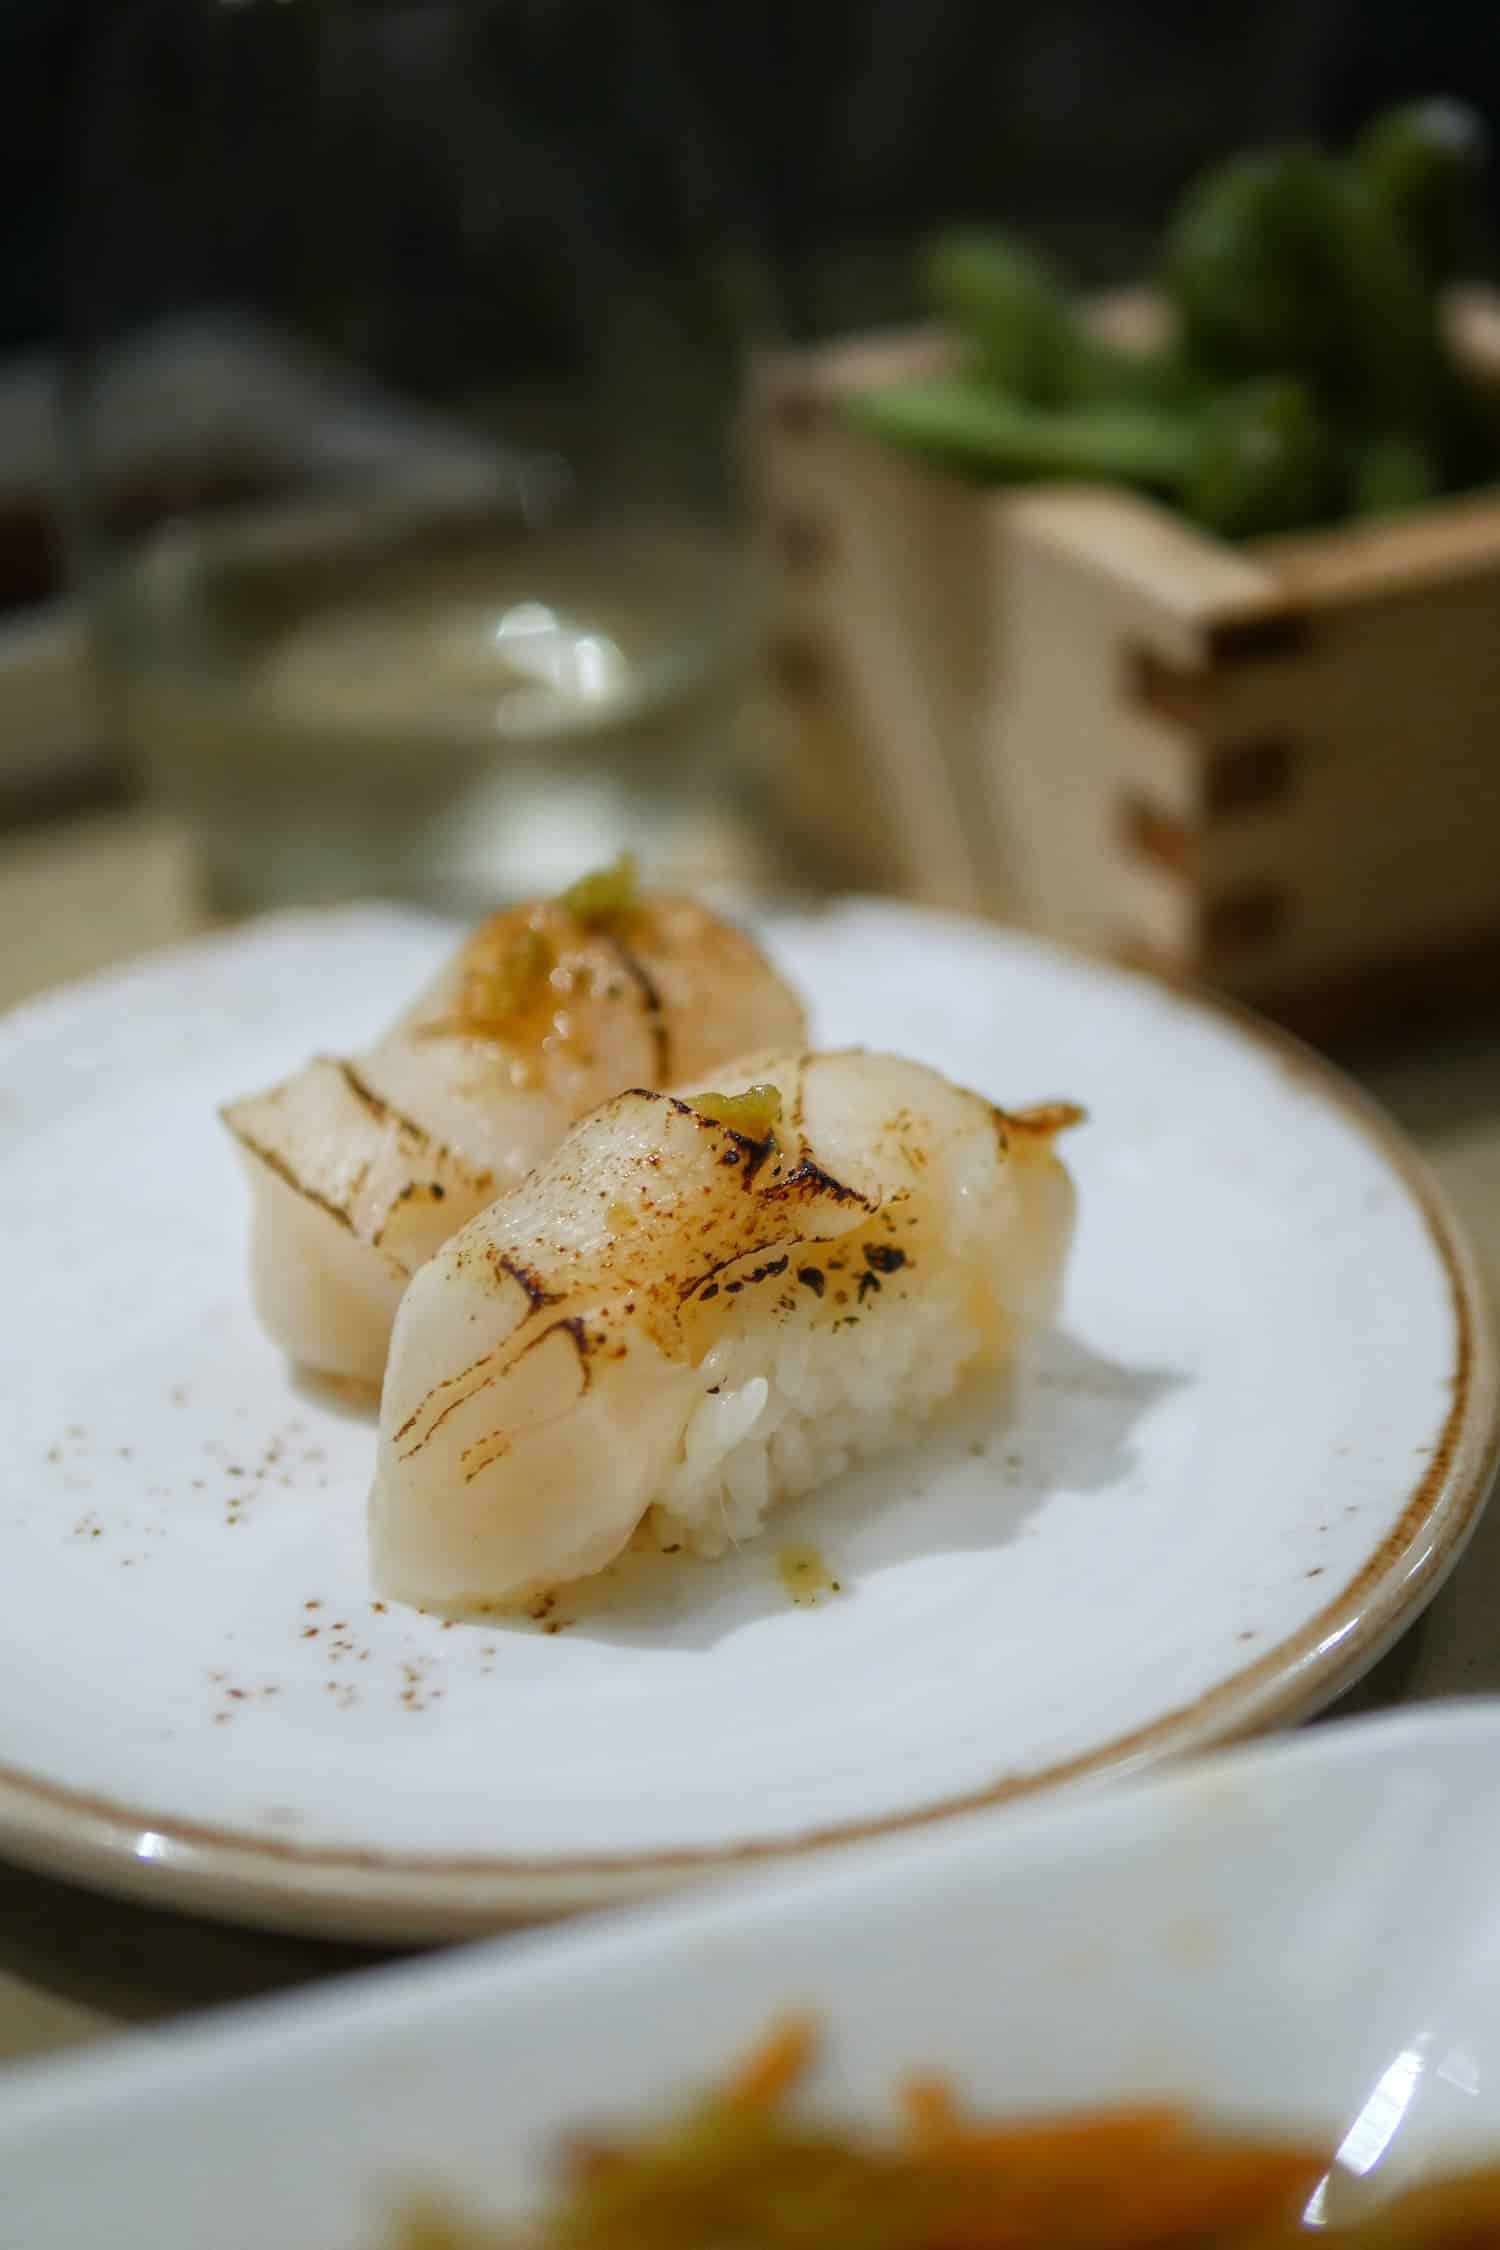
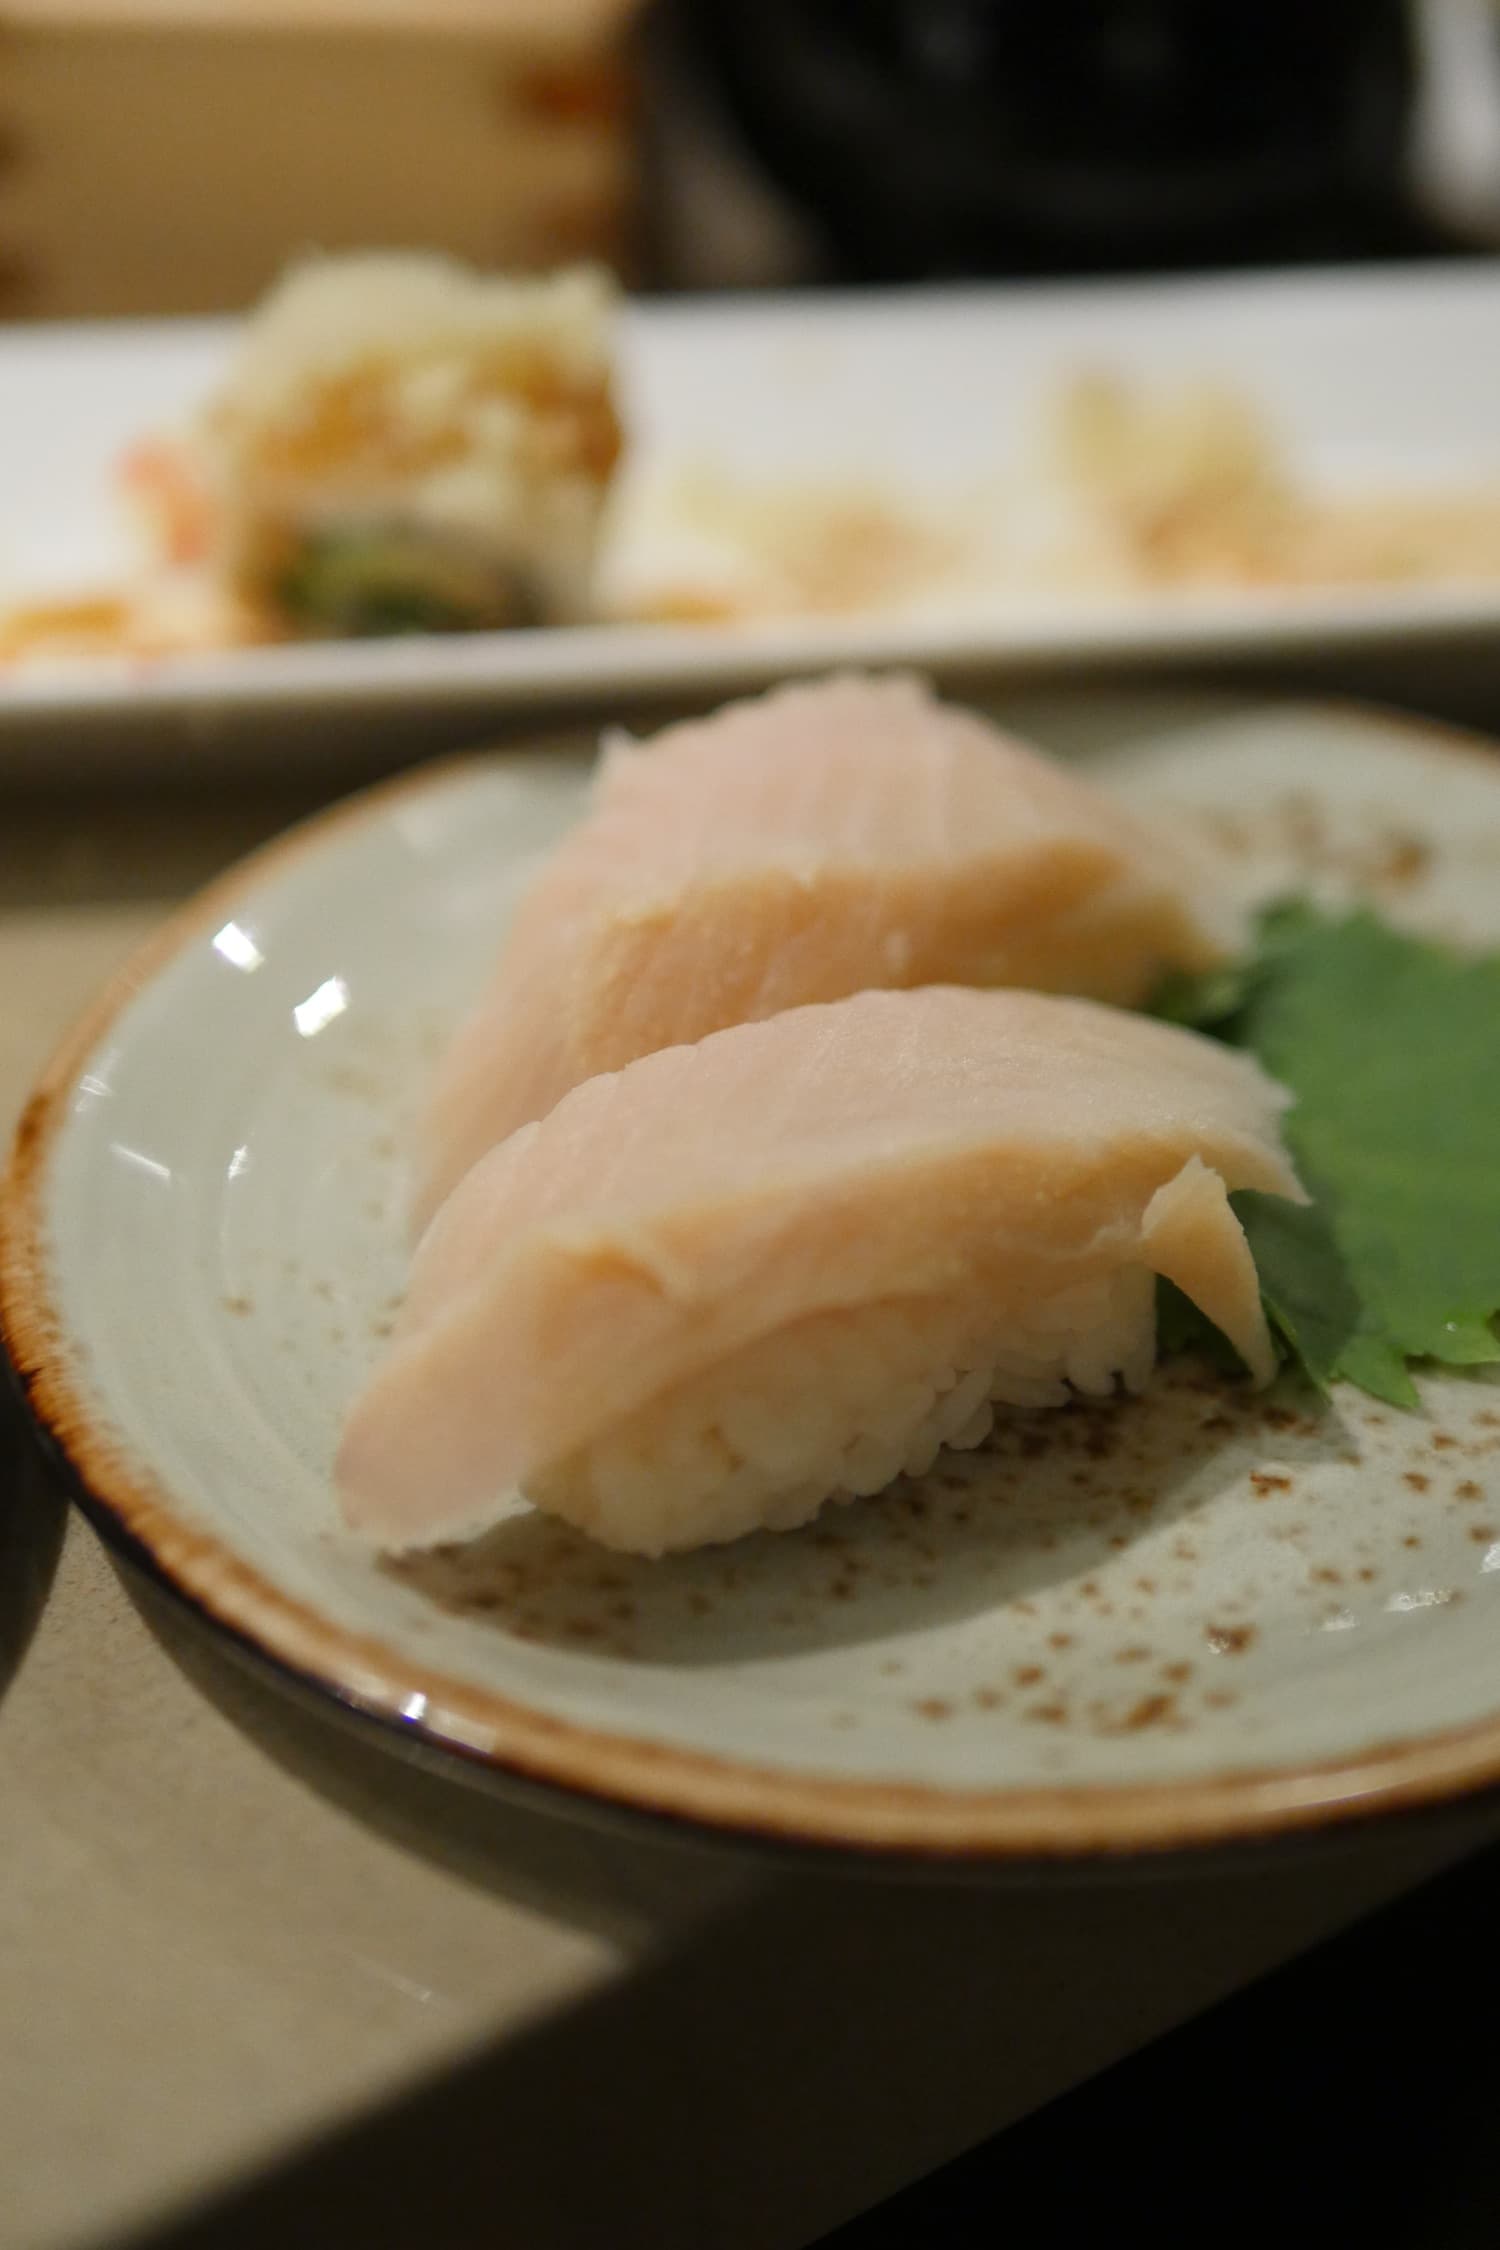
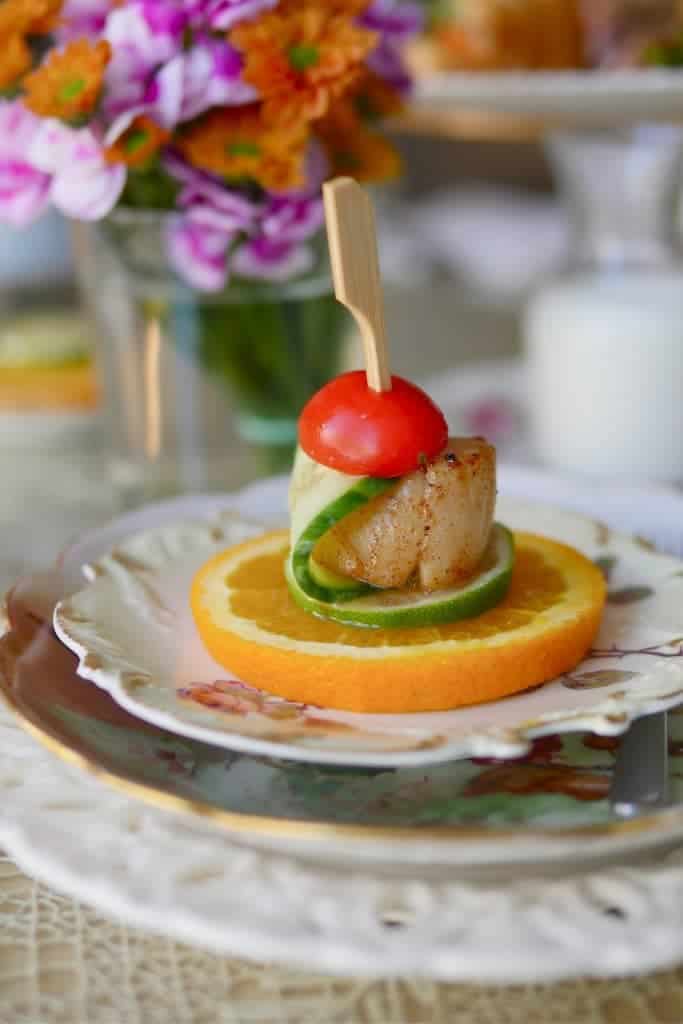
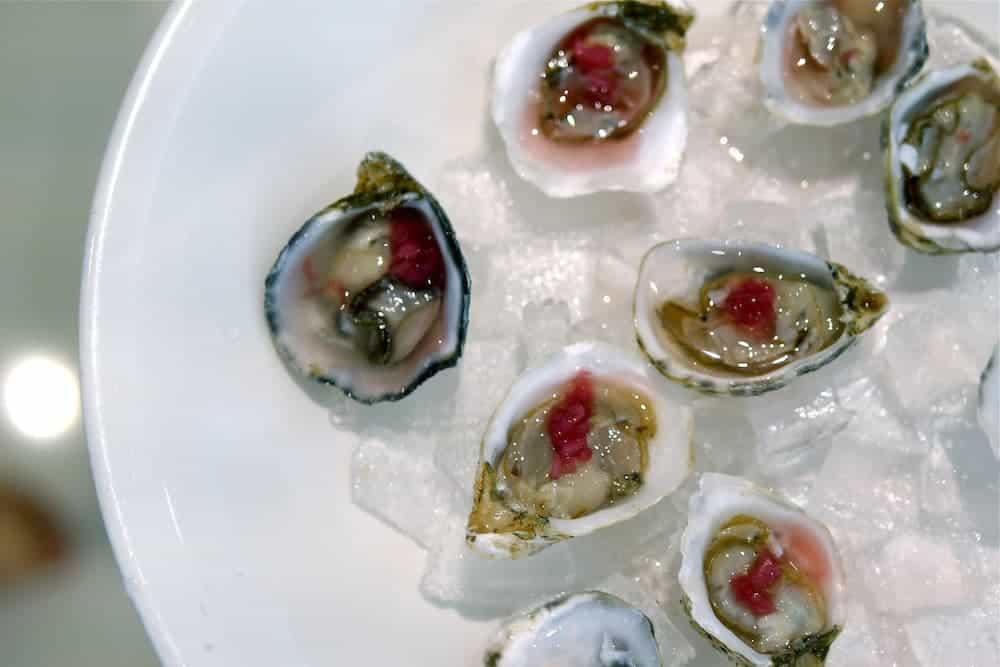
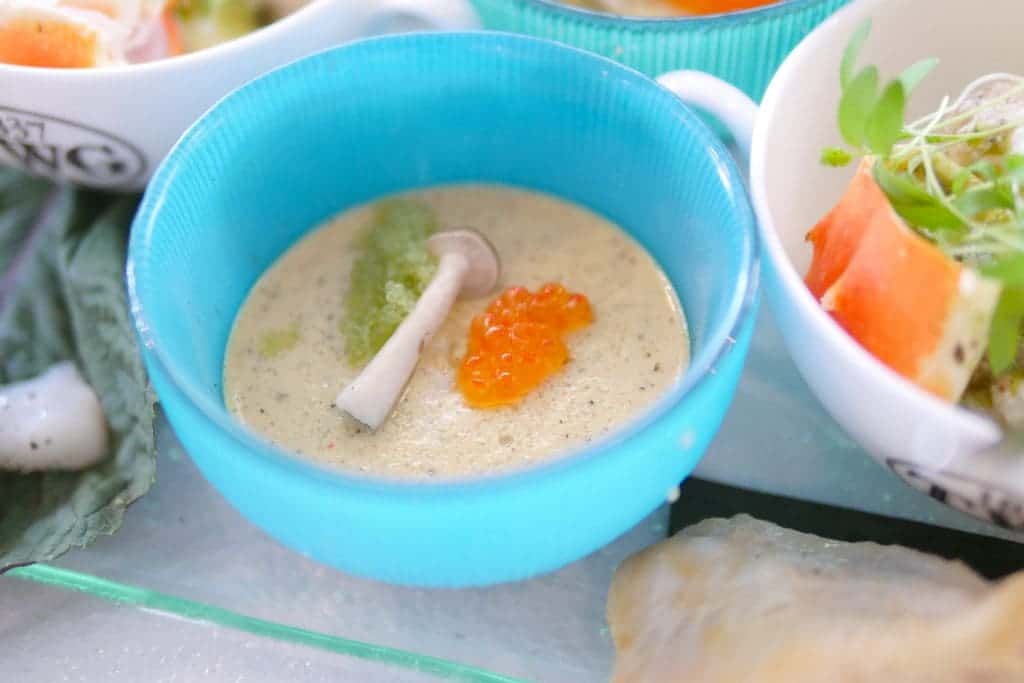
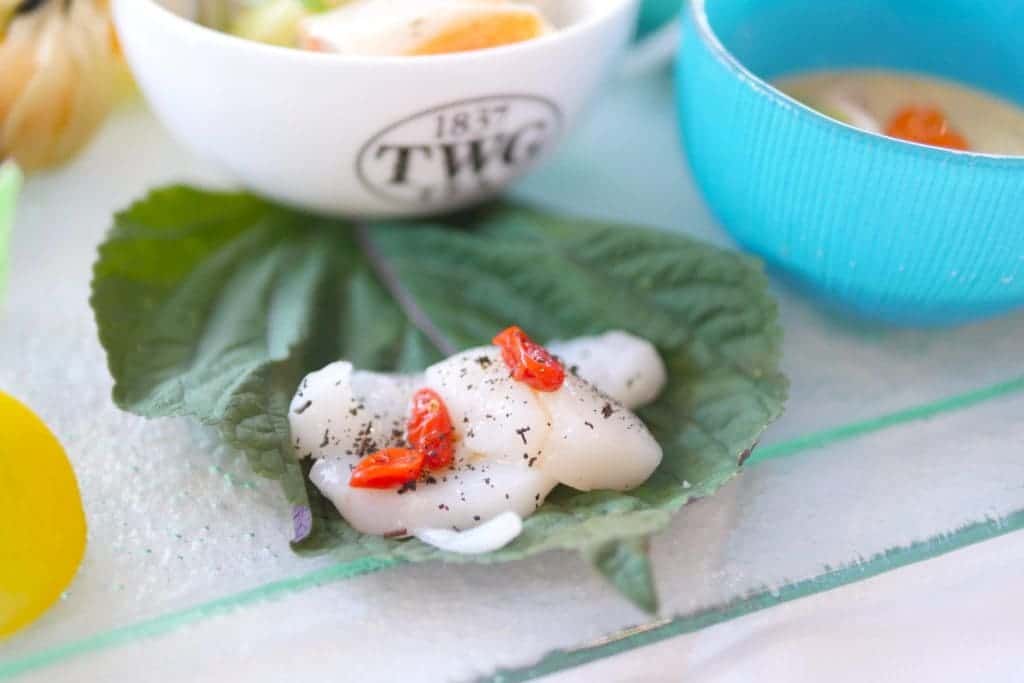
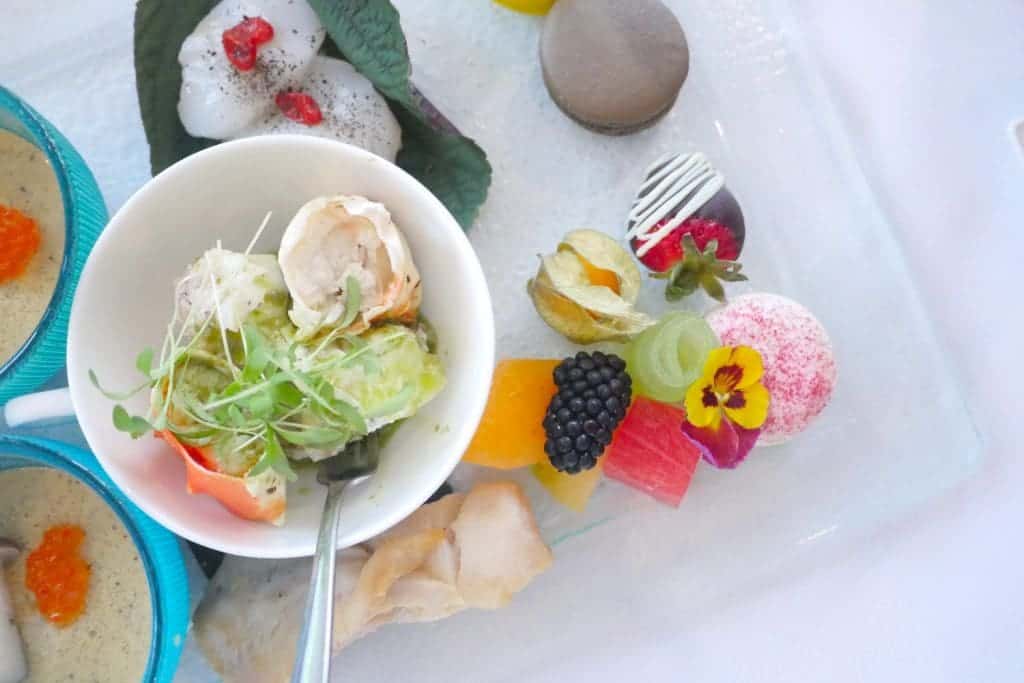
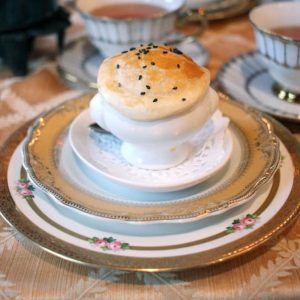
 Savoury: Fresh seafood starters featuring shrimp cocktail, white wine seared scallop and steamed lobster. There is one small croissant but without sandwiches or other more substantial pieces, some may be left a bit peckish.
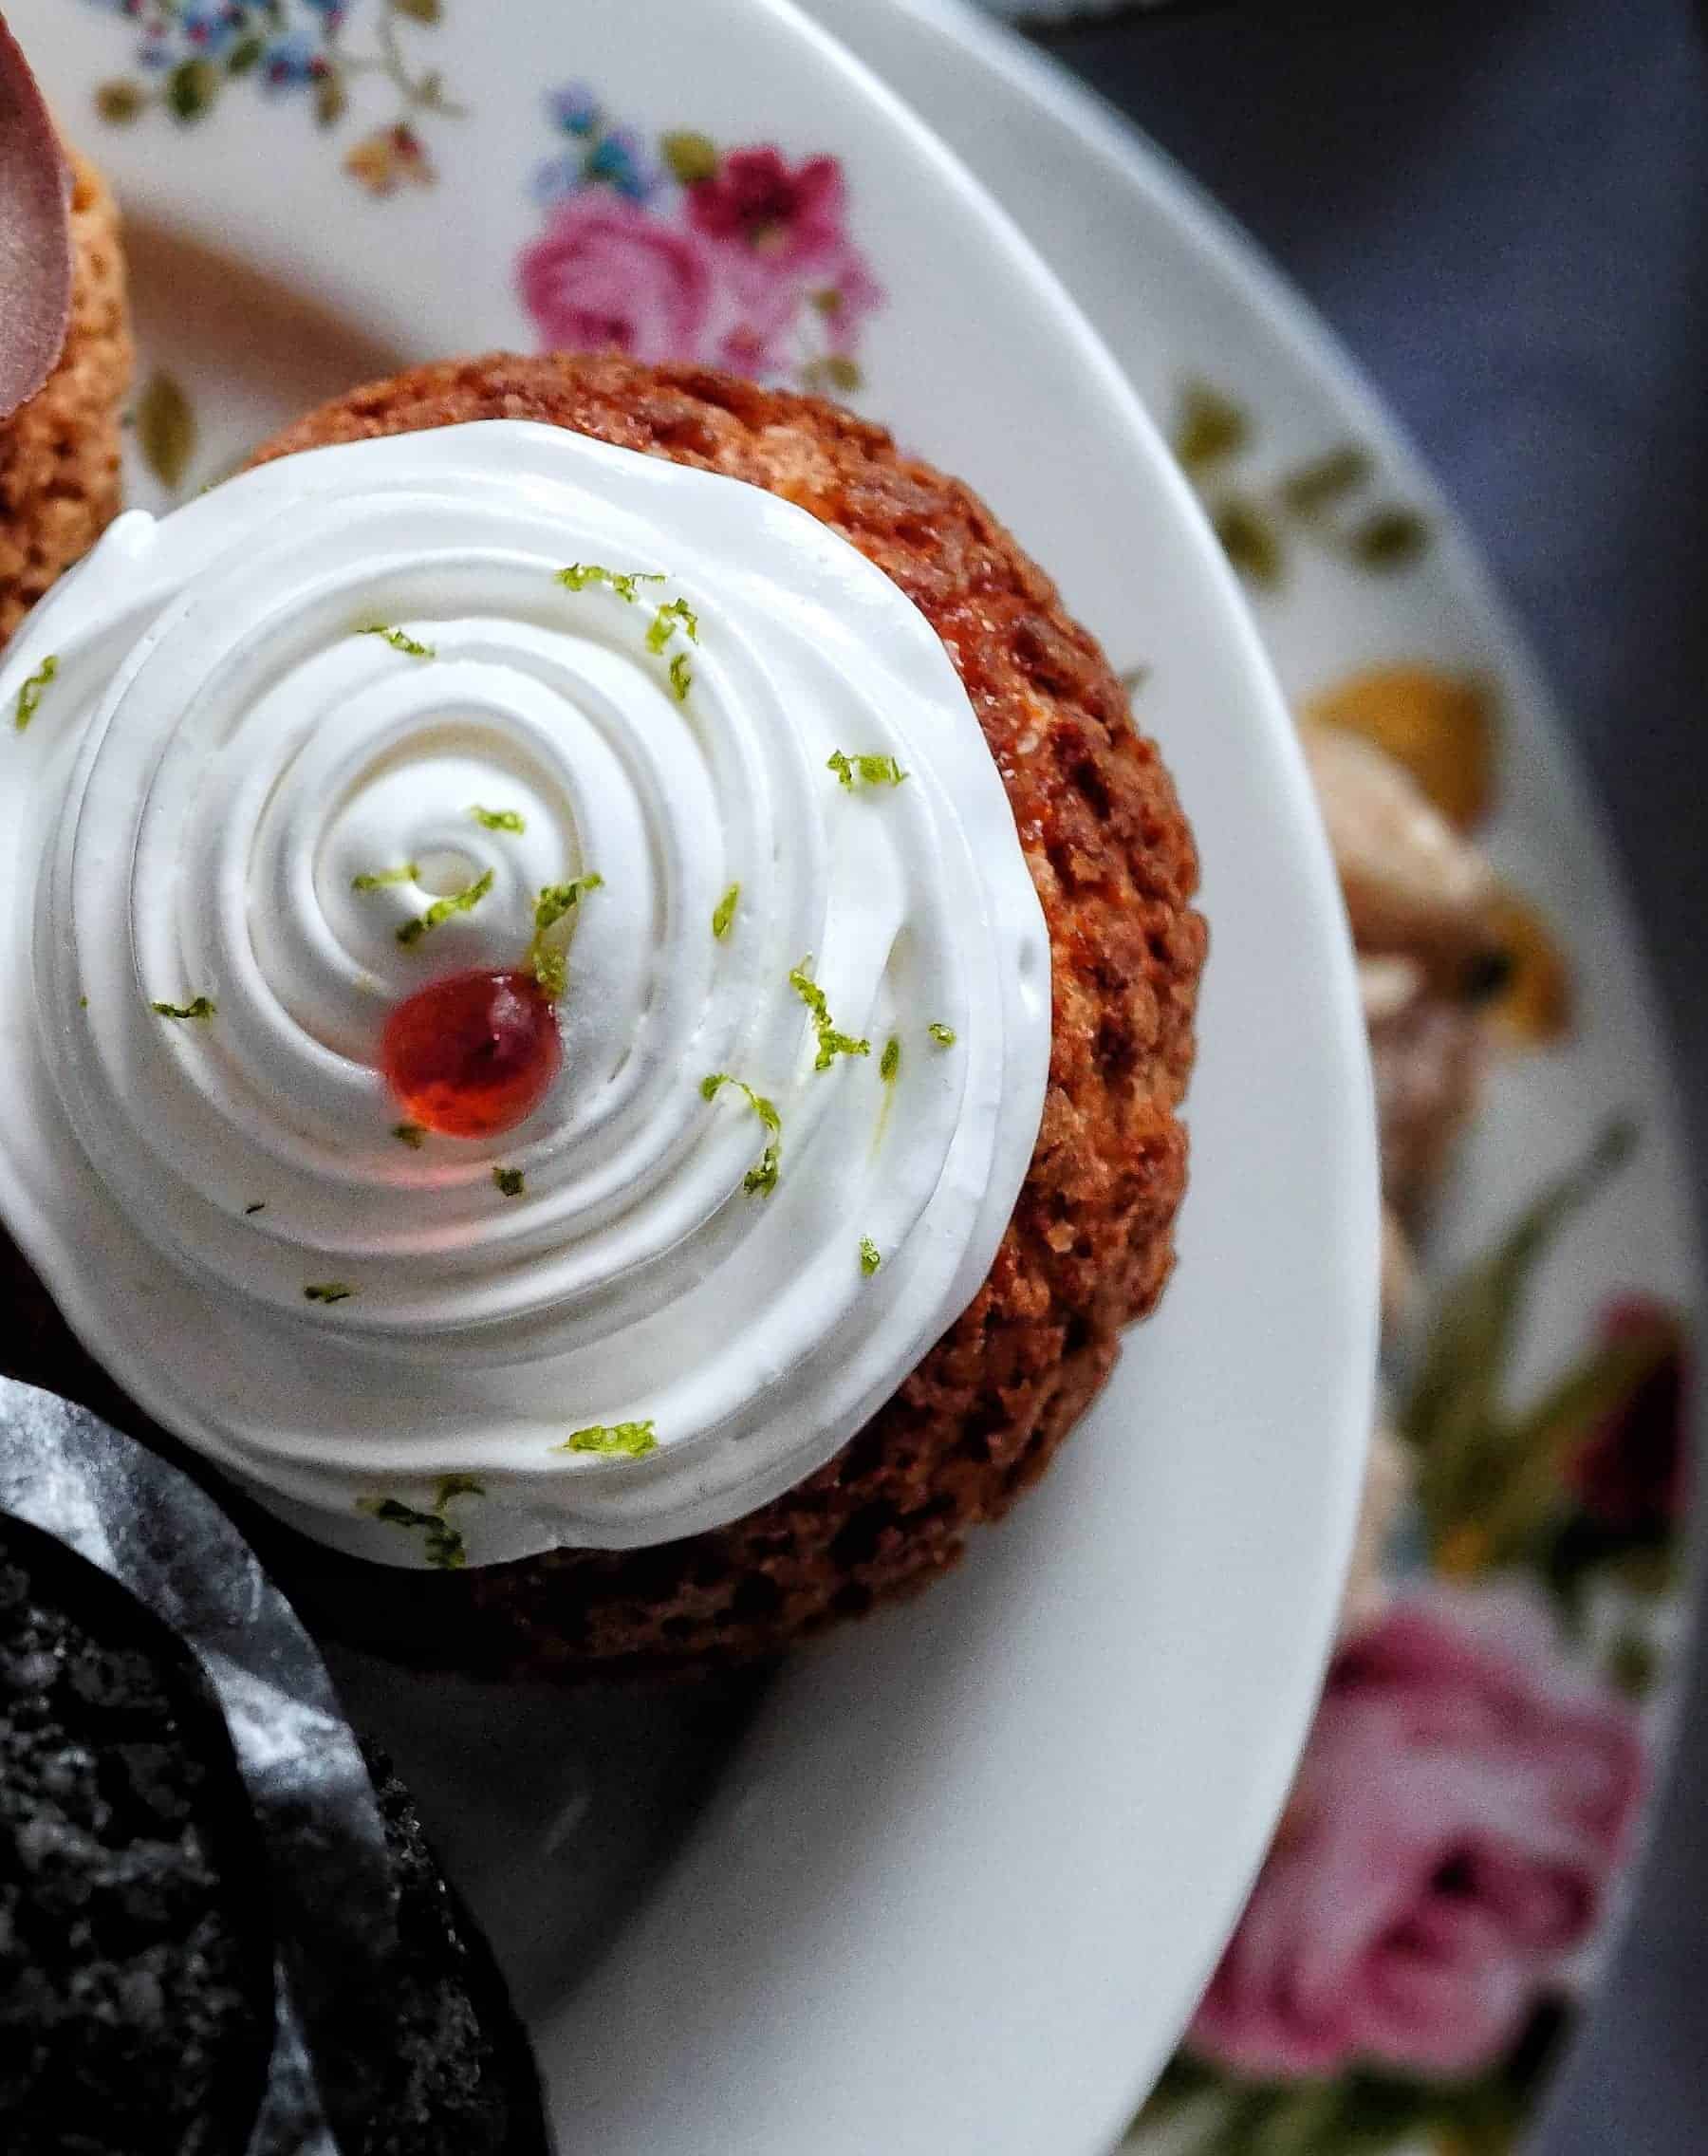
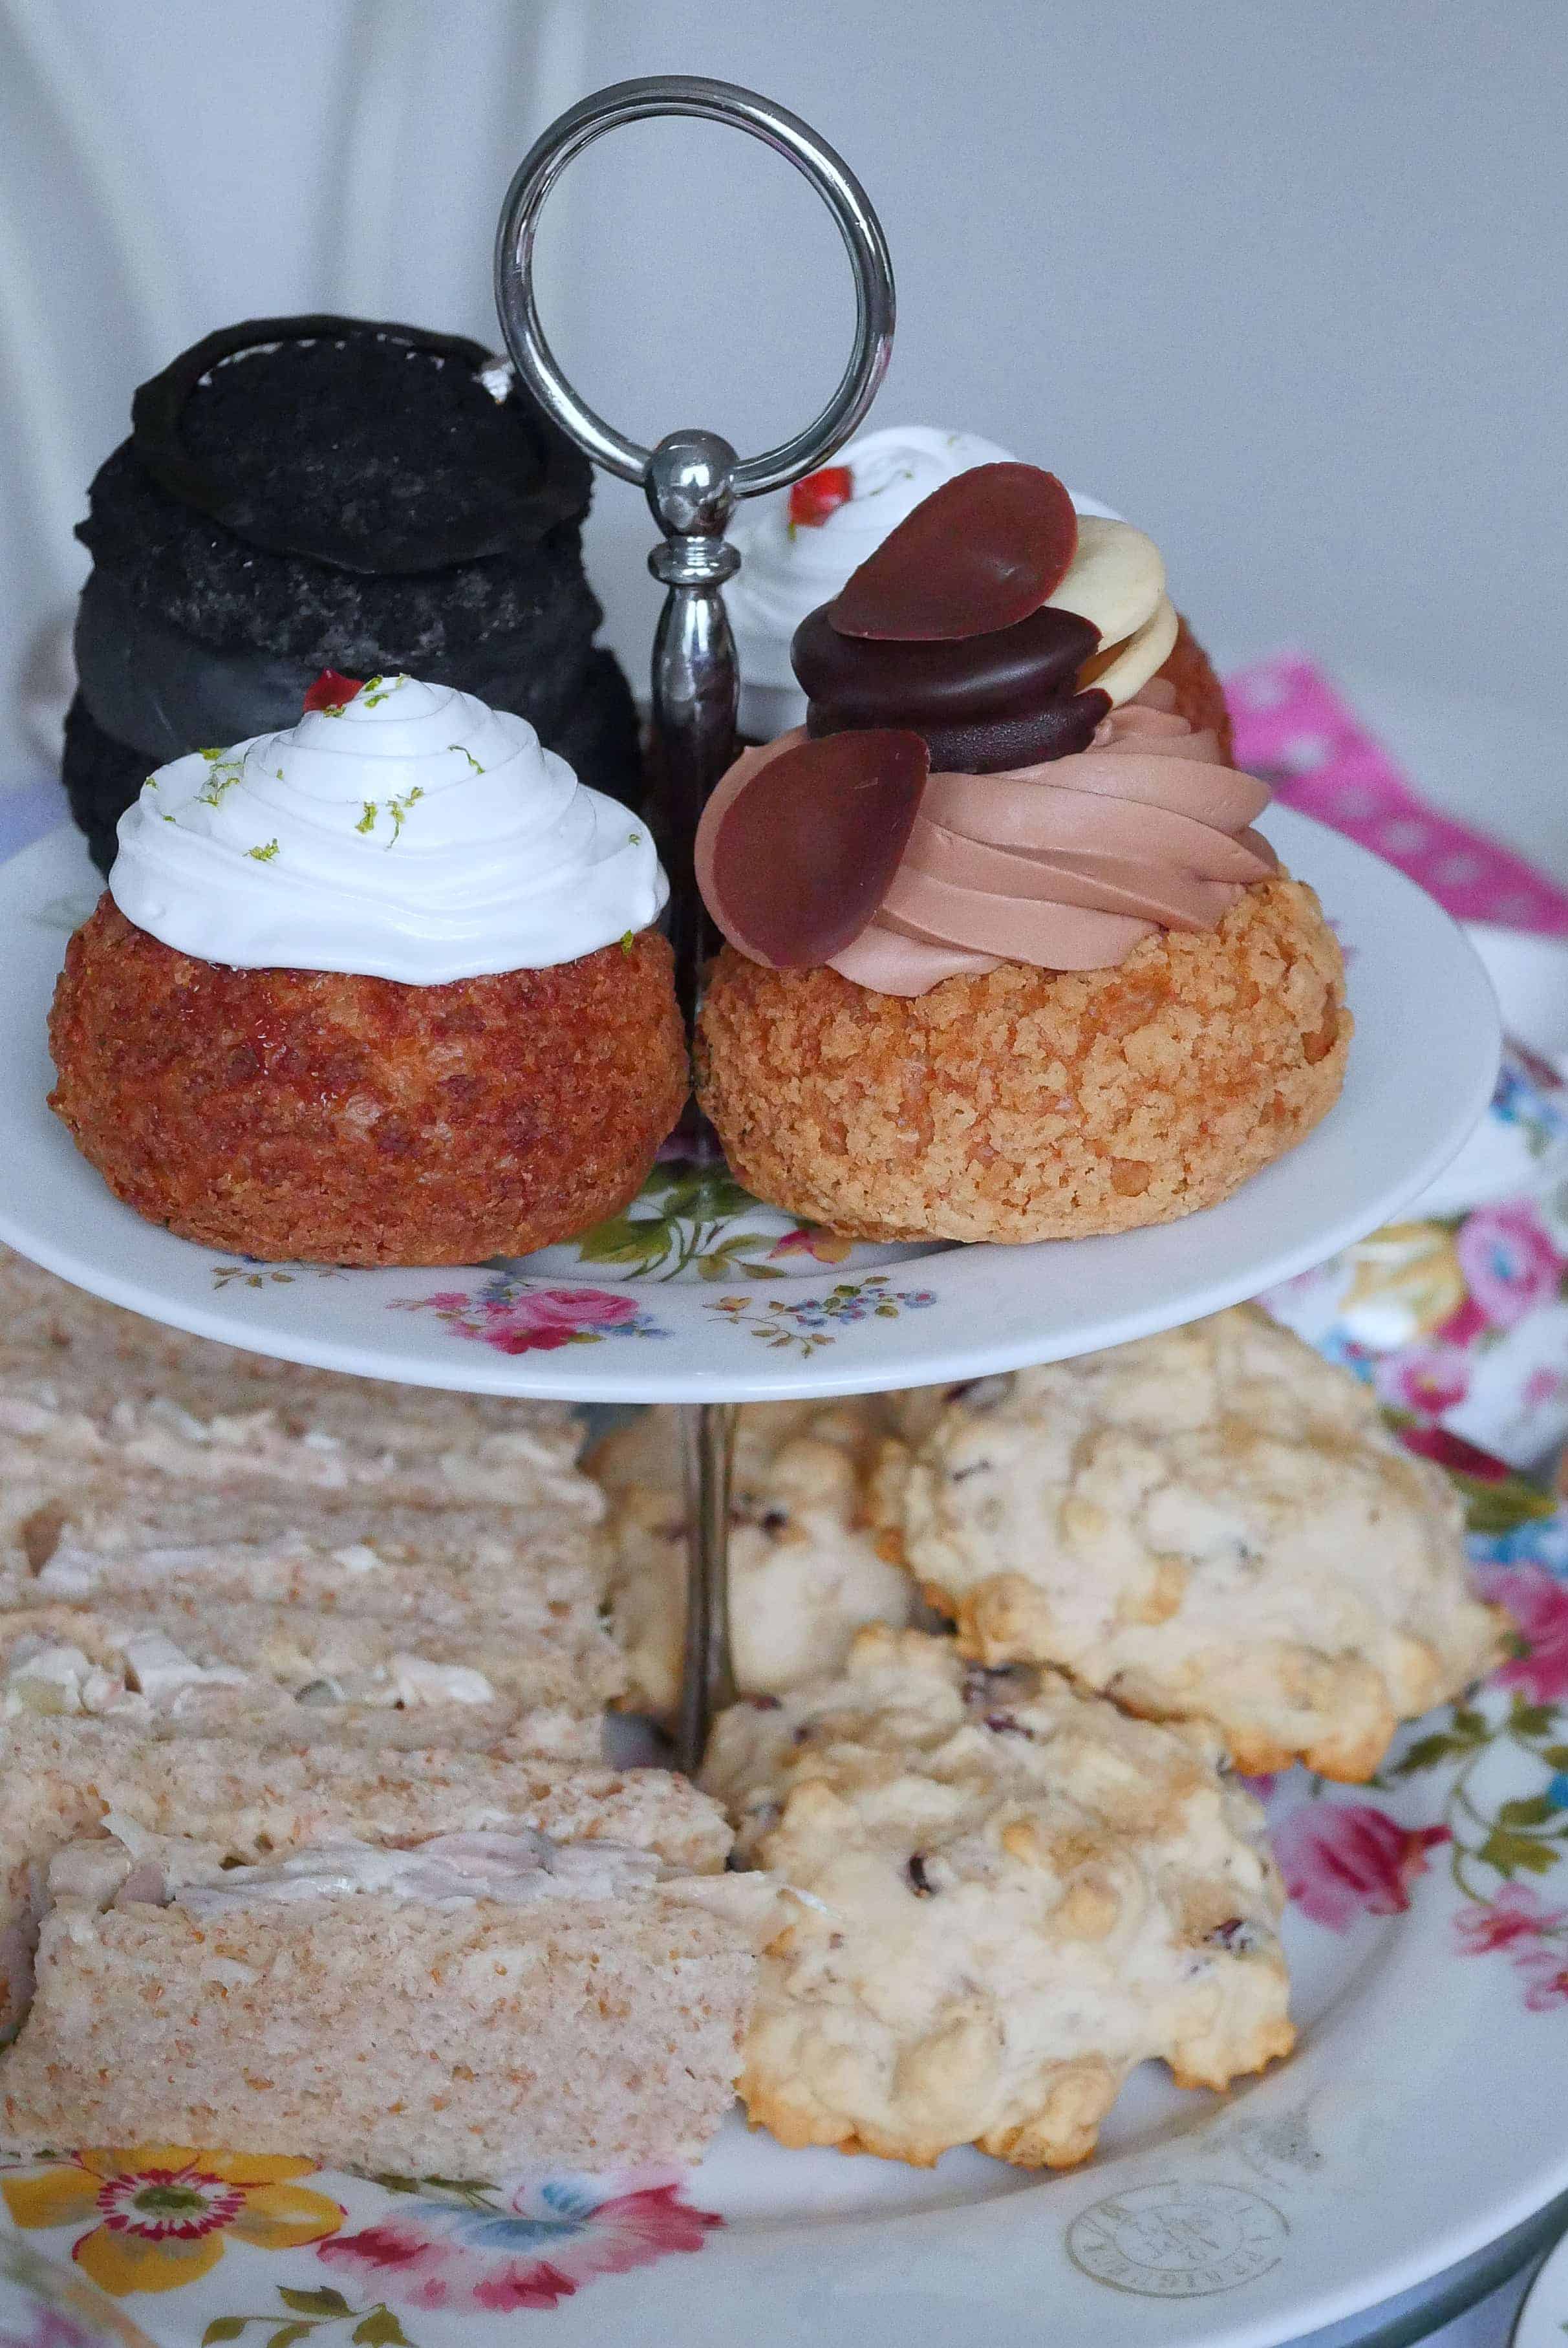
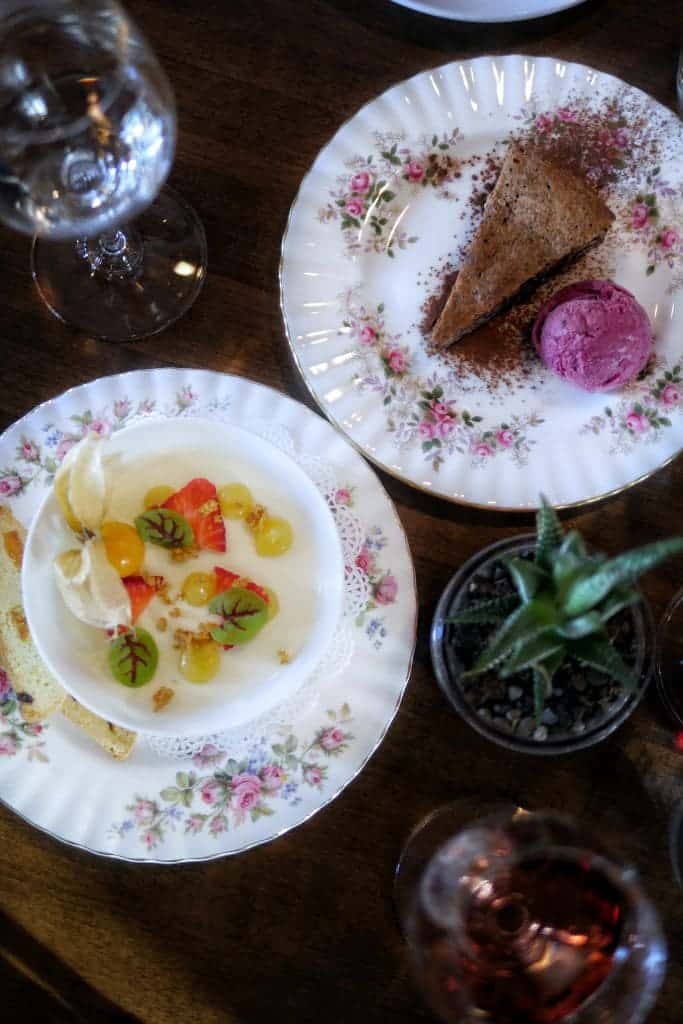
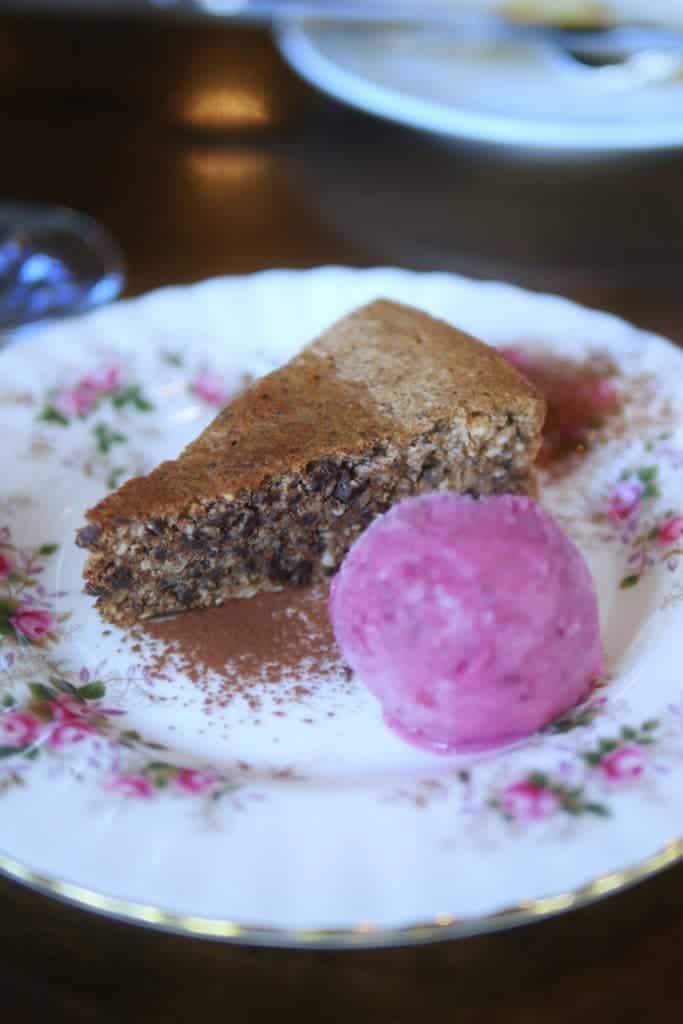
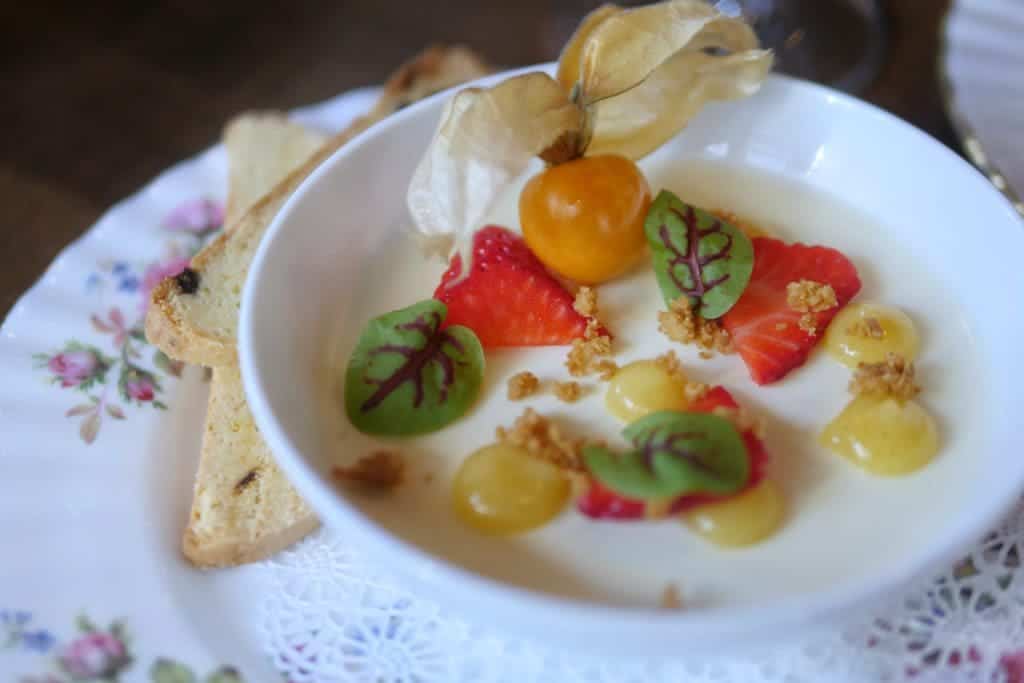
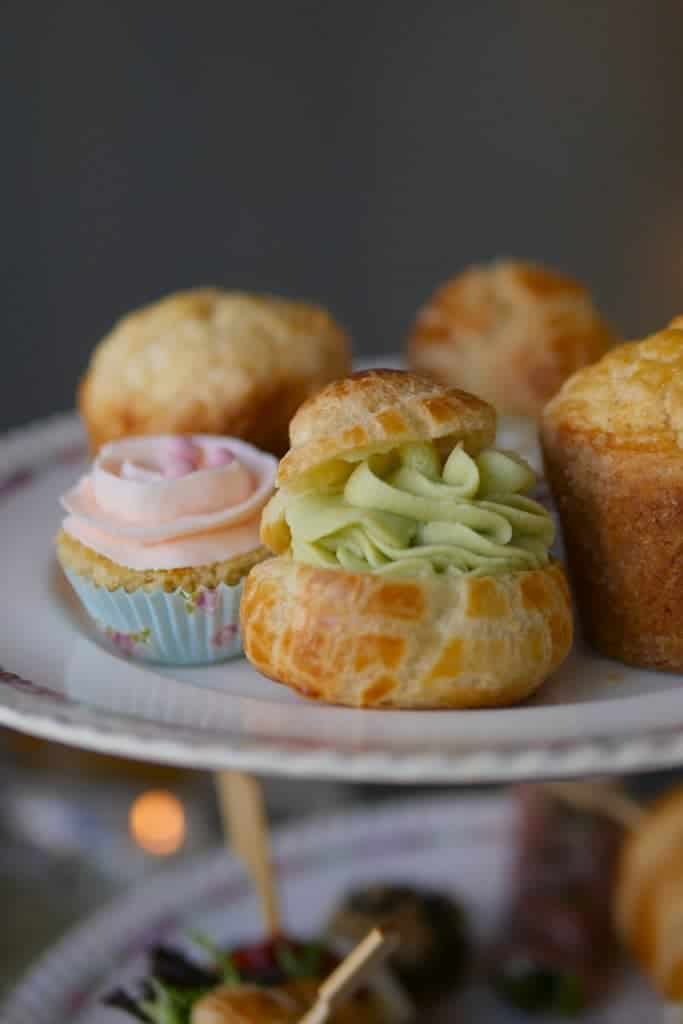
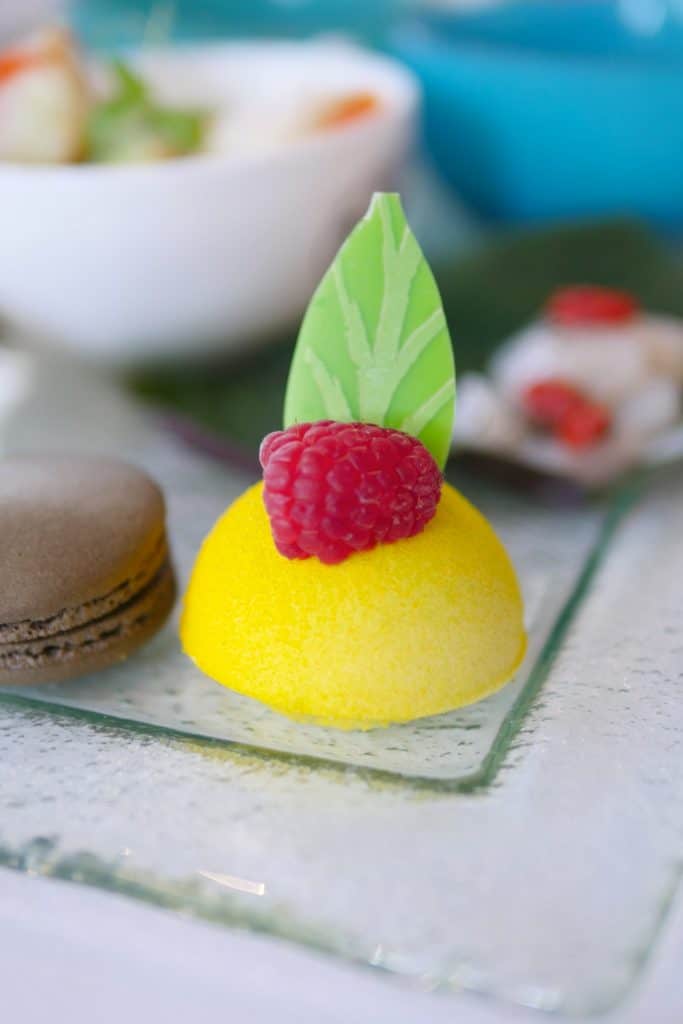
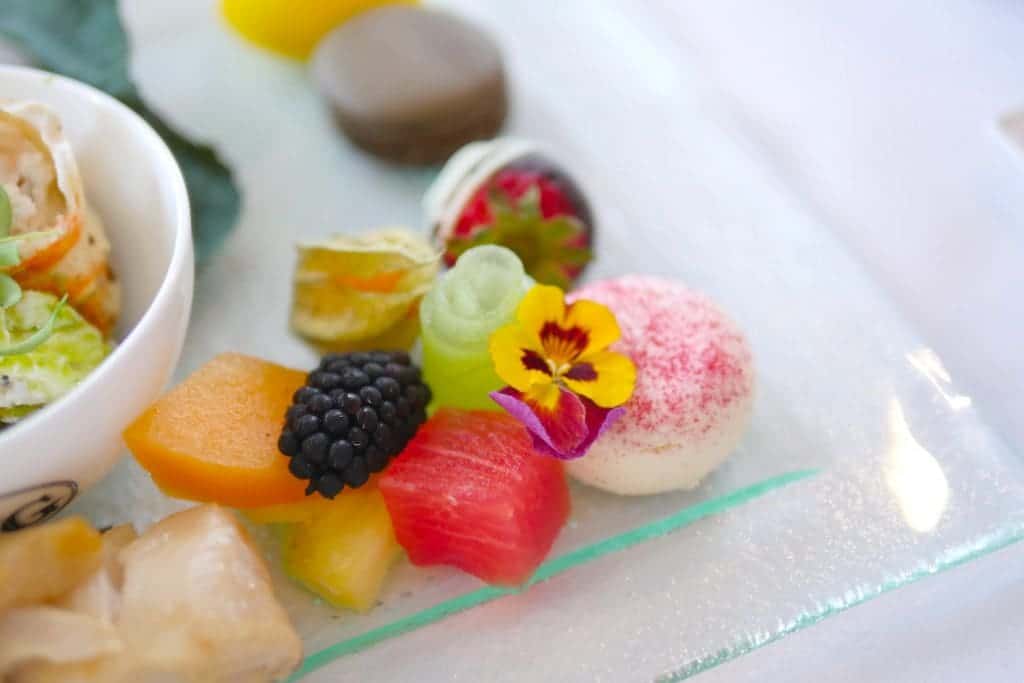
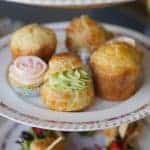 Sweets: Good. 5 mini sweets plus one scone which were all on the small side. I would have expected at least 2 scones per person considering how little sweets were included and how small they were. All the sweets were delicious and well executed and the one I particularly enjoyed was the matcha choux "cream puff".
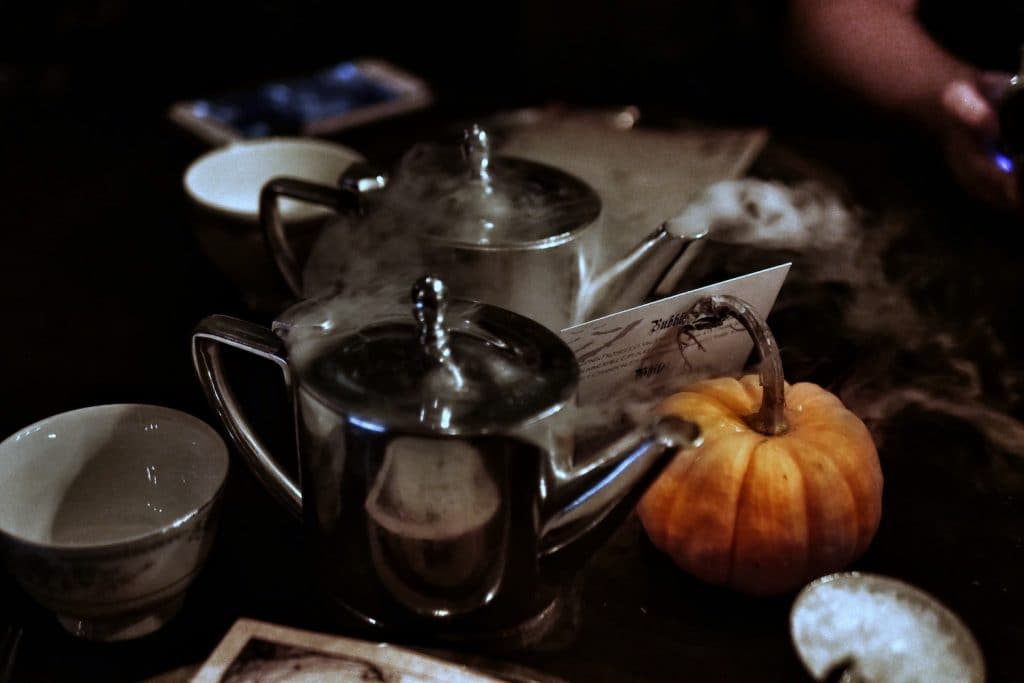
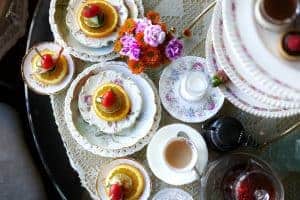 Tea Ware: Pretty, shabby chic mismatched vintage tea ware. Not designer tea ware like at Adonia, or XiXi Lounge Shangri-La. Candle teapot warmers were used to keep tea hot and is a nice touch which I've only seen at
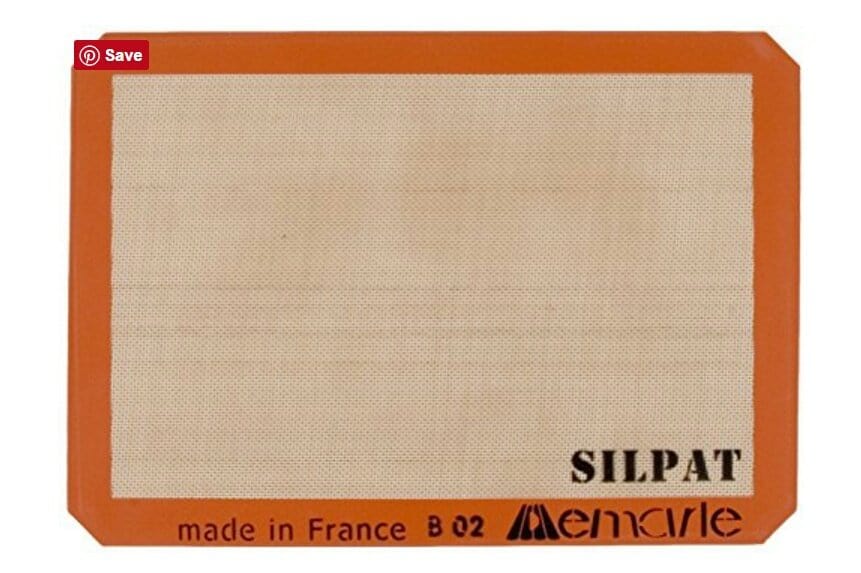
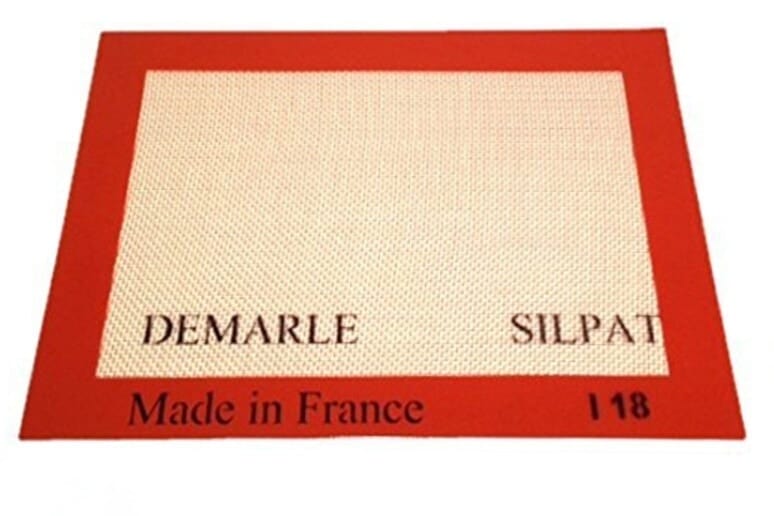
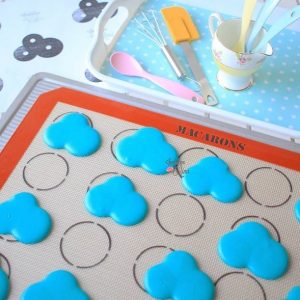
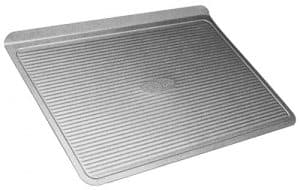
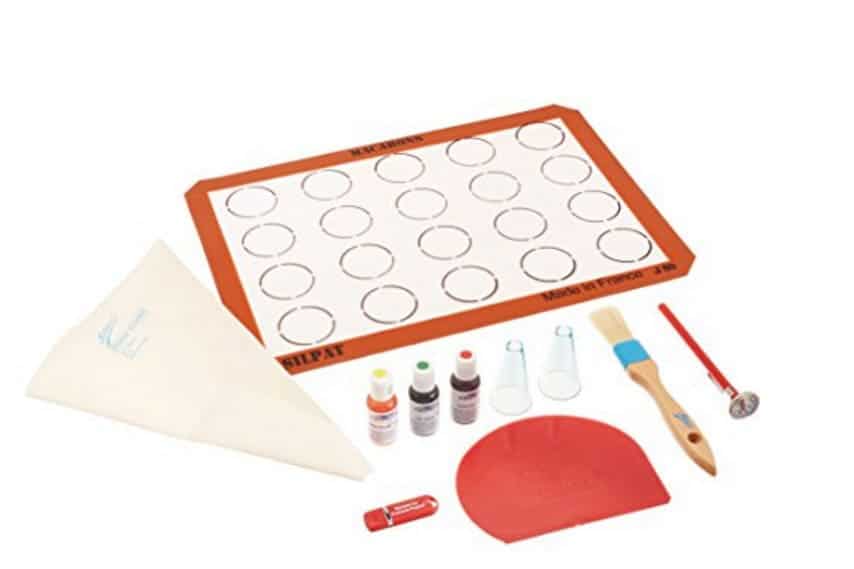
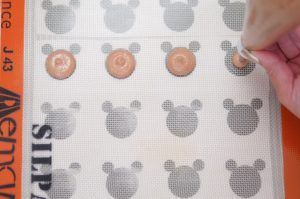
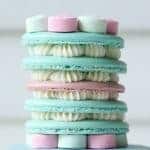
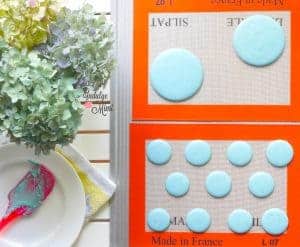 You can see that I've utilized several different shell sizes. Usually I pipe different sizes on different mats and bake them separately since smaller shells require less bake time. But for this project, my friends at Silpat came to the rescue with these toaster sized oven mats. It allowed me to put two mats side by side perfectly onto one tray. I put them in the oven at the same time but pull out the smaller set at 13 min. while the larger set baked for a further 12 min. I was elated since this saved a ton of time and I love how easy it is to wash the smaller mats. They don't wriggle as much so won't splash water all over the sink and they are easier to store as well. It's also a great size for those who live in smaller spaces with only a small oven.
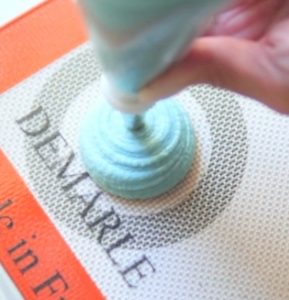 ♥
♥  ♥
♥ 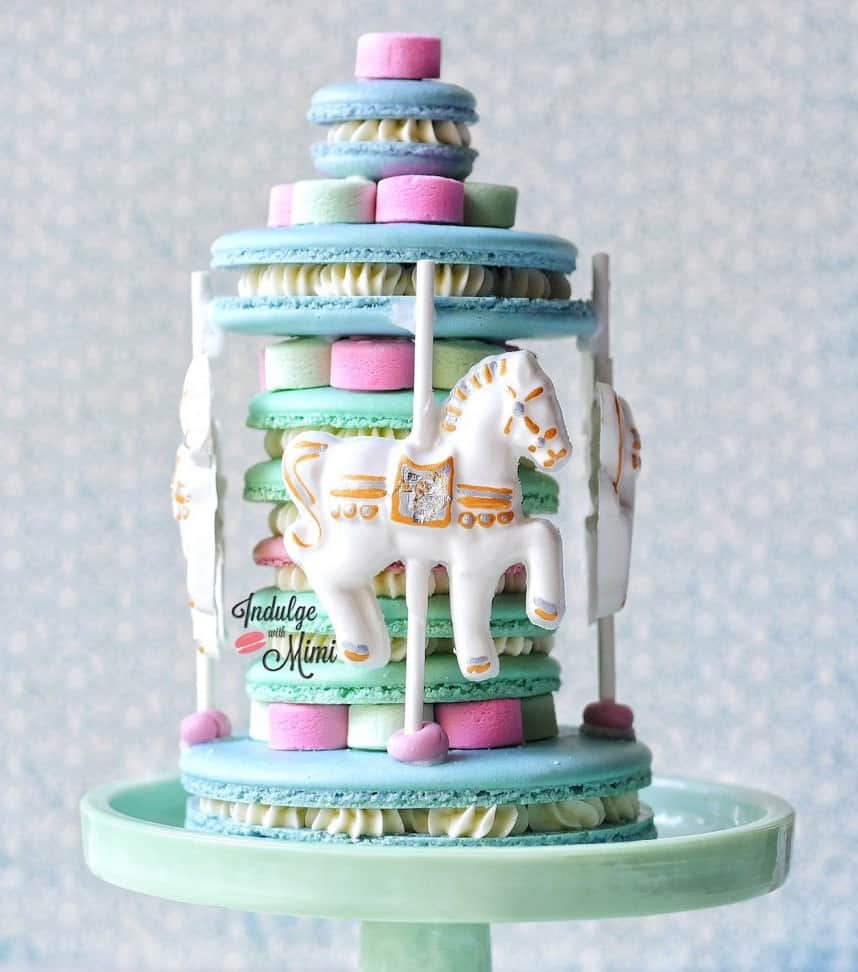
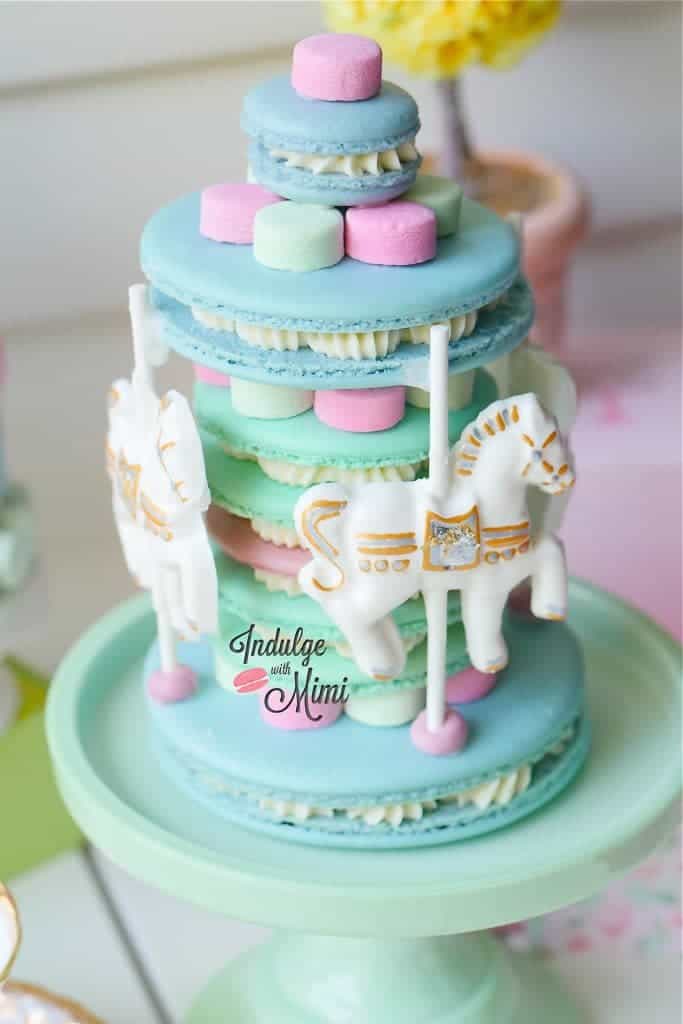
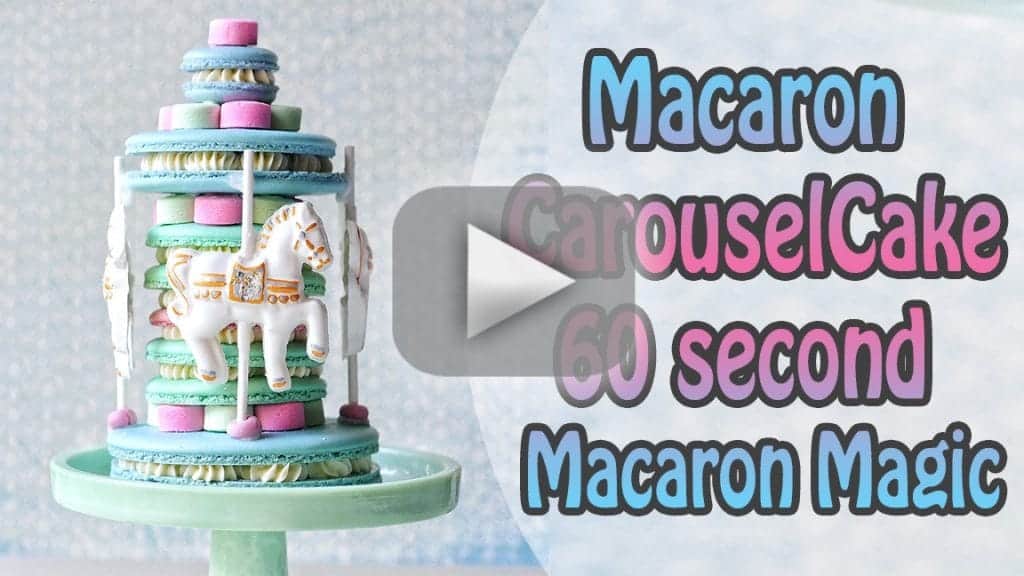
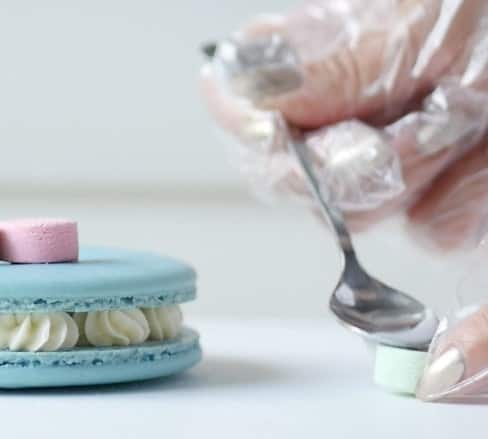 Small Batch of Edible Glue for Applying the Horse Popsicle & Mint Candy
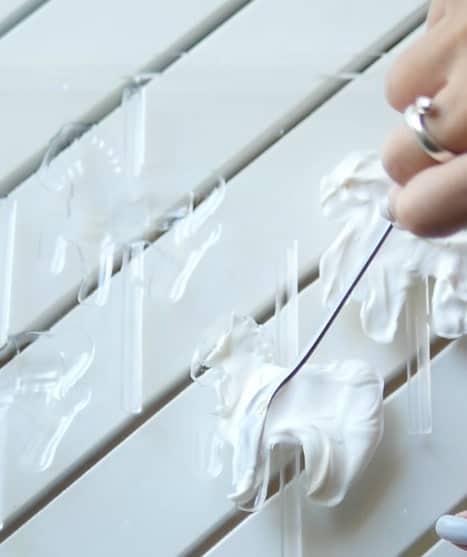 How to Make Horse Popsicles with Candy Melts
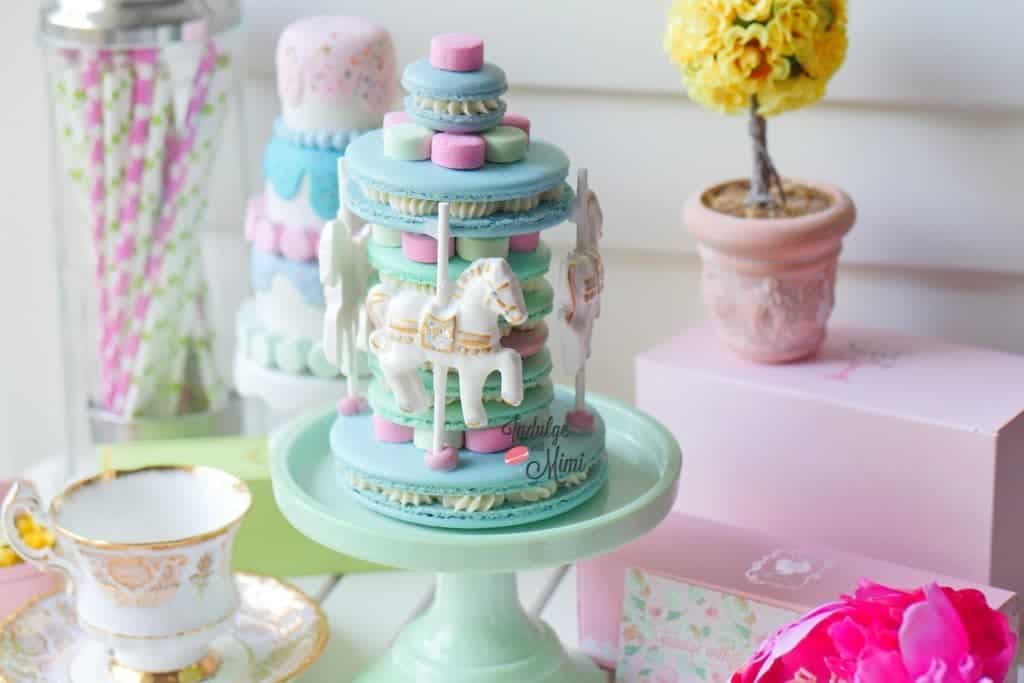


 ♥ 20 grams icing sugar
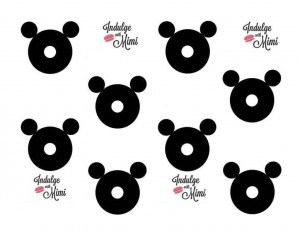


 ♥
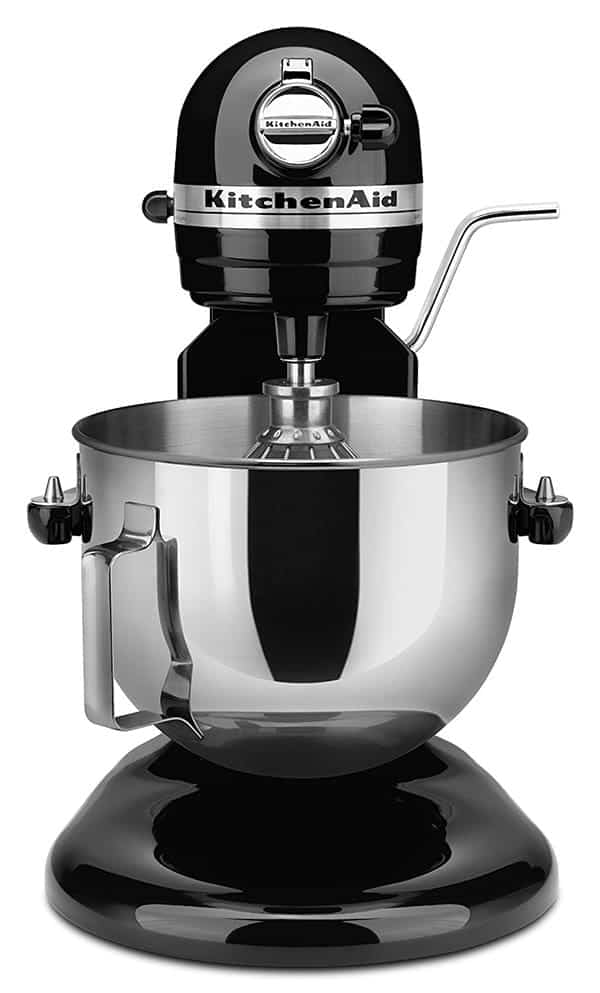
♥  whisk on low with the balloon whisk, then turn it up to medium.


 2. Using a small water bottle, gently spritz the 5 grams of water into the mixture. (It helps to pour in a few drops into the mixture first and then blend. That will help keep the powders from flying everywhere in the beginning.)
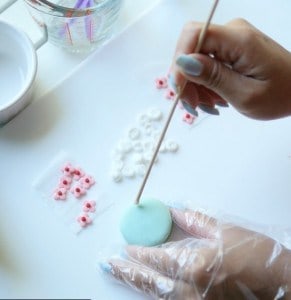 Small Batch of Edible Glue for applying Cherry Blossoms and Roses
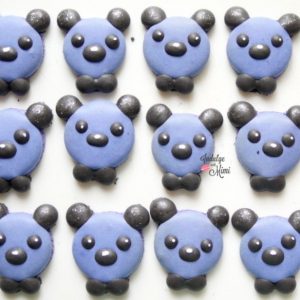
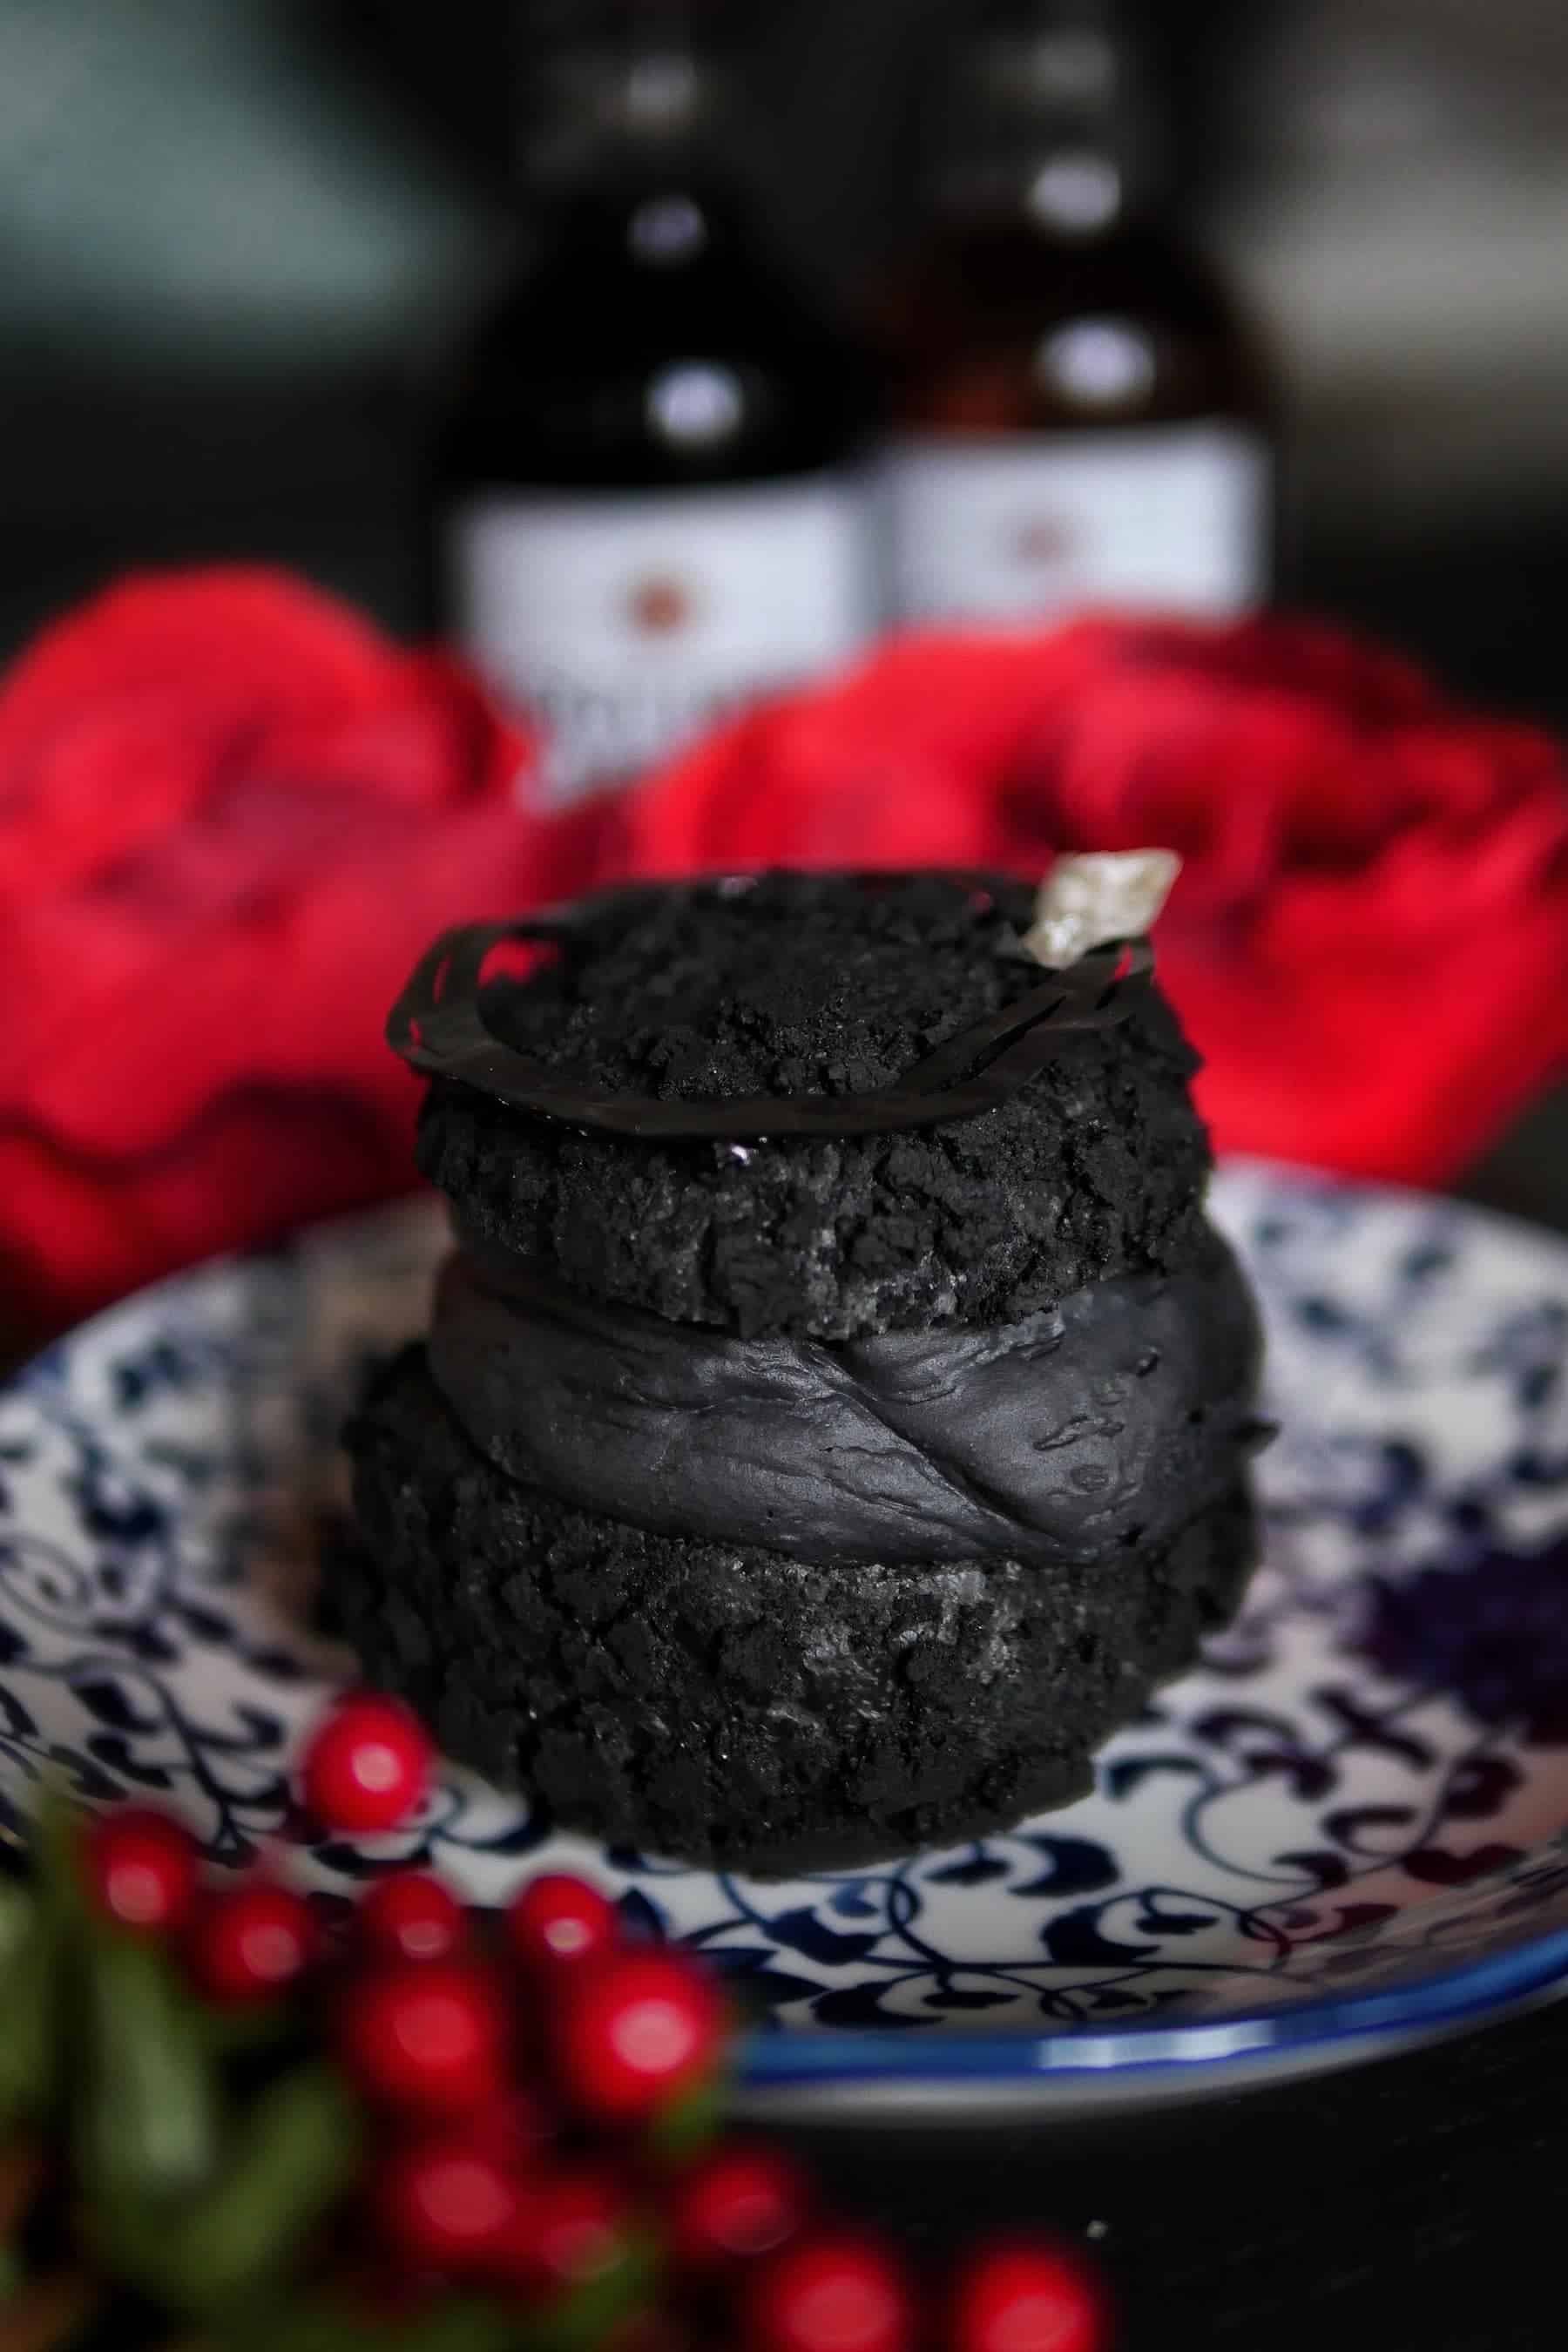
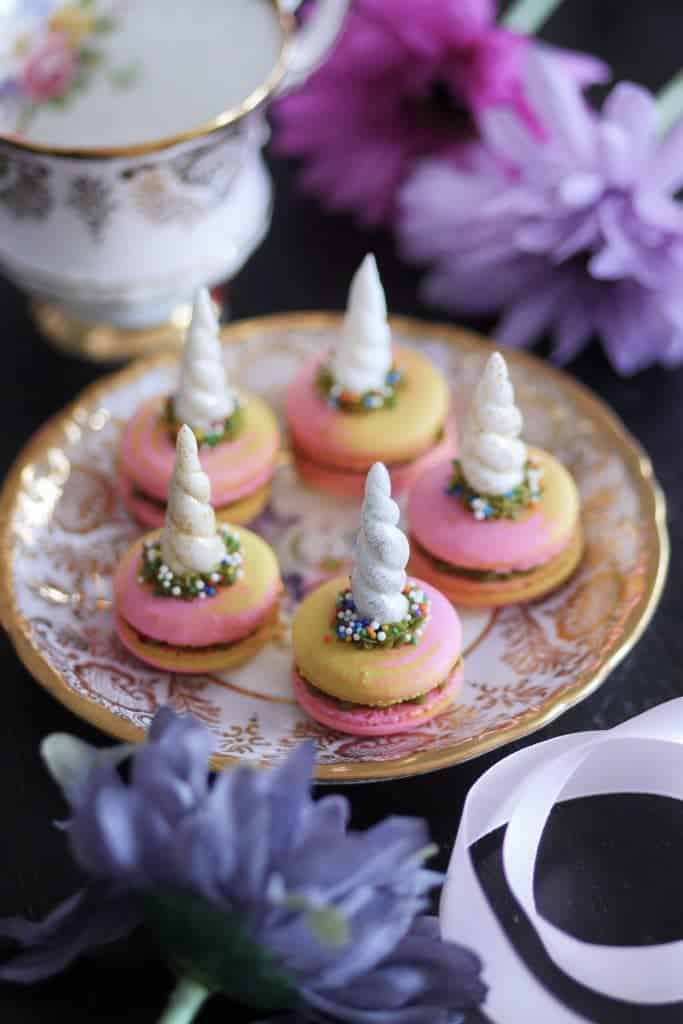
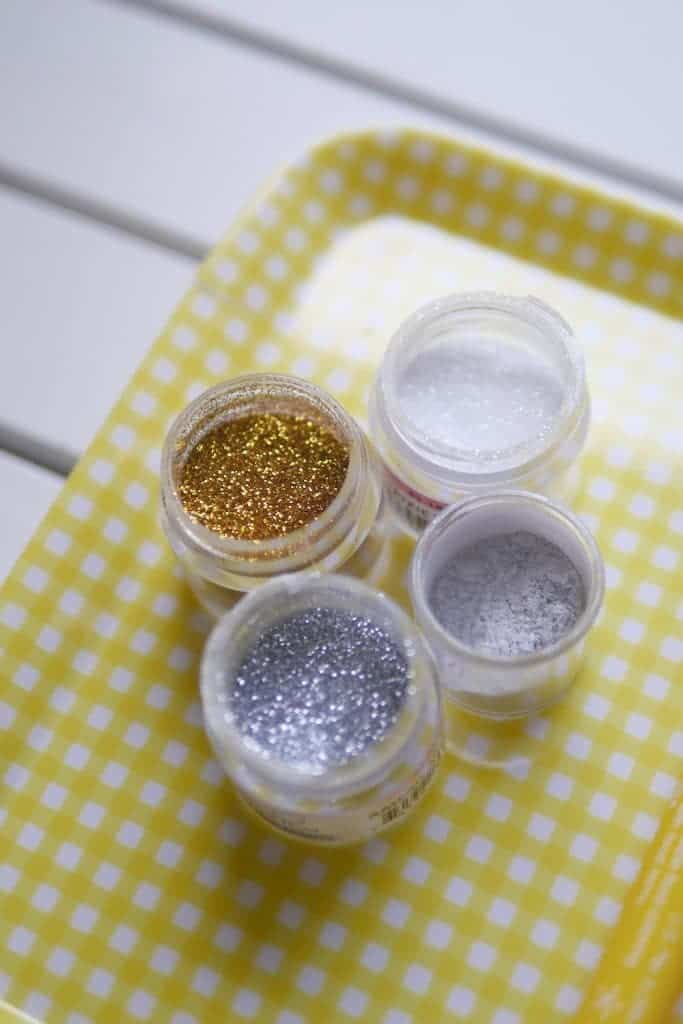
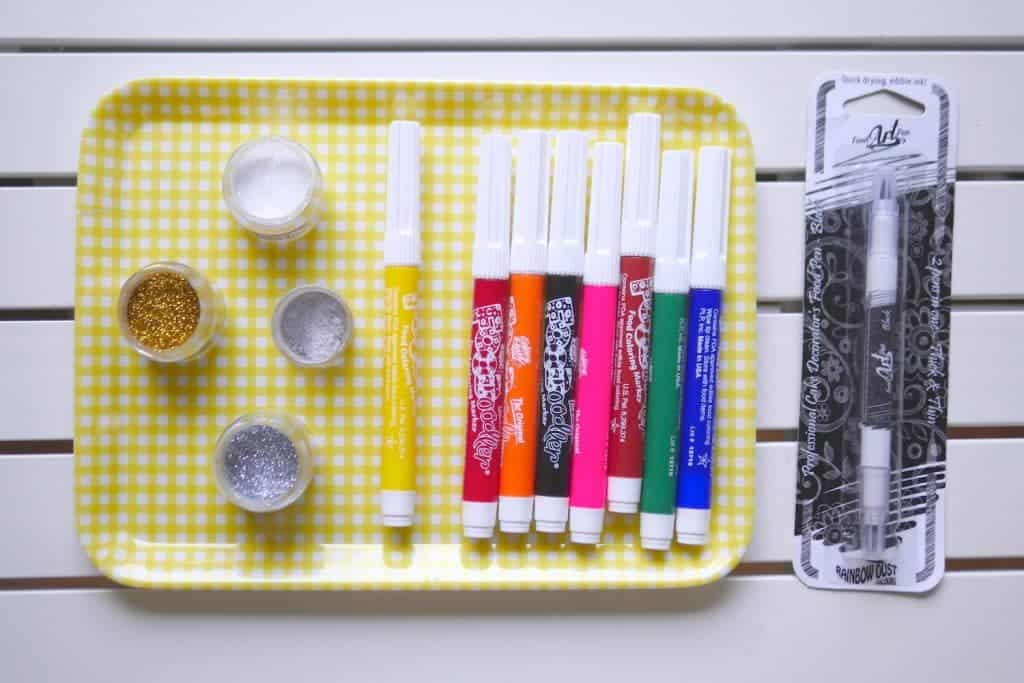
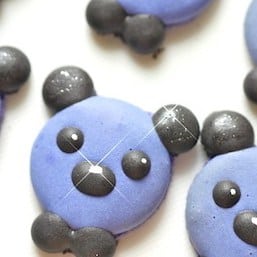 Something to keep in mind when working with Disco Dust is that it's actually non-edible. The official use for Disco Dust is for dusting onto display cakes. Although it's non-toxic, it's also non-edible. There is a lot of confusion with this product amongst even the salespeople at the stores. Even though it is non-toxic, it is technically not a food product (it's plastic) and not FDA approved. After a lot of research and consulting a doctor (in the family), it's MY personal opinion that if you end up consuming this product in very small amounts, it would have no immediate ill effects. The likely outcome is that you'll end up with some sparkly unicorn poo 🙂
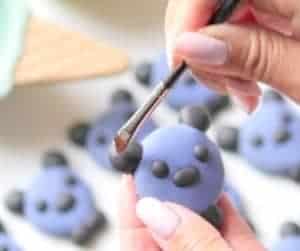


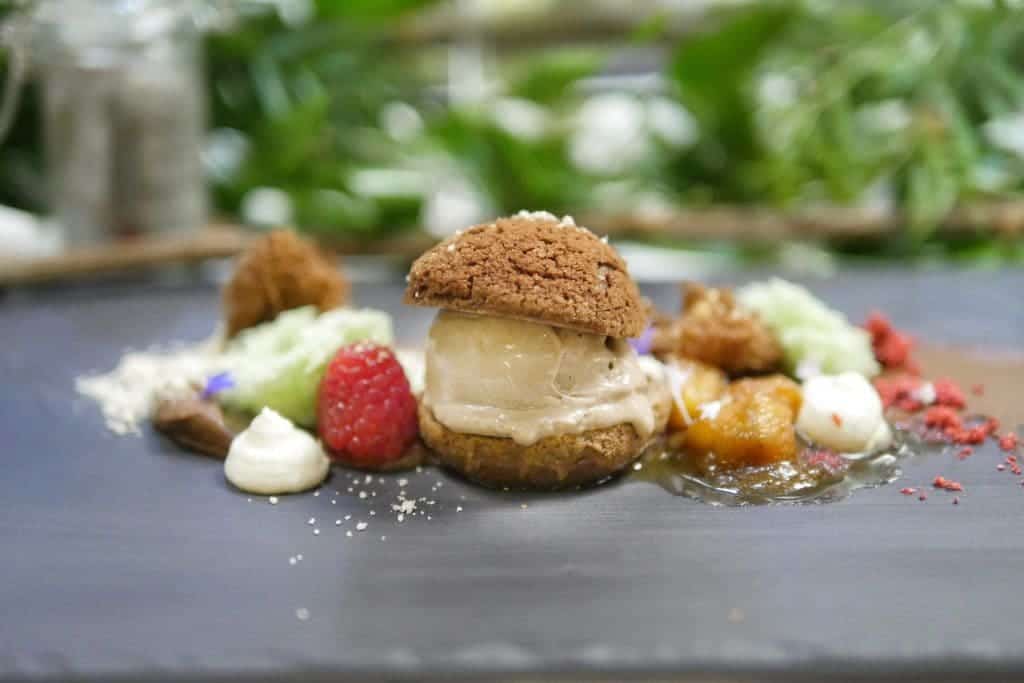
 Here are three previous posts which highlight the techniques I found most useful in achieving success with baking big macarons:
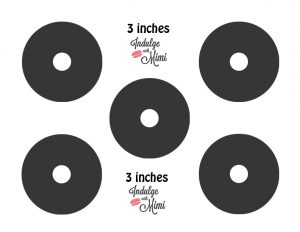
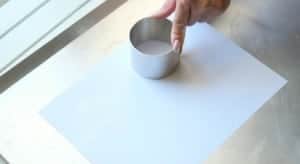 Trace the outline of a big round cookie cutter, leaving a space of 1.5 inches in between each shell. I am not providing the template here since you need your shells to bake to the same size as the ice cream which you will "cut out" with the same cutter (see video on the bottom of the page before starting).
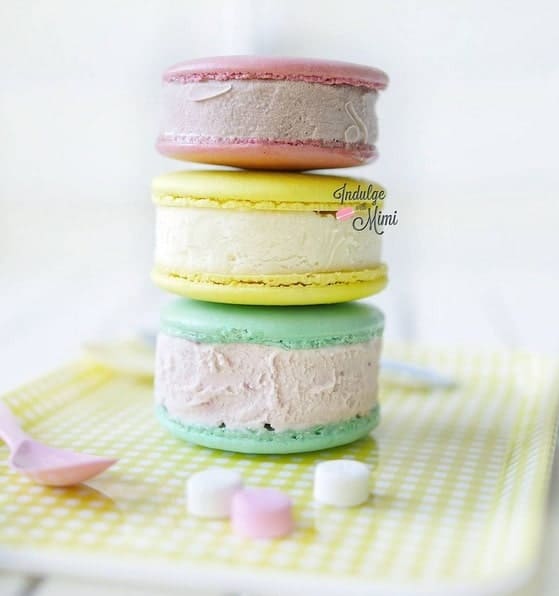
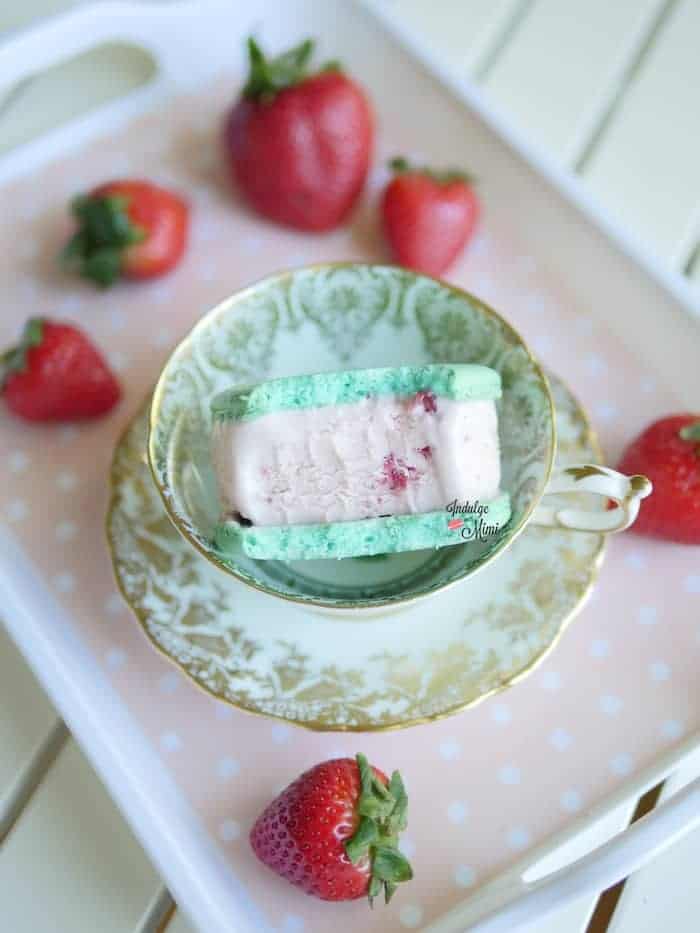
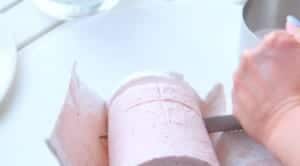 For convenience sake, I like to buy pre-made ice cream in small paper containers. Plus, you'll be able to use your favourite branded flavours like I did with mine - Haagen Daaz Strawberry, Hershey's Reeces and the ever controversial Durian flavour. Paper containers are great because you can slice open the box easily and cut the ice cream into the desired shape and thickness. Open up the paper box, slice the ice cream into the desired thickness.
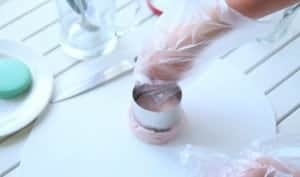 Take the round cookie cutter which you used to make the macaron template and use it to "cut out" the ice cream. With the leftover ice cream bits, place them into a shallow baking pan lined with ceram wrap to make one compact ice cream block, place in the freezer. Once firm, it can be used again to "cut out" more round ice cream. Be careful not to let the ice cream bits melt too much while doing this since melted ice cream will refreeze with larger crystals and result in a grainy ice cream texture. The ceram wrap used to line the pan will prevent the ice cream from sticking to the bottom of the pan.
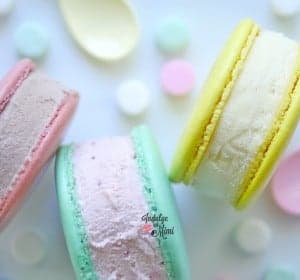
 Take the now perfectly round ice cream slice and sandwich it between two big macaron shells. Immediately place it in an airtight container and transfer it to the freezer. Place each sandwich with the flat side down since the ice cream sinks easily. Keep parchment paper in between each big macaron sandwich since the shells can stick to each other when placed in the freezer. Big macaron ice cream sandwiches can be kept for up to one month in the freezer. Enjoy!
 L'Opera Patisserie in Richmond has always been on my must-visit list for afternoon tea in the Lower Mainland. At the price of $45/set, its positioned at the upper end of Greater Vancouver's offering for tea so naturally, I was intrigued and held above average expectations from this establishment.
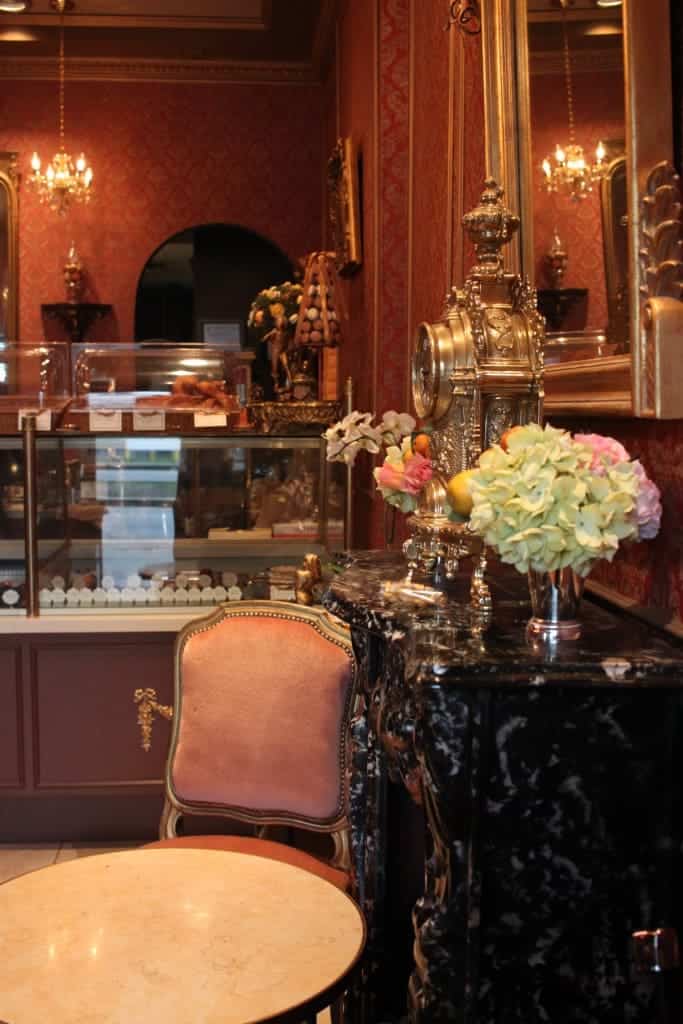

 Sweets: The non-baked desserts, tiramisu and creme brulee, really stood out for its creaminess and balanced flavours. The chocolate on the dipped strawberries were crisp so that was a great sign of freshness. The cakes on the other hand were not too flavourful or moist.