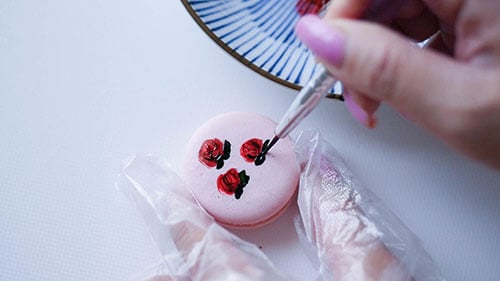
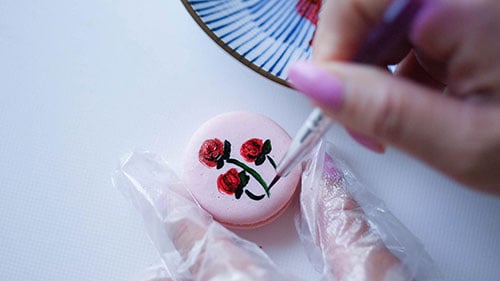
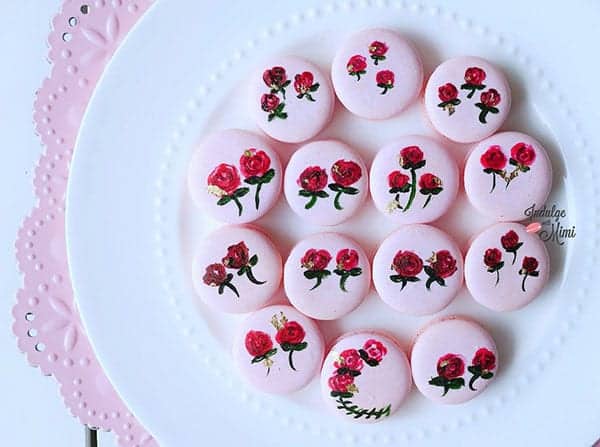
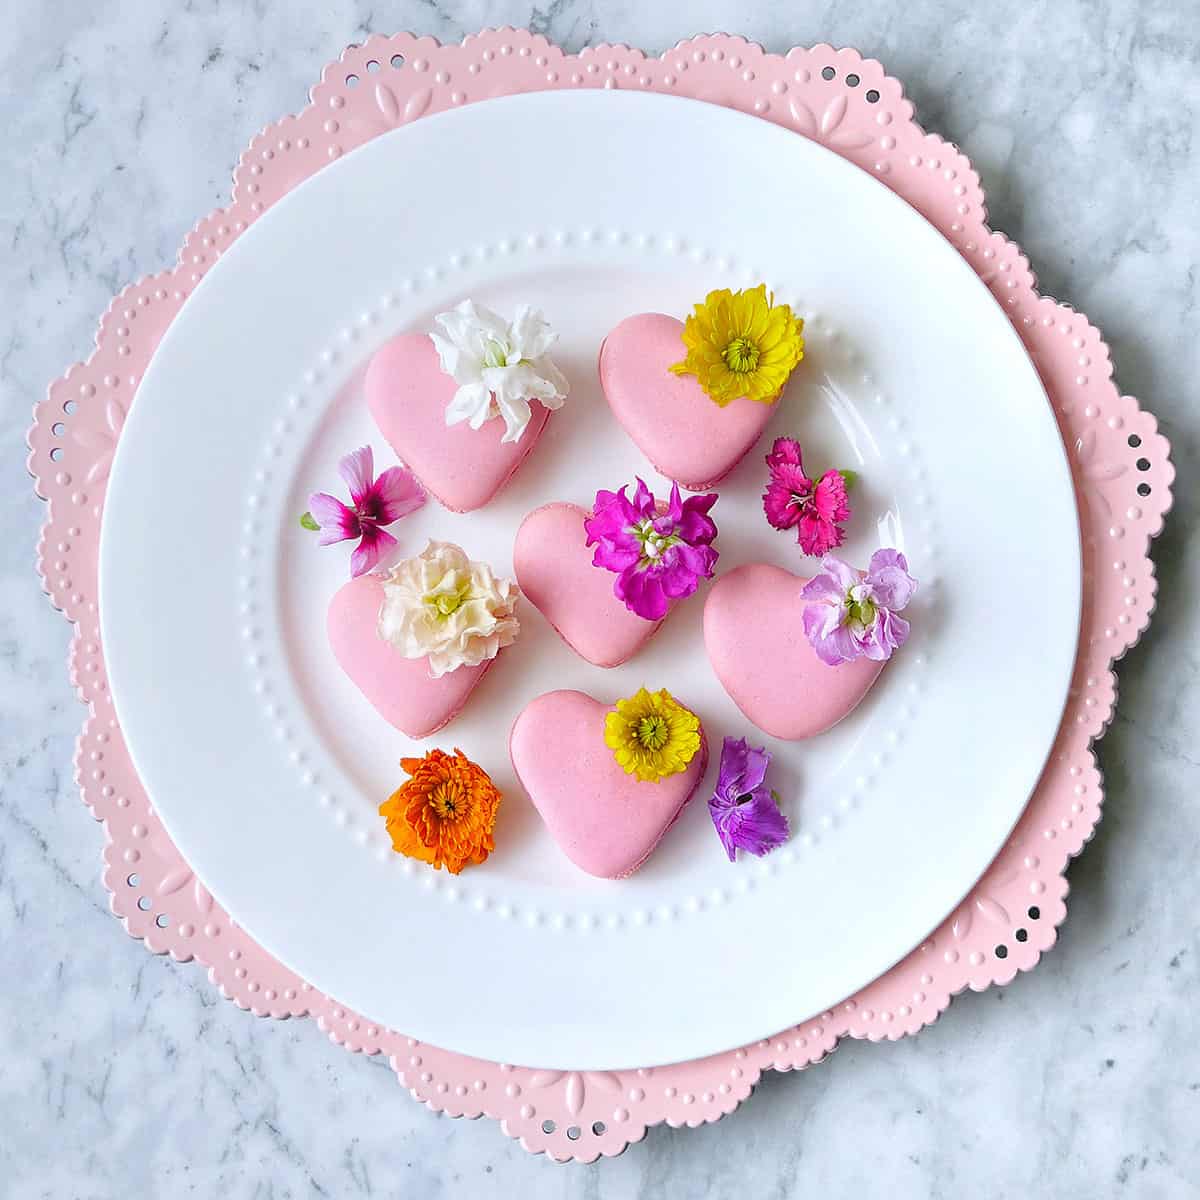
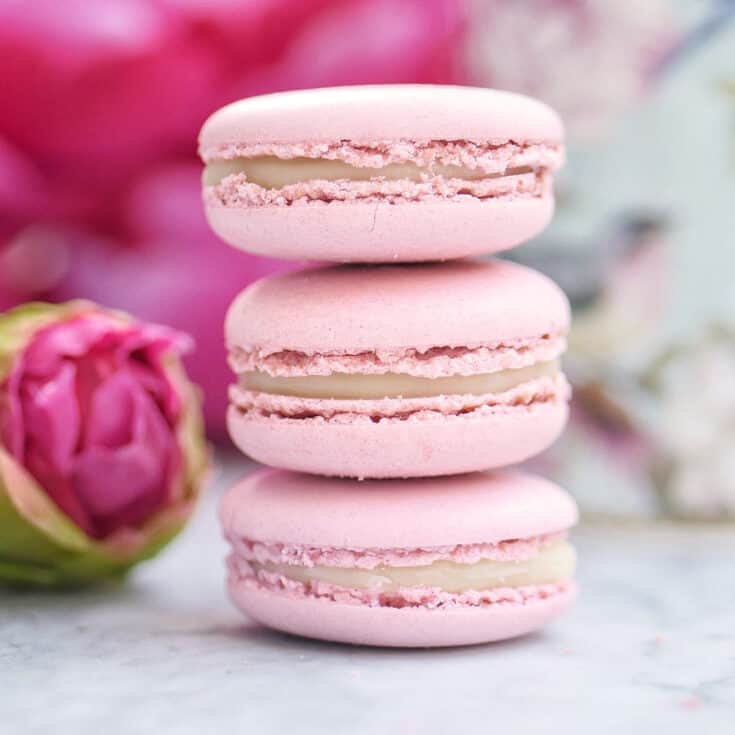
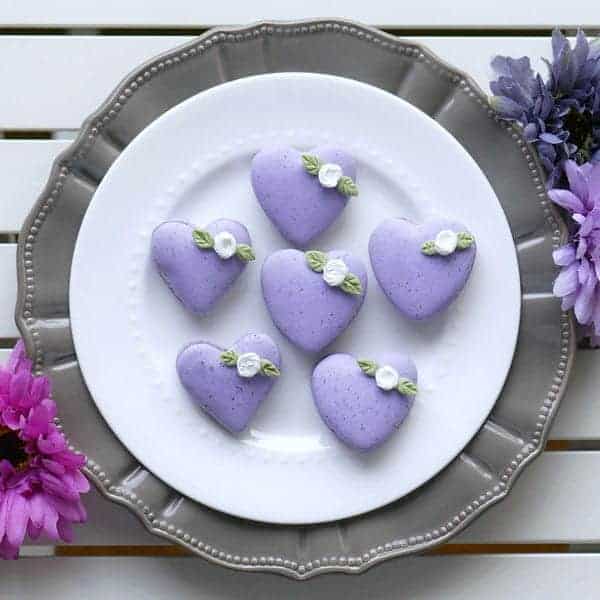
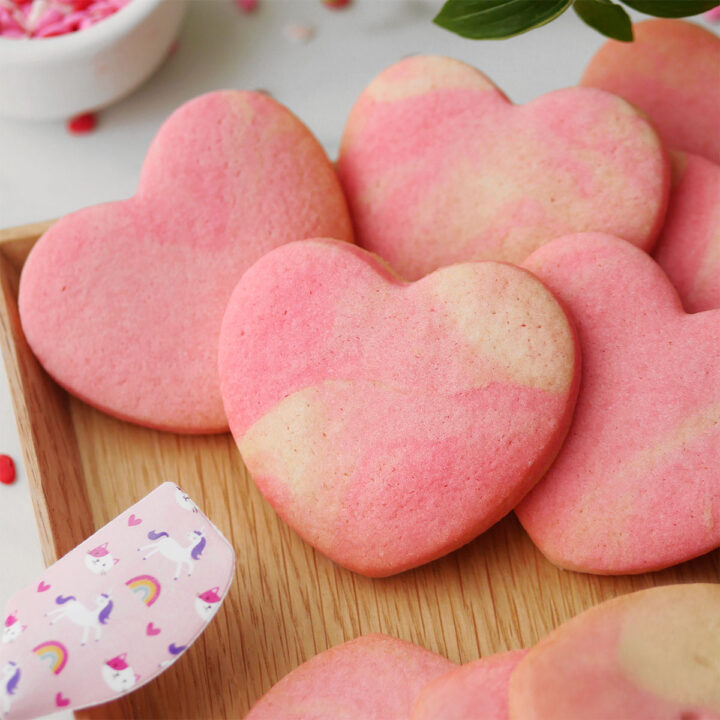
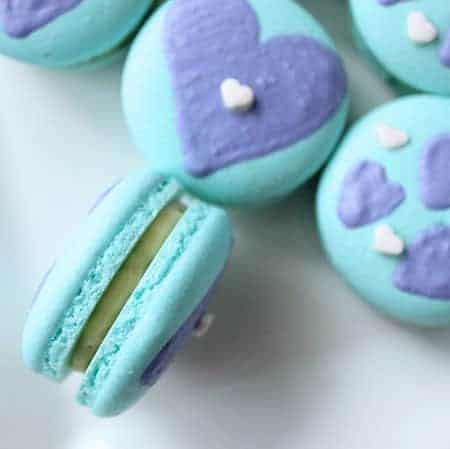
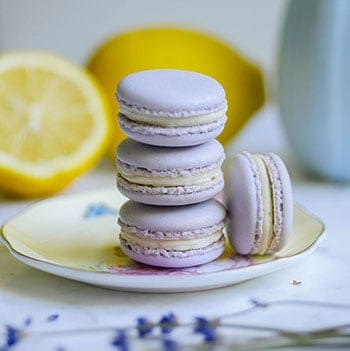
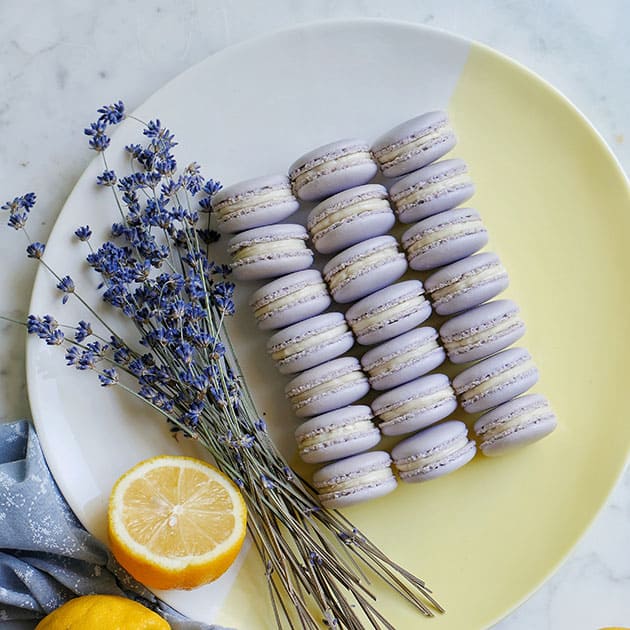
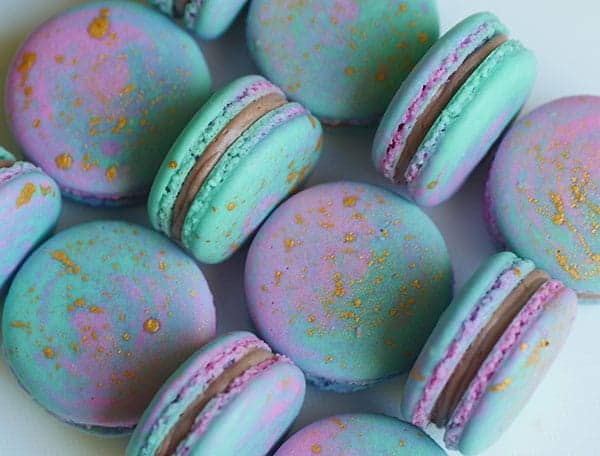
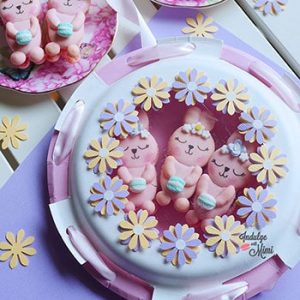
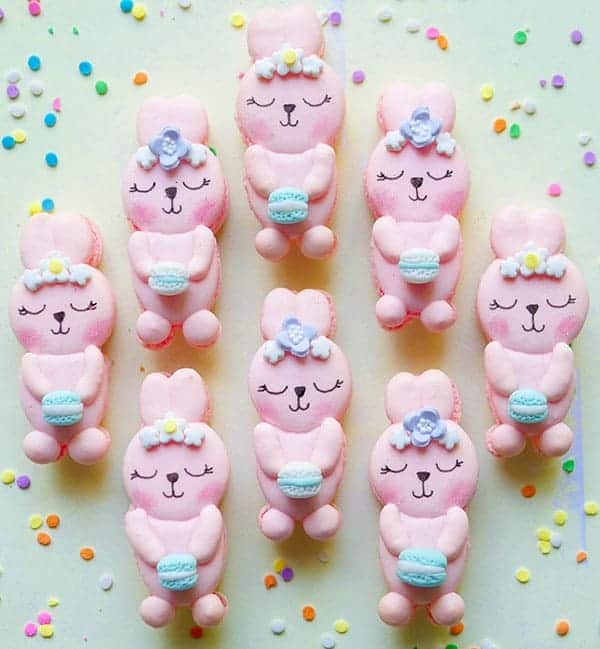
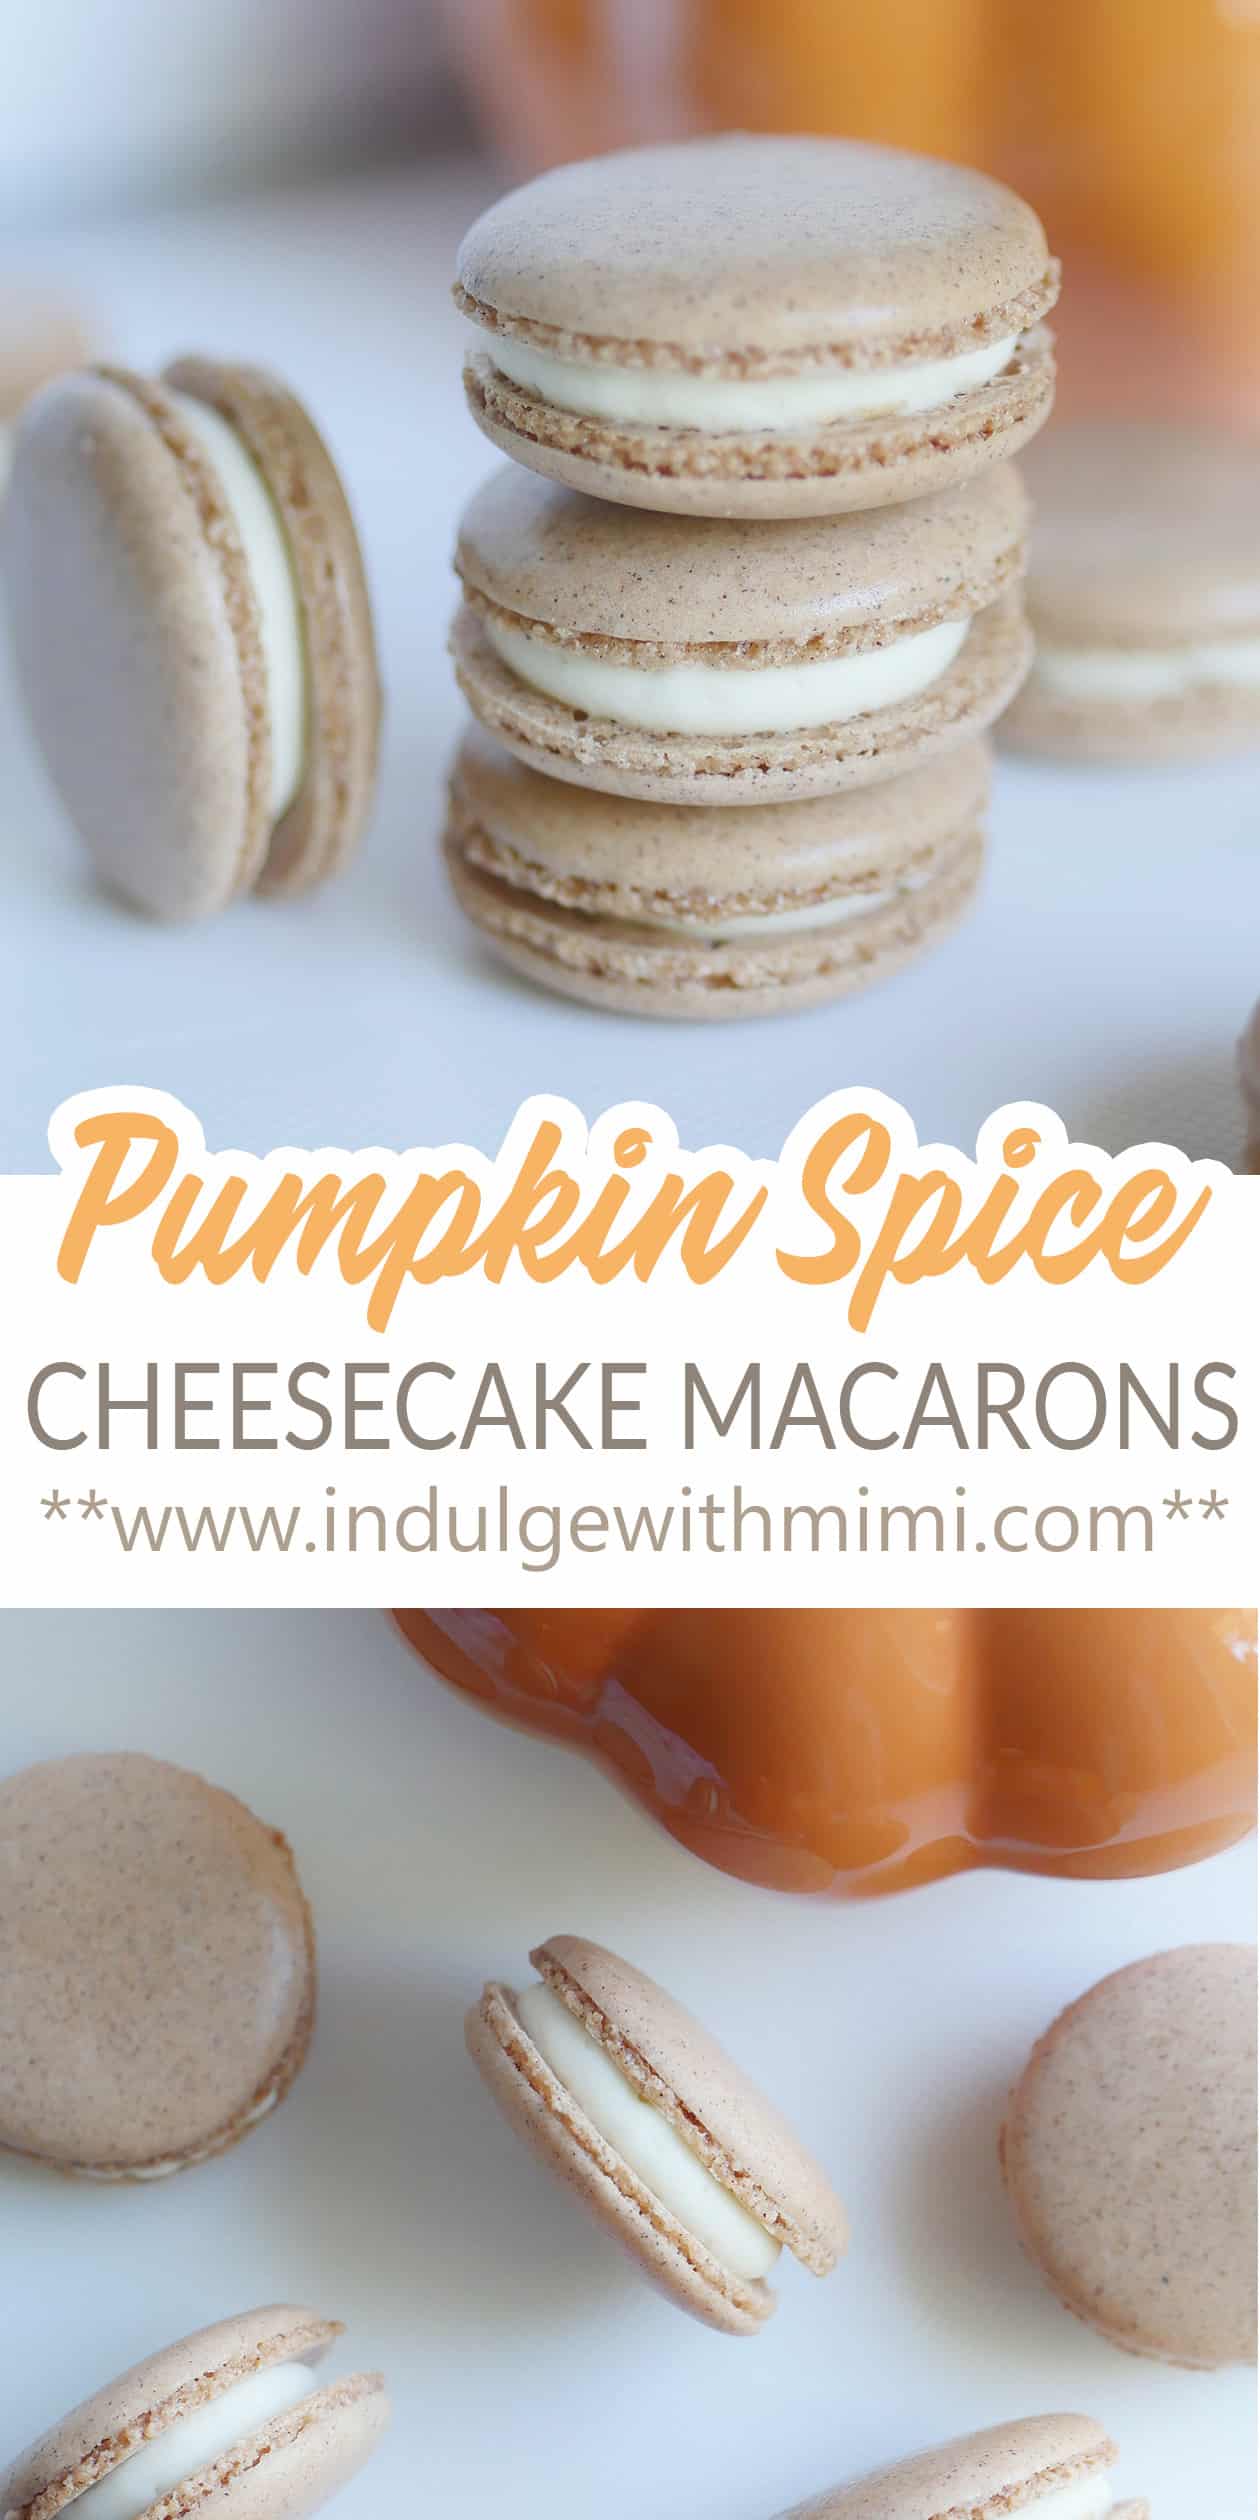
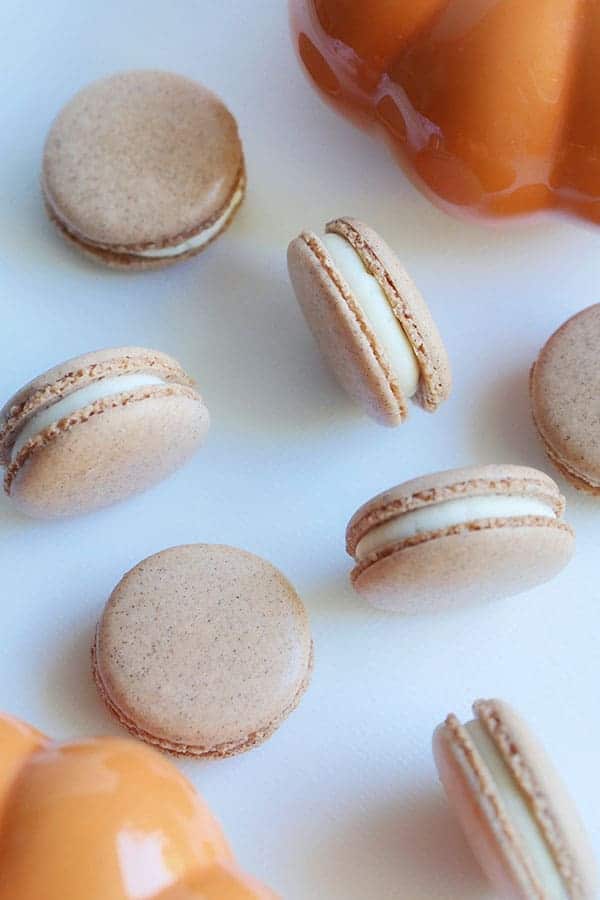
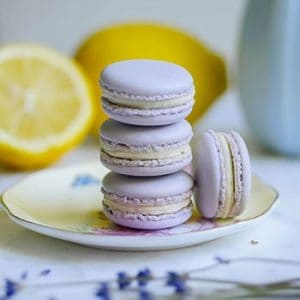
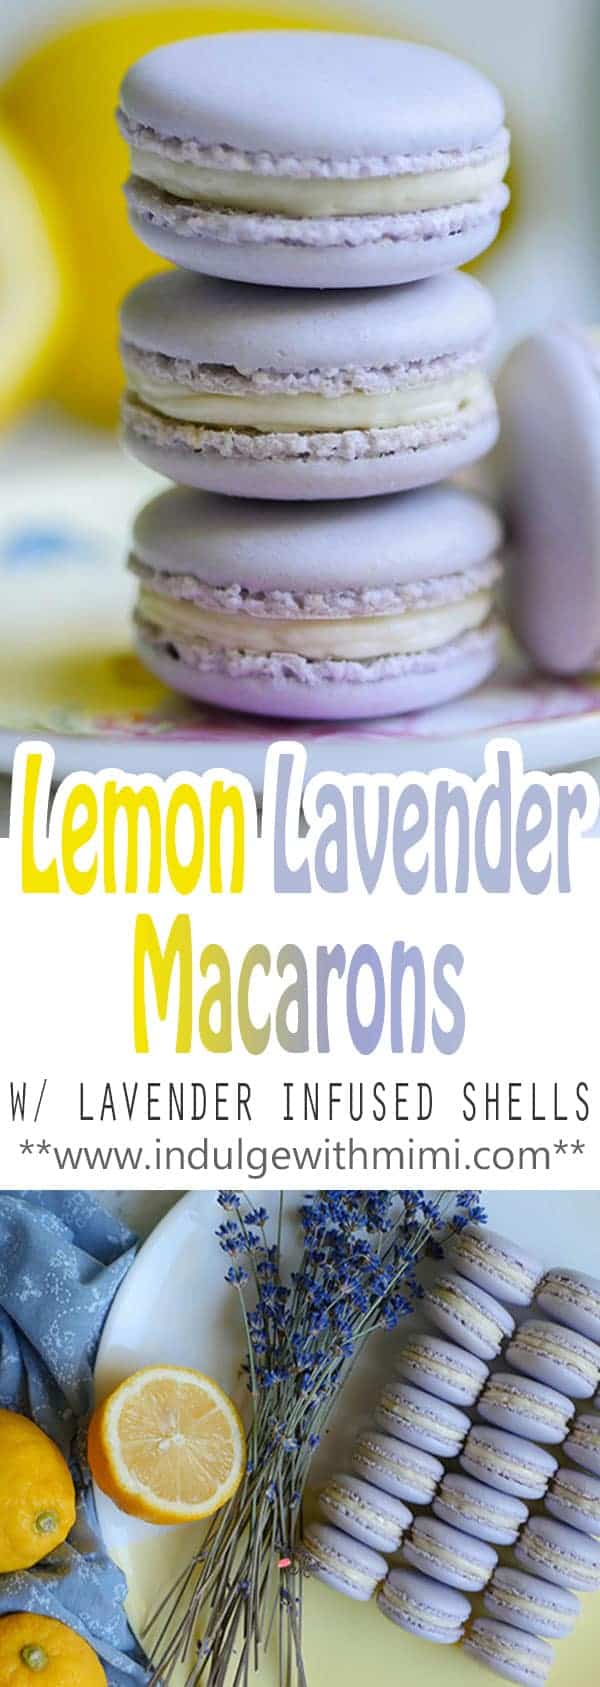
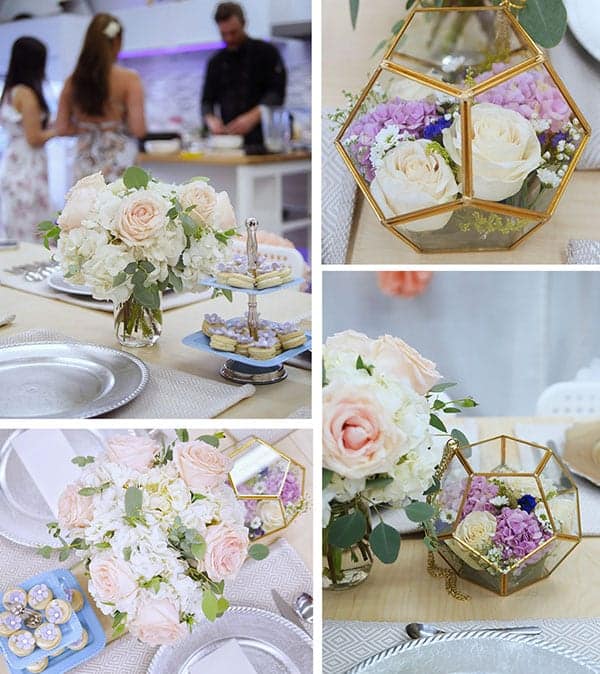
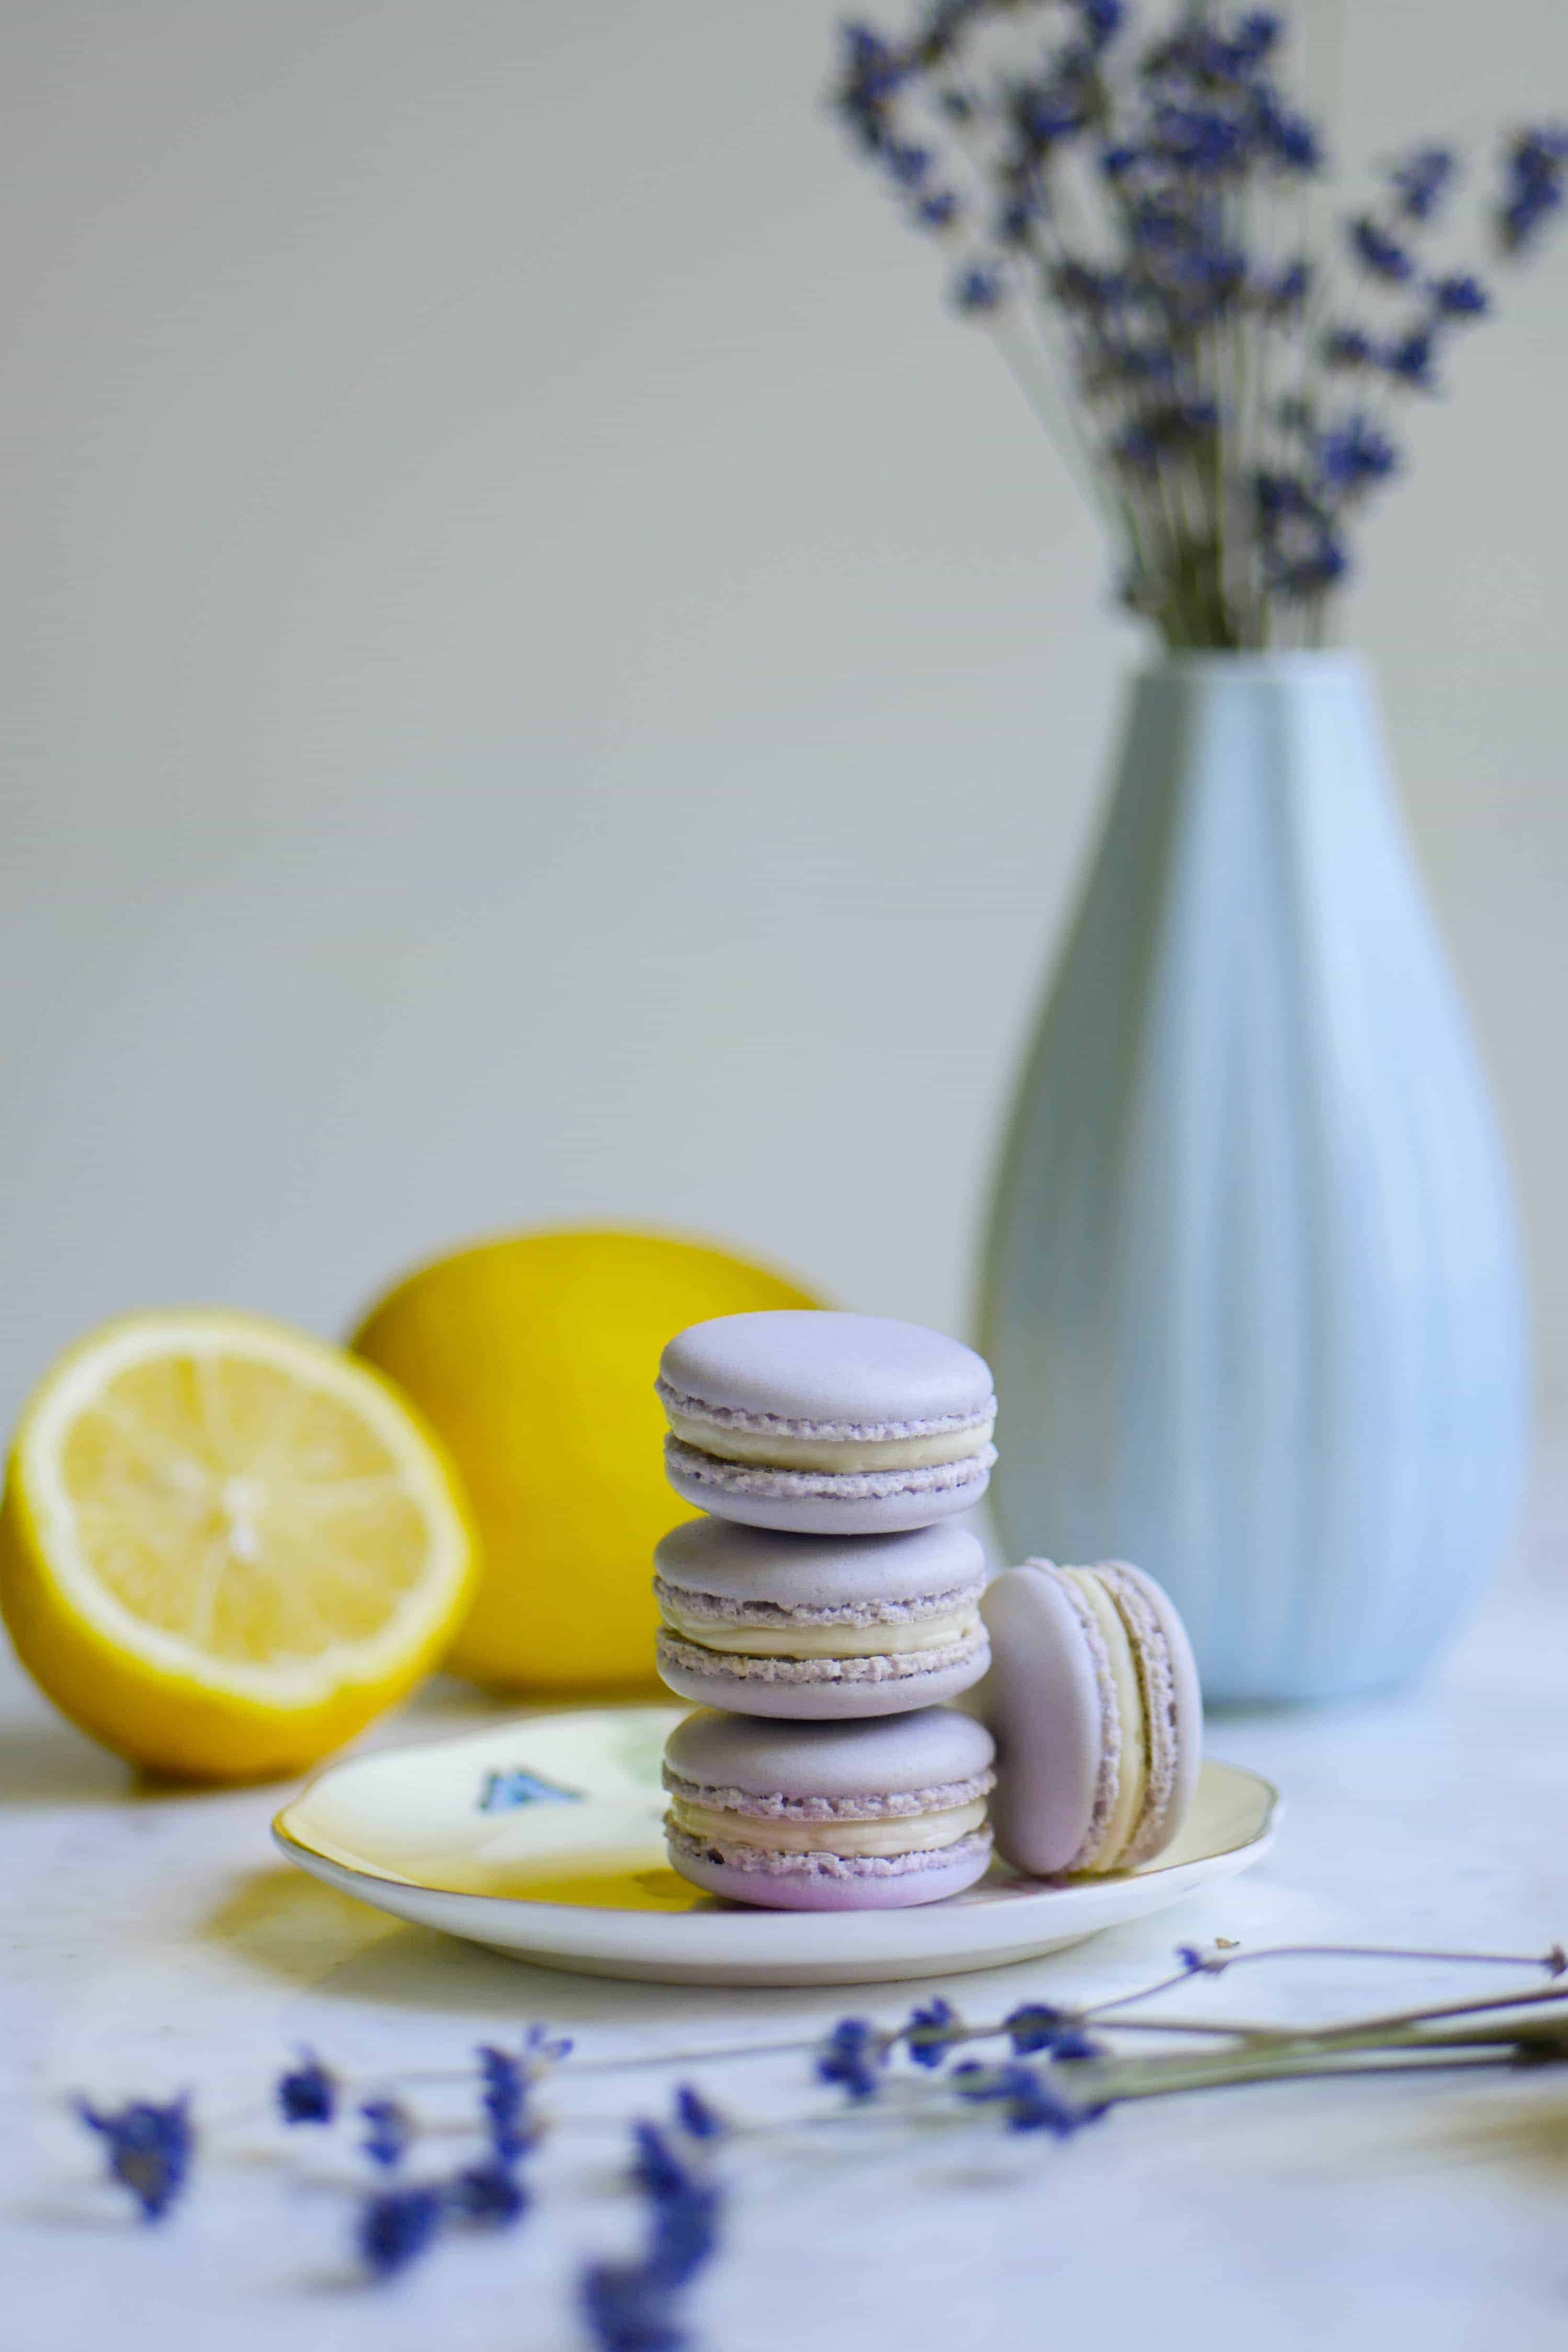
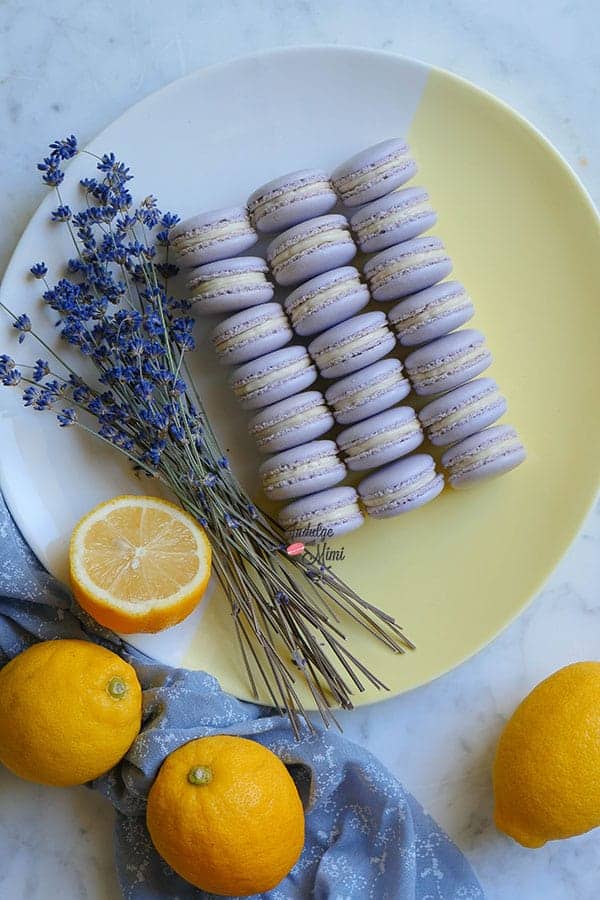
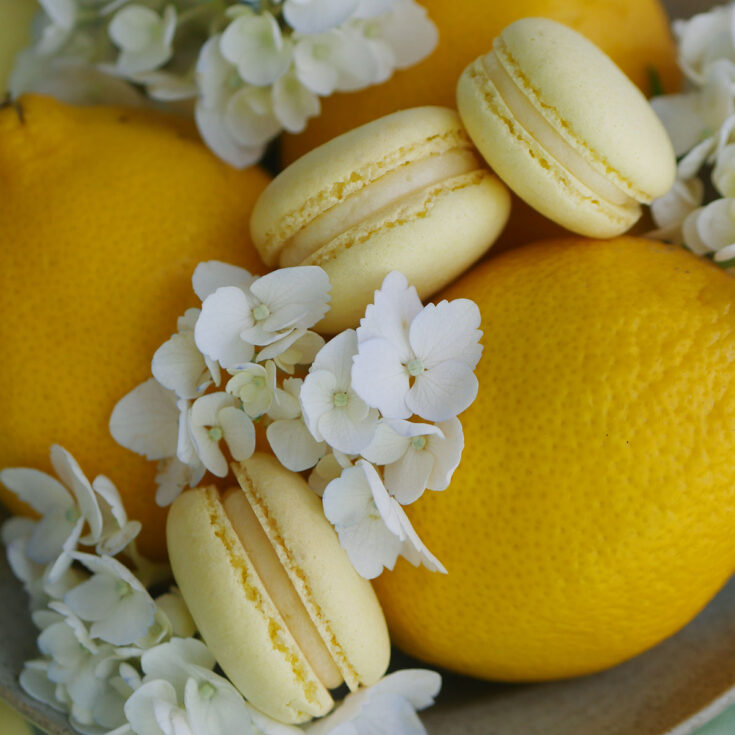
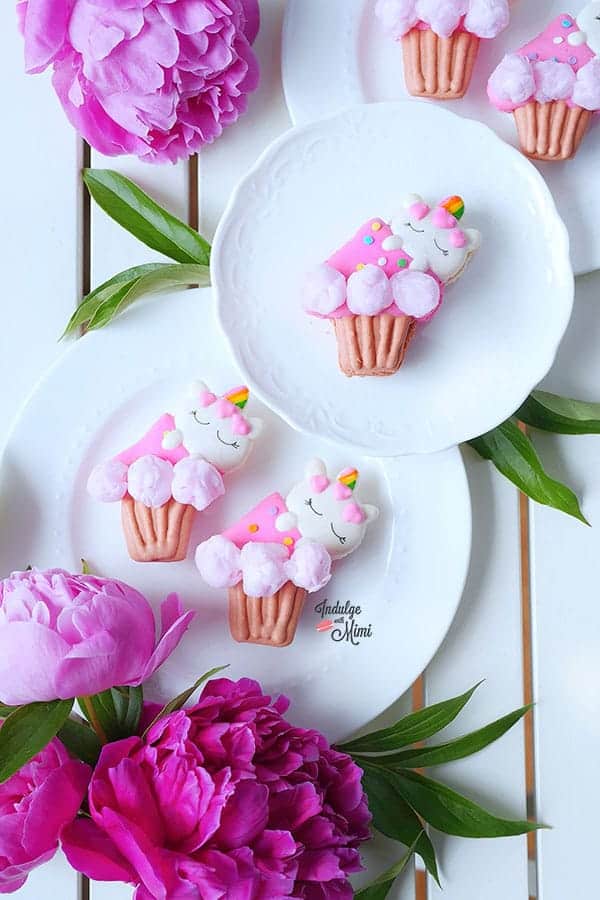
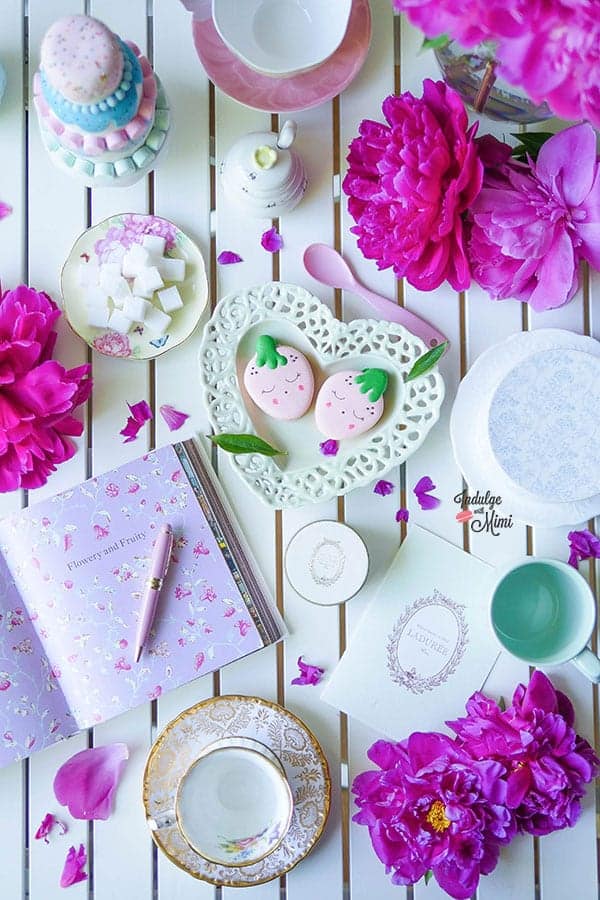
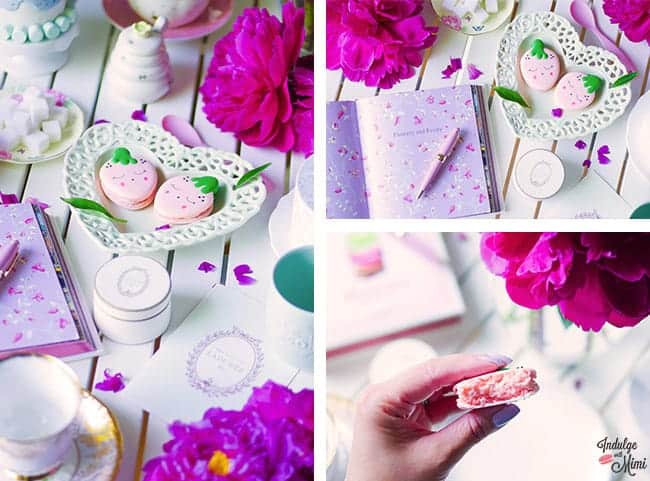
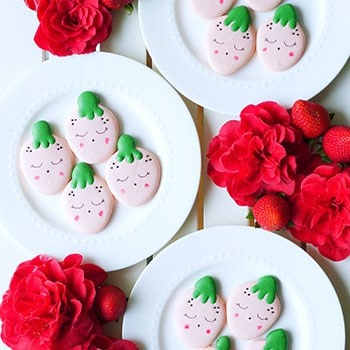
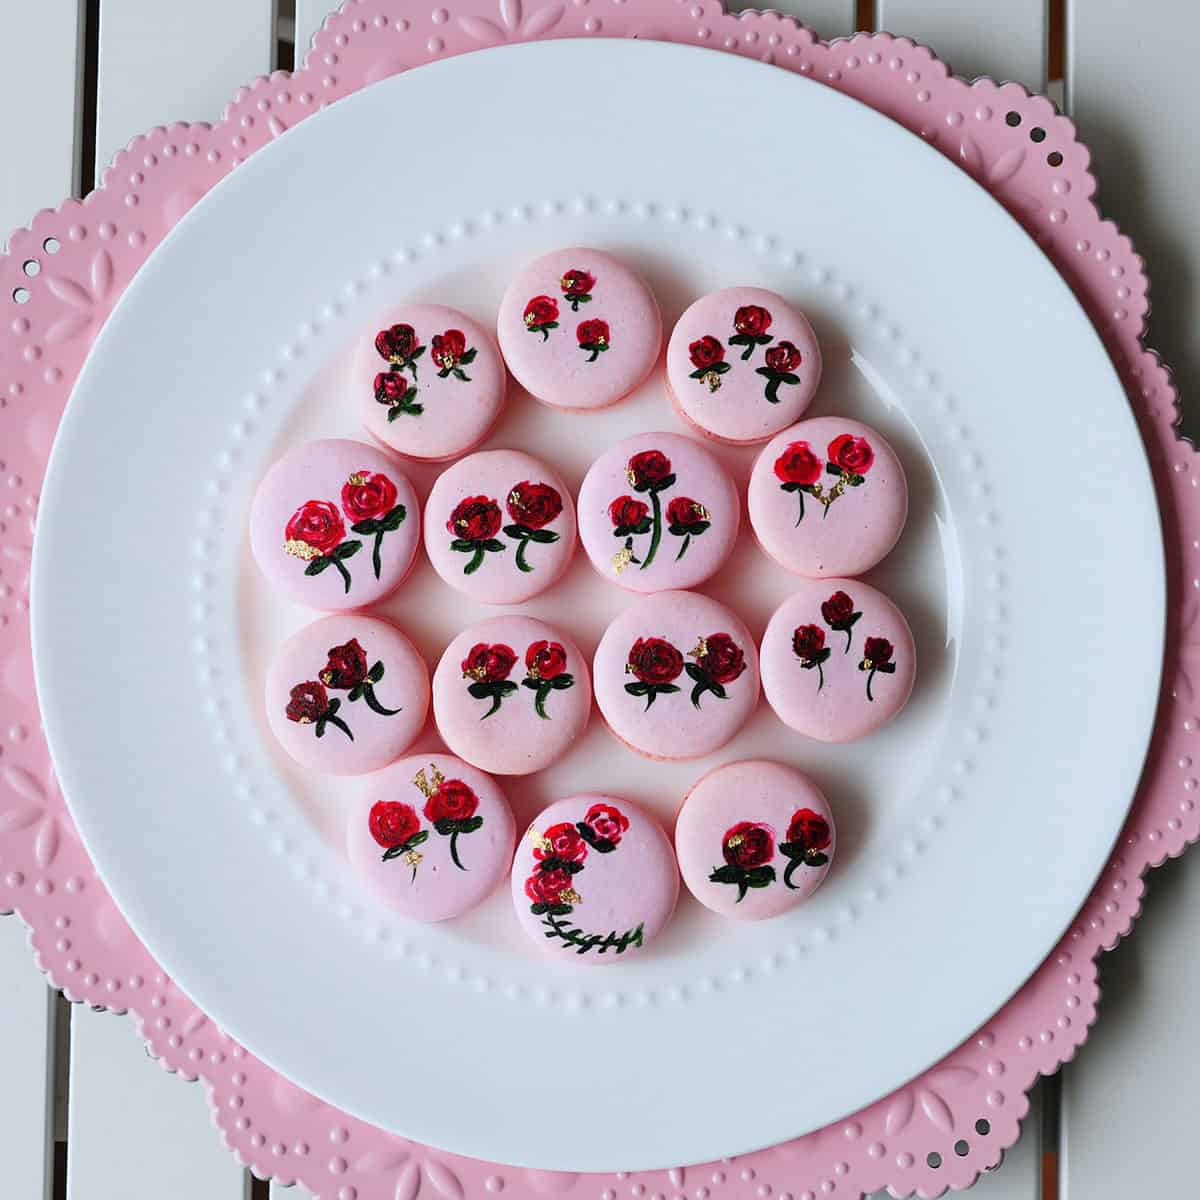
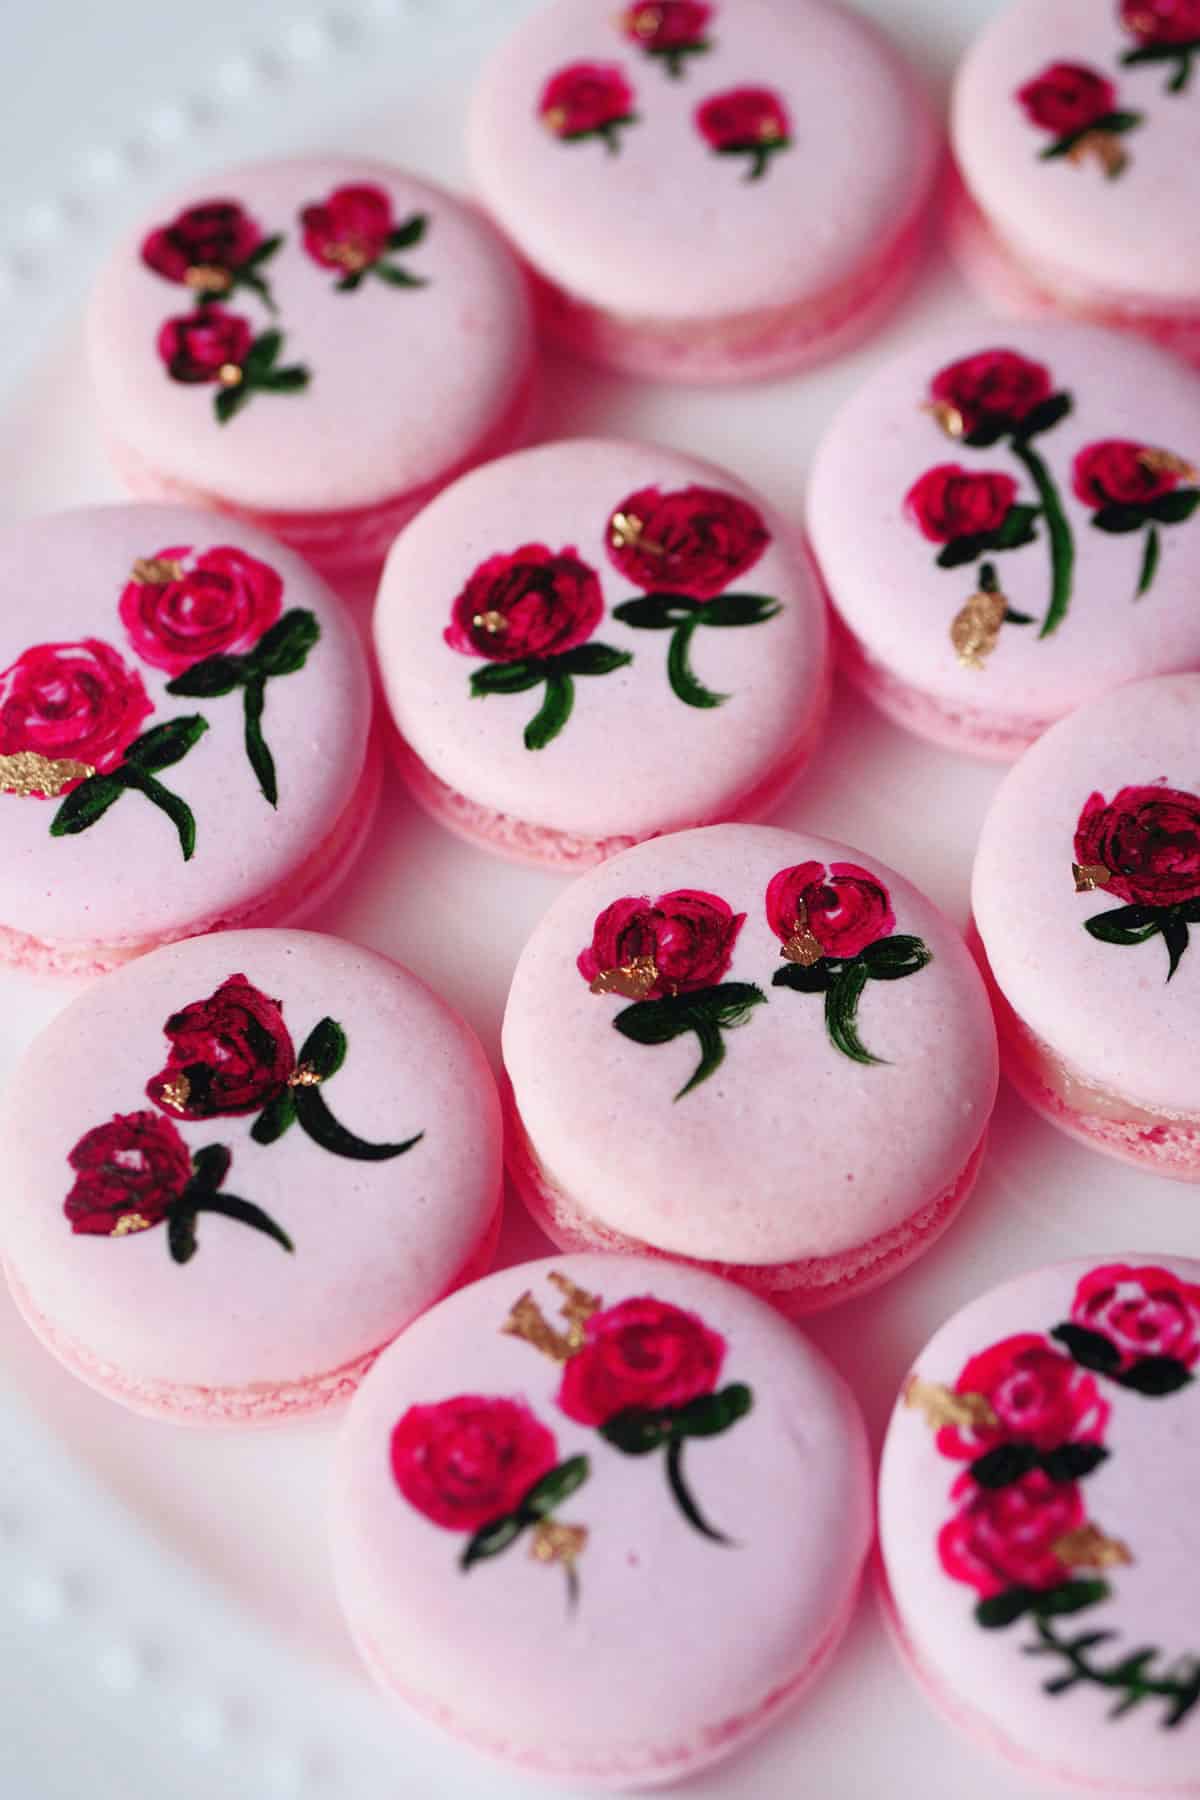
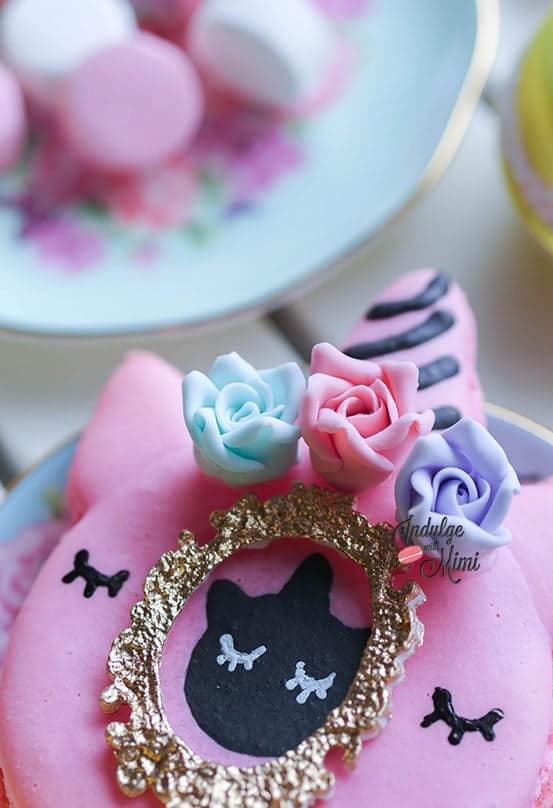
Lychee & rose is a delicate and sophisticated macaron flavor pairing. This is a great filling to elevate your macarons for bridal parties, tea time or celebrations. Recipe uses real lychees with heart macaron template provided.
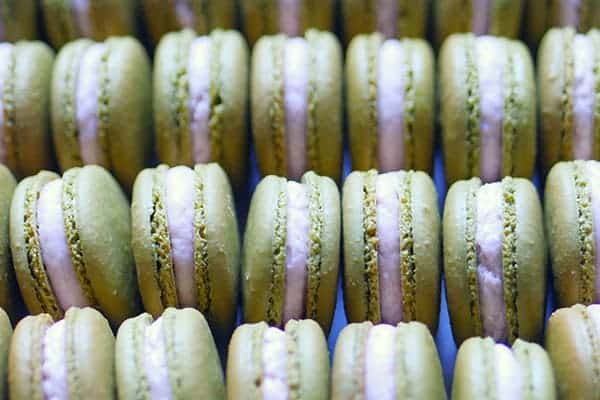
Exotic Fruit Macarons
I've always wanted to make lychee-flavoured macarons. This exotic fruit from China has a hard, rough, pinkish-red shell. The bouncy, translucent flesh within is both sweet and sour. Its juiciness and fleshy composition is comparable to that of grapes. Every time I go back to Asia, I would make a conscious effort to find these delicious treats. Since there is a large populace of Asians here in Vancouver, we constantly have access to fresh lycee as it is flown in. Despite this, I've decided to use canned lychee for this recipe since I know many of you are from different parts of the world and may not have access to fresh ones. I also think the stability and consistency of canned lychees is better suited for this recipe. Fresh lychees are hit and miss and can sometimes be too sour or dry.
Where to Buy Canned Lychee
After touting the convenience and quality of canned lychees, they just aren't readily available everywhere! I knew this because I was on my way to one of the larger grocery stores with an Asian food aisle but had missed the exit; the next potential store with lychees was in a neighbourhood with a cluster of Filipino convenience stores. On the shelves lined with canned jackfruit and palm seeds, I couldn't find anything remotely resembling lychees. I almost wanted to abandon this lychee macaron recipe and make something with palm seeds instead. After missing the first exit, searching two stores and driving around the city, I resolved to going home empty-handed. The next day, Hubby had to run some errands and drove me to one of the big Asian grocers locally named T&T. Later on, I discovered that they could also be found in the Asian food aisle of both Wal-mart and Superstore.
Using Real Lychees to Make a Low-Moisture Filling
One of the considerations in making this recipe is the fact that lychees are by nature a very juicy fruit. As you may have already experienced, moisture of any sort is not very kind to our dear macaron babies. A lot of time and effort was spent to create this recipe since it had to be flavorful but not too high in moisture, in spite of using real lychee and rose water. The sweetness also had to be put into consideration since the canned lychees I used also contained sugar. Be sure to check if your canned lychees do contain sugar.
The Battle among Lychee Ganache, Lychee Curd and Lychee Butter Cream
Because of the inherent problem of extracting flavour from such a high-moisture fruit for our not-so-moisture loving macarons, I experimented with a dozen different versions for this recipe. I wanted to find the best way for the lychee to shine through, but both a simple ganache and a curd turned out to be a flop. The lychee flavour was getting completely lost in the sweetness of the white chocolate ganache. I played with a variety of ratios, but the lychee just wasn't coming through without compromising the structure of the ganache. The almost passable version of the ganache (out of 6) started out okay during the first 24 hours, but just wasn't strong enough after 48. Yes, I have to taste test all my macaron recipes over several days to see how the fillings hold up :).
Next, I tried making lychee curd. It was flavourful and true to the taste of lychee, but the flavor wasn't nearly as sturdy as I'd like it to be for a curd to be used in a macaron. As you remember, I finally perfected a lemon curd that is super macaron-friendly and can sit in a macaron for days without making it soggy. This one didn't even come close.
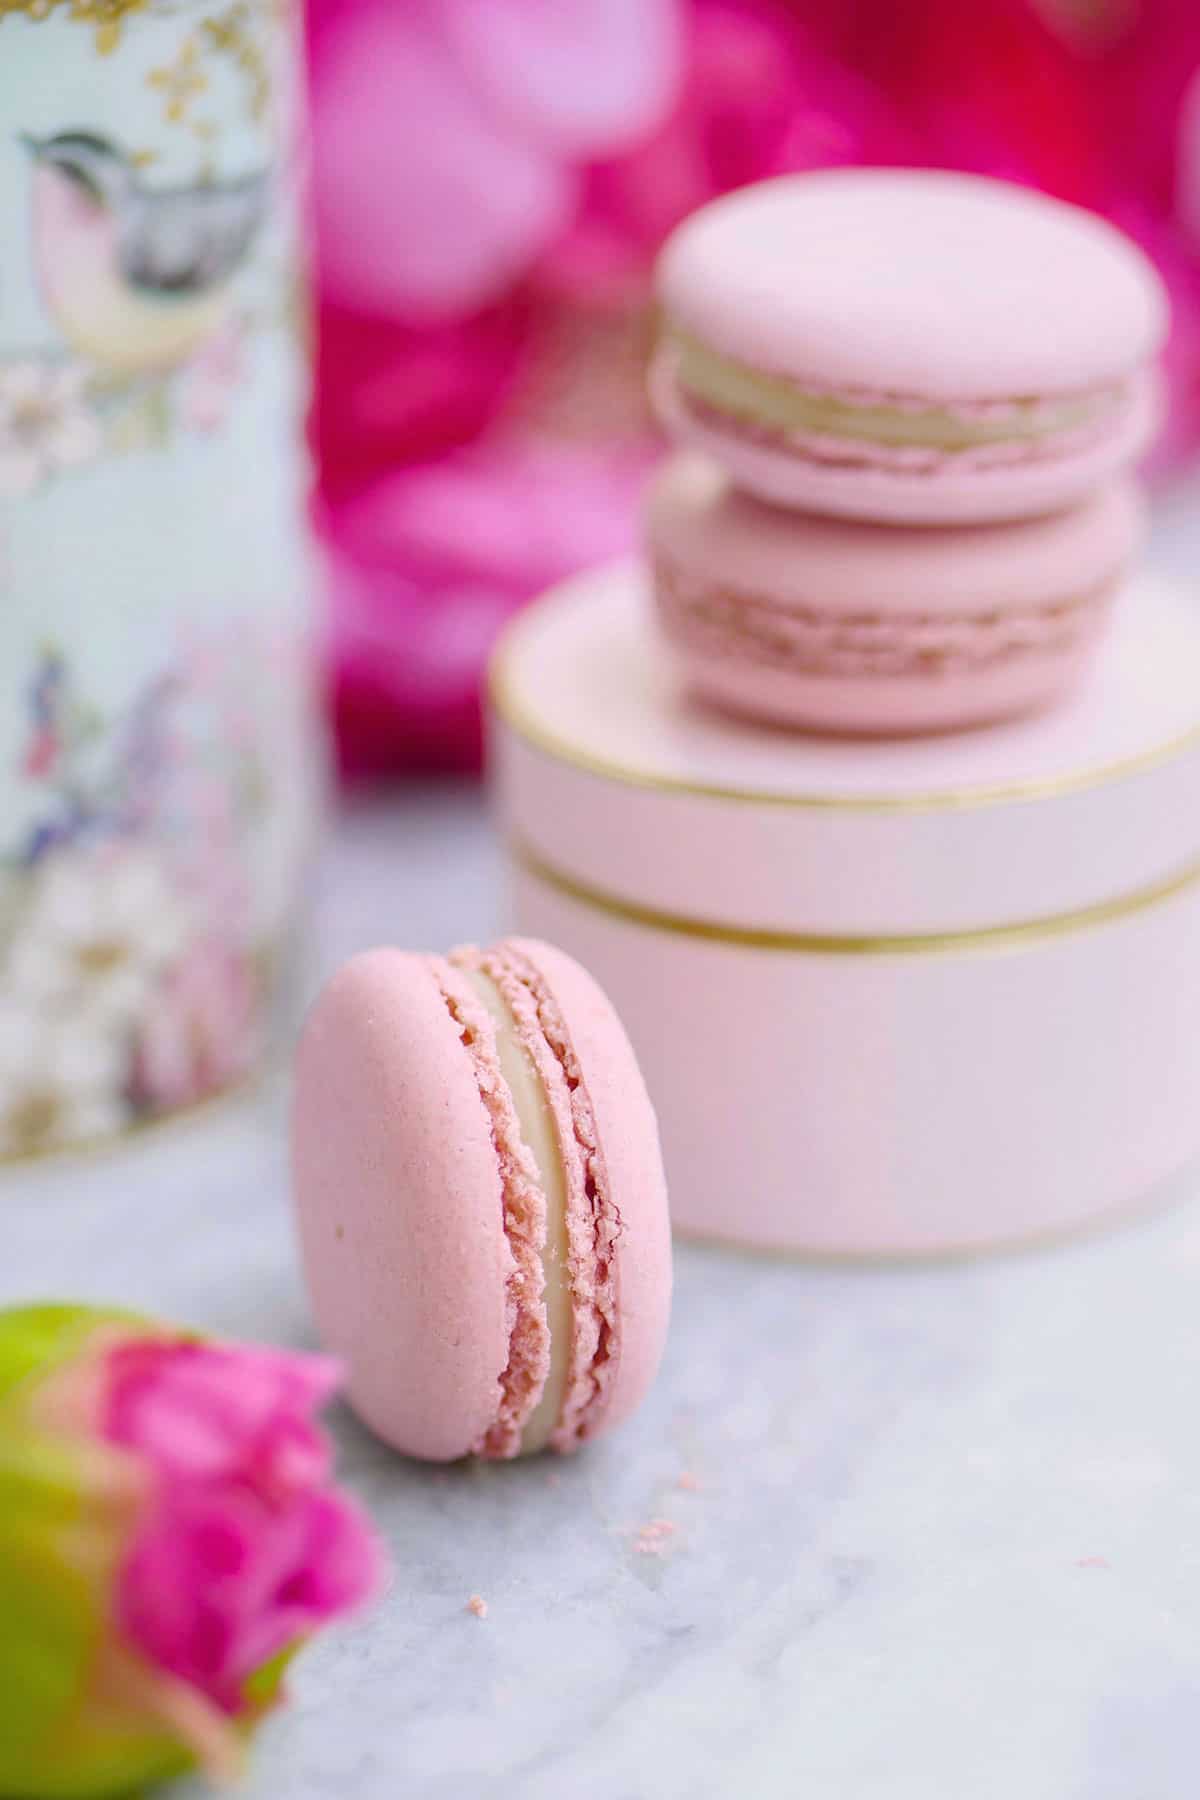
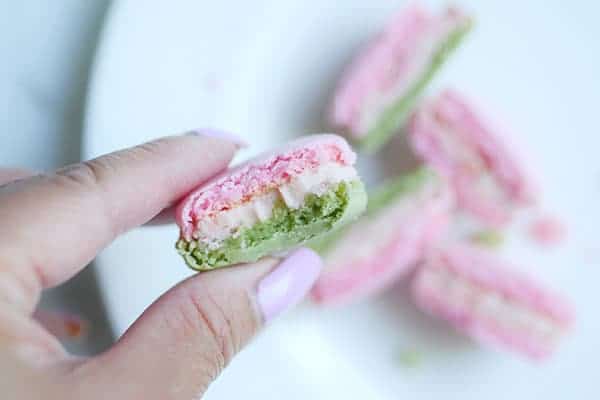
While the flavour of the curd was good and true to taste, it lost a lot of its vibrancy after being heated for long periods of time. Subsequently, the only lychee filling I wanted to publish was the one that would allow the lychee to retain its fragrant, subtly sweet profile with a bit of the acidity that's present in real lychees. This is how I've known lychees for the entirety of my life and it's what I think should translate into this recipe. This final version uses a combination of buttercream, chocolate cream and pulp to resemble the real fruit. It has a bit of it's natural tartness along with the fragrant addition of a bit of rose water. The taste is so heavenly and just as important, its structurally sound.
An Inexpensive Bottle of Rose Syrup
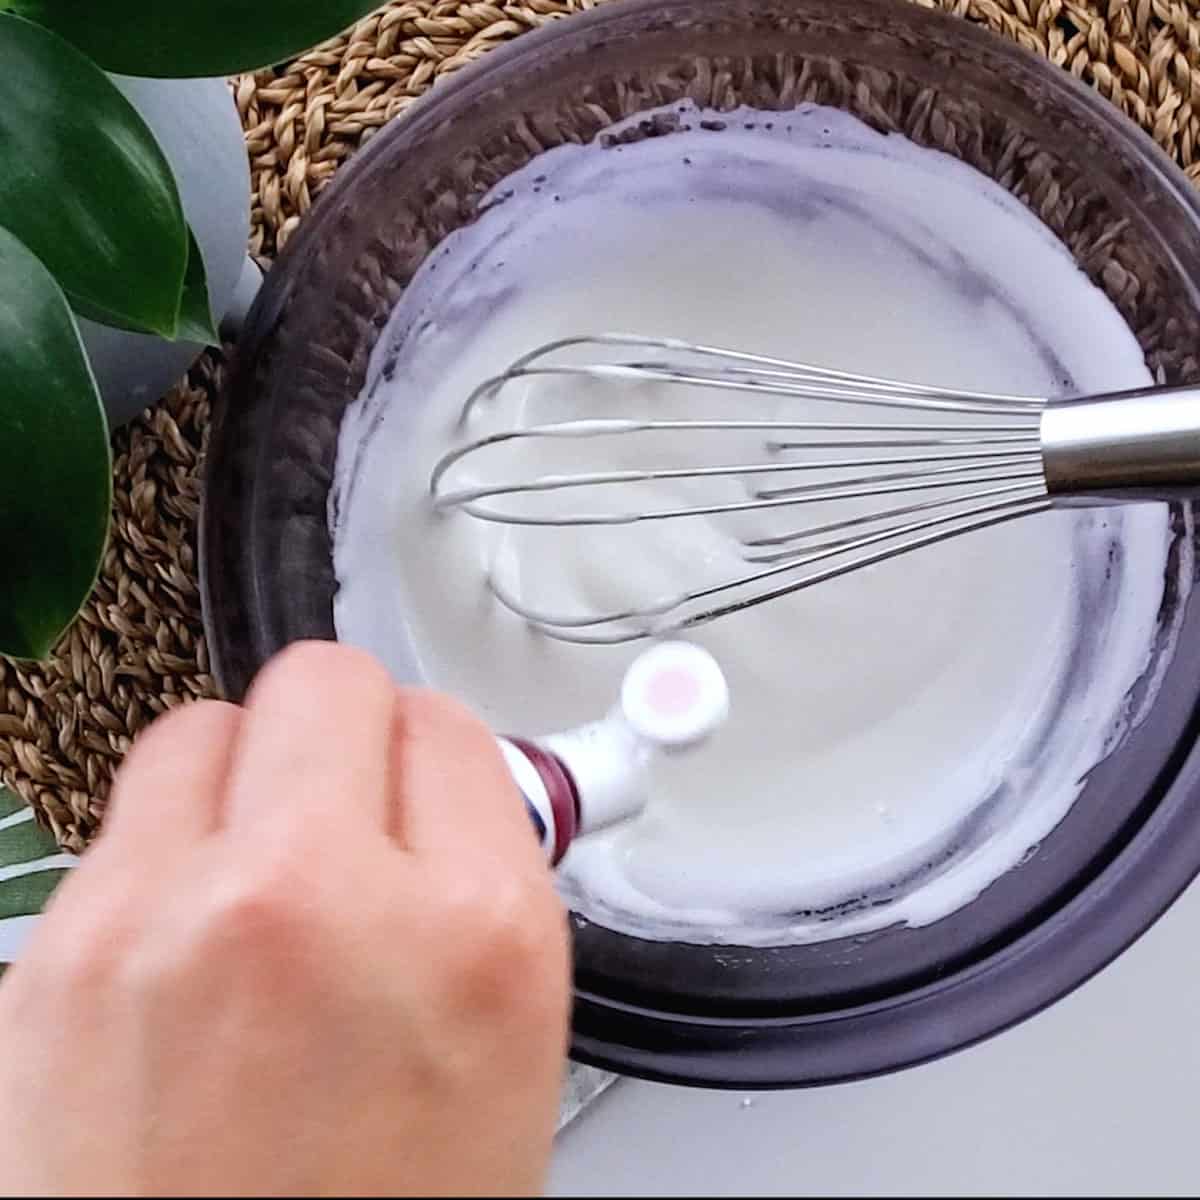
I knew lychee would be the star of the show in this recipe, but as I tasted my first batch, I immediately thought it needed something to pair with to make the flavors a bit more multi-dimensional. I had just the thing in my cupboard: a brand new bottle of rose water. I bought it a couple of months ago and I never had a chance to use it for anything. It wasn't anything fancy, just purely a "Wow! I can't believe I found this in a grocery store" type of product. This particular rose water was located in the ethnic food aisle of my local grocery store. Made in Lebanon and intended for use in traditional Lebanese foods, it didn't have "gourmet" written on it so it didn't cost a fortune. I added some of it in the first batch of macaron filling and it tasted wonderful.
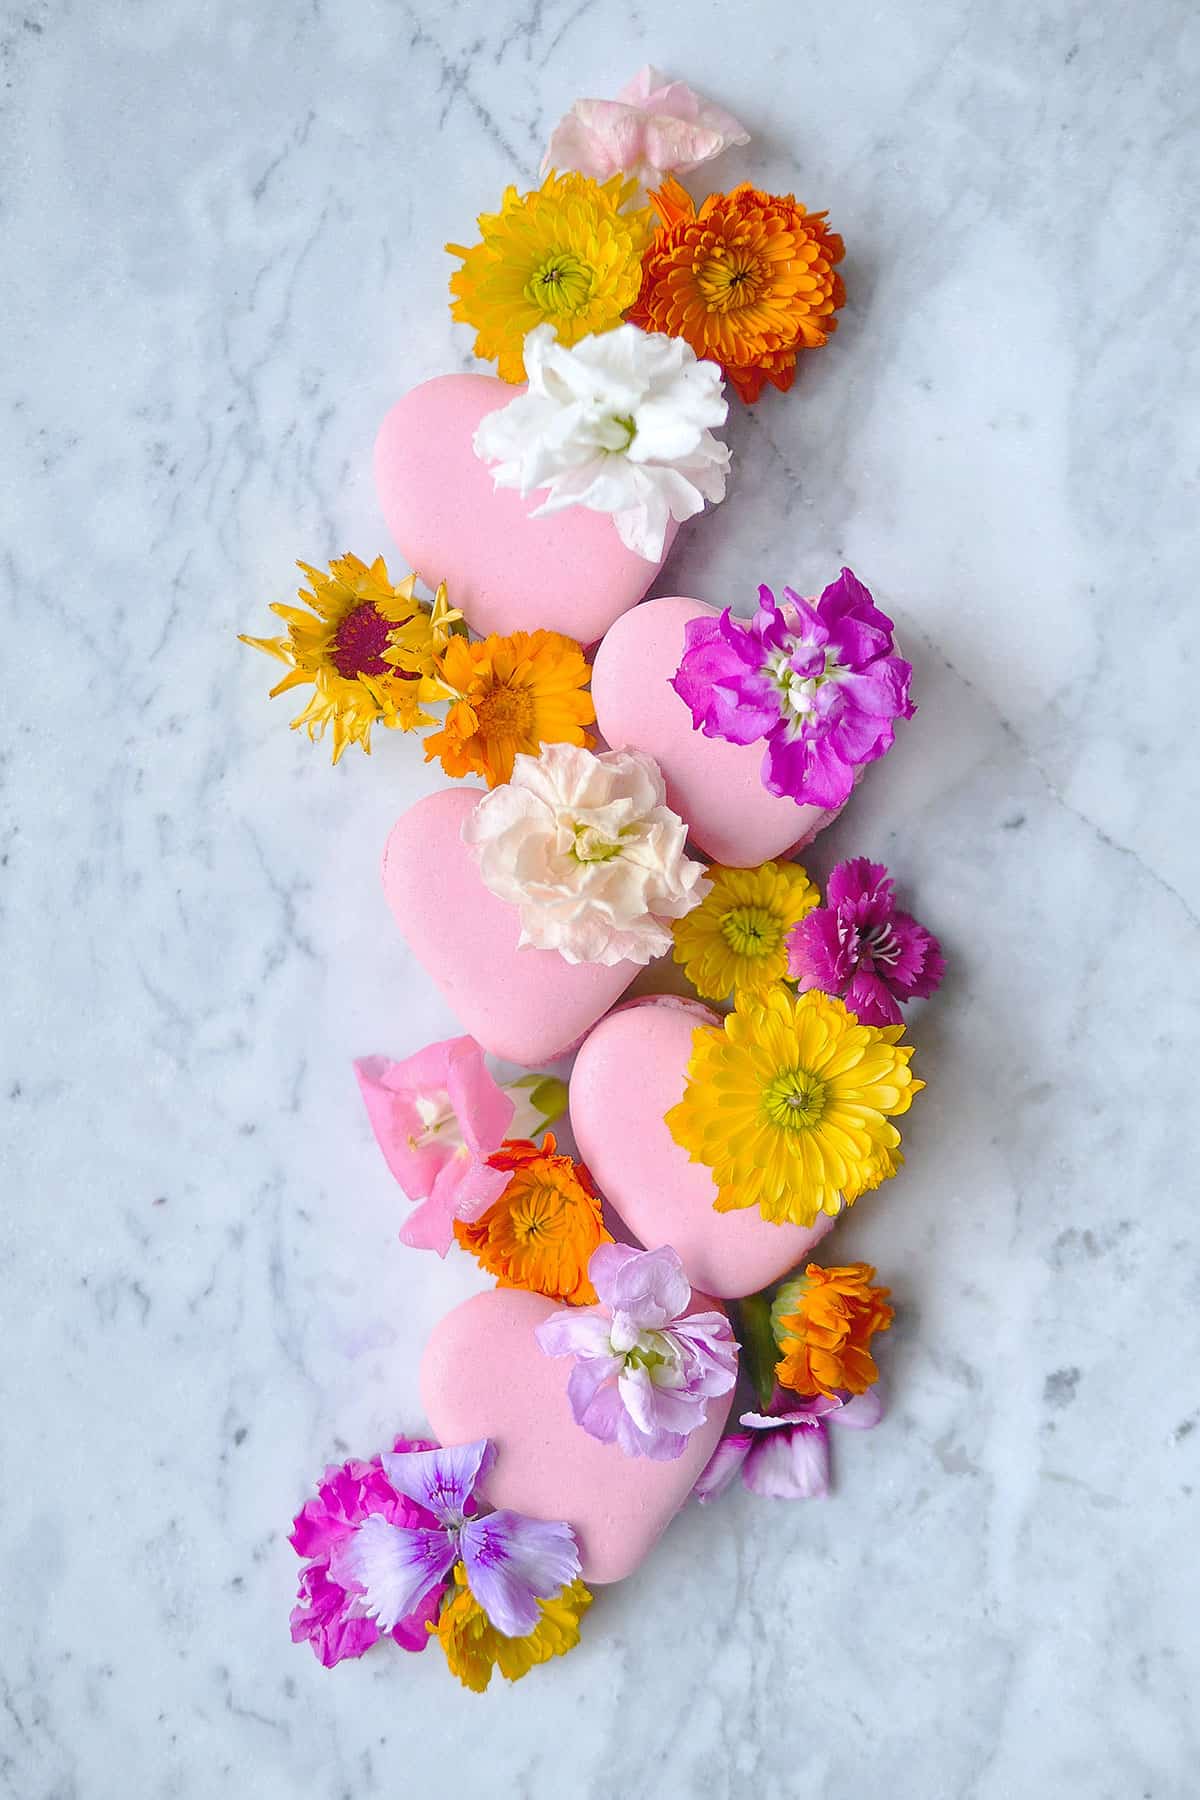
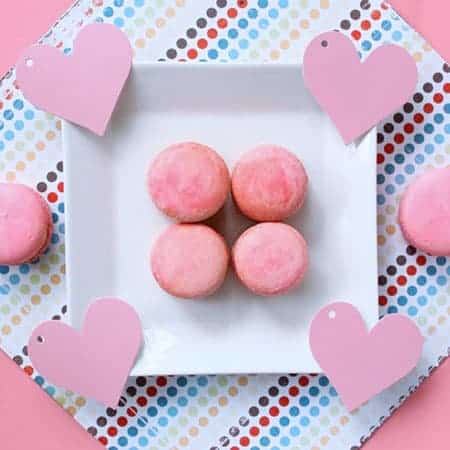
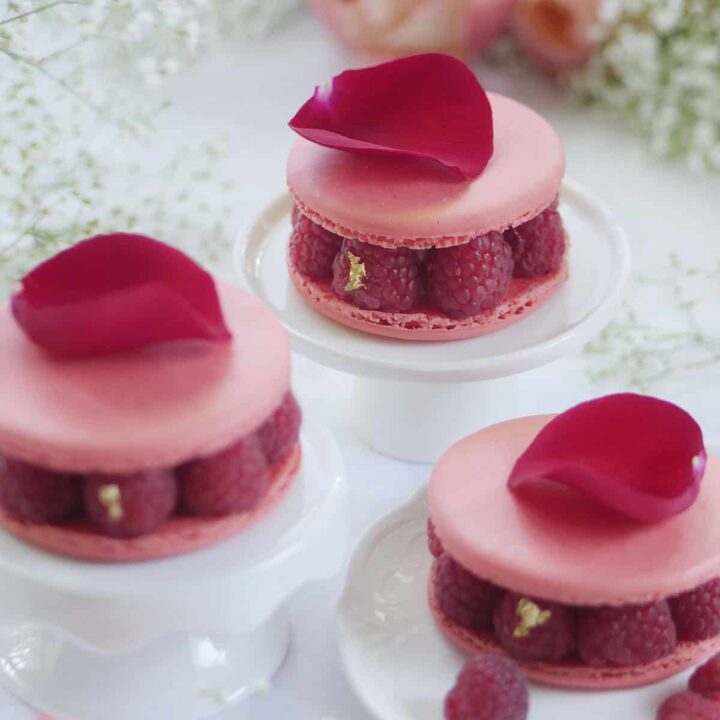
This recipe brought me on a little grocery store adventure, but I'm really happy that I was able to bring the flavours of two cultures together into a single delicious macaron. If there is one special macaron recipe you'd like to add to your collection, I think this may be the one.
I really hope you enjoy it!
XOXO,
Mimi
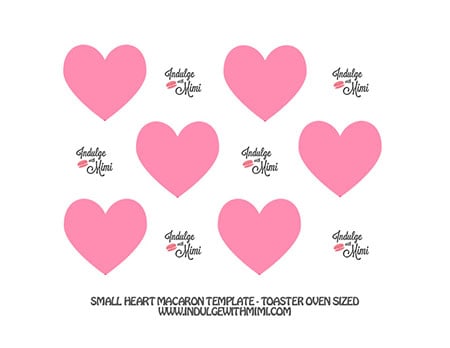
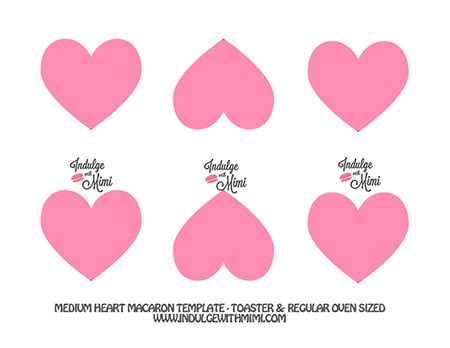
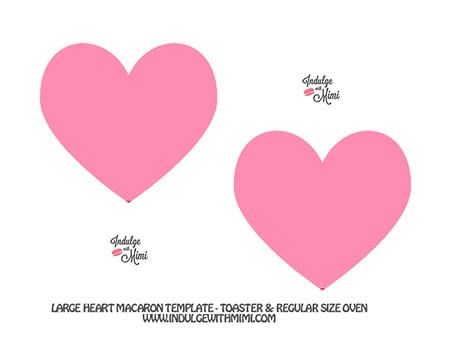
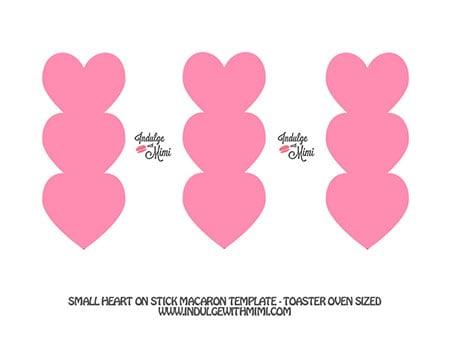
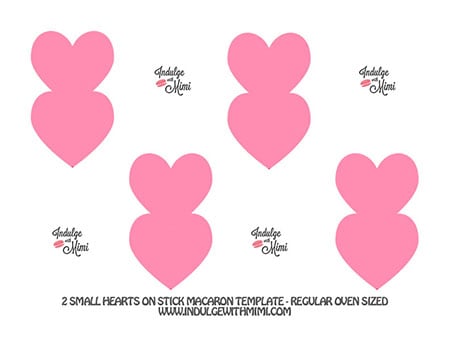
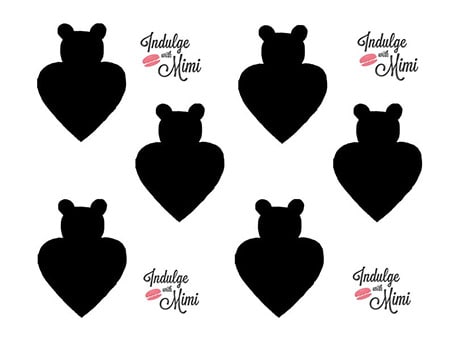
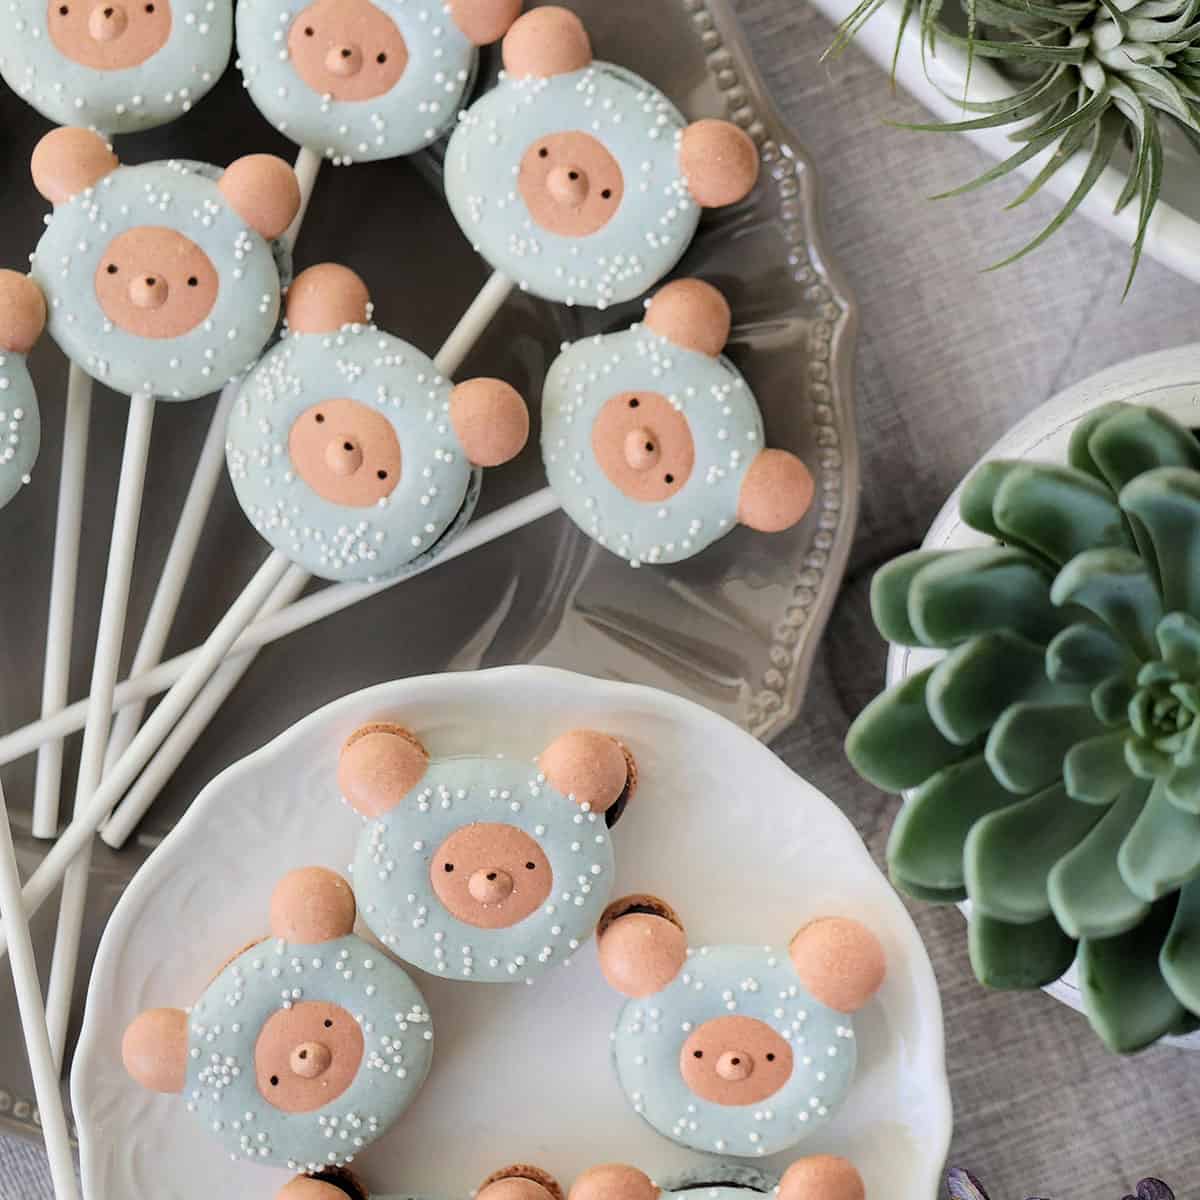
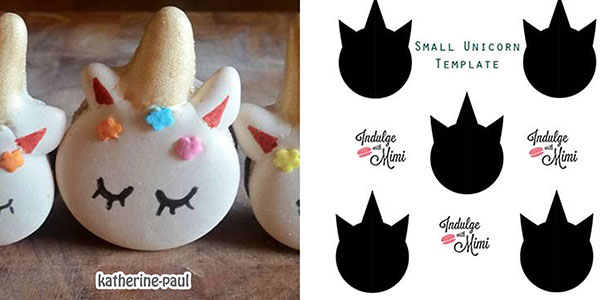
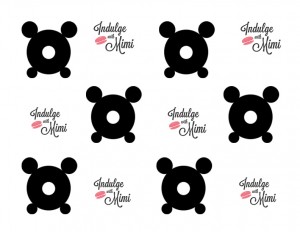
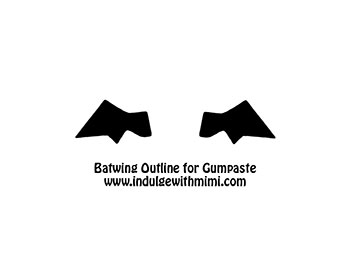
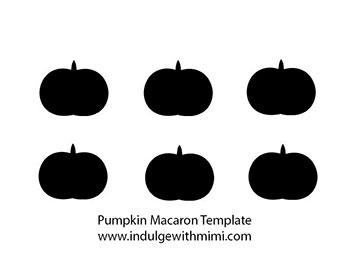
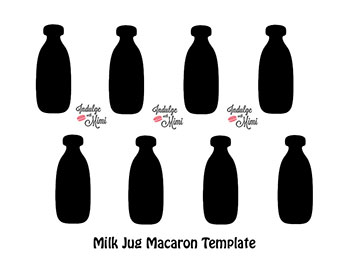
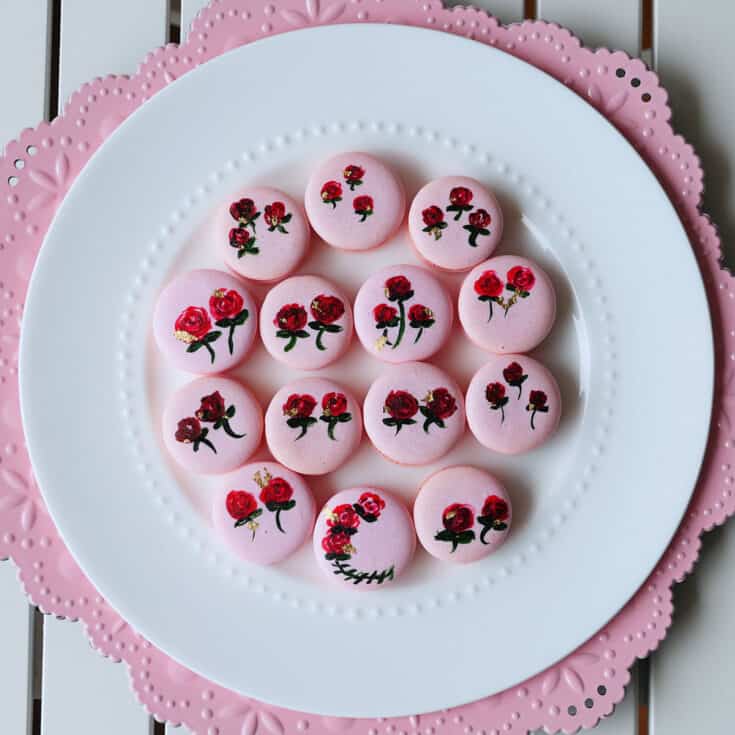
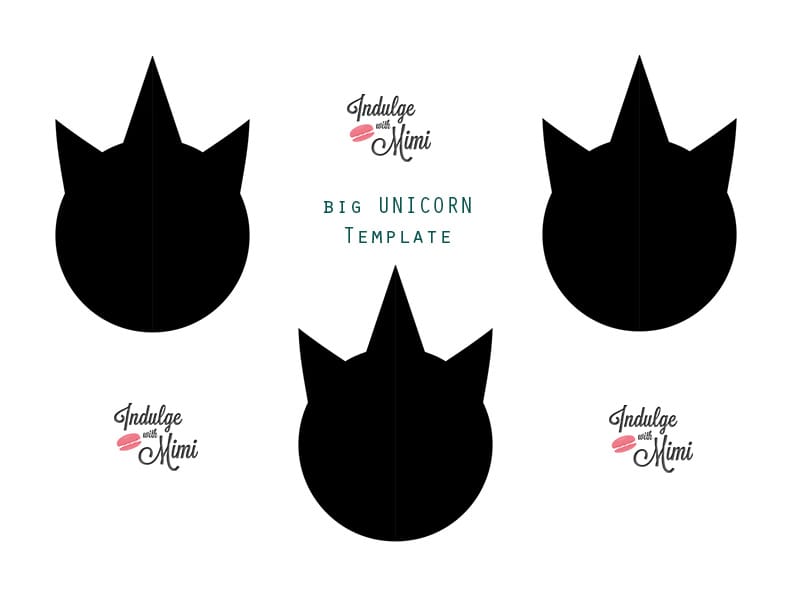
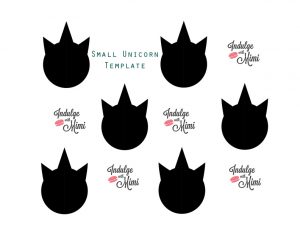
Free Heart Macaron Templates
These heart templates are all available for download for Newsletter Subscribers. Just sign up for the newsletter and wait for the double opt-in confirmation email. Confirm your subscription and you’ll be sent the password to the Subscriber’s Only Area.
Recipe
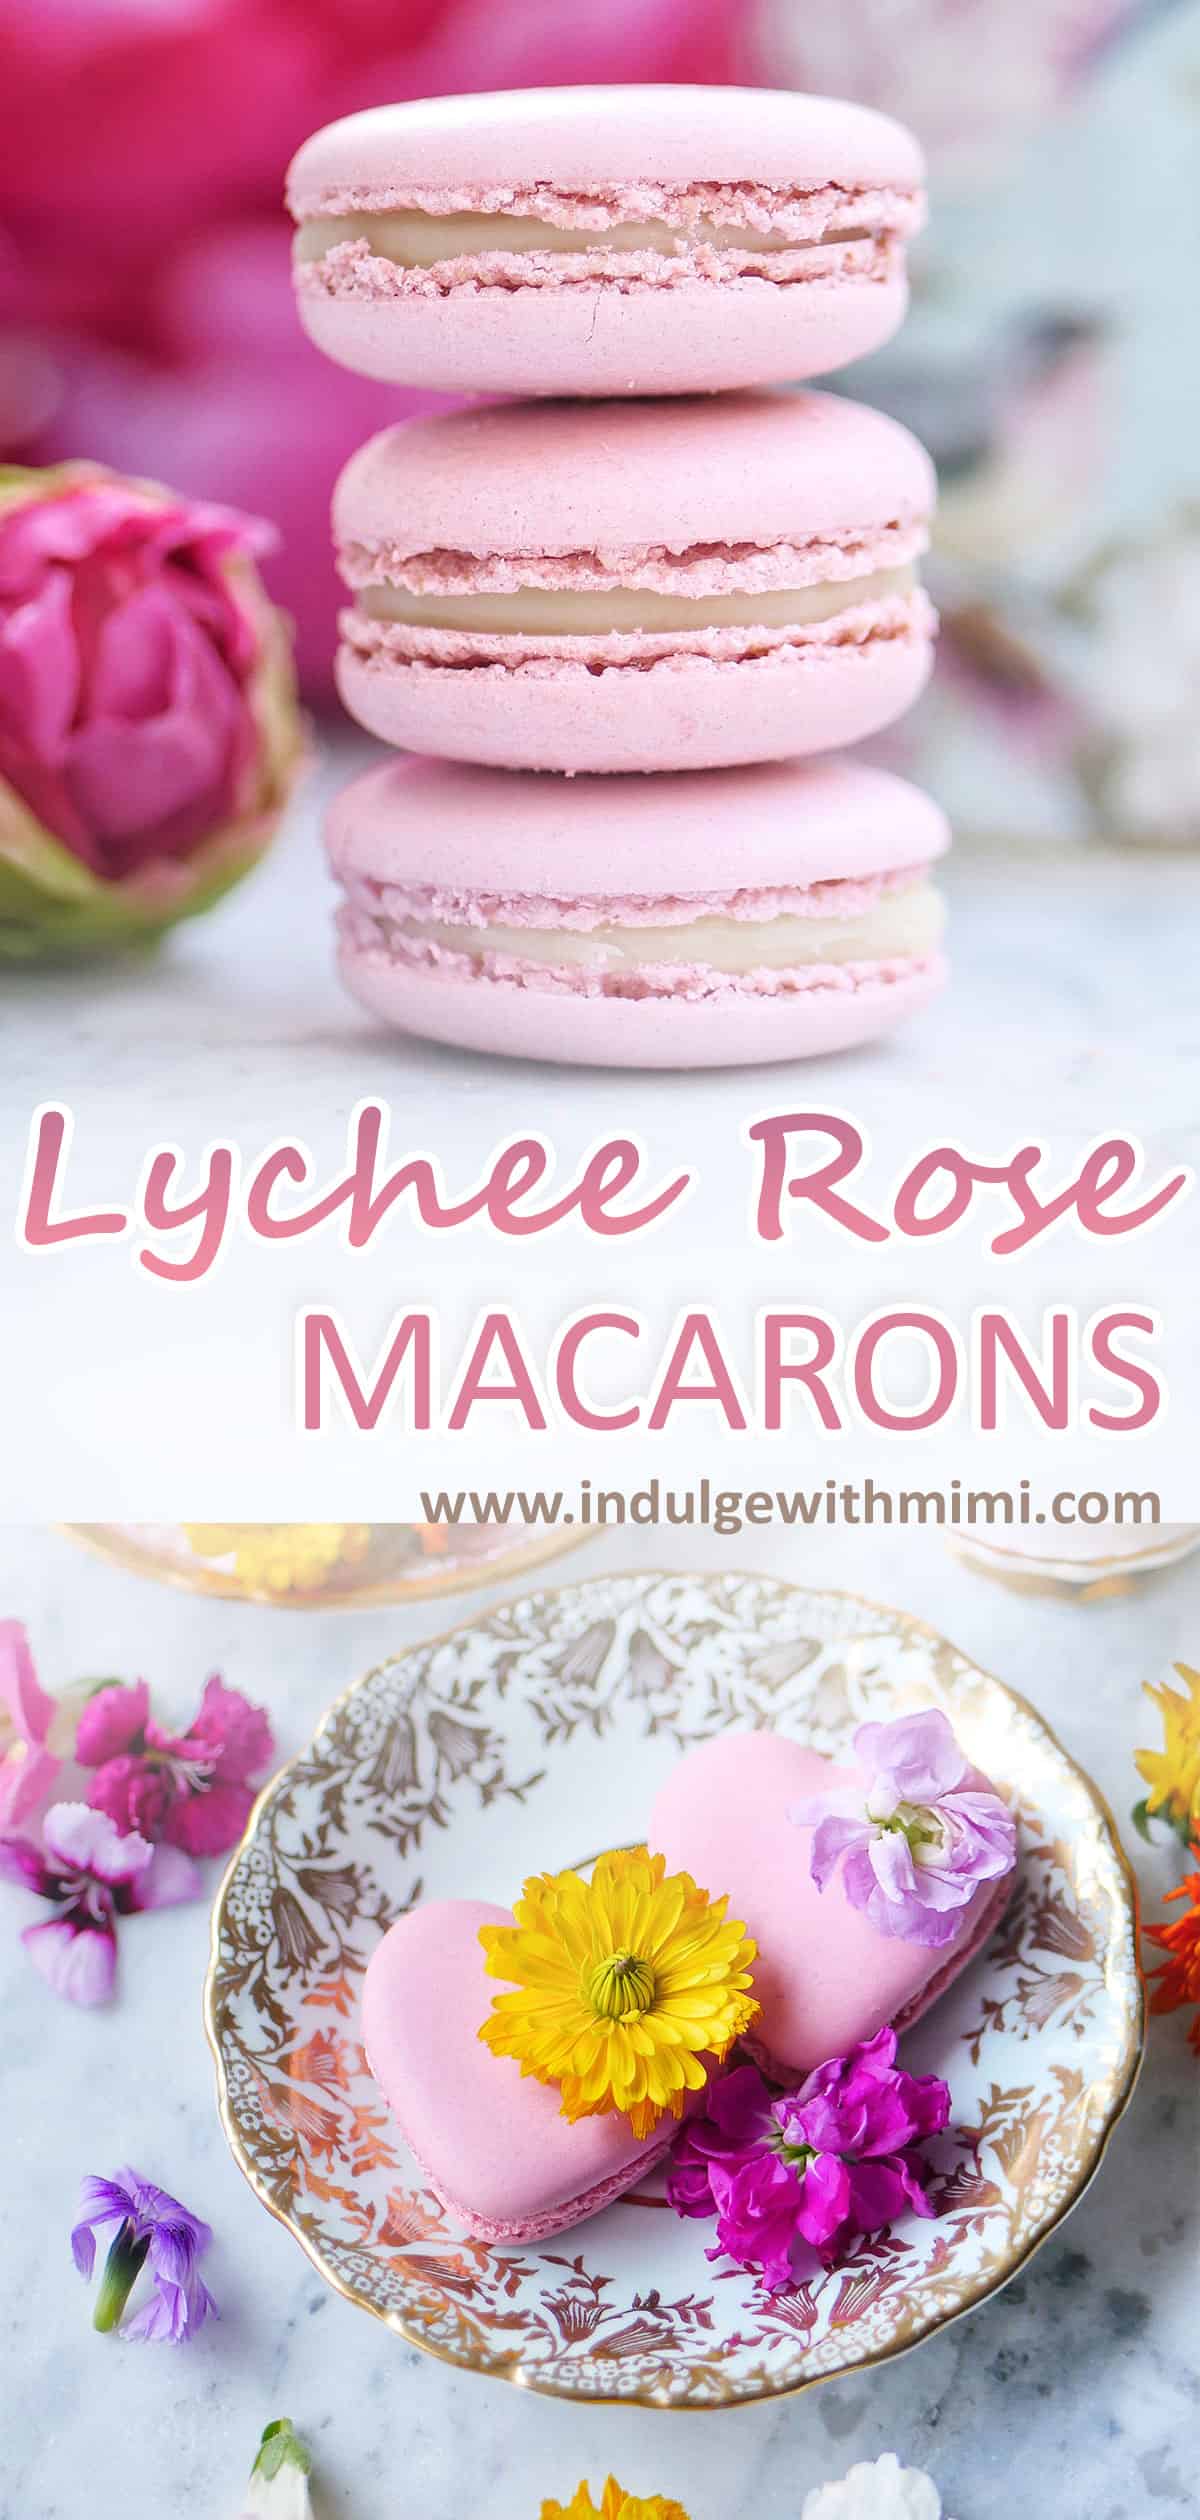
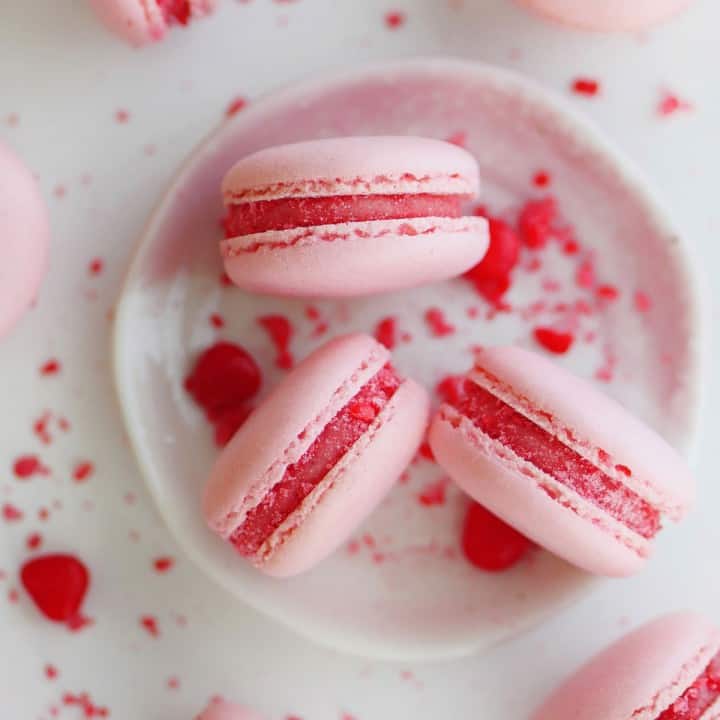
Delicate Lychee Rose Macarons Made with Real Lychees
A lychee rose macaron that is both fragrant and flavorful. This recipe takes care to retain the naturally sweet and slightly sour taste of this unique fruit.
Ingredients
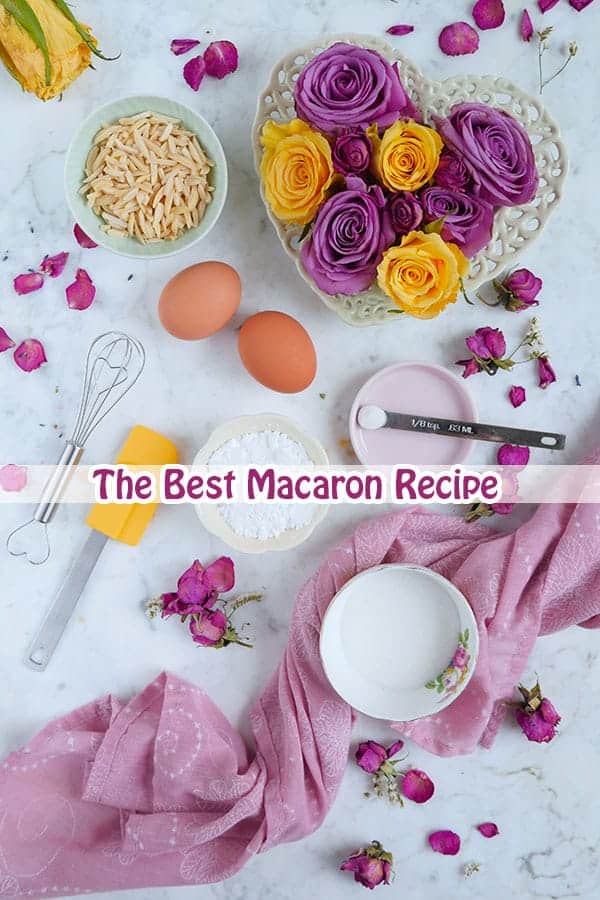
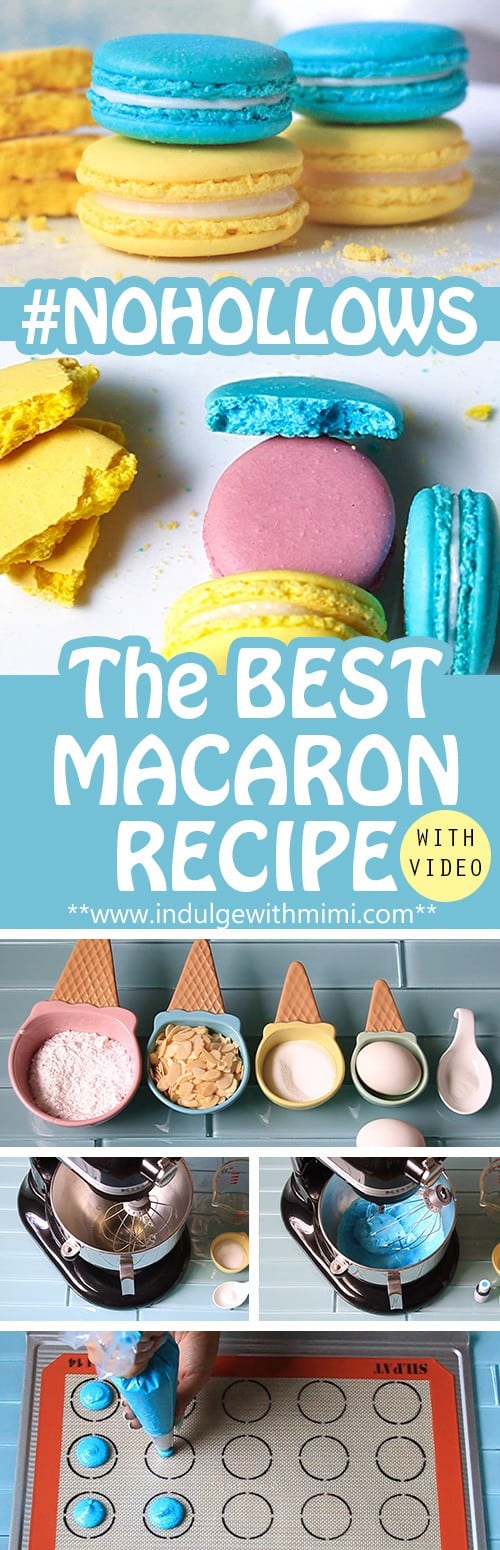
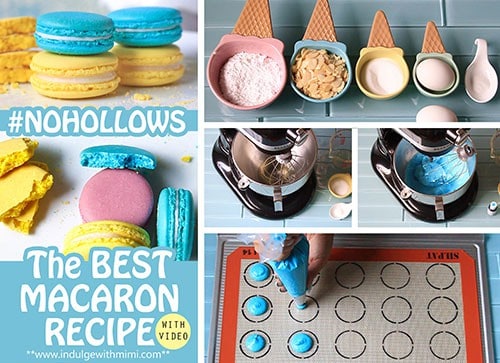
Mimi's Best Macaron Recipe
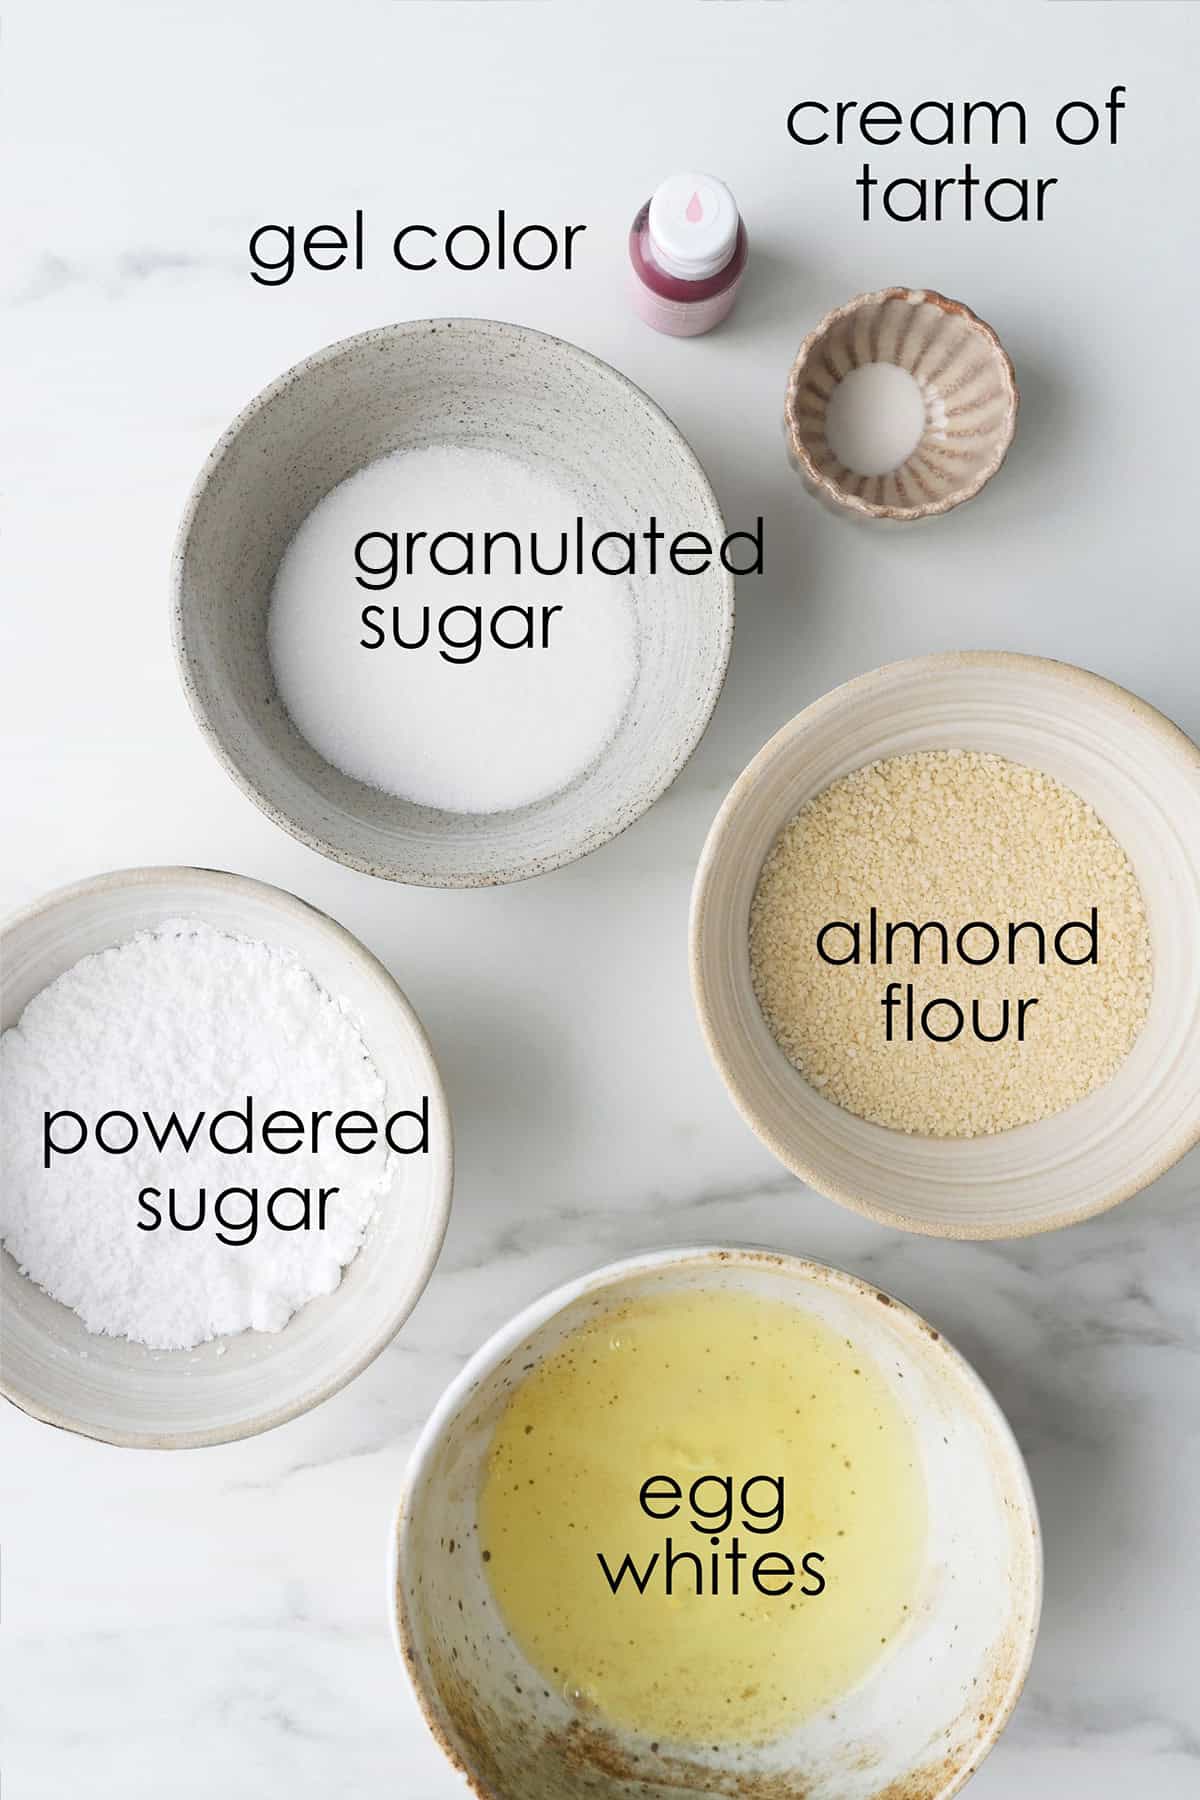
- 130 grams almond flour
- 130 grams icing sugar
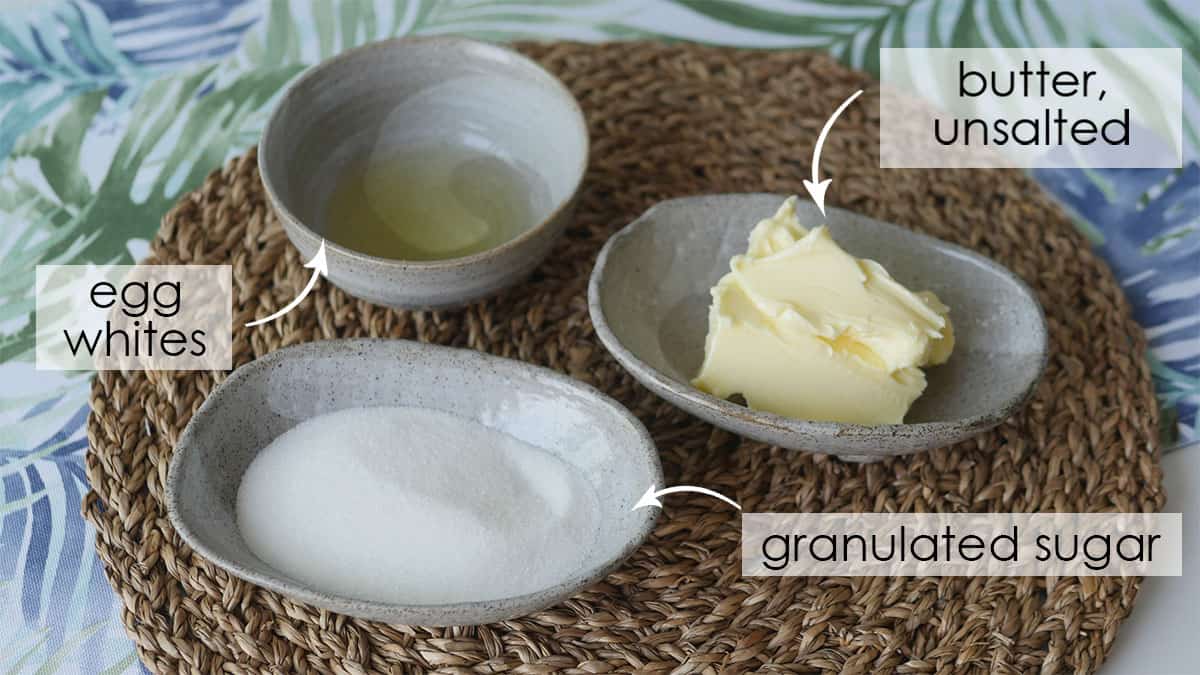
- 100 grams egg whites
- 90 grams granulated sugar
- ¼ tsp. cream of tartar
- A few drops of pink gel color (a drop of Americolor's Super Red was used here)
Lychee Cream
- 2 ½ teaspoon corn starch
- 90 ml strained juice from lychee puree, (from 1 can of lychee in syrup)*
- 50 grams granulated sugar
- 50 grams white chocolate
- 50 grams butter at room temperature
Rose Buttercream
- 65 grams egg whites
- 130 grams granulated sugar
- 195 grams butter at room temperature
- 2 ½ tsp. rose water
- A few drops of rose extract
Instructions
Macaron Shells
- Using the above ingredient quantity, follow the instructions on my Best Macaron Recipe to make the shells.
Lychee Cream Instructions
- Set butter out at room temperature.
- Open canned lychees. Discard syrup.
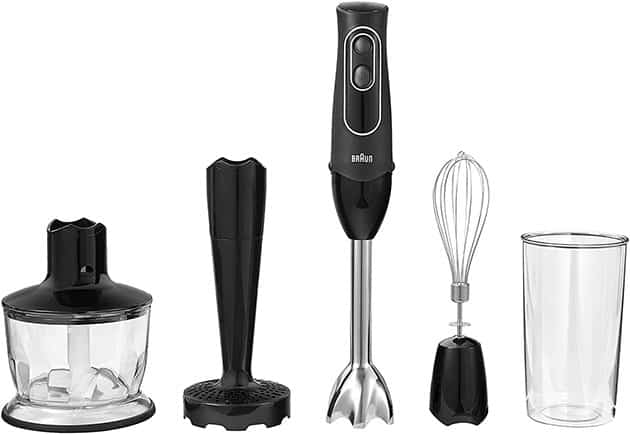
- Pulse whole lychees in food processor until you get a fine puree.
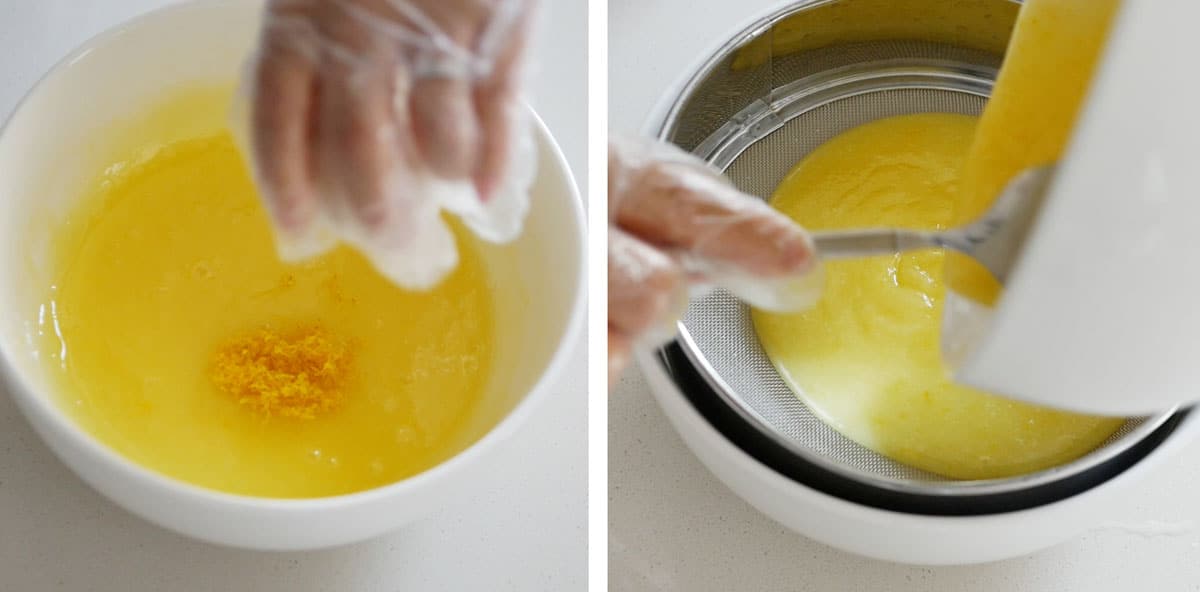
- Pour puree through a strainer to separate the pulp and juice. Keep 90 ml of the juice for use in this recipe. With a spoon, push out as much liquid out of the pulp as possible.
- Place the pulp in a bowl and cover with plastic wrap. Poke a few holes in it and place it in the fridge to "dehydrate". Tip: if you have the time, do this the night before.
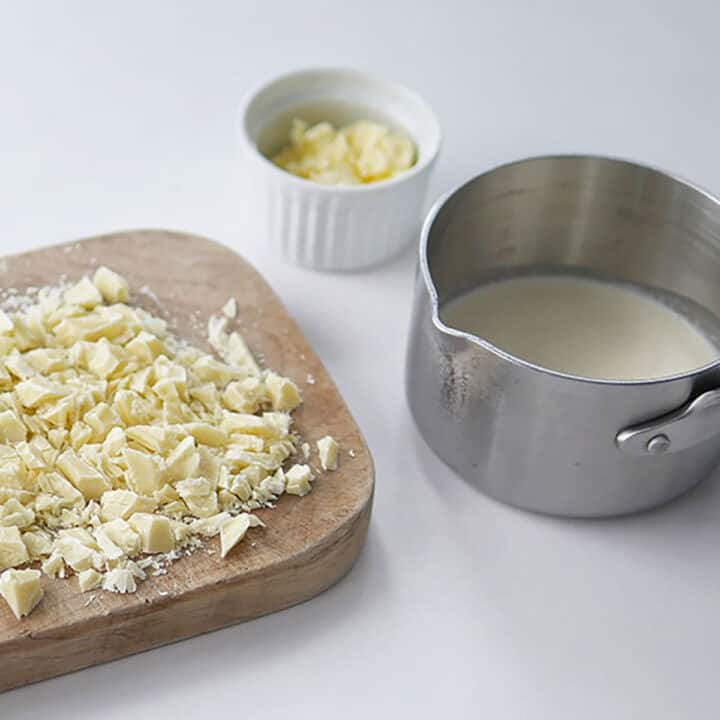
- Chop up white chocolate into small pieces.
- In a small bowl, whisk together 1 tablespoon of lychee juice and corn starch until no visible lumps can be seen.
- Heat remaining juice and sugar on med-high heat until sugar fully dissolves. Take off heat before it comes to a full boil.
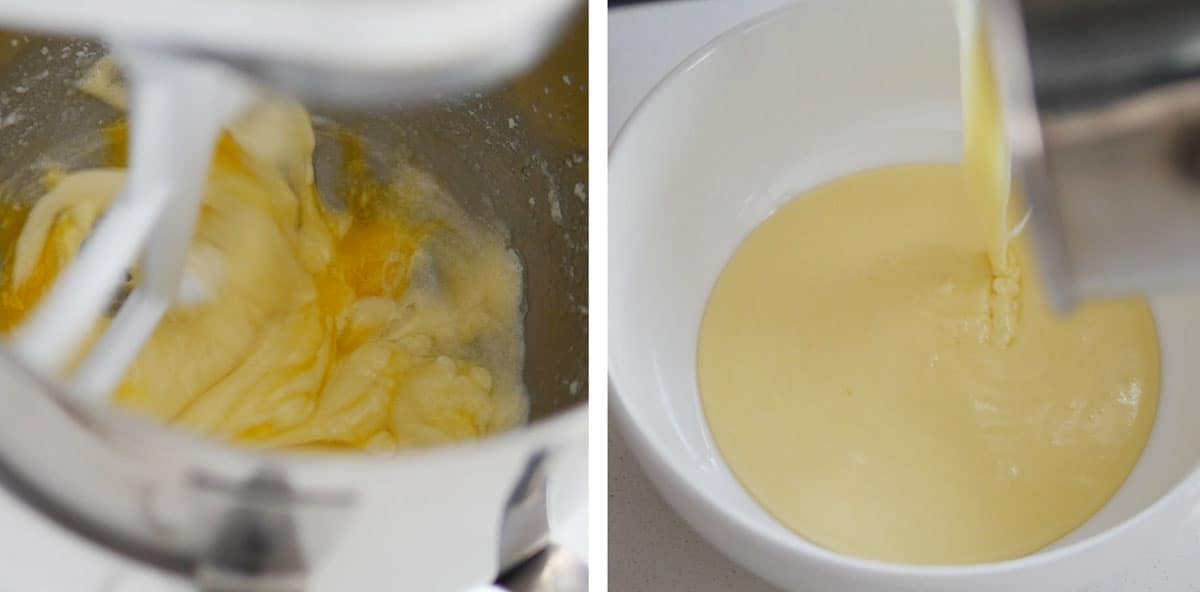
- Pour a little bit of the hot juice into the corn starch mixture while whisking vigorously.
- Take this mixture and pour it back into the pot of hot lychee juice while whisking vigorously.
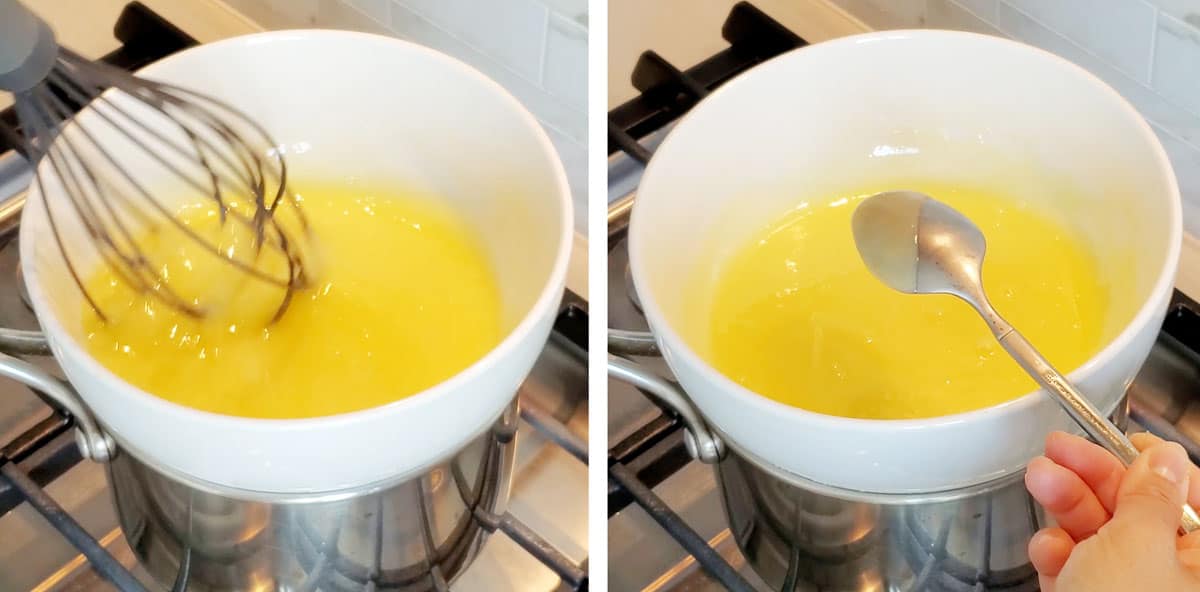
- Place pot back onto the stove on low-medium heat. It will thicken up considerably within 30 seconds to 1 minute. Take off heat.
- Pour onto the chopped white chocolate. Wait one minute.
- Mix well with a spatula until all the chocolate has melted.
- Add butter and mix together until incorporated.
- Pour into blender and blend on high for 1 minute.
- Place in the fridge to set before putting in piping bag.
Rose Buttercream Instructions
- Set butter out at room temperature.
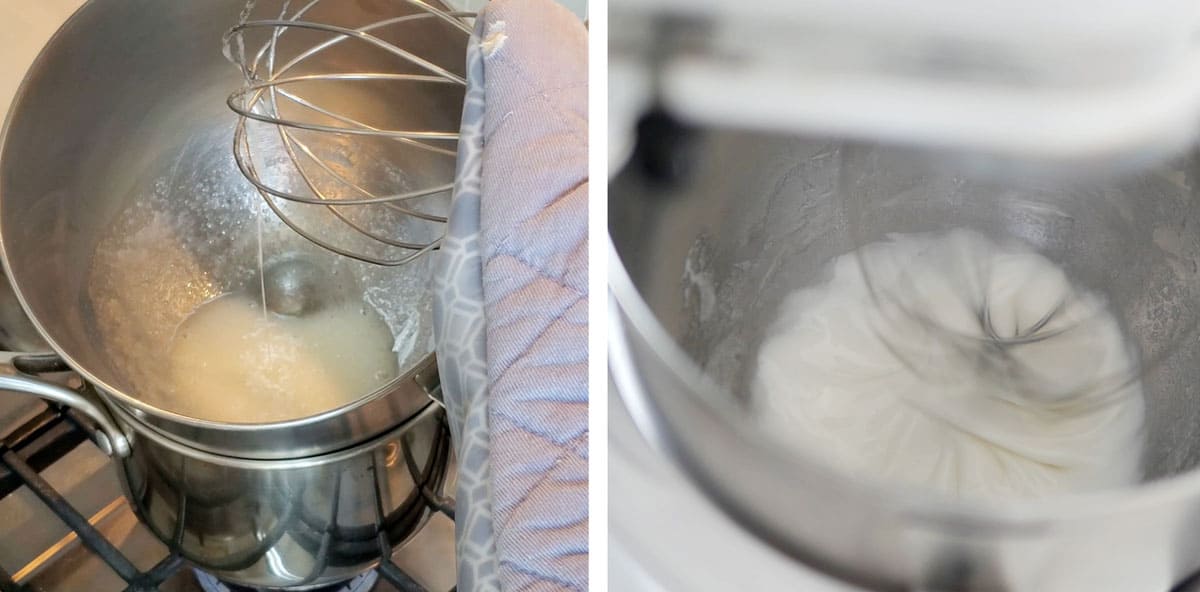
- Bring a small pot of water to a boil.
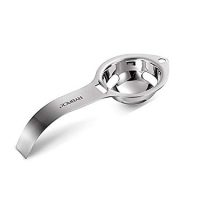
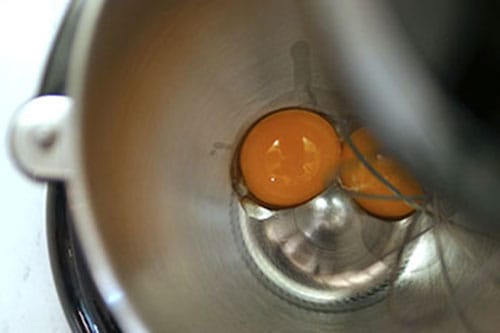
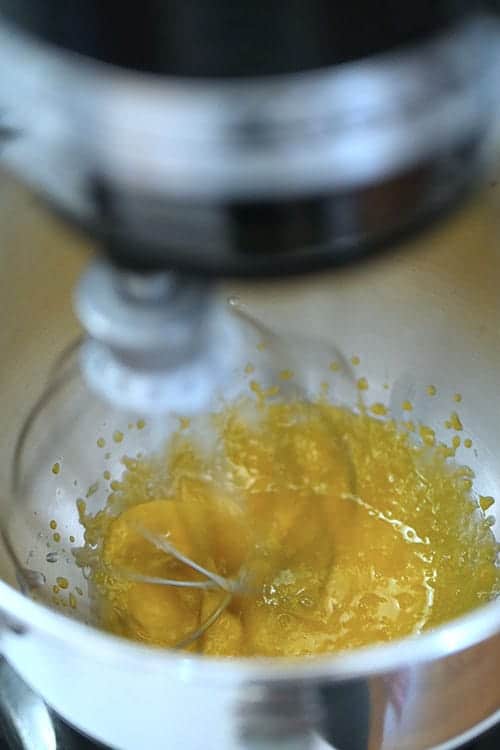
- Place egg whites and sugar into a heat proof bowl. Stainless steel is light and safe.
- Gently whisk the whites & sugar mix over the boiling water.
- Pay attention to whisking the mixture when it starts getting hot, you don’t want to cook the eggs.
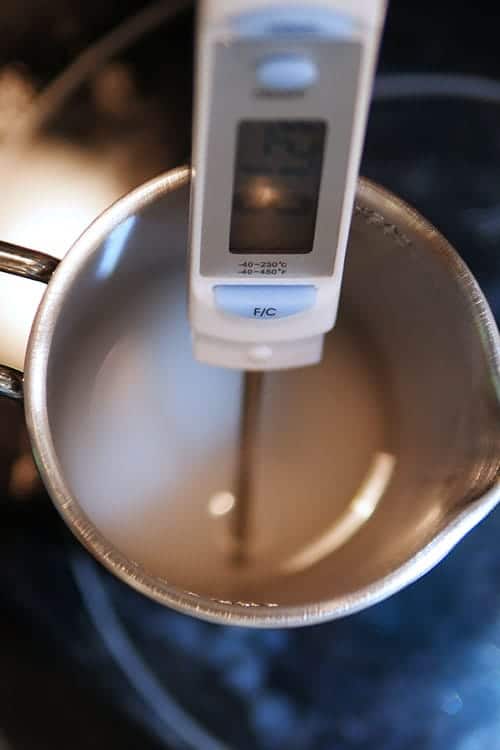
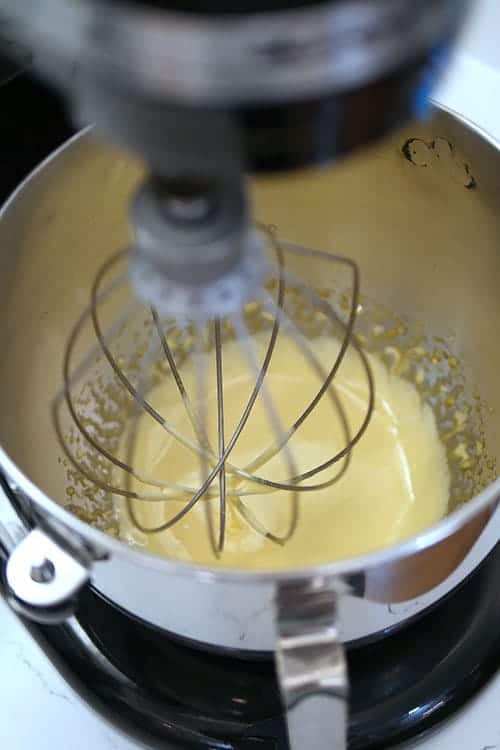
- Whisk the mixture until the temperature reaches 160F**
- Pour the mixture into the Kitchenaid mixer with the balloon whisk attached. Whip on low to start, then increase to medium.
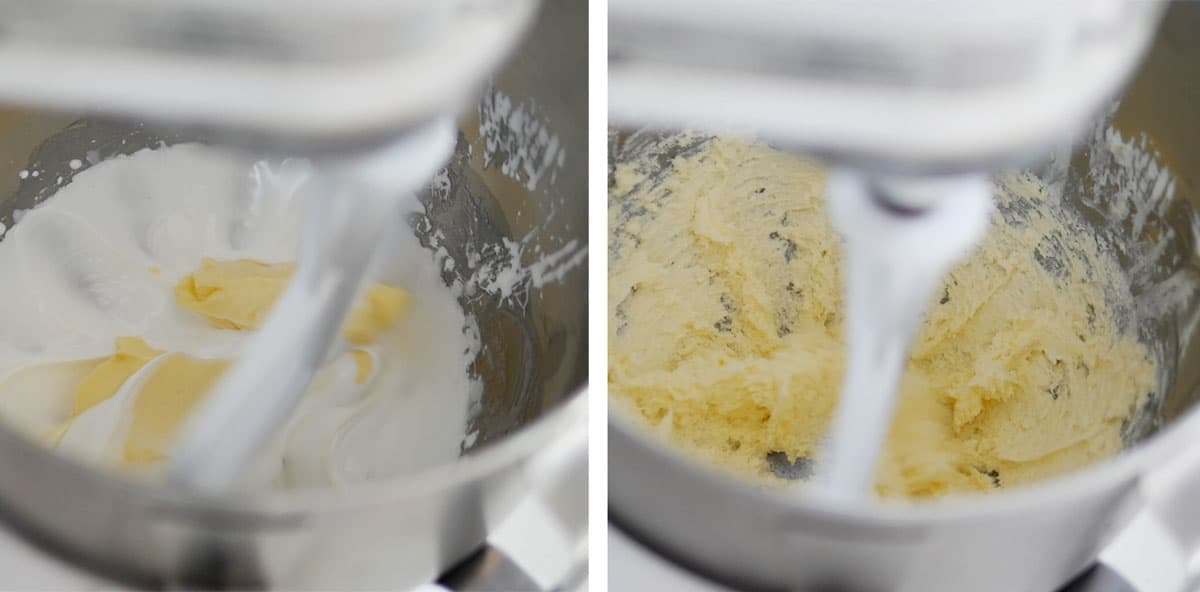
- Once the mixture is stiff and the bottom of the bowl is cool to the touch, stop mixer. Change the whisk attachment to the paddle attachment.
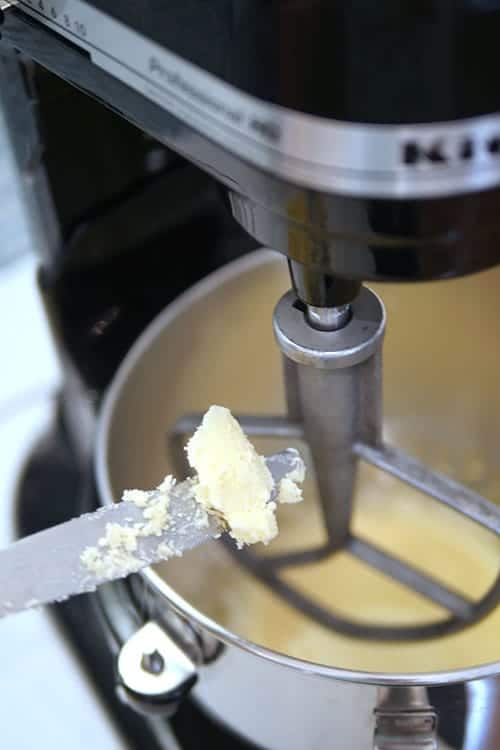
- Add butter a little bit at a time while beating with the paddle attachment on medium speed.
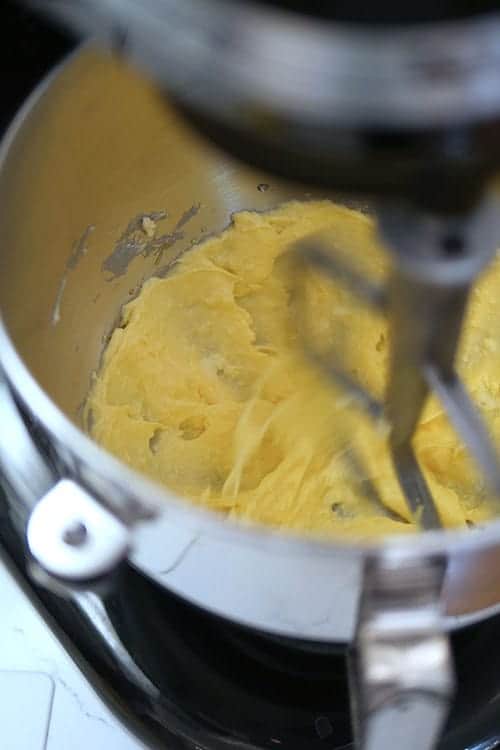
- The mixture might look curdled or separated for a while but keep mixing. It will all come together.
- Keep 200 grams of the buttercream for use in our current recipe. Freeze the rest of the buttercream for use at a later date.
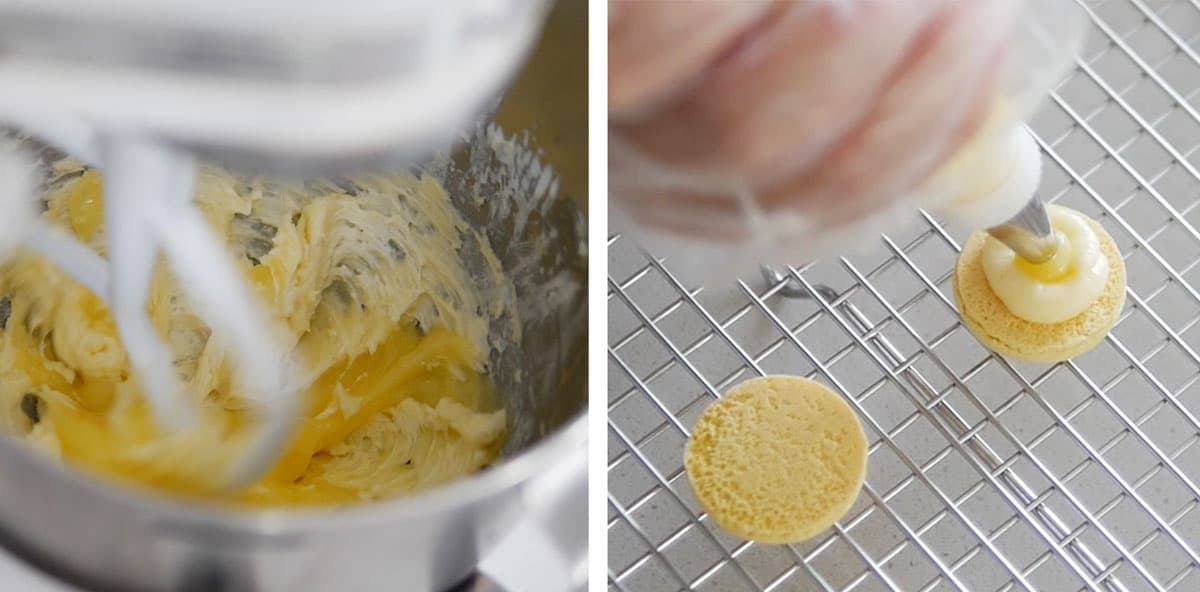
- Add rose water and rose essence and beat until incorporated.
Assembly
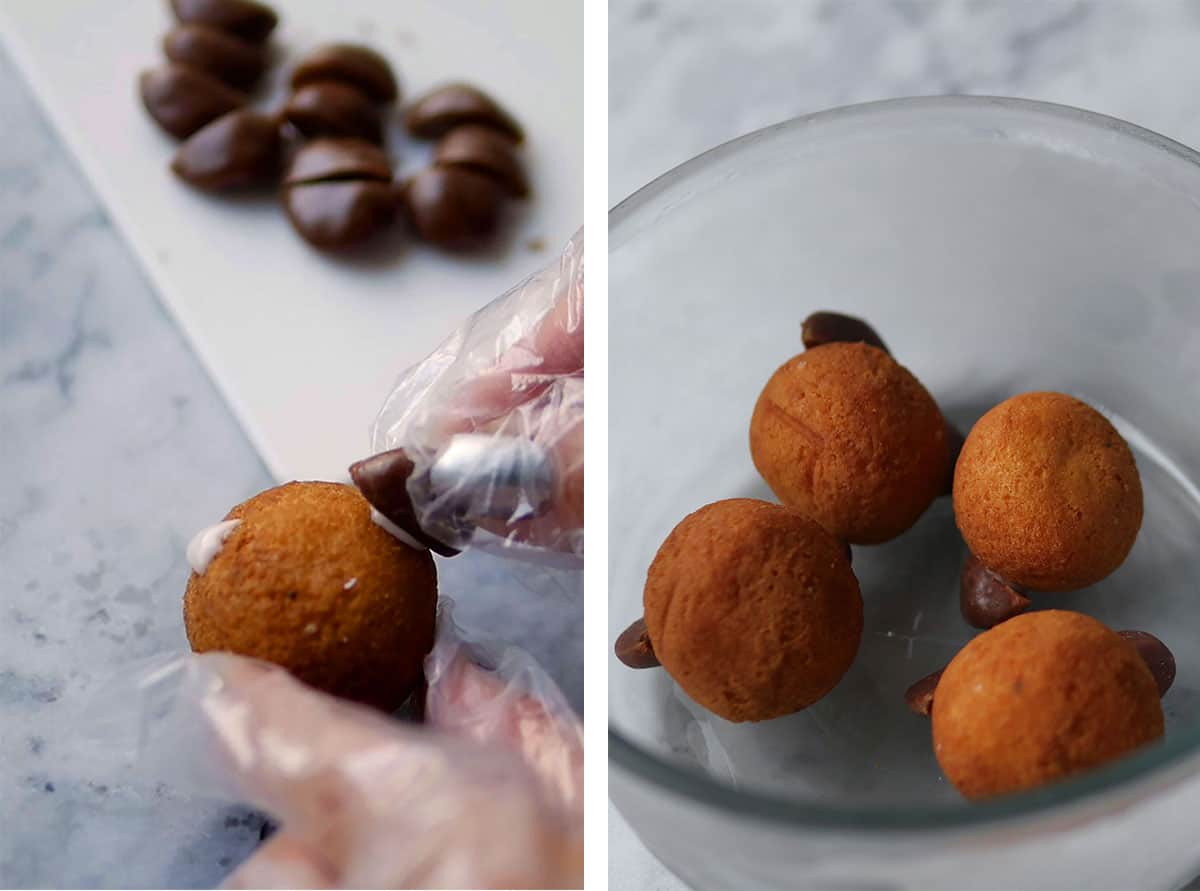
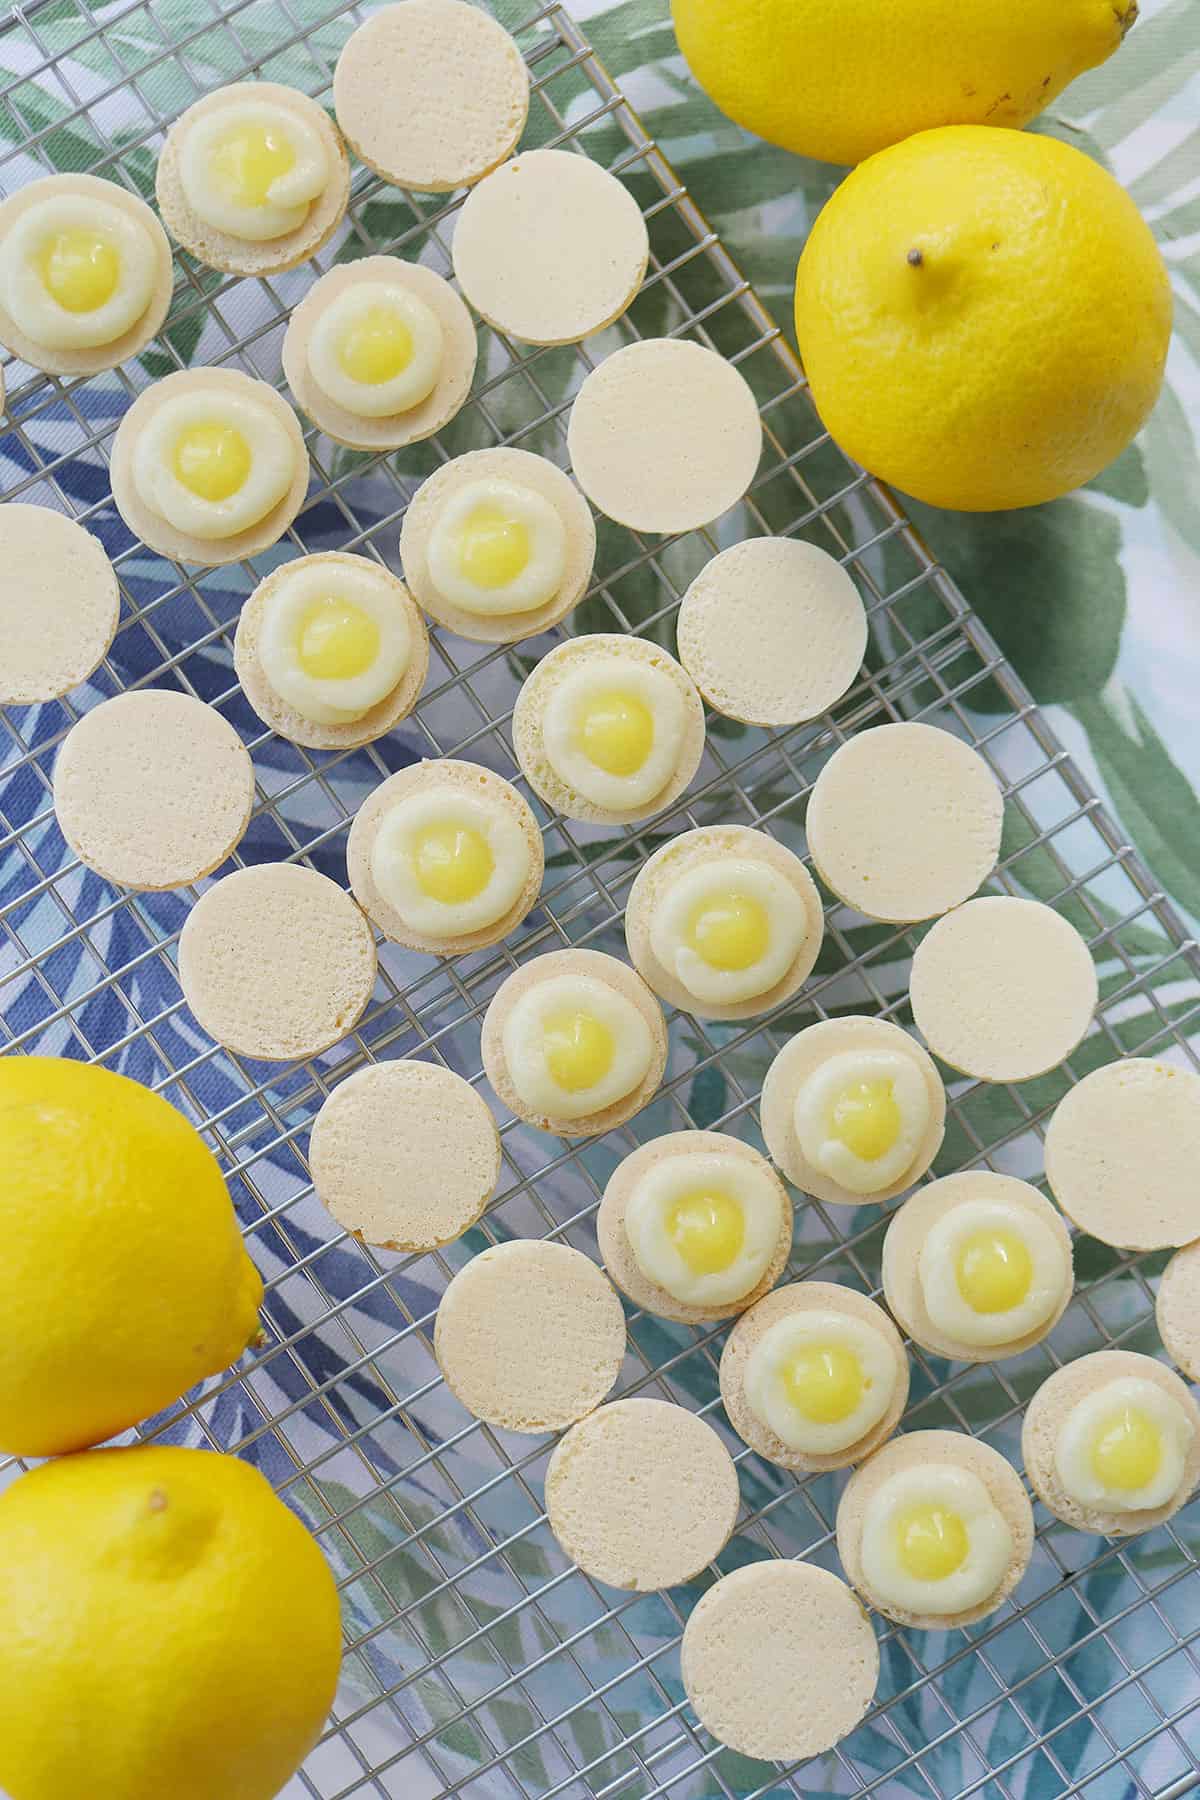
- Find two similar sized macaron shells to make a pair.
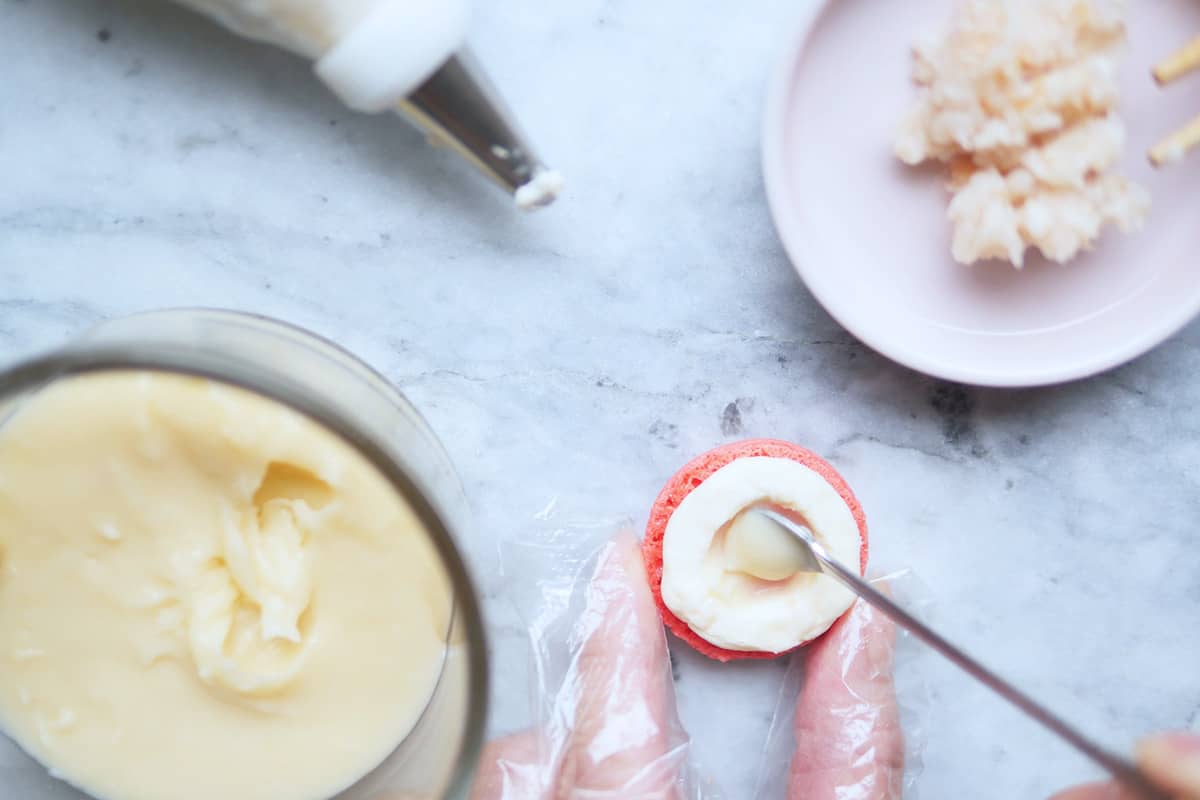
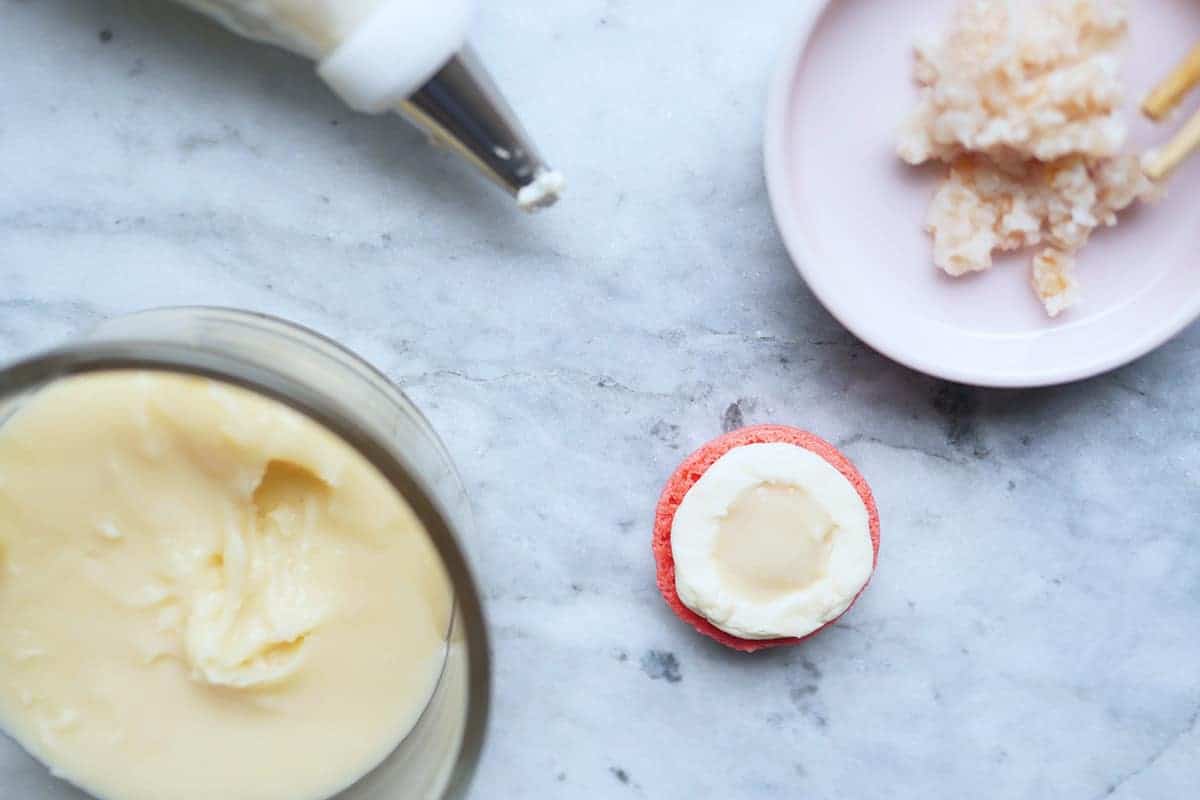
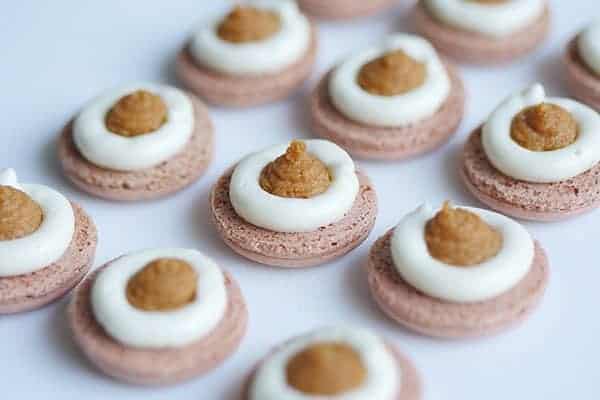
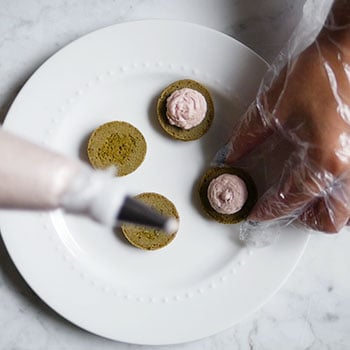
- Pipe a ring of rose buttercream onto one shell as a dam then fill it with a small dab of lychee cream. Spread the cream out evenly so that it creates a "barrier" between the shell and the lychee pulp which is to be added next.

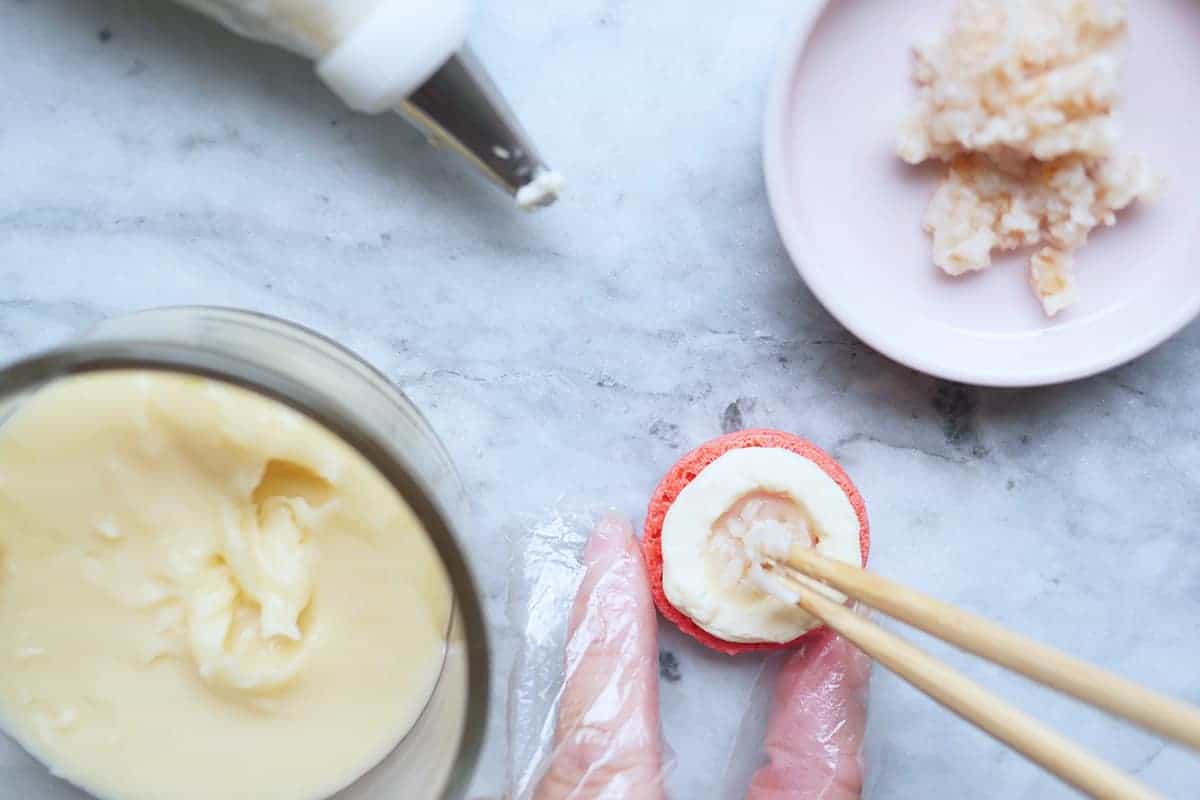
- Add a bit of lychee pulp on top of the lychee cream.
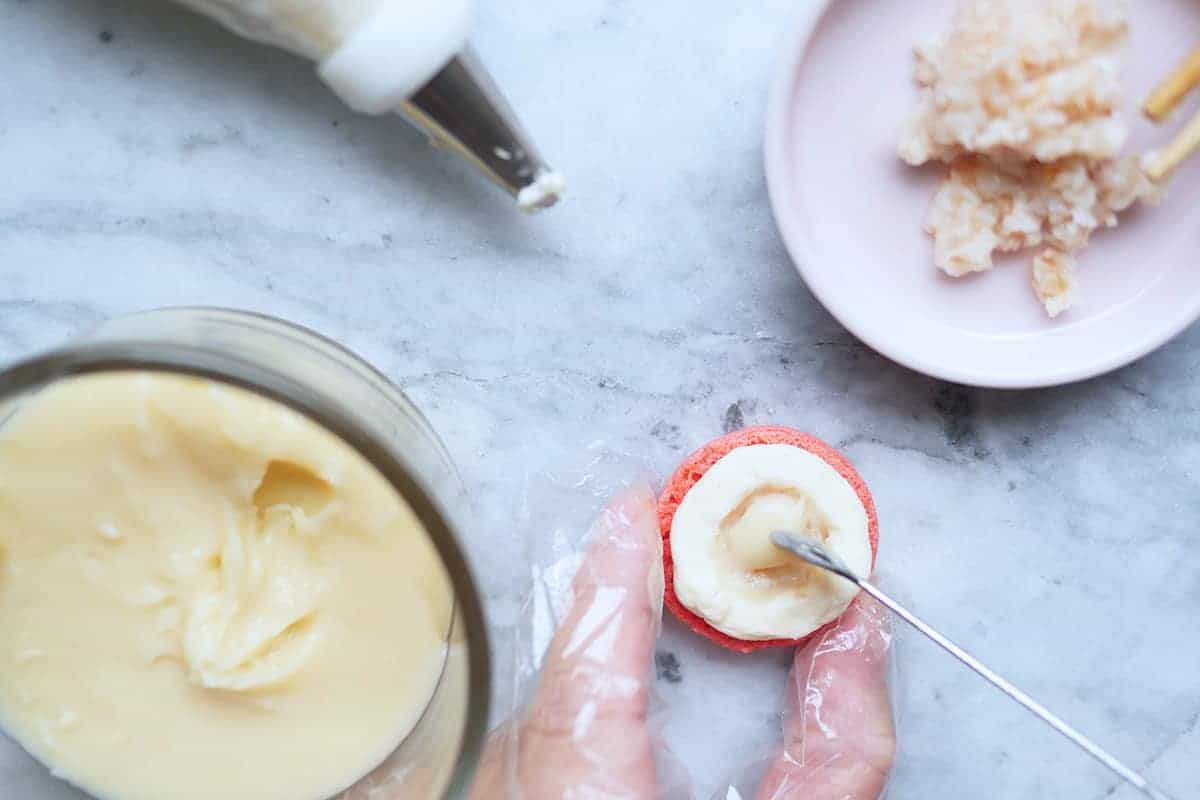
- Cover the pulp with another dab of lychee cream.
- Assemble the shells together, place in fridge to mature for 24 hours. Enjoy!
Notes
*Canned lychee was used in this recipe. The brand I used contained lychee, sugar, water and citric acid.
**This temperature is generally accepted to be able to kill salmonella in eggs.
Nutrition Information
Yield
24Serving Size
1 gramsAmount Per Serving Unsaturated Fat 0g


 Scones: No scones included in tea set.


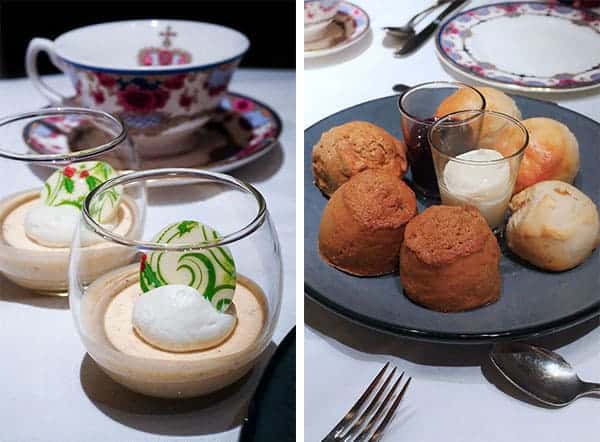
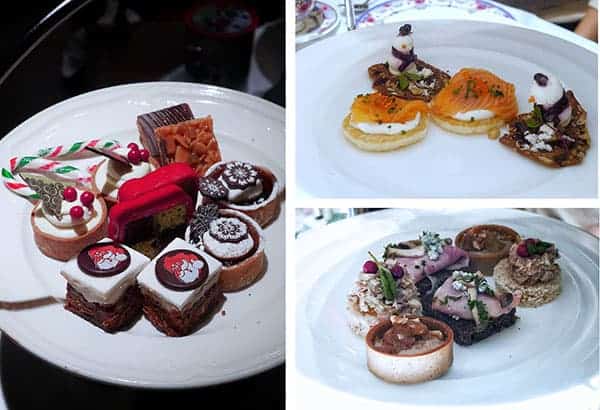


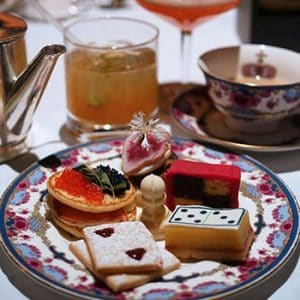

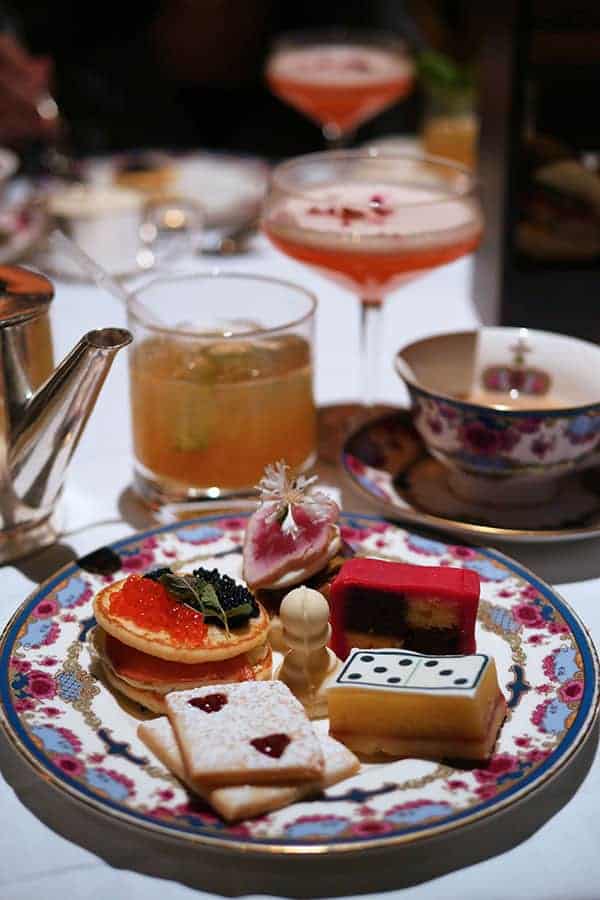
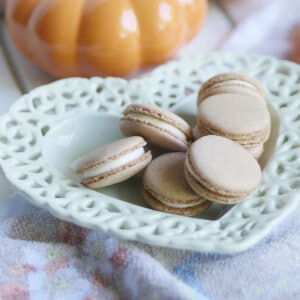


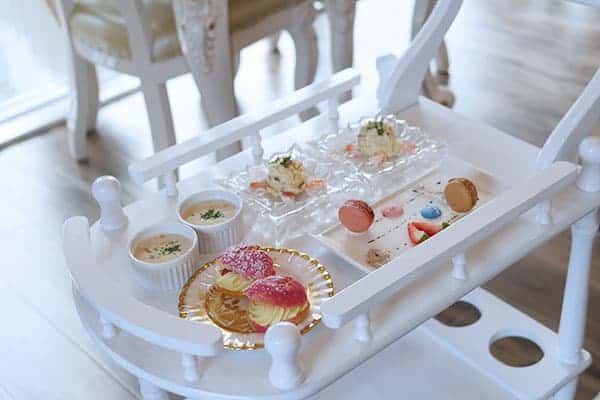
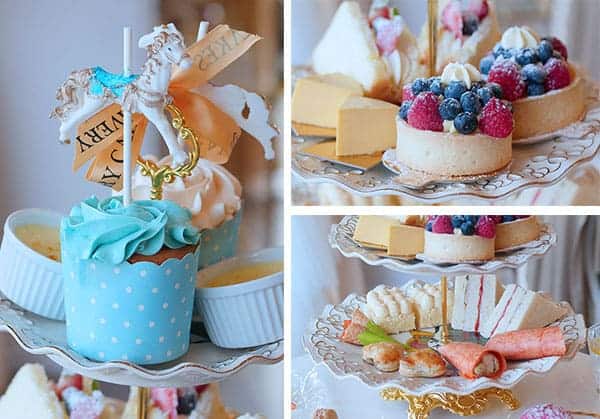
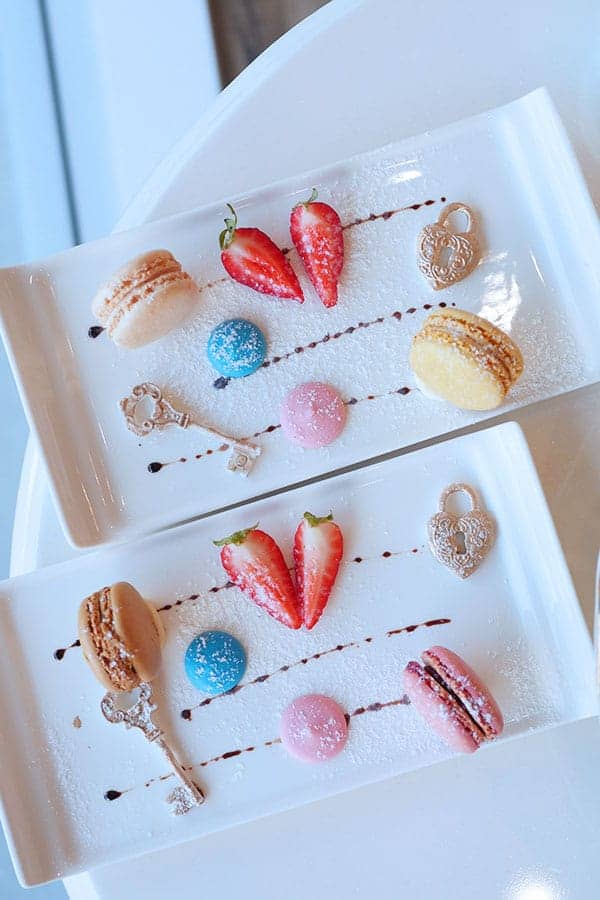


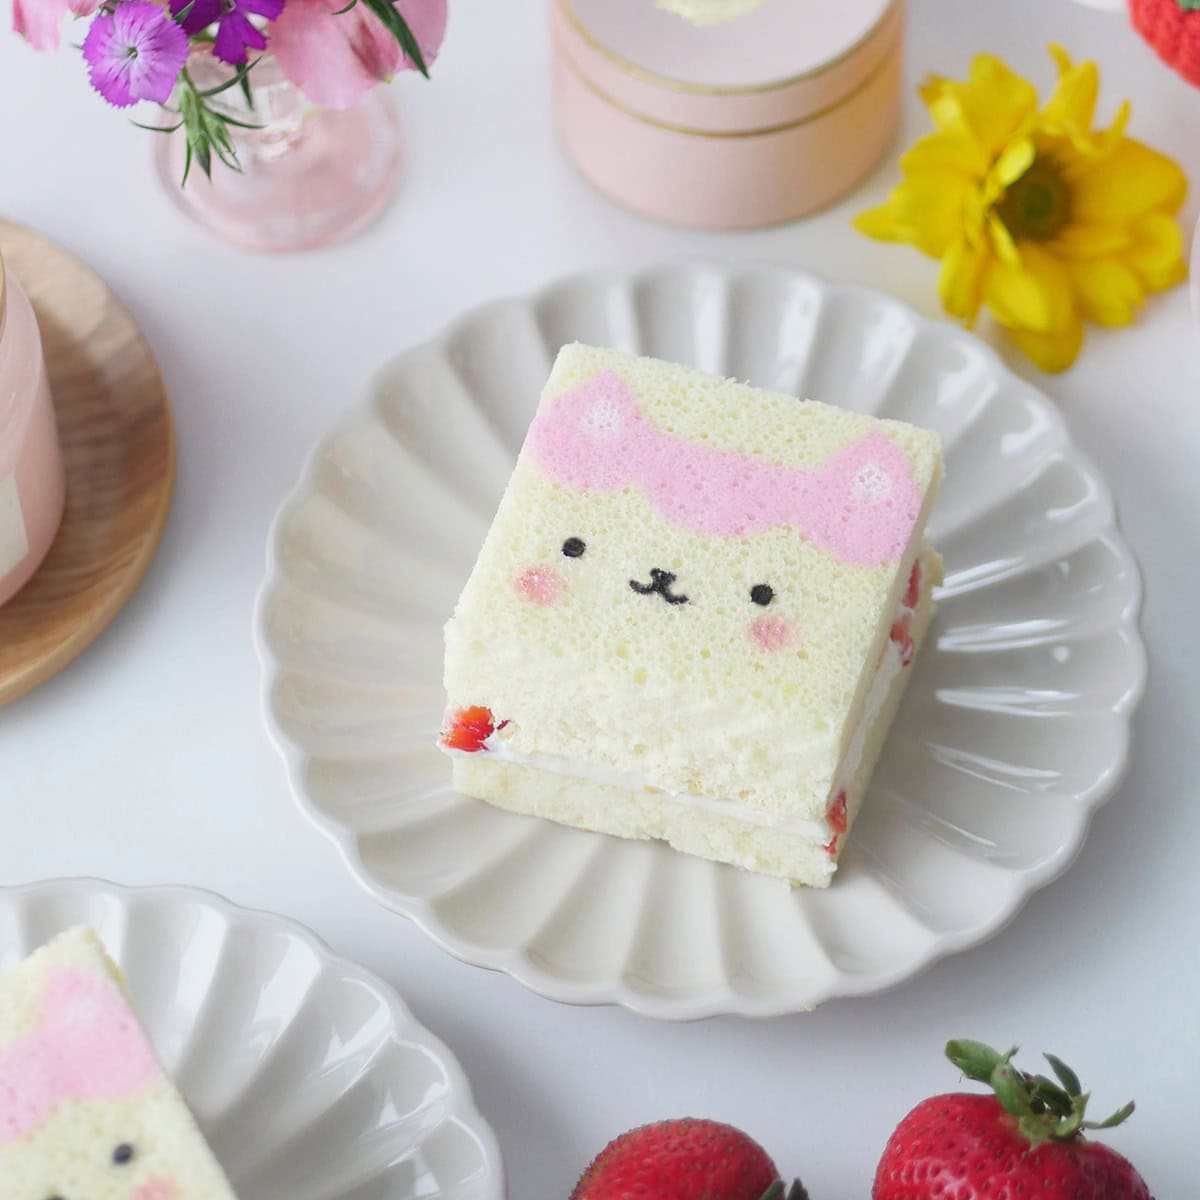
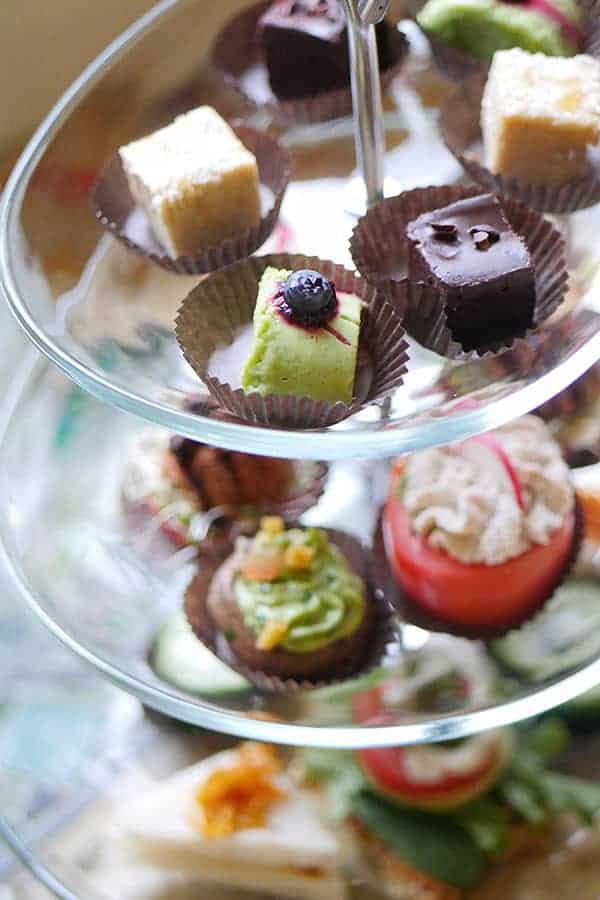
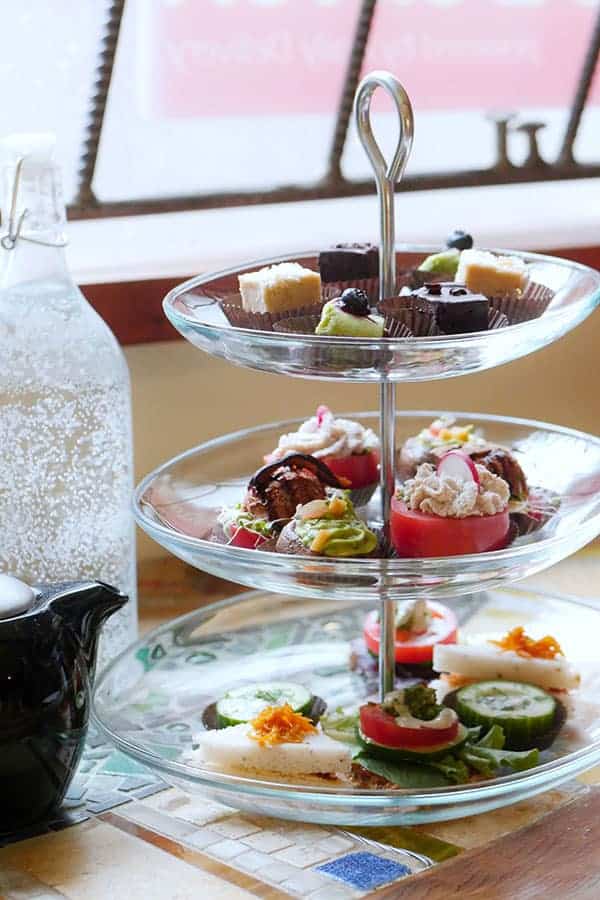
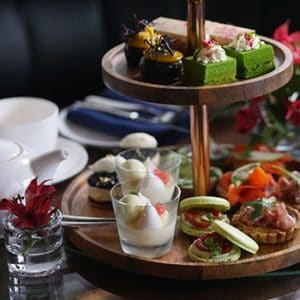
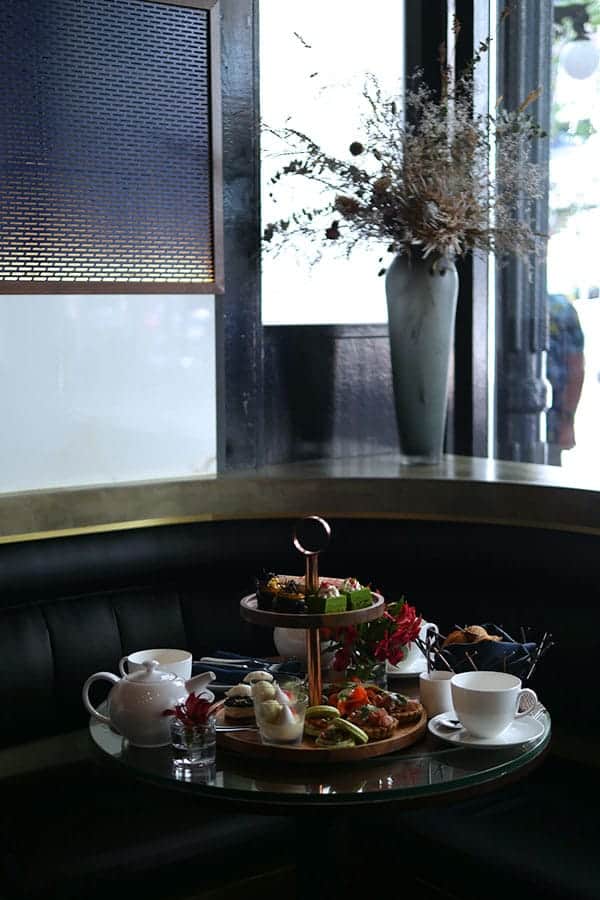
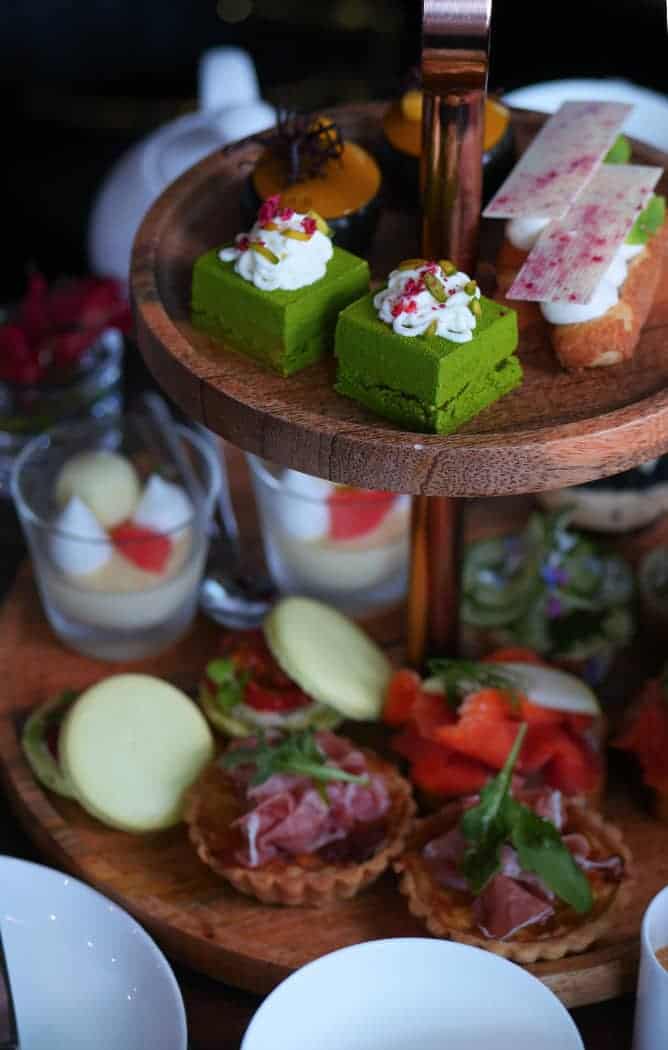
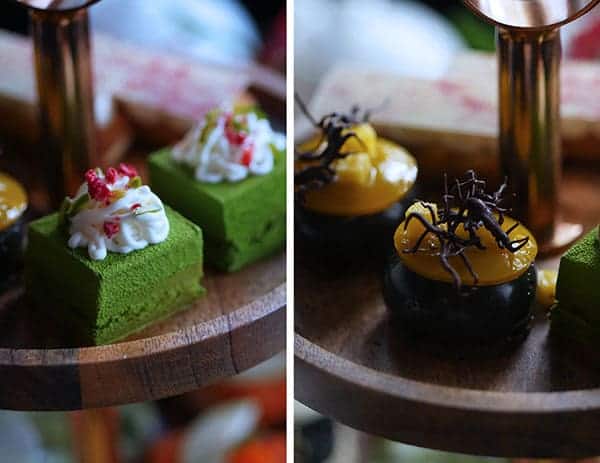
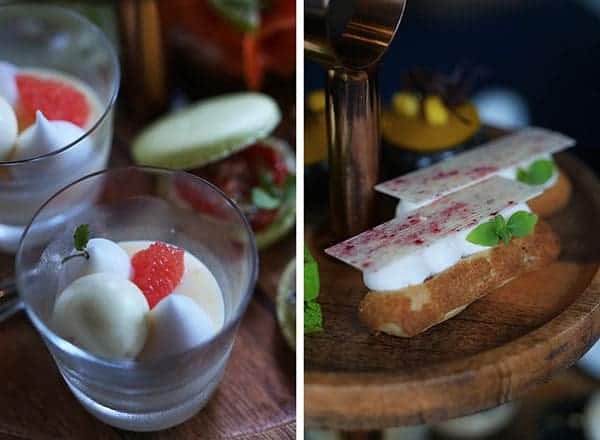
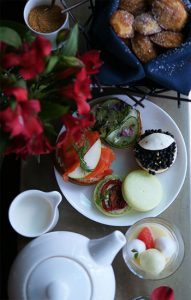
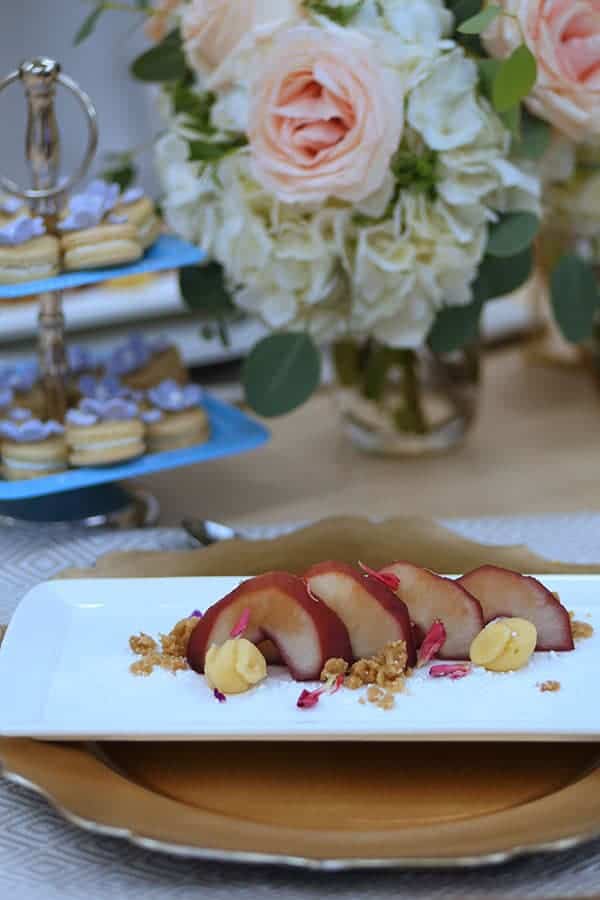
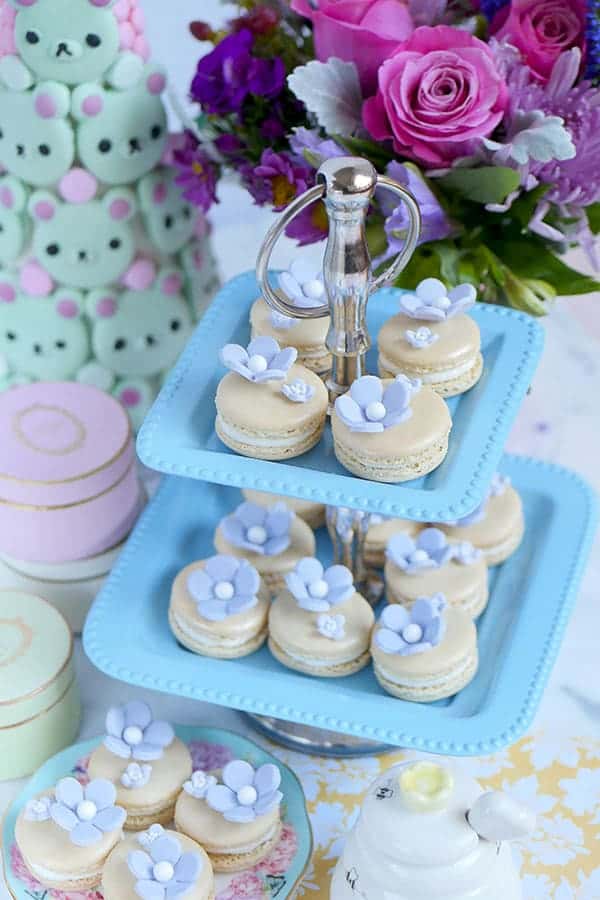
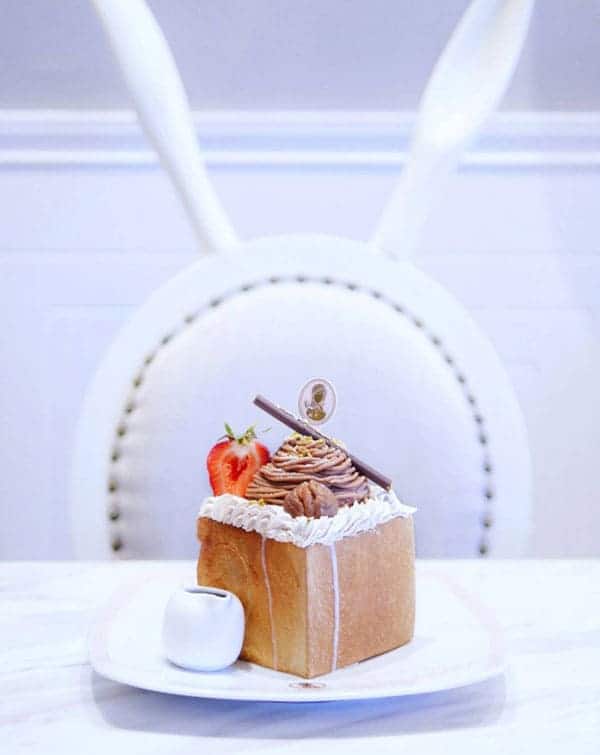
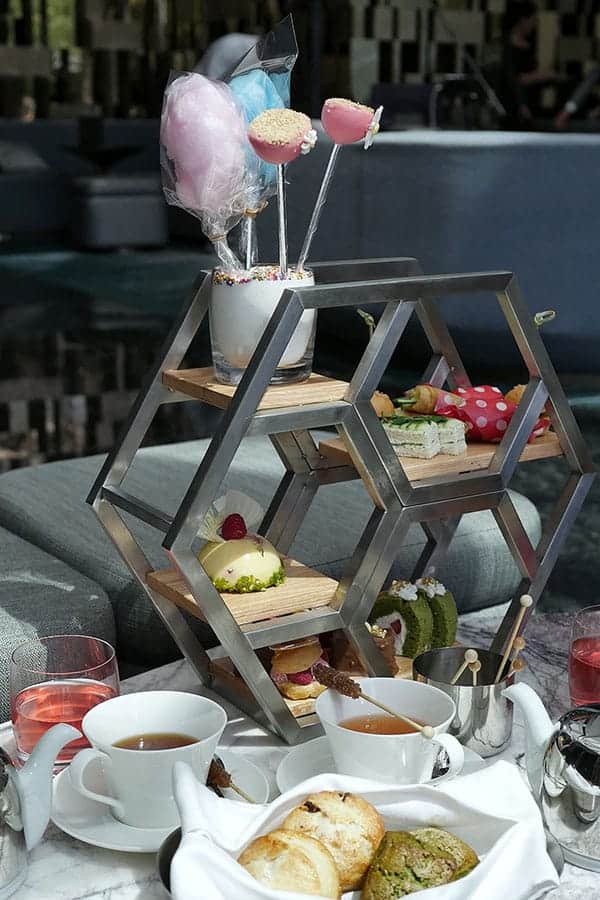
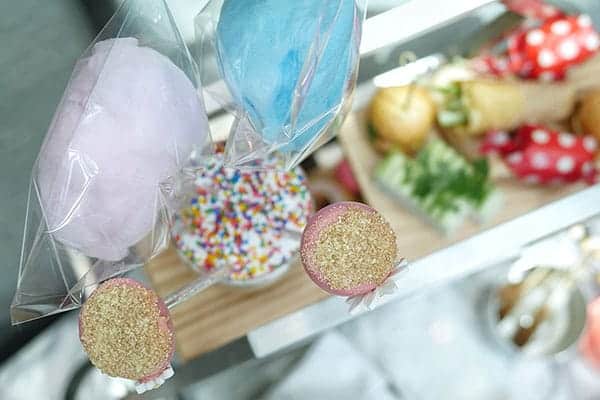
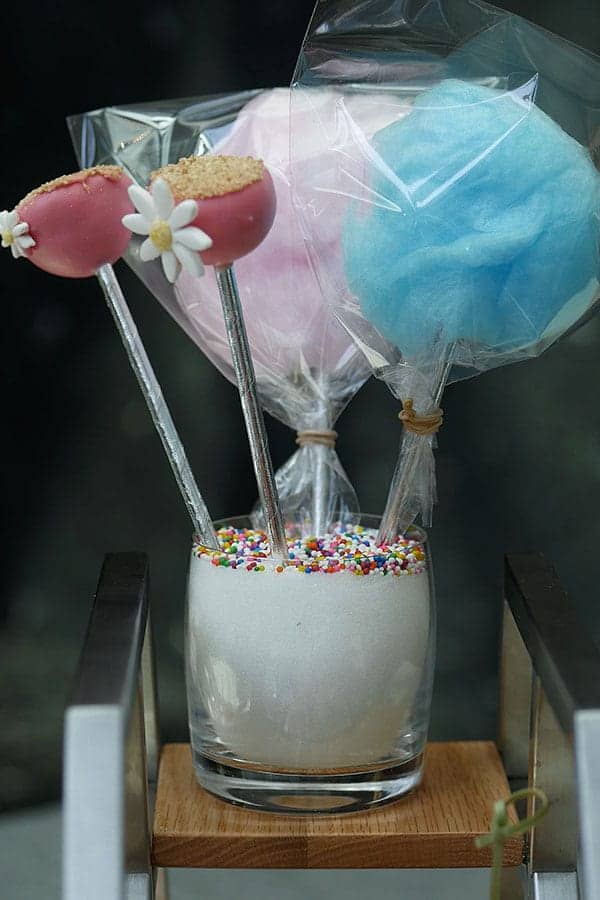
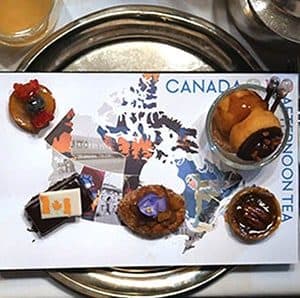
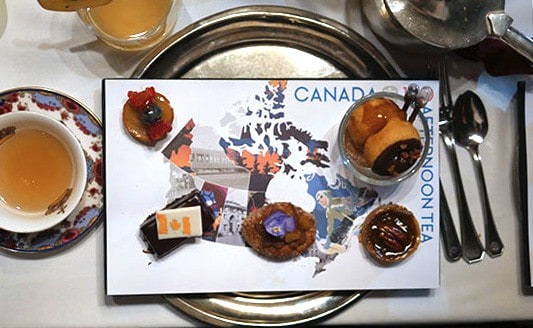
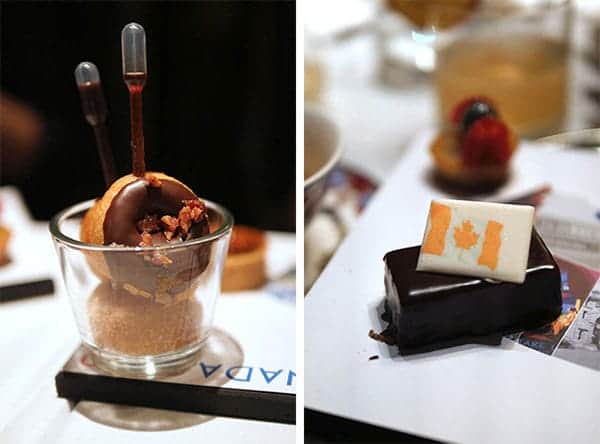
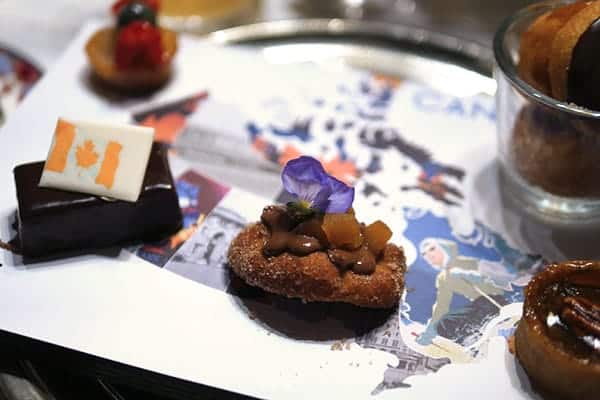
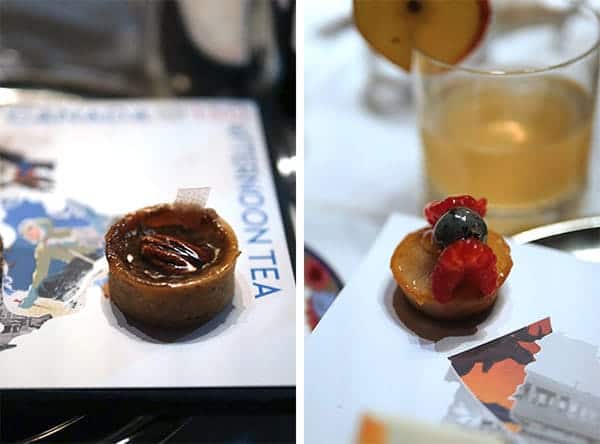
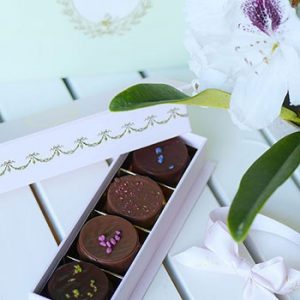
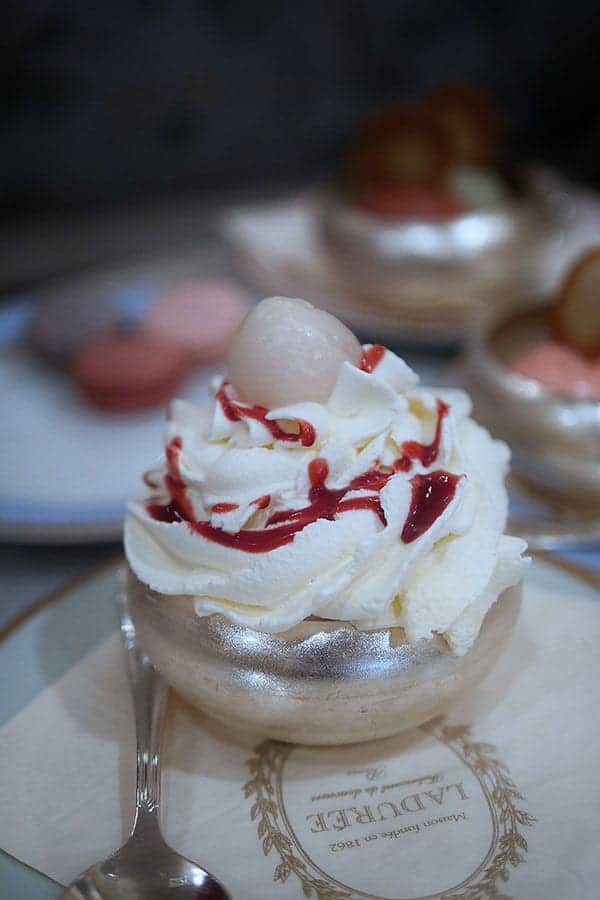
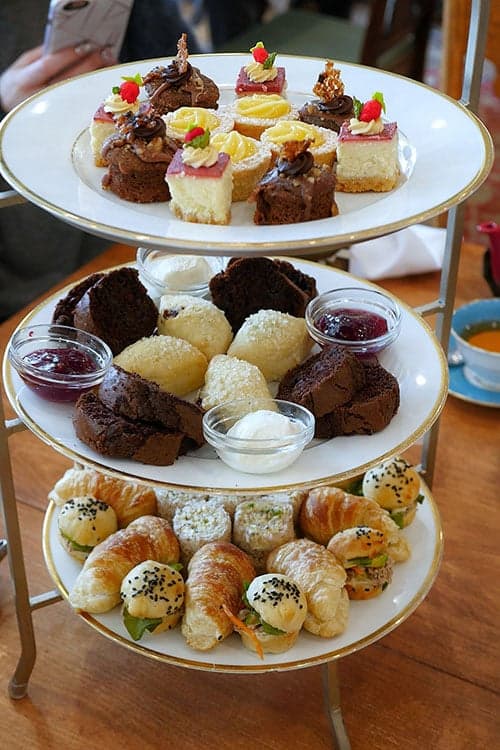
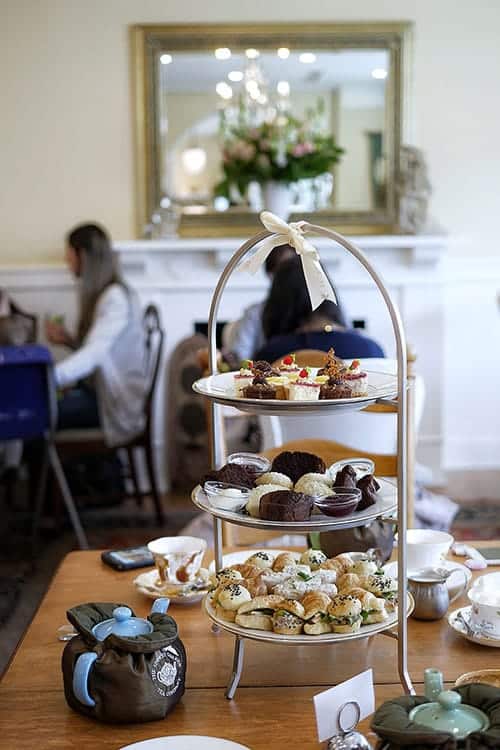
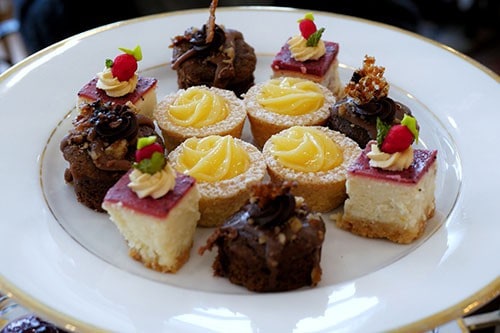
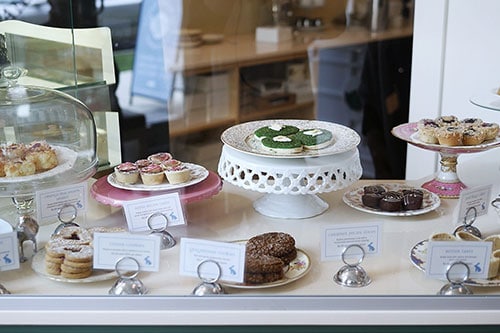
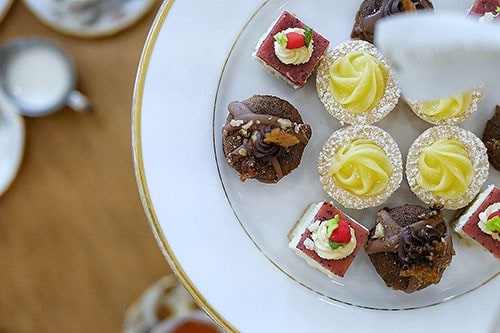
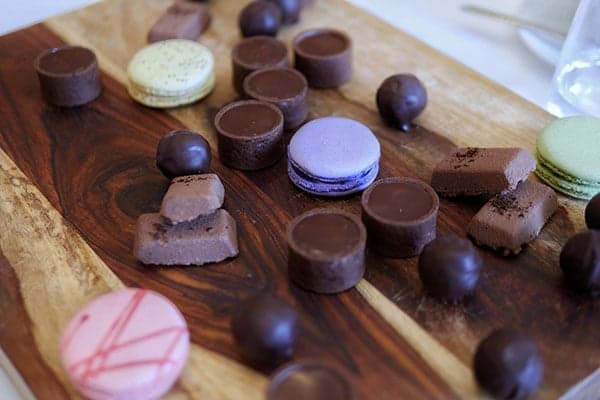
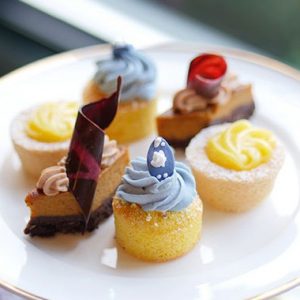
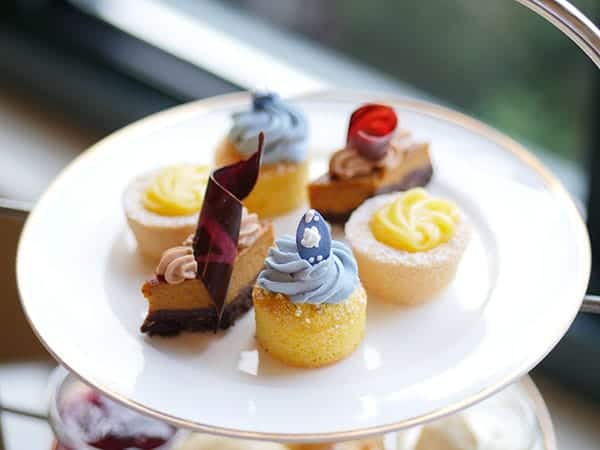
 Sweets: The regular sized desserts were truly a surprise after seeing the unusually small ones from other tea houses (ex. Rose House). One of these desserts were even offered in their dessert display case as an a la carte item. The tea set itself is very dessert heavy so there are a lot of items to choose from! The macarons with special plating was a nice thoughtful touch and they were super fluffy! The Creme Brulee in a little ramiken cup was very rich and creamy. The cream puff was filled with a smooth pastry cream that was perfectly sweetened (not too sweet). The mango cheesecake was dense and creamy, delicious but didn't exhibit any cheesy flavours.
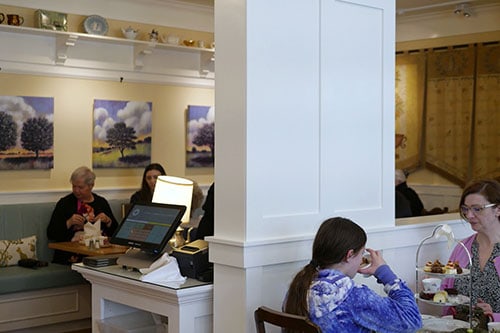
 Service: There were at least four servers on staff for our one table during a time when the restaurant was totally unoccupied but the staff spent a majority of the time standing around the counter chatting with each other. We were not checked on but occasionally when we caught their eye, one member would come by (happily) to refill hot water. They were all willing to help when requested but lacked the motivation to do so on their own.
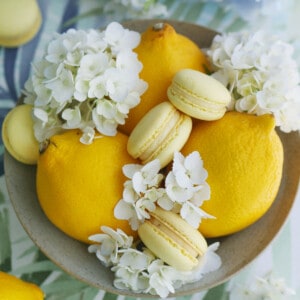


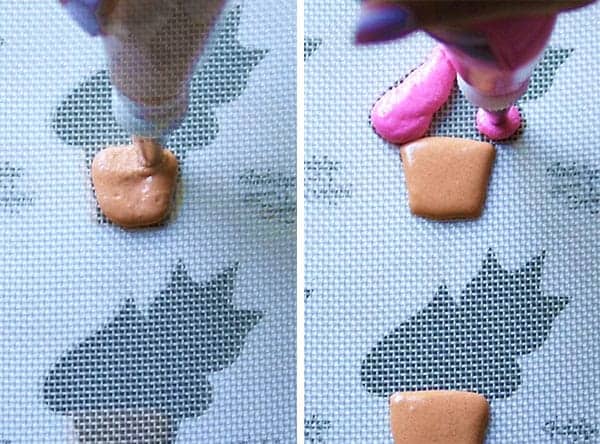
 7. Si utiliza papel de pergamino, frote un poco de masa en la parte inferior de las cuatro esquinas del papel pergamino. Se usa como un "pegamento" para mantener el documento que se adjunta a la bandeja y tubería. O utilizar imanes para fijar el papel sobre la bandeja. Utilizando la espátula, suavemente transferir la masa en la Manga pastelera. La masa al tamaño del círculo en la plantilla de la tubería.
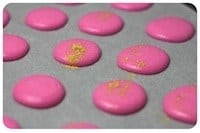 9. rap varias veces la bandeja sobre el mostrador.
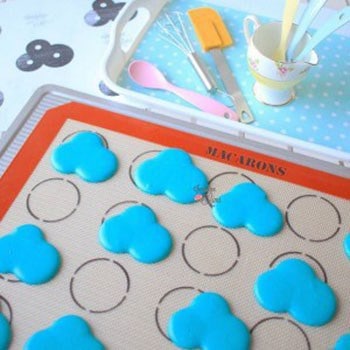 ¿Por qué debo descansar mis macarons?


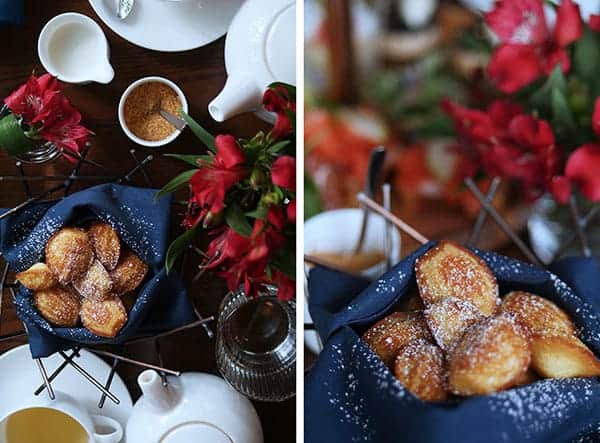
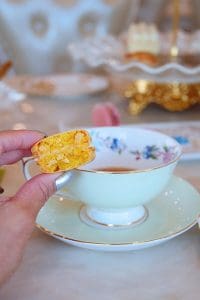
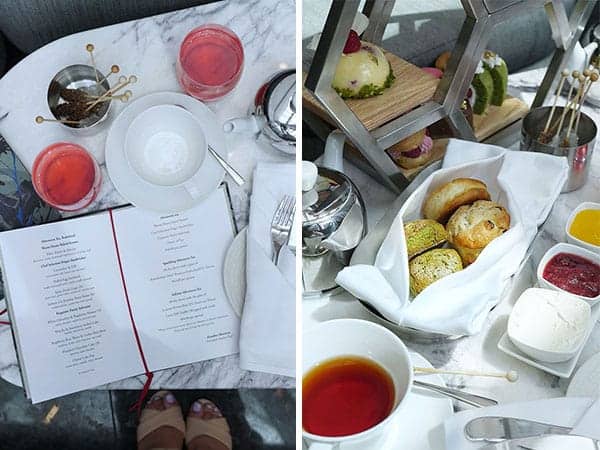
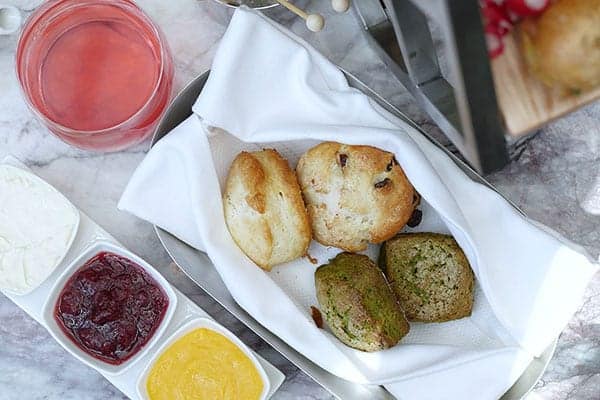
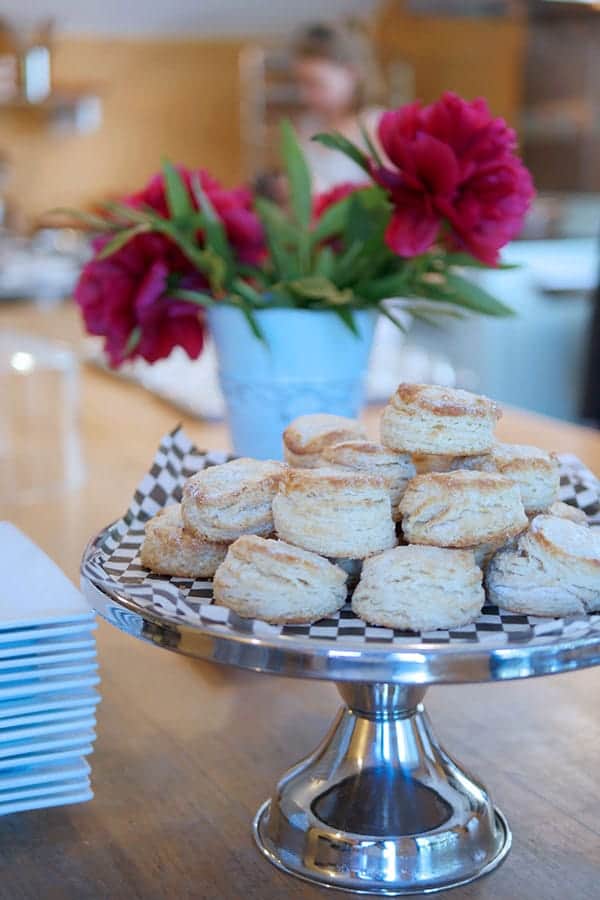
 Scones: There were no scones offered, instead, we received a generous basket of tiny olive & orange blossom madeleines. They were tender with a delicate trace of orange blossom.
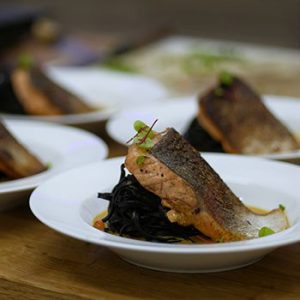
![Jade Leaf Organic Matcha Green Tea Powder - Authentic Japanese Origin - Culinary Grade - Premium 2nd Harvest [3.53oz]](https://www.indulgewithmimi.com/wp-content/uploads/2015/02/71YExRTmNBL._SL1111_edit.jpg)


 What is Stand Up Paddle Boarding (aka SUP)?


 Notable Points:
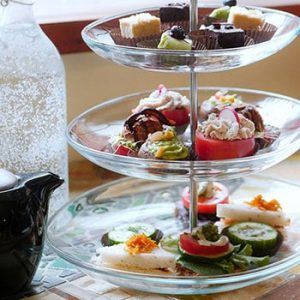
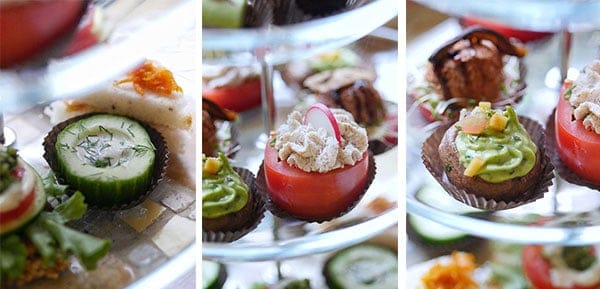
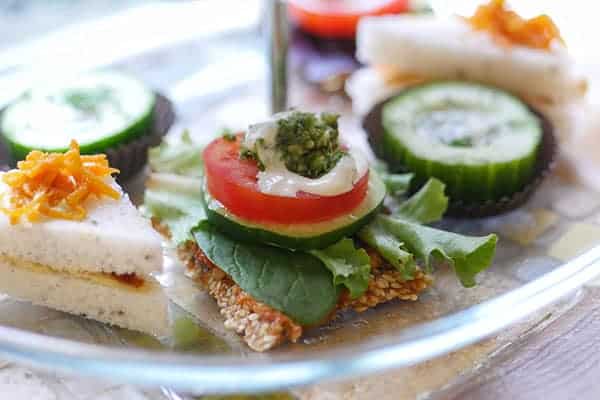
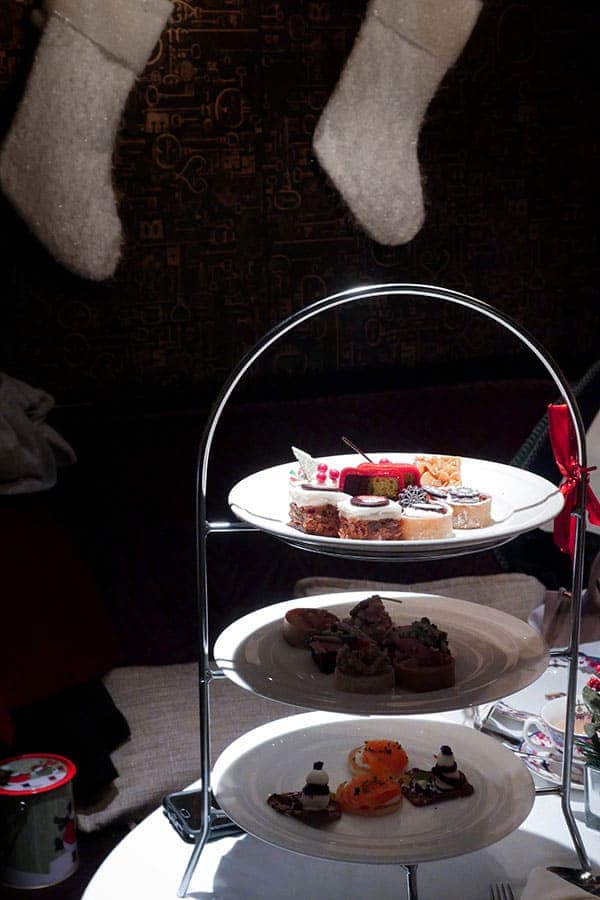
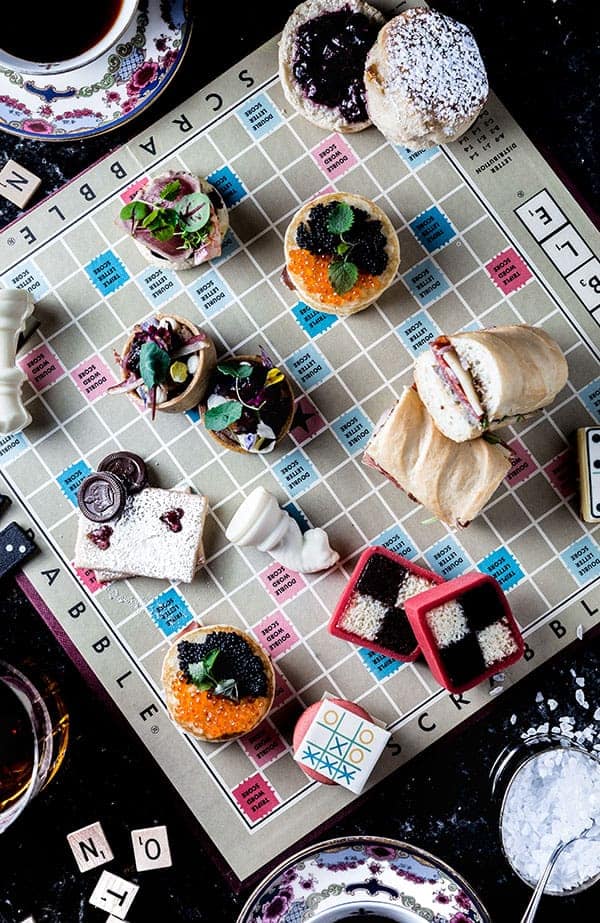
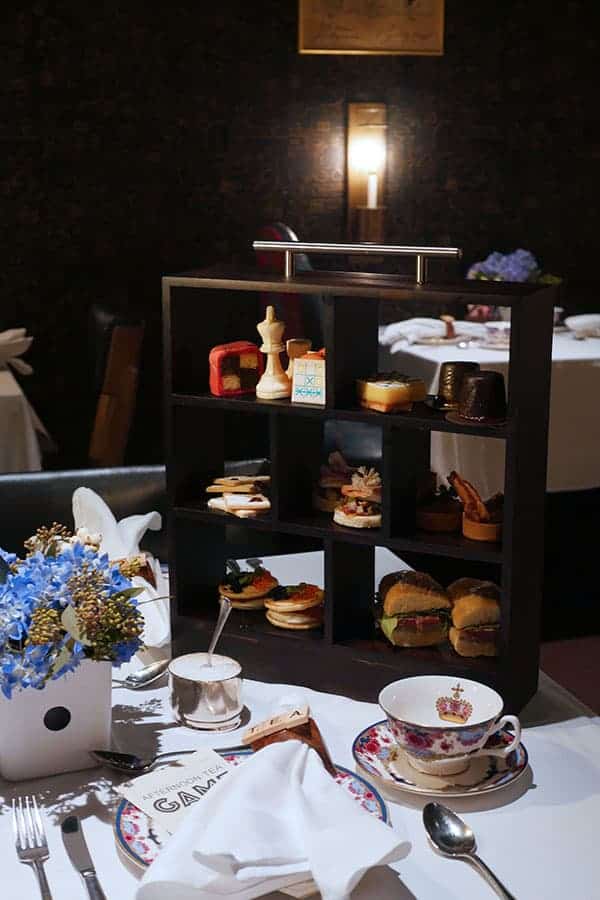
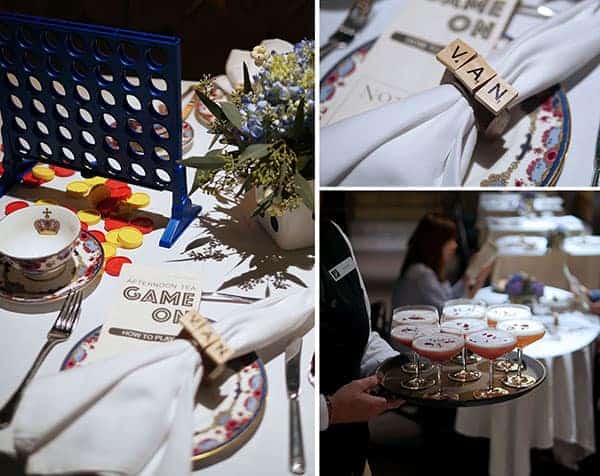
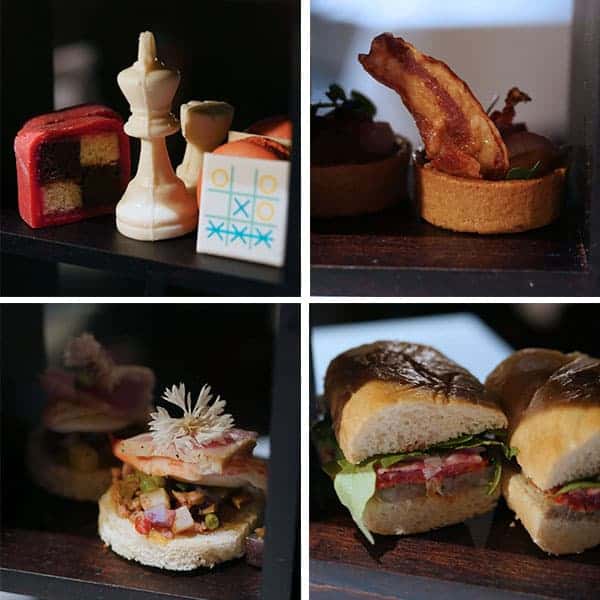
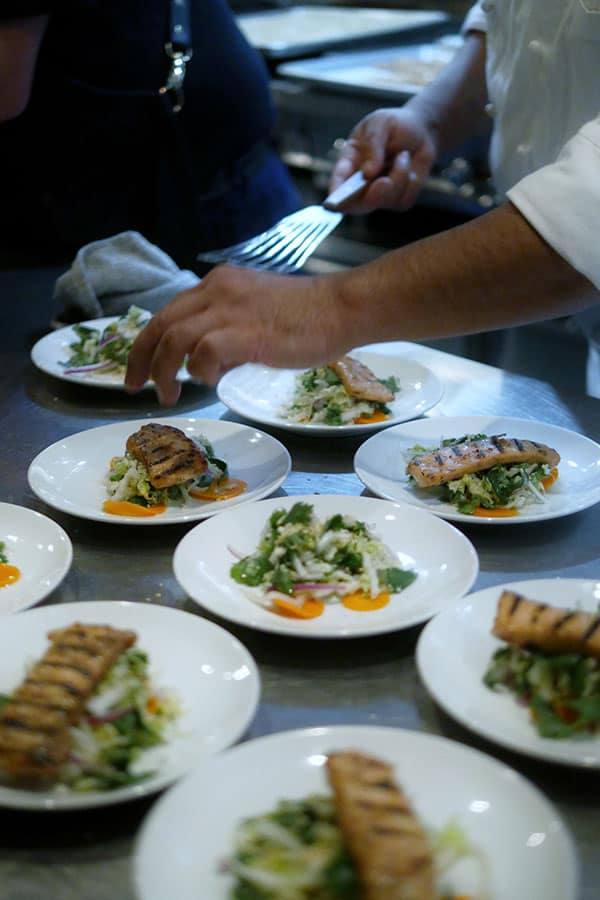
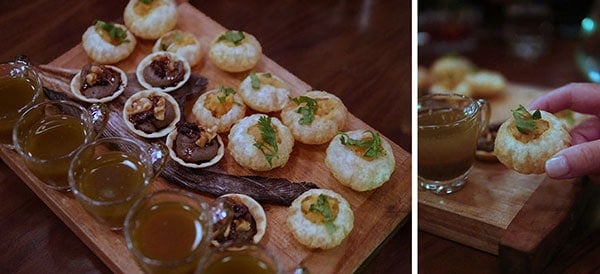
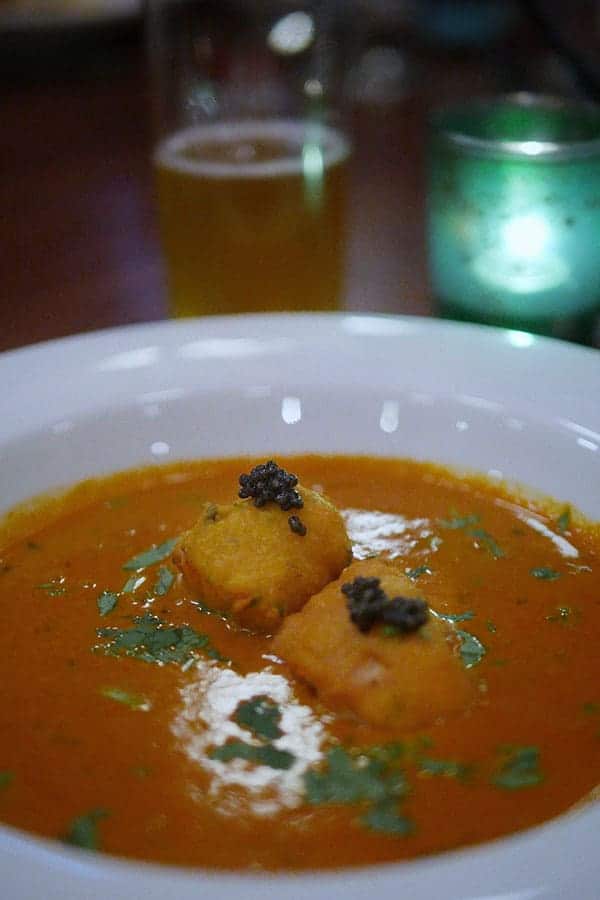
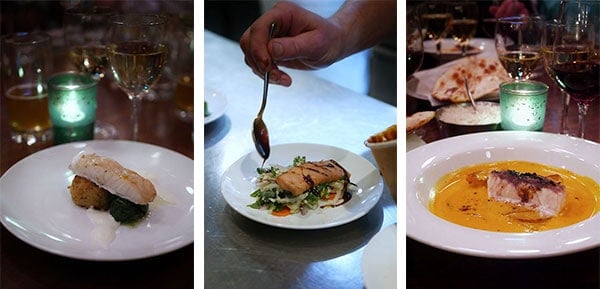
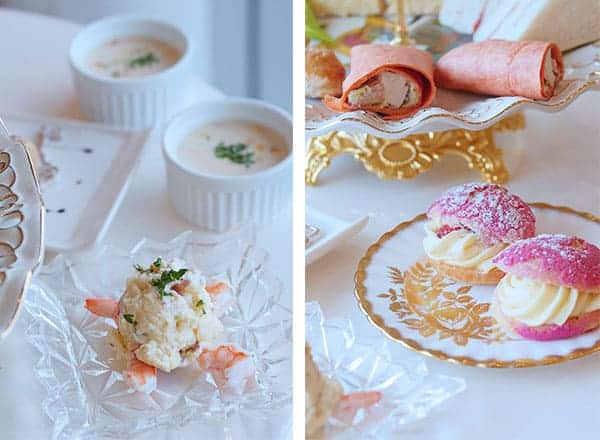
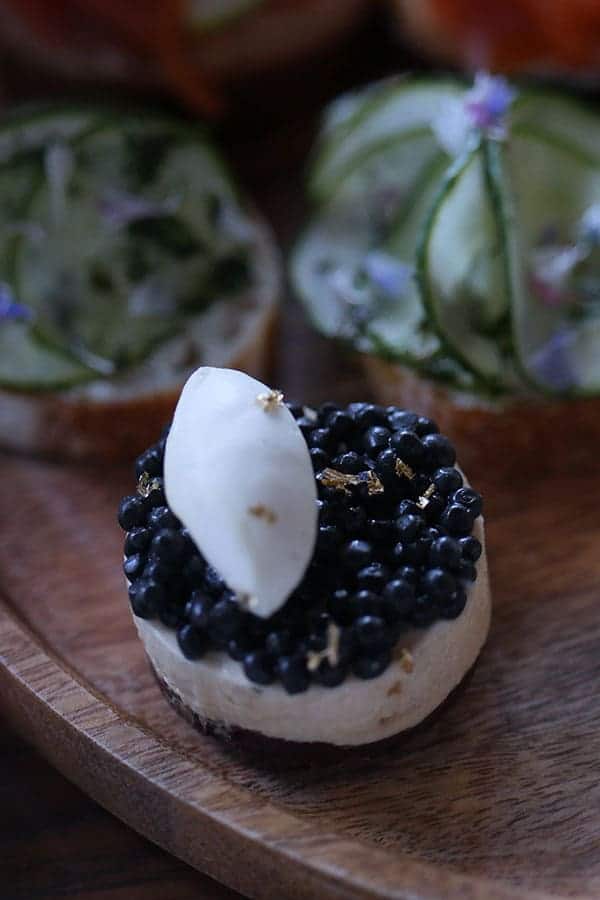
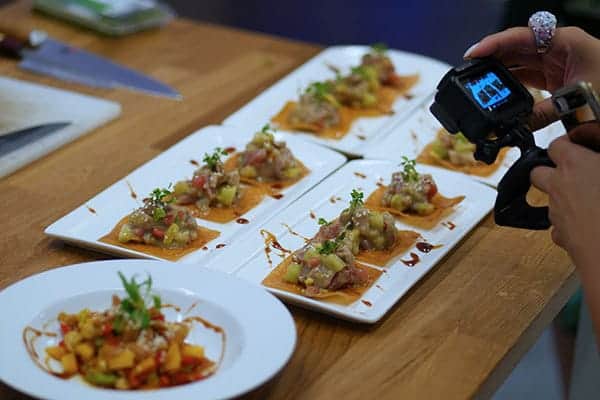
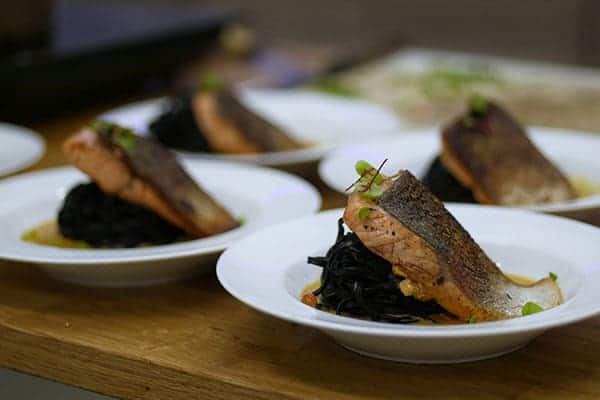
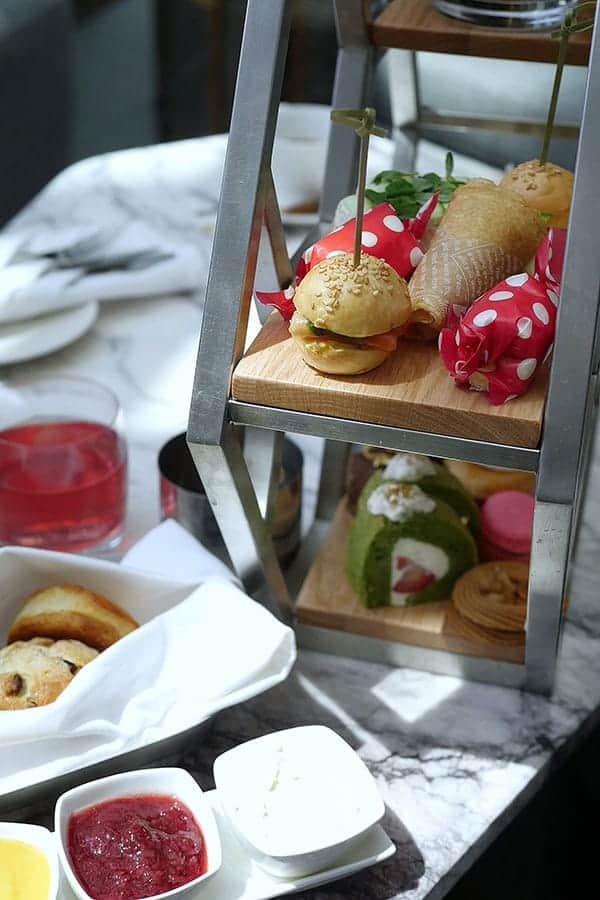
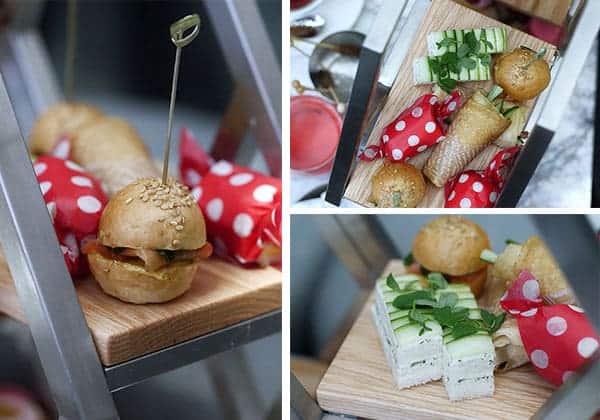
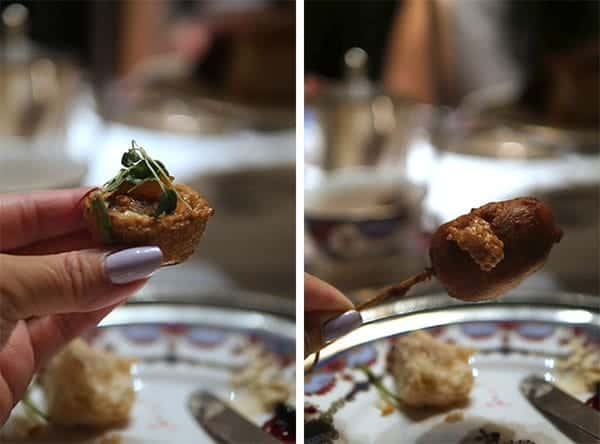
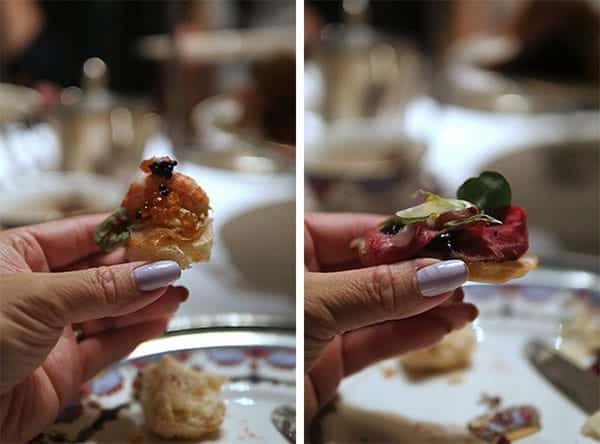
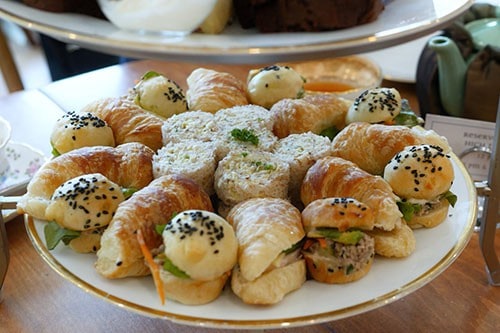
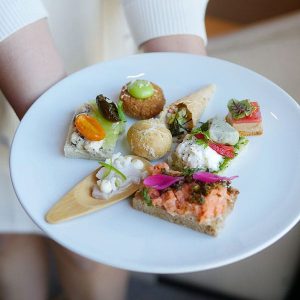
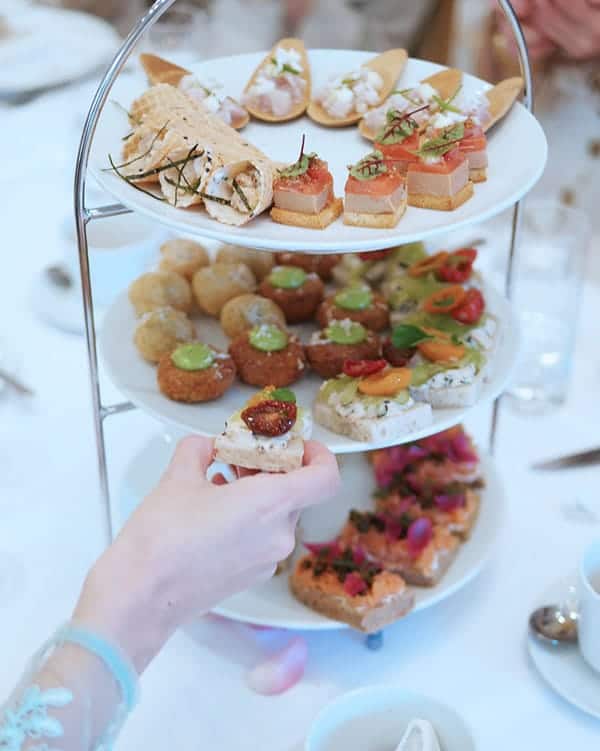
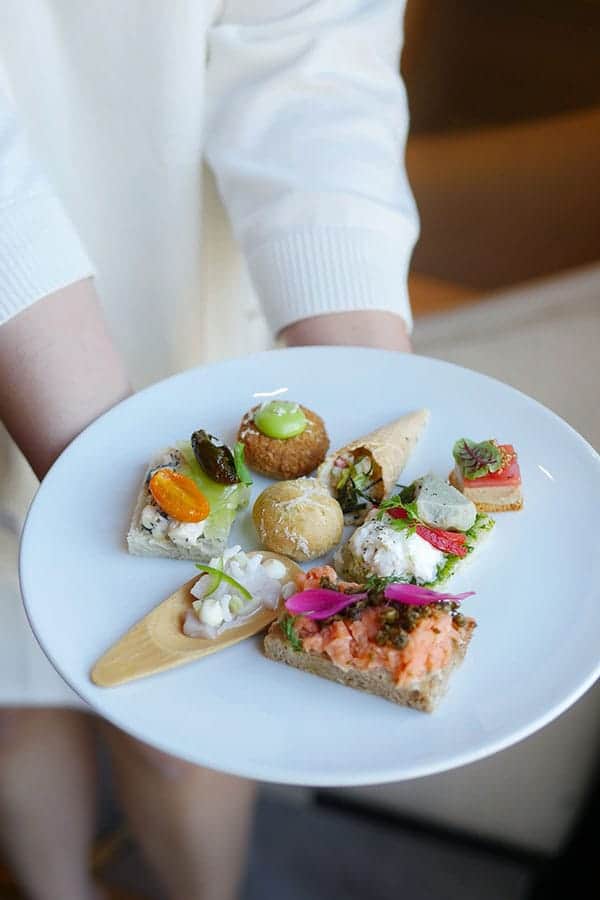
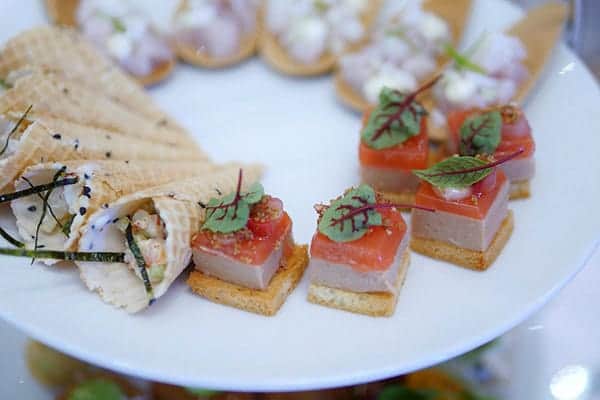
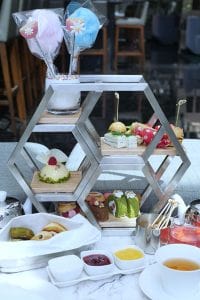 Savoury: A very thoughtful selection of four savouries inspired by the different regions of the world. All of them were fresh and flavourful, and were small in comparison to the larger sized desserts. The salmon a la bombay slider stood out for it's distinctive curry flavour and interesting flavour pairing with the smoked salmon.
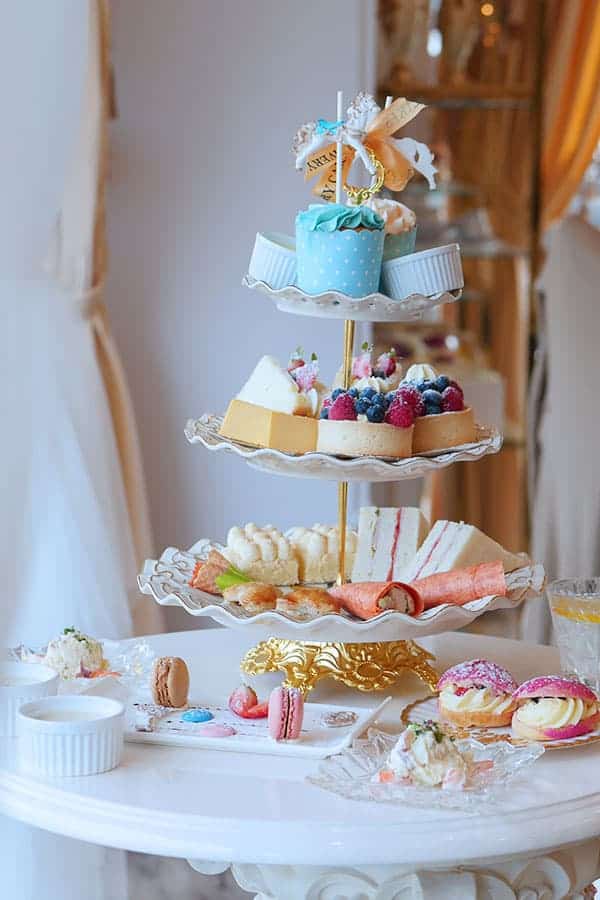
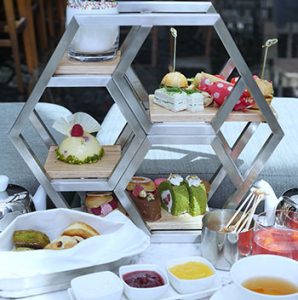
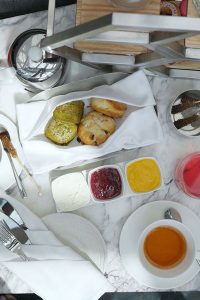 Tea Ware: The unique hexagaon display was custom-built specially for the hotel's tea service. The rest of the teaware were white and modern.
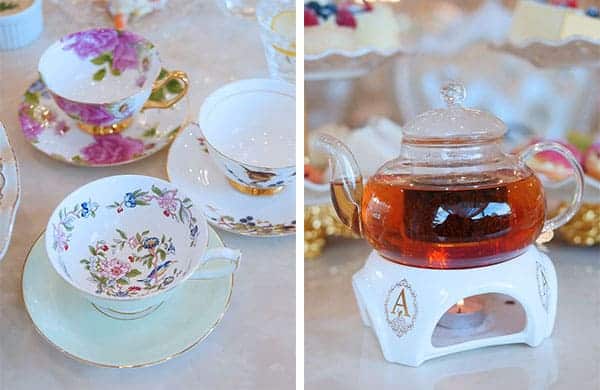
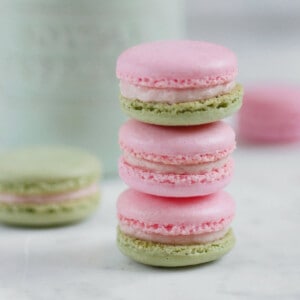


 Notable Points:
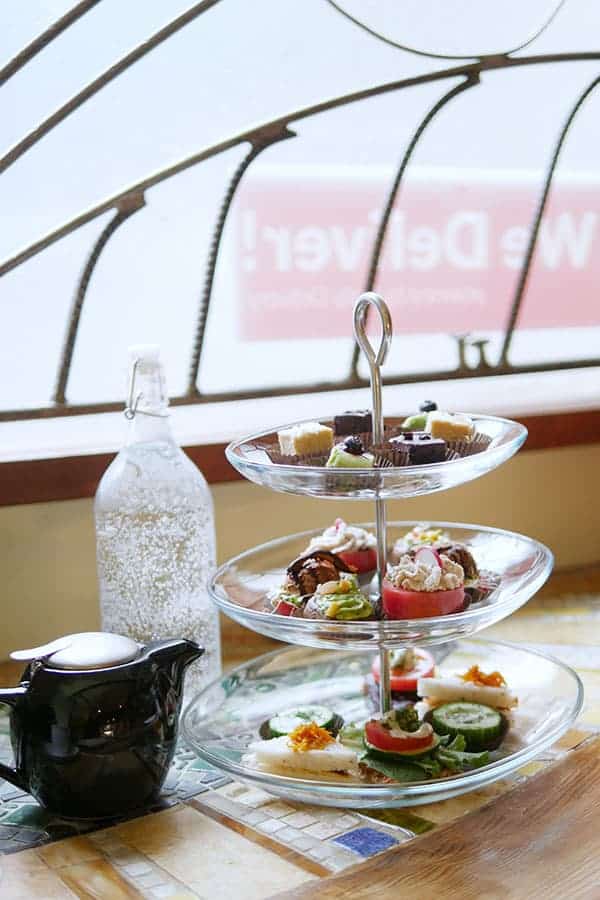
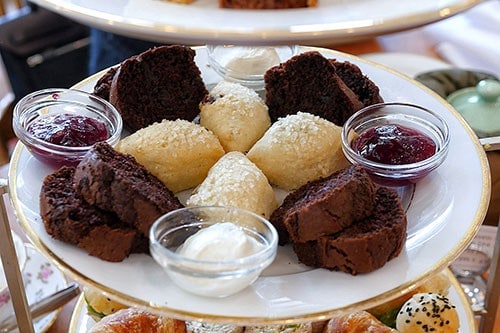
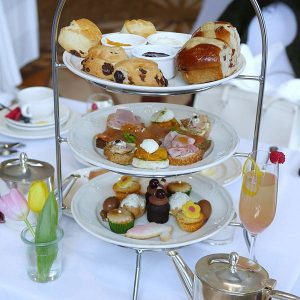
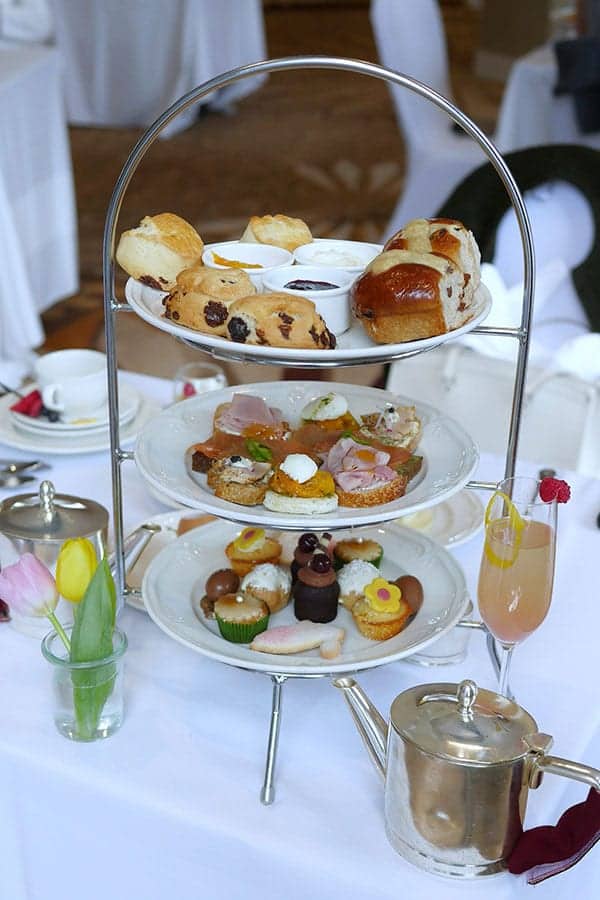
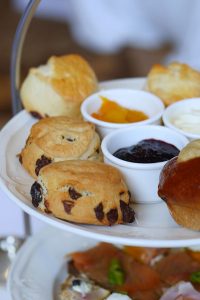
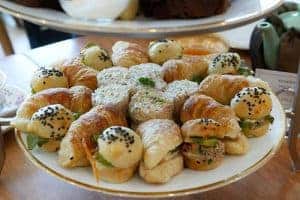 Scones: they were cold and not very crumbly. The cream was also not very rich and a bit runny. There was one small sized scone and two chocolate loaves on the second tier.
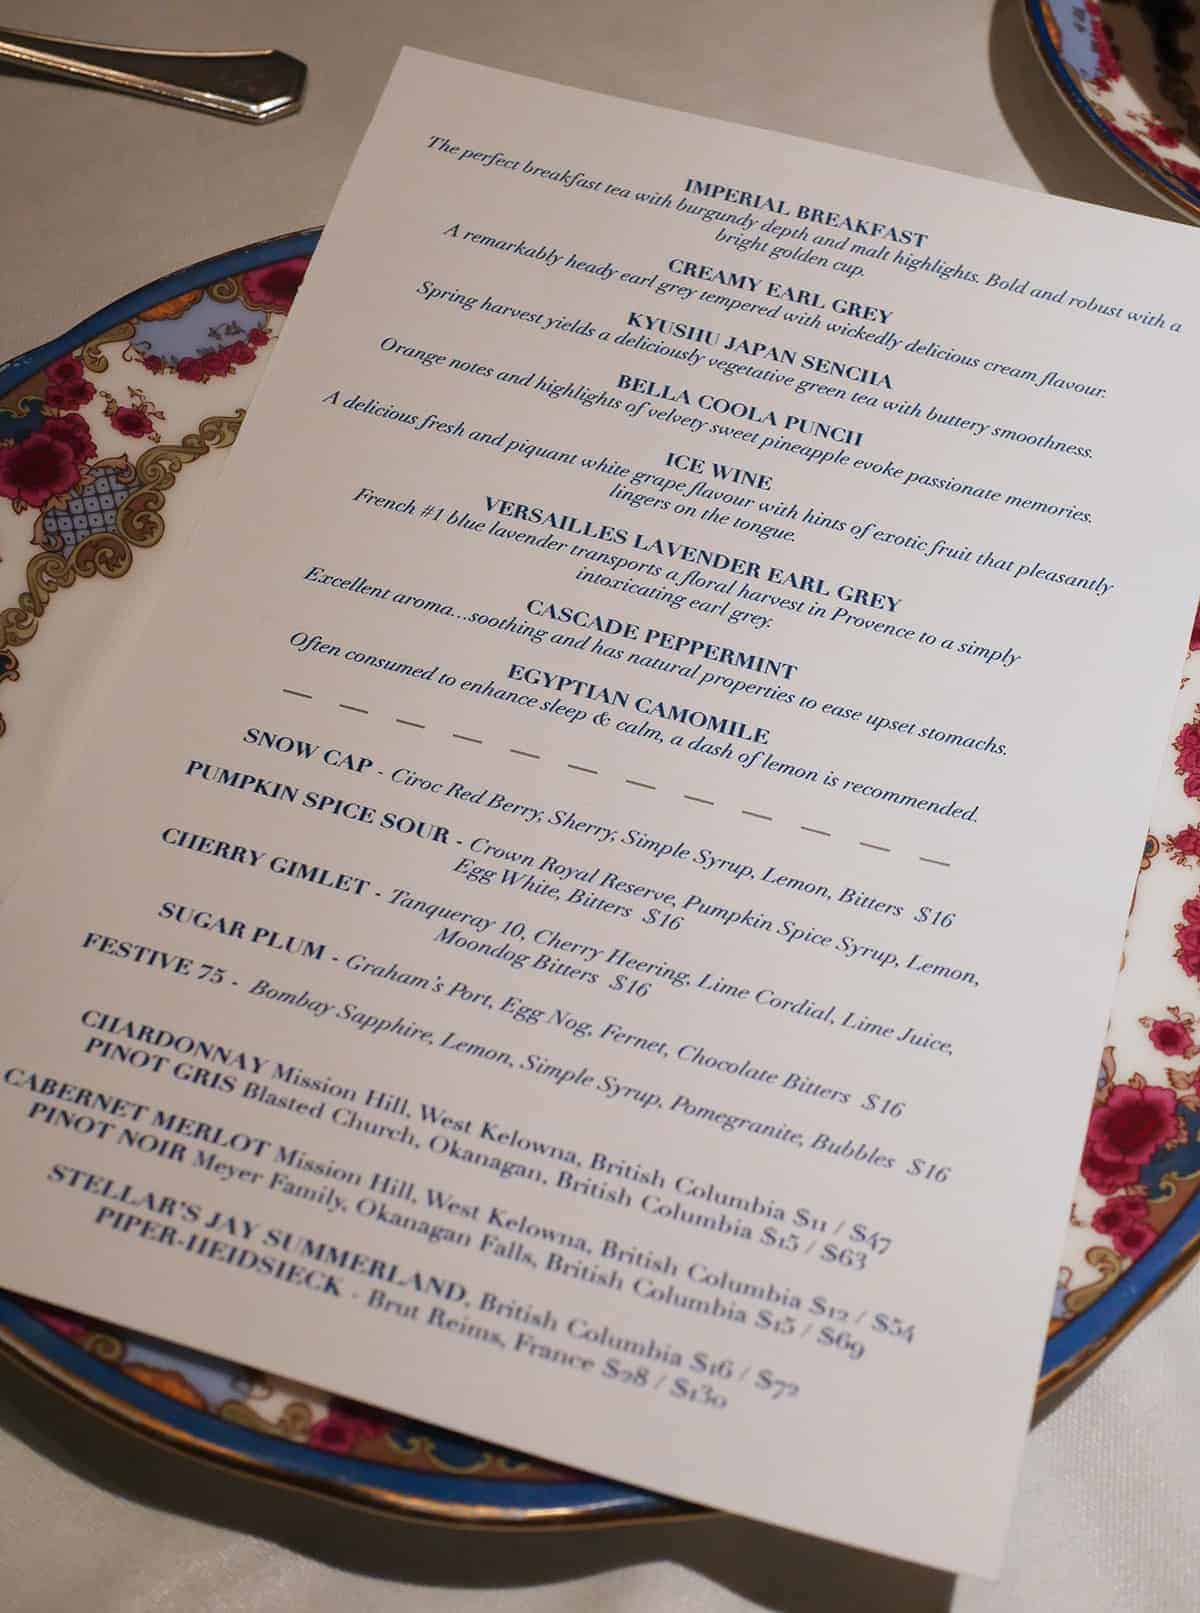
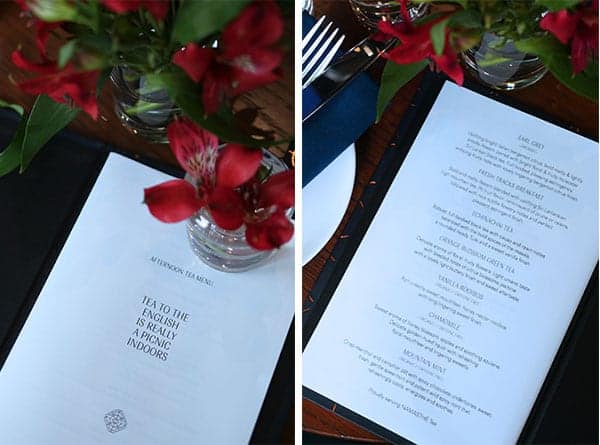
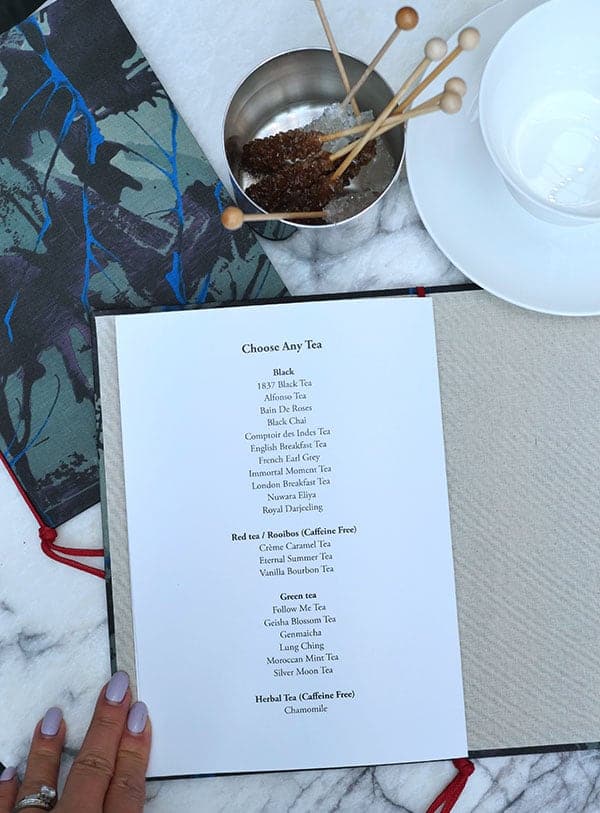
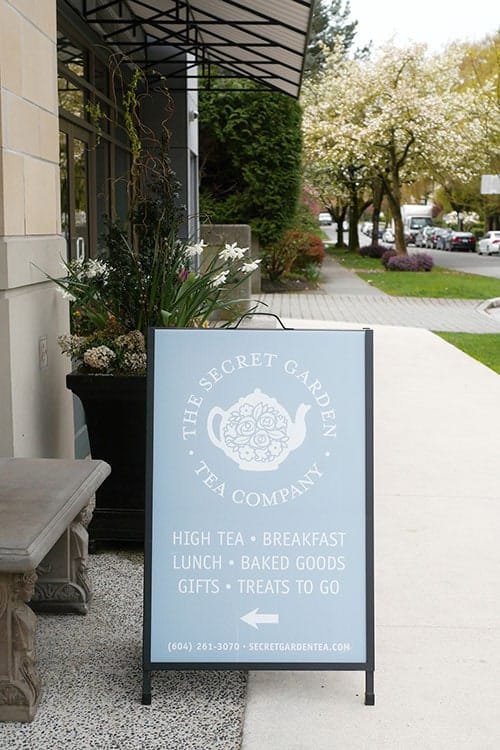
 Tea: Bearing the name, Secret Garden Tea Company, they do have a respectable medium sized collection of teas which can also be purchased for drinking at home. 14 black teas (five different types for Earl Grey Tea alone), 3 green, 3 decafs, 4 herbal and 3 rooiboos.
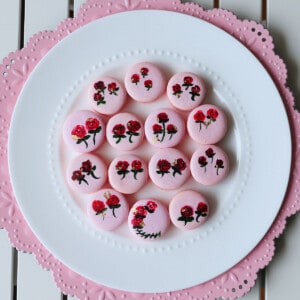


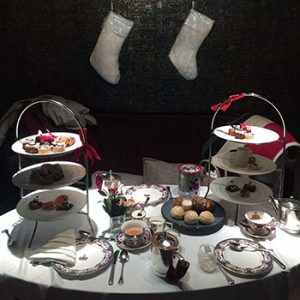
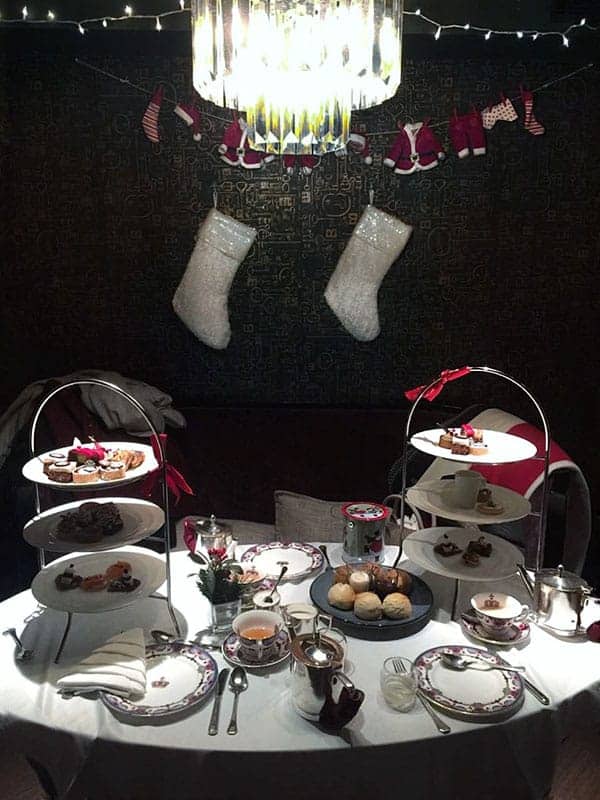
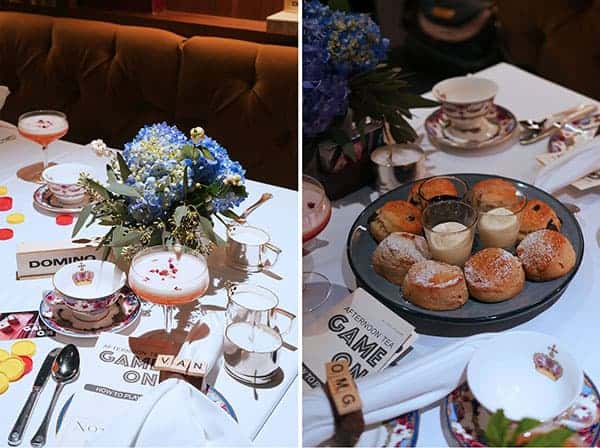
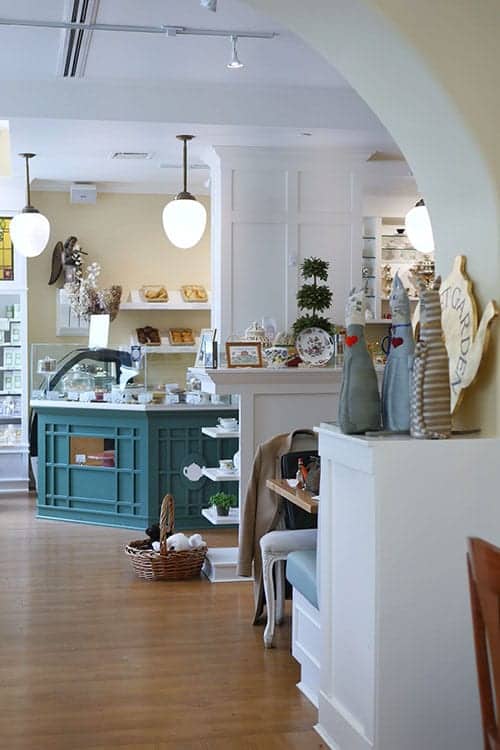
 The Food
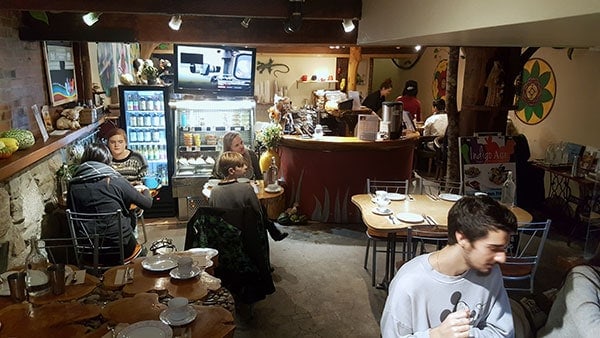
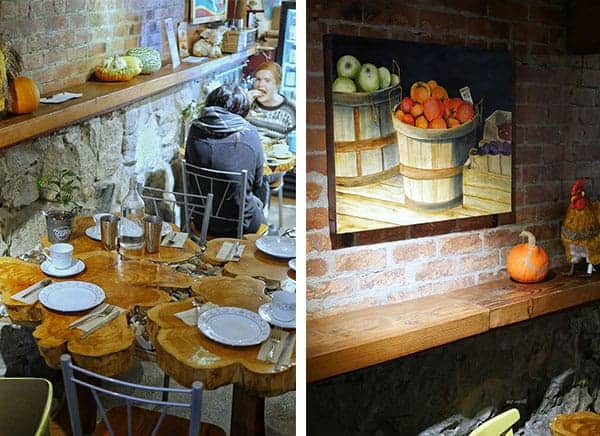
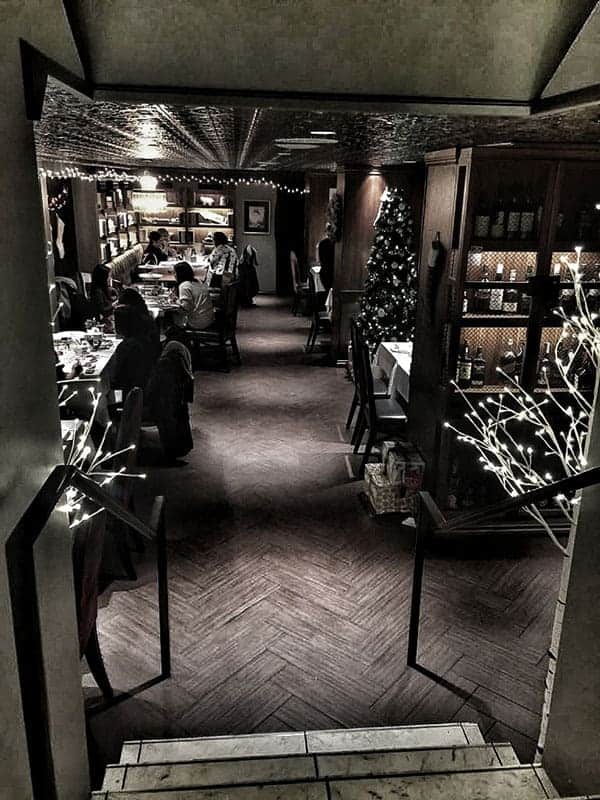
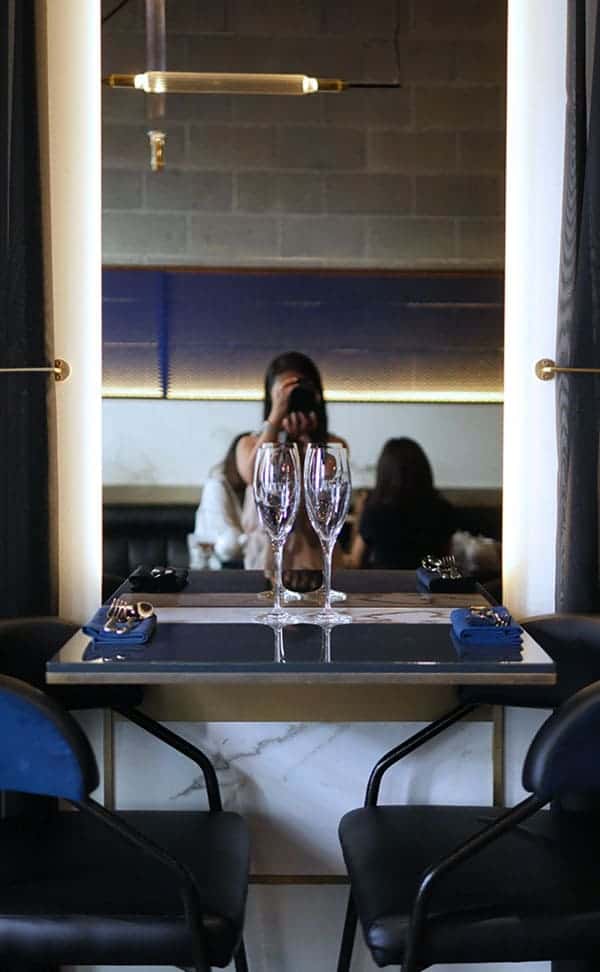
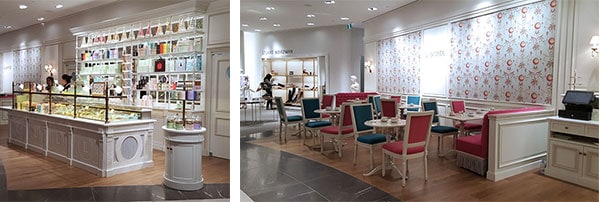
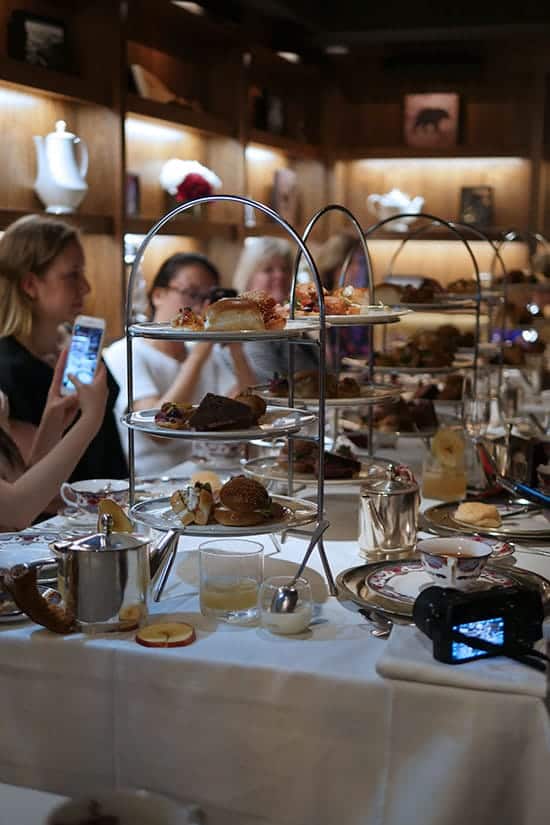
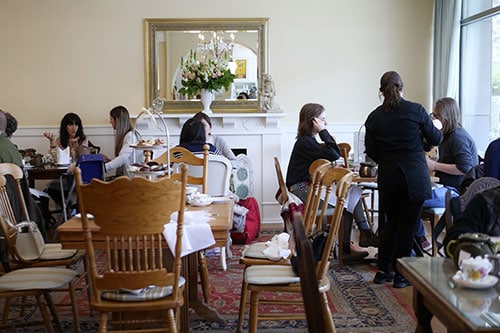
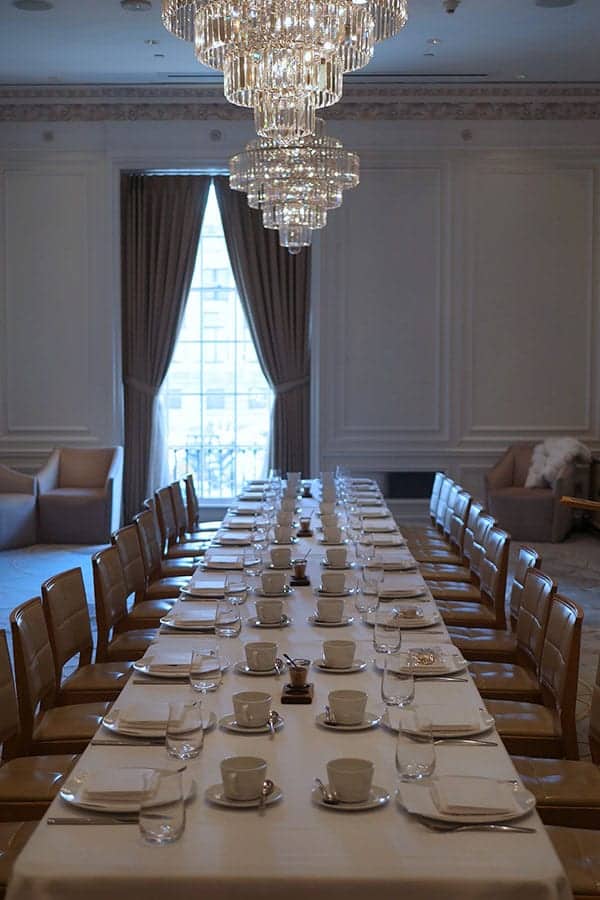
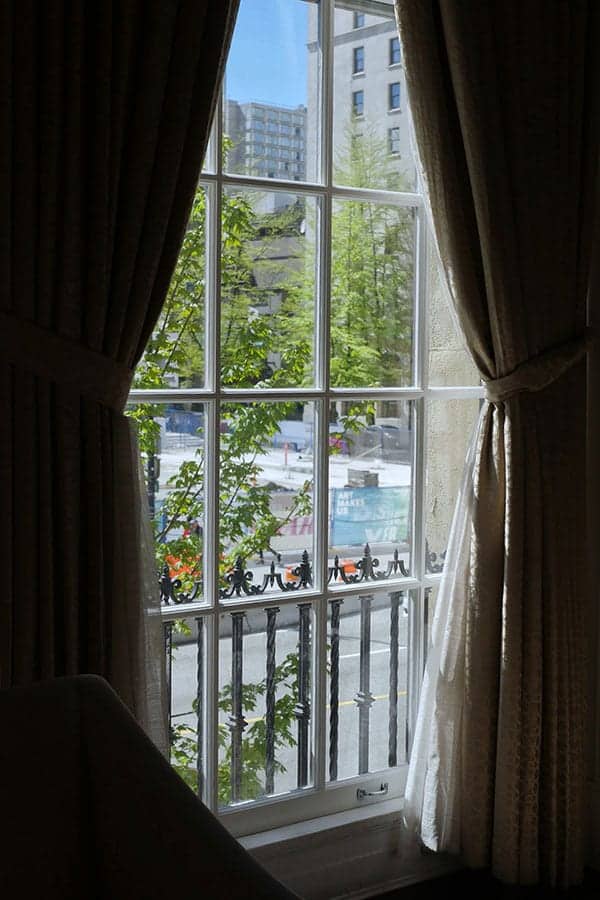
 Ambience: Elegant vibes with live piano music and covered chairs. The dining room on the rooftop isn't particularly glamourous but the view is worth the visit when they do open up this part of the hotel to the public. Don't miss it. Conversely, the newly renovated Notch8 restaurant downstairs - where afternoon tea is usually held - is trendy and fashionable. Read my
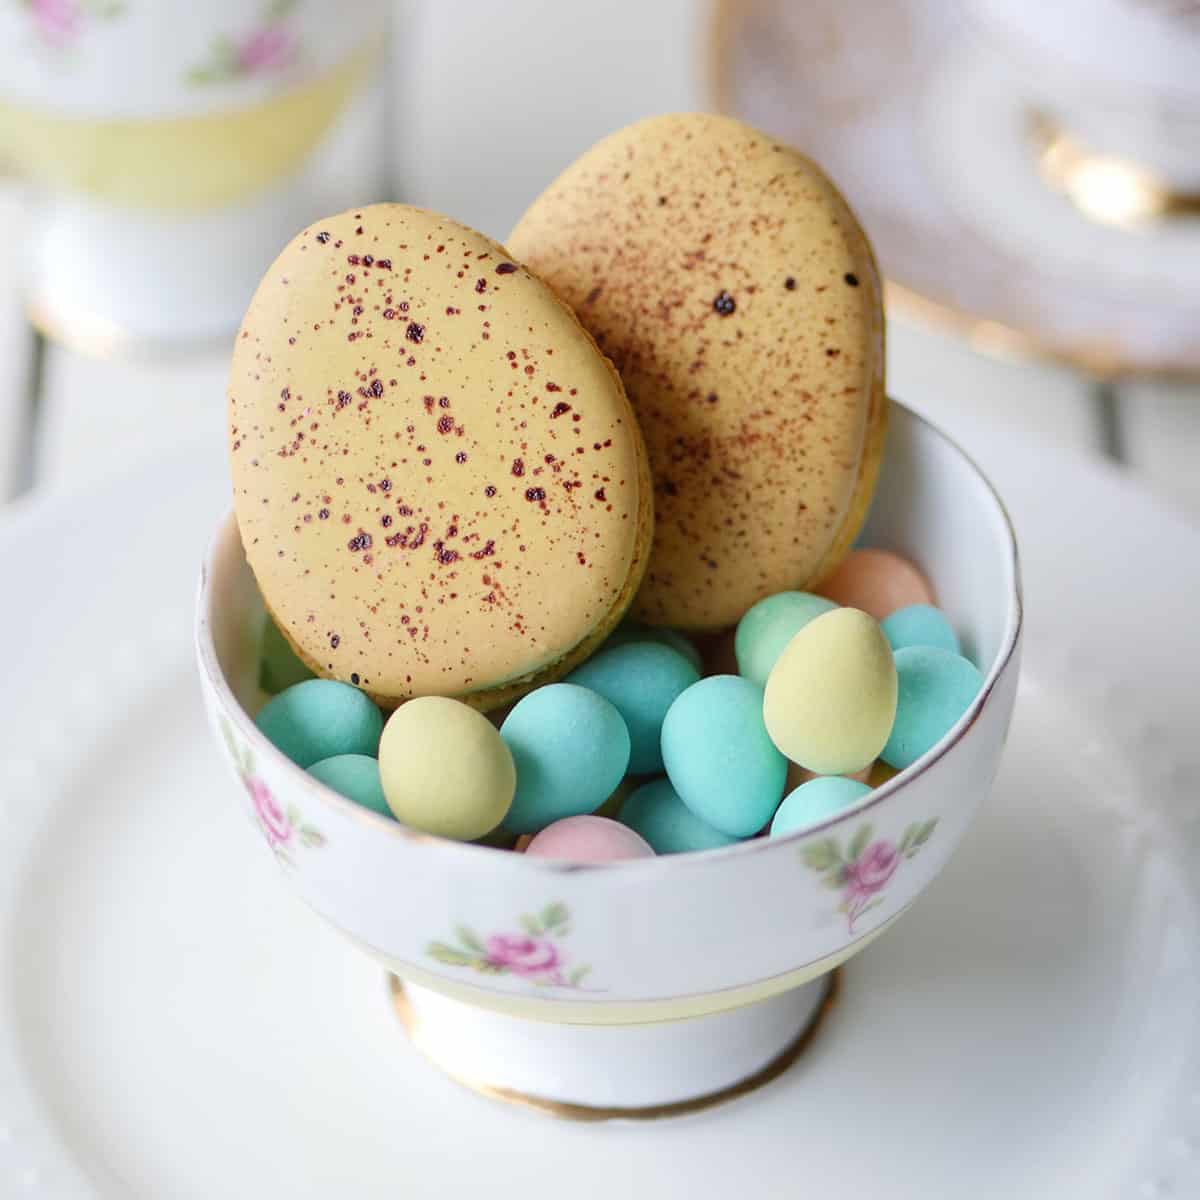
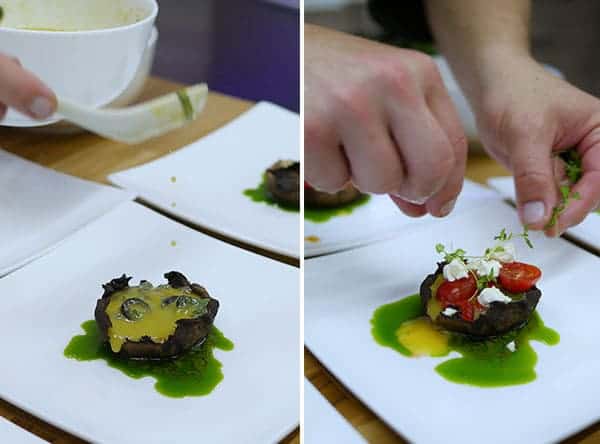
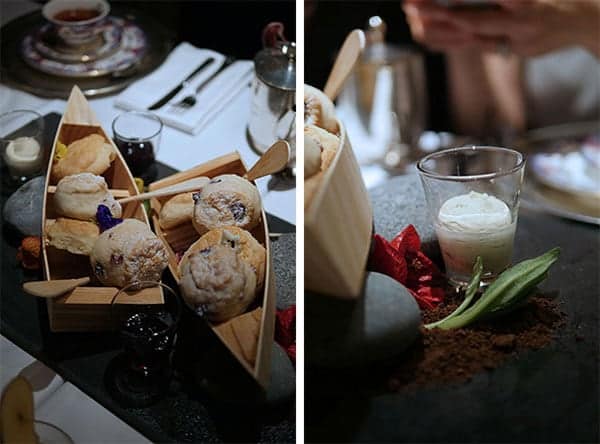
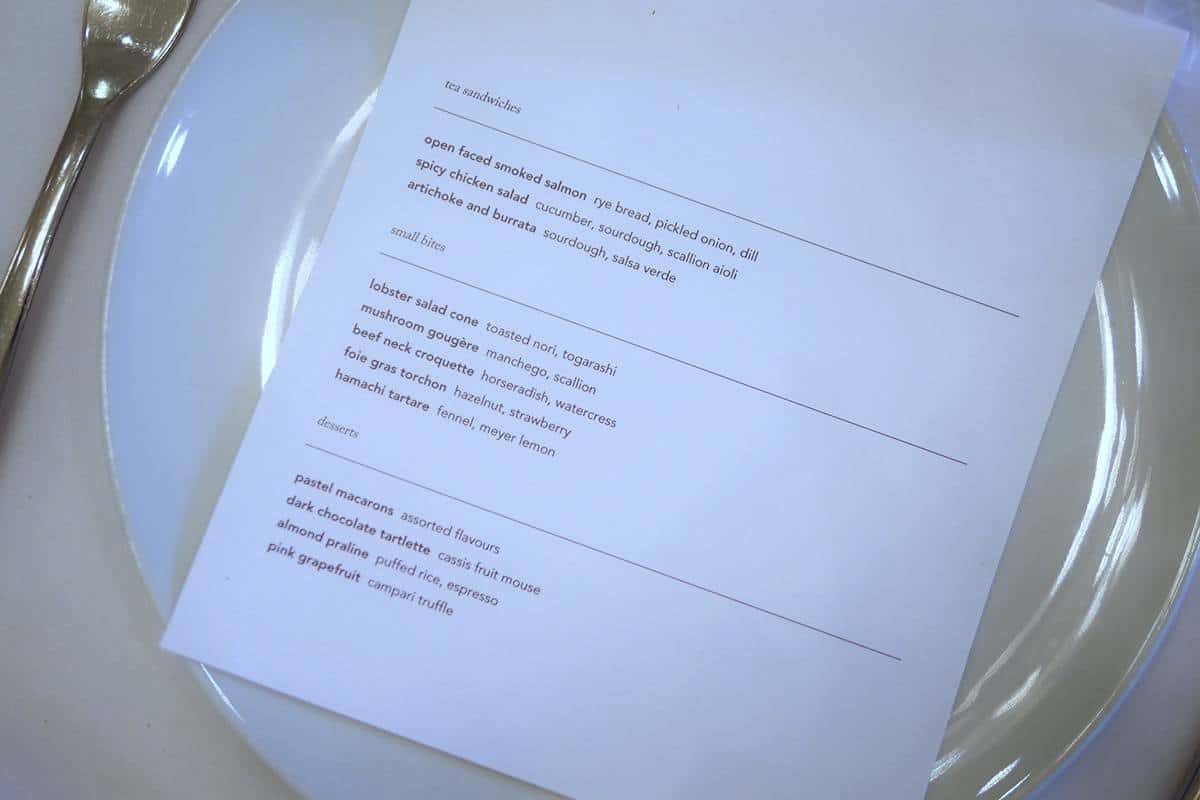
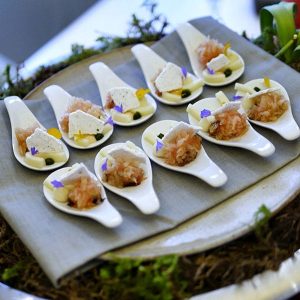
 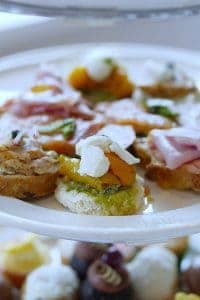 Savoury: Very Good. A robust selection of four finger sandwiches on the second tier plus two "extra" pieces that were presented separately on another plate. These were the wagyu beef croquette and fois gras candied hazlenut mousse which was exquisitely presented in a real egg shell laid on top of moss. All the savouries were very fresh and flavourful. My favourites were the pesto chutney barrata cheese sandwich, smoked salmon sandwich and fois gras mousse.
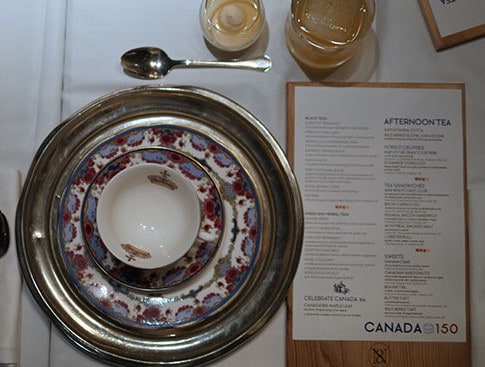
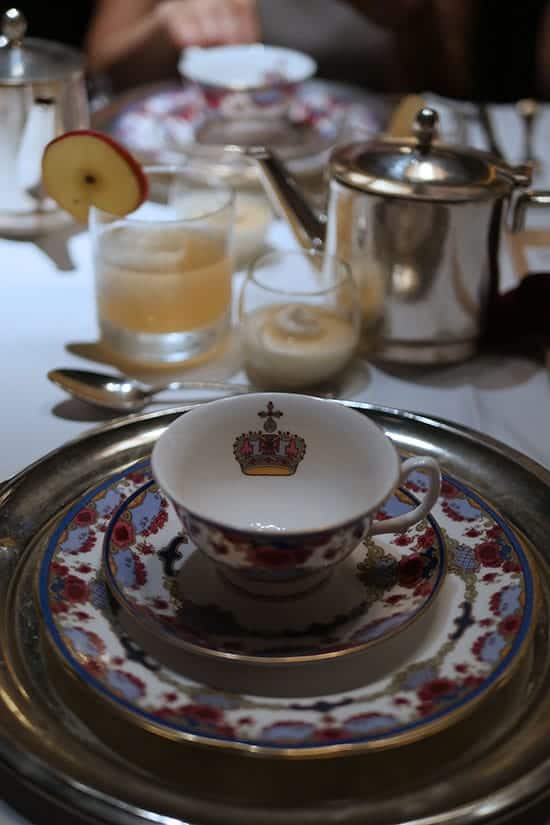
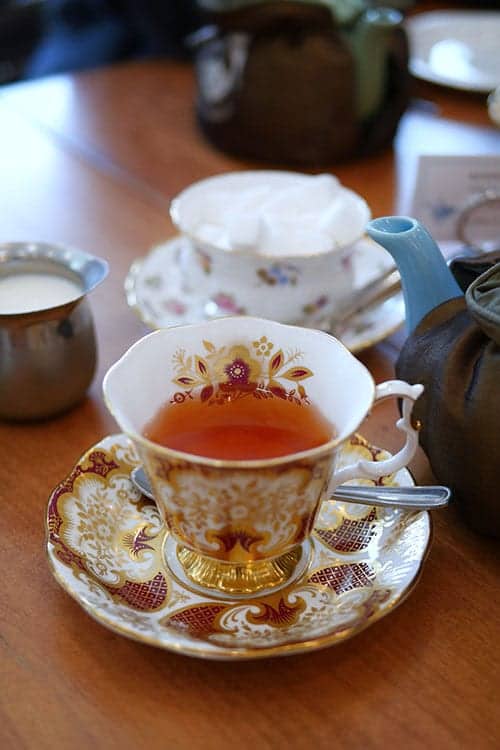
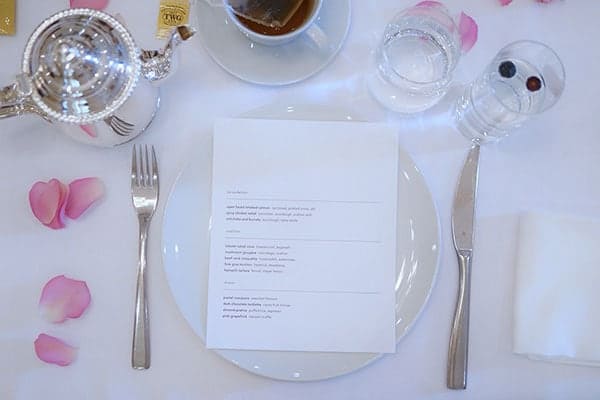
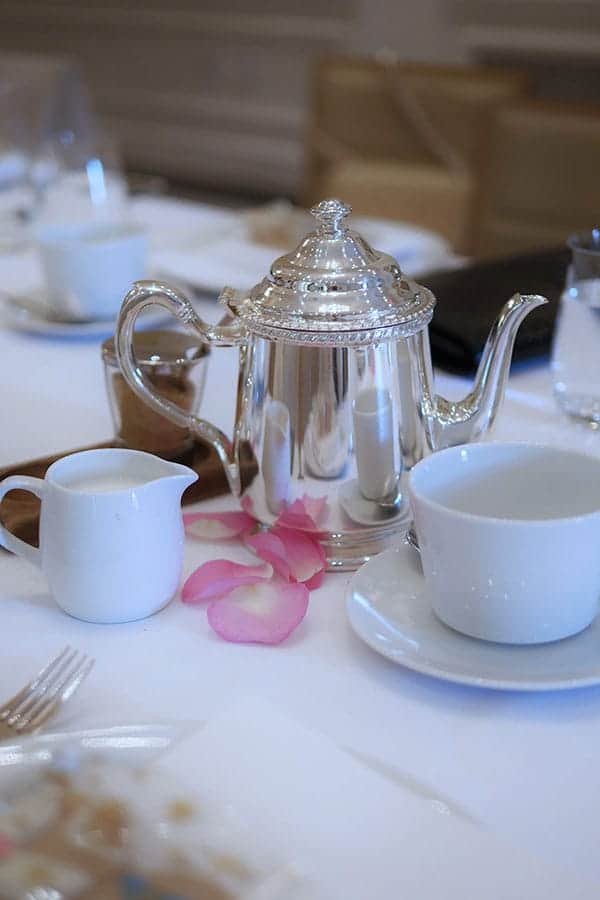
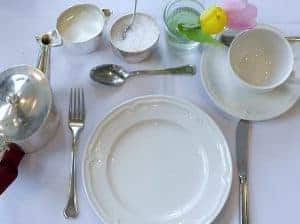 Tea Ware: Traditional ivory porcelain tea ware with silver teapots. No use of tea warmers like at the
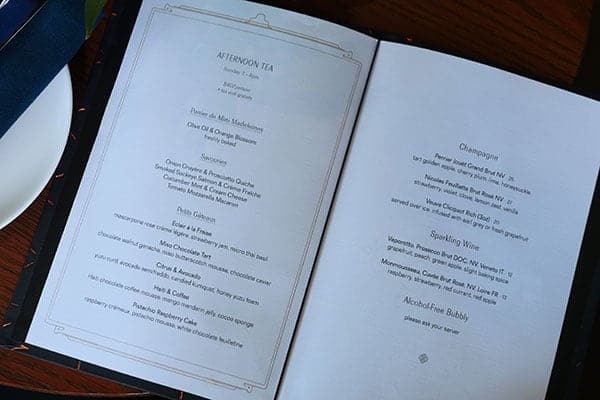
 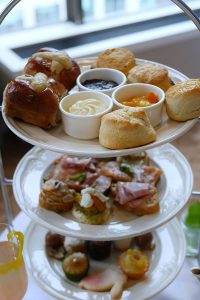 ♥ "Tea at the Top" Tea Set $65/per person
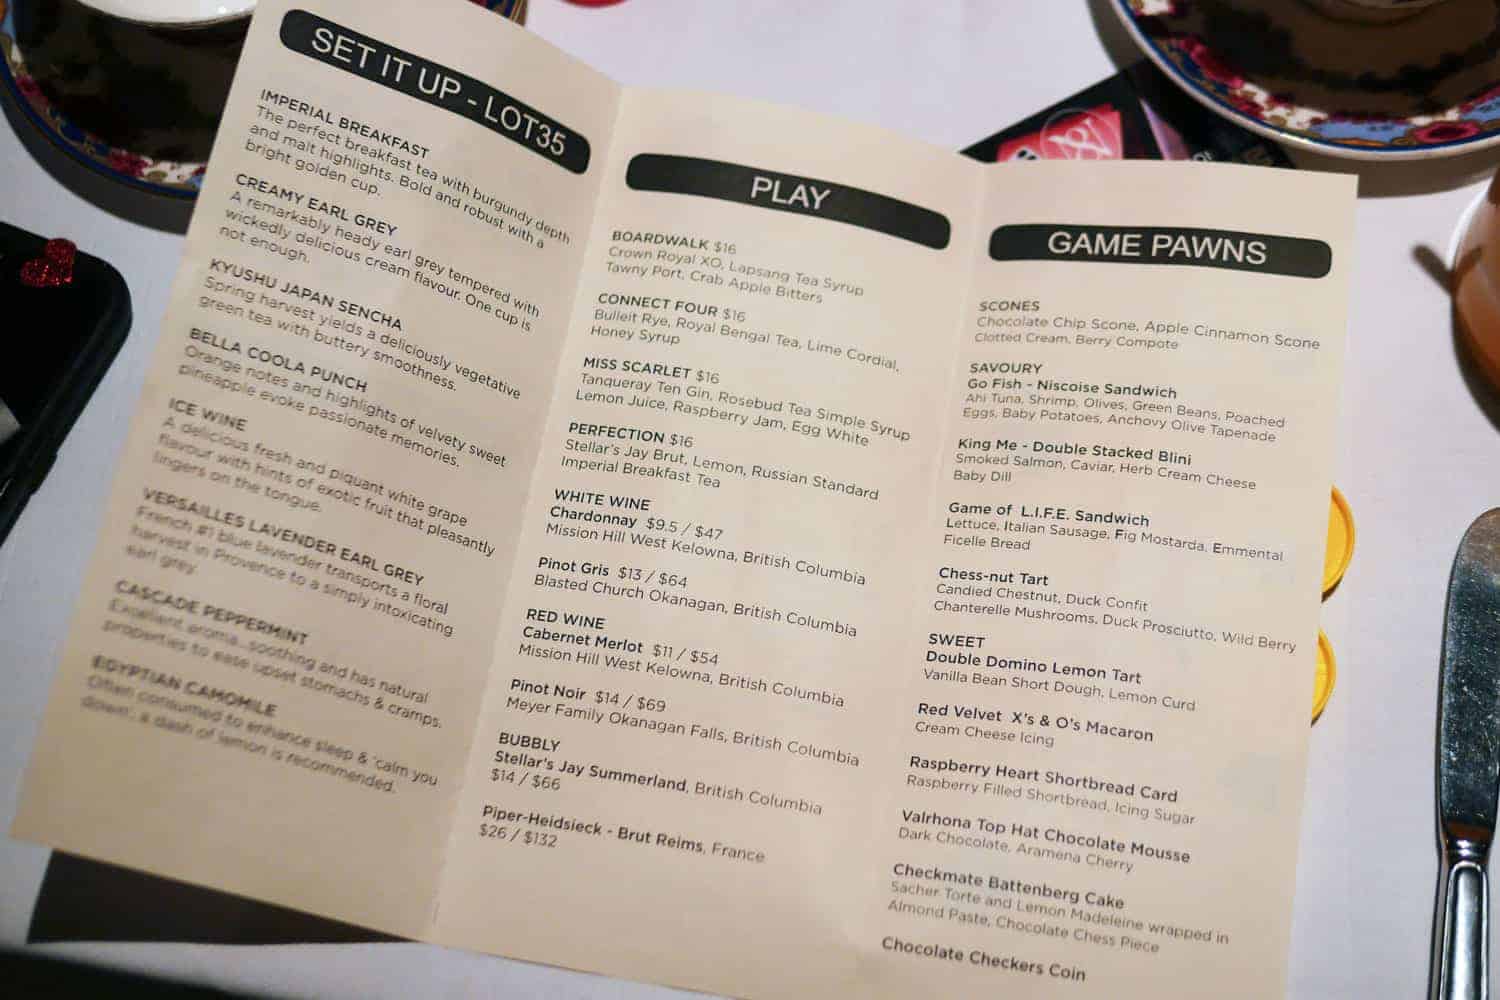
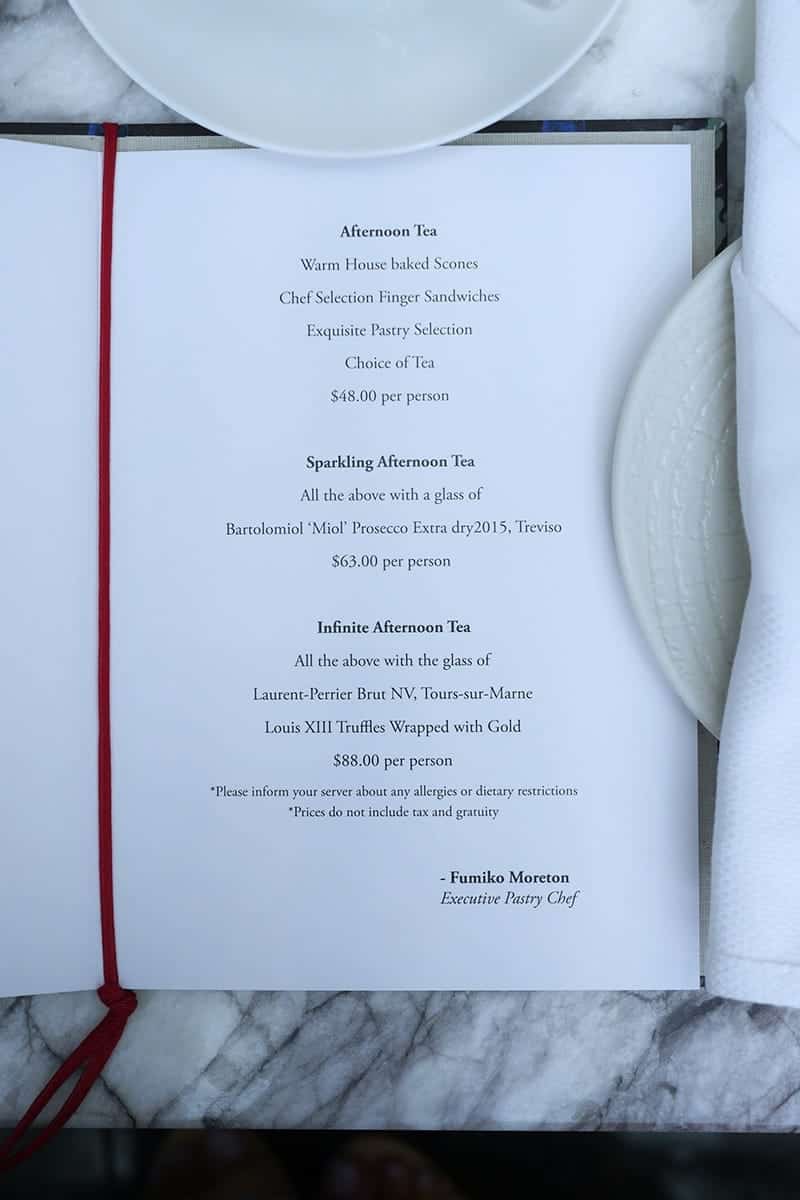