

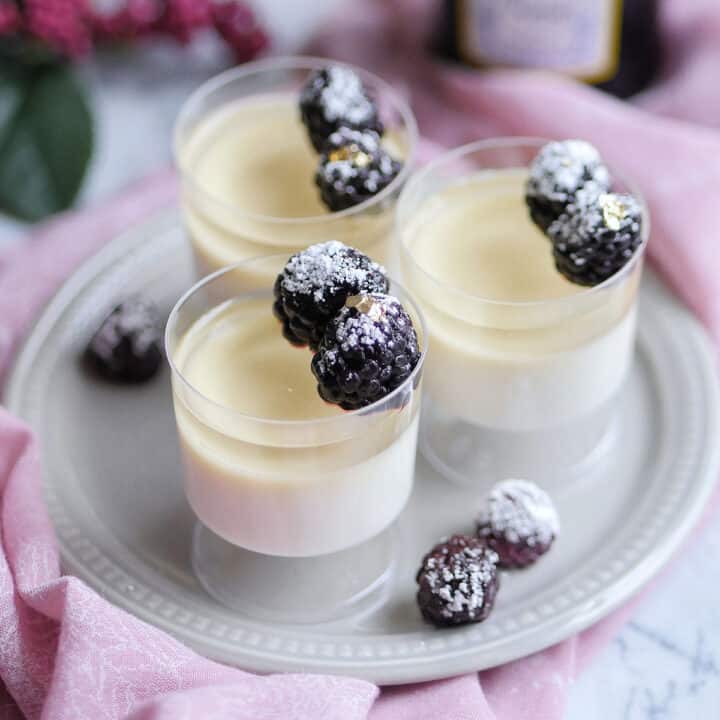
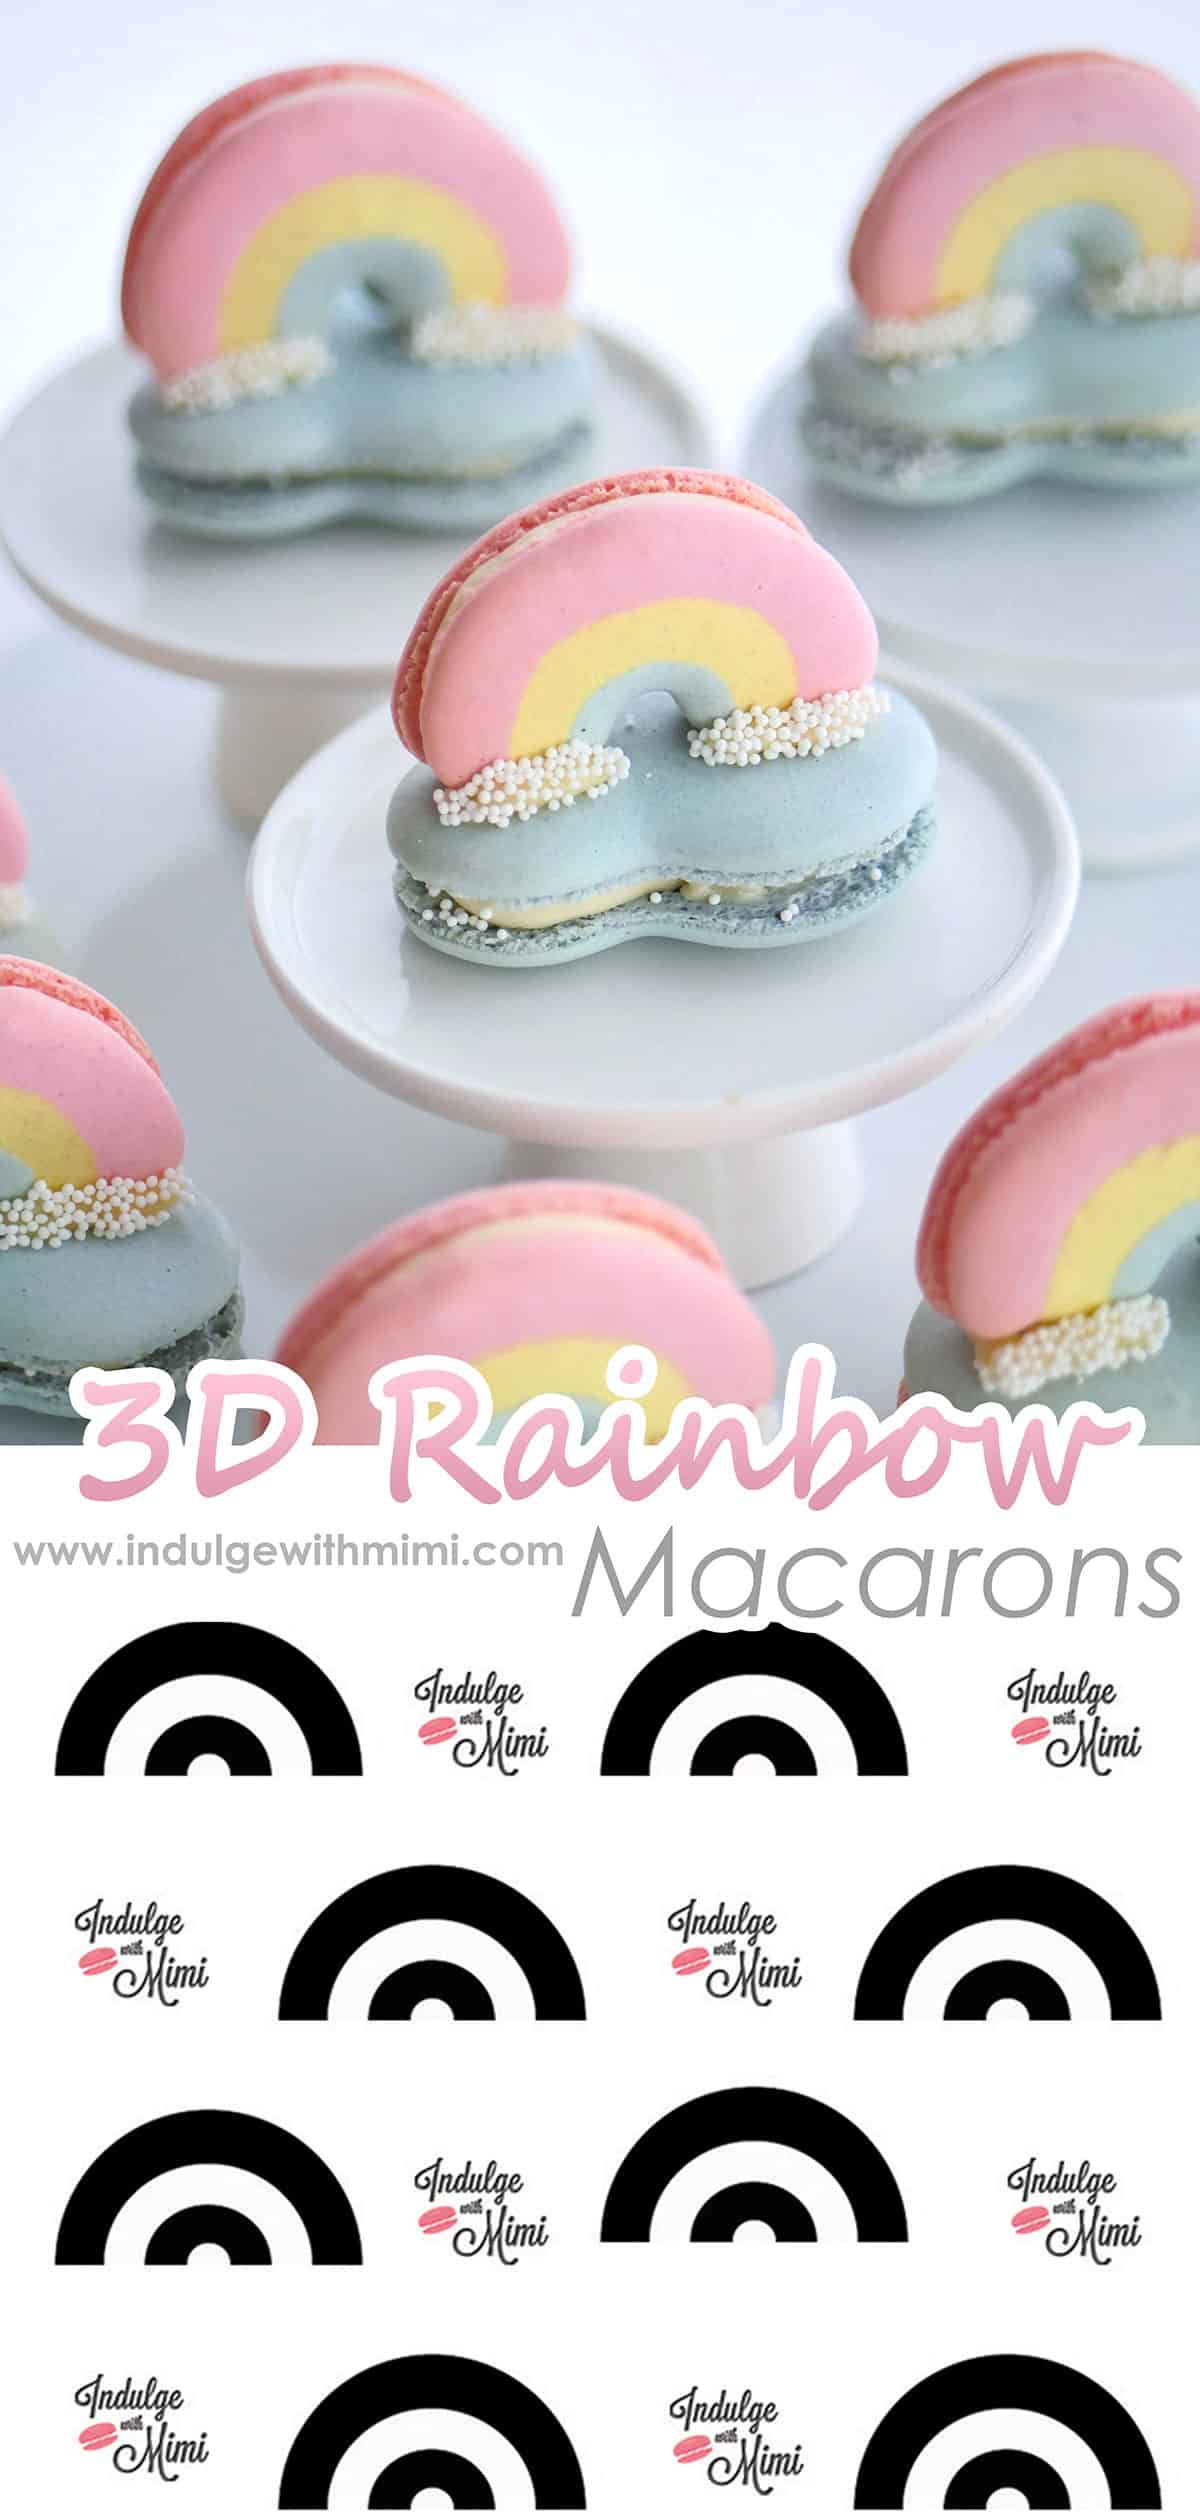
Coffee jelly is an easy no-bake Japanese dessert that is refreshing and energizing. Perfect for parties or after dinner.

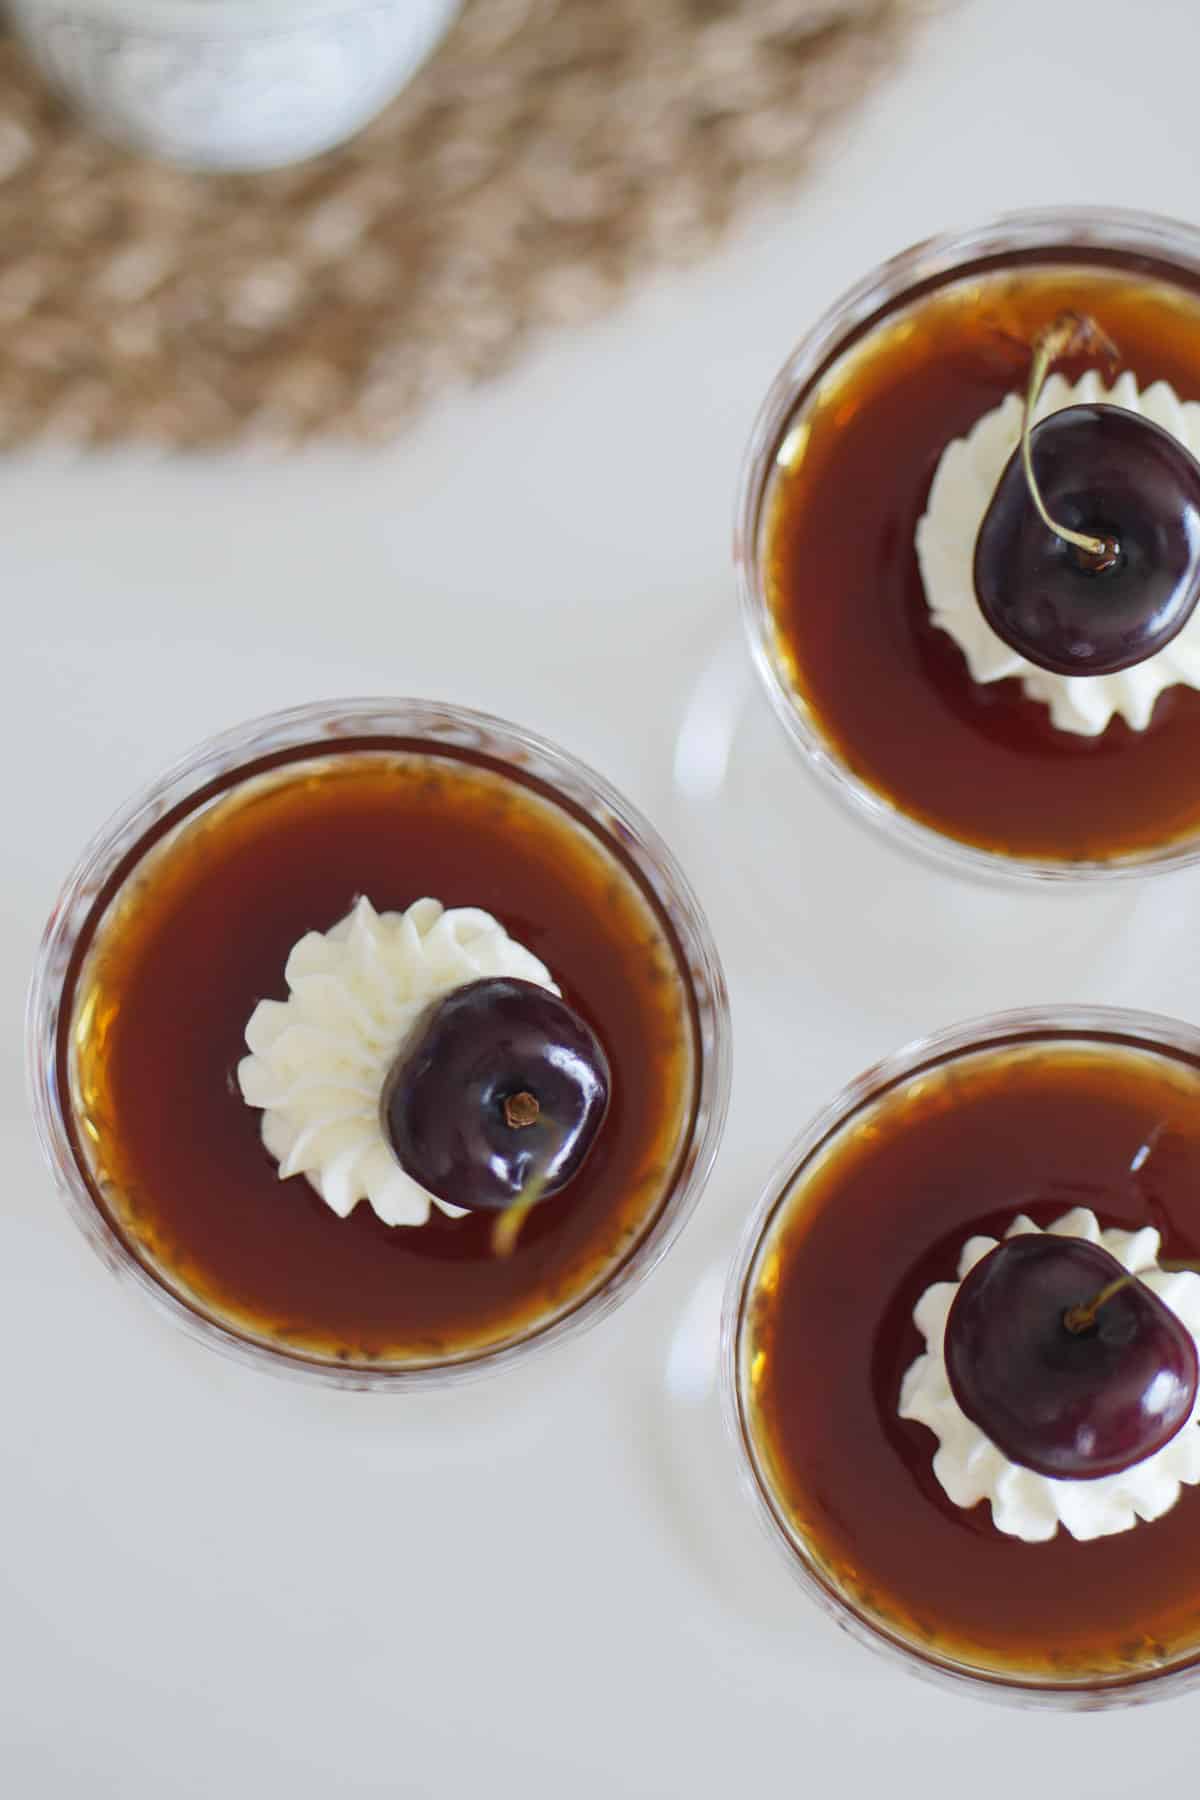
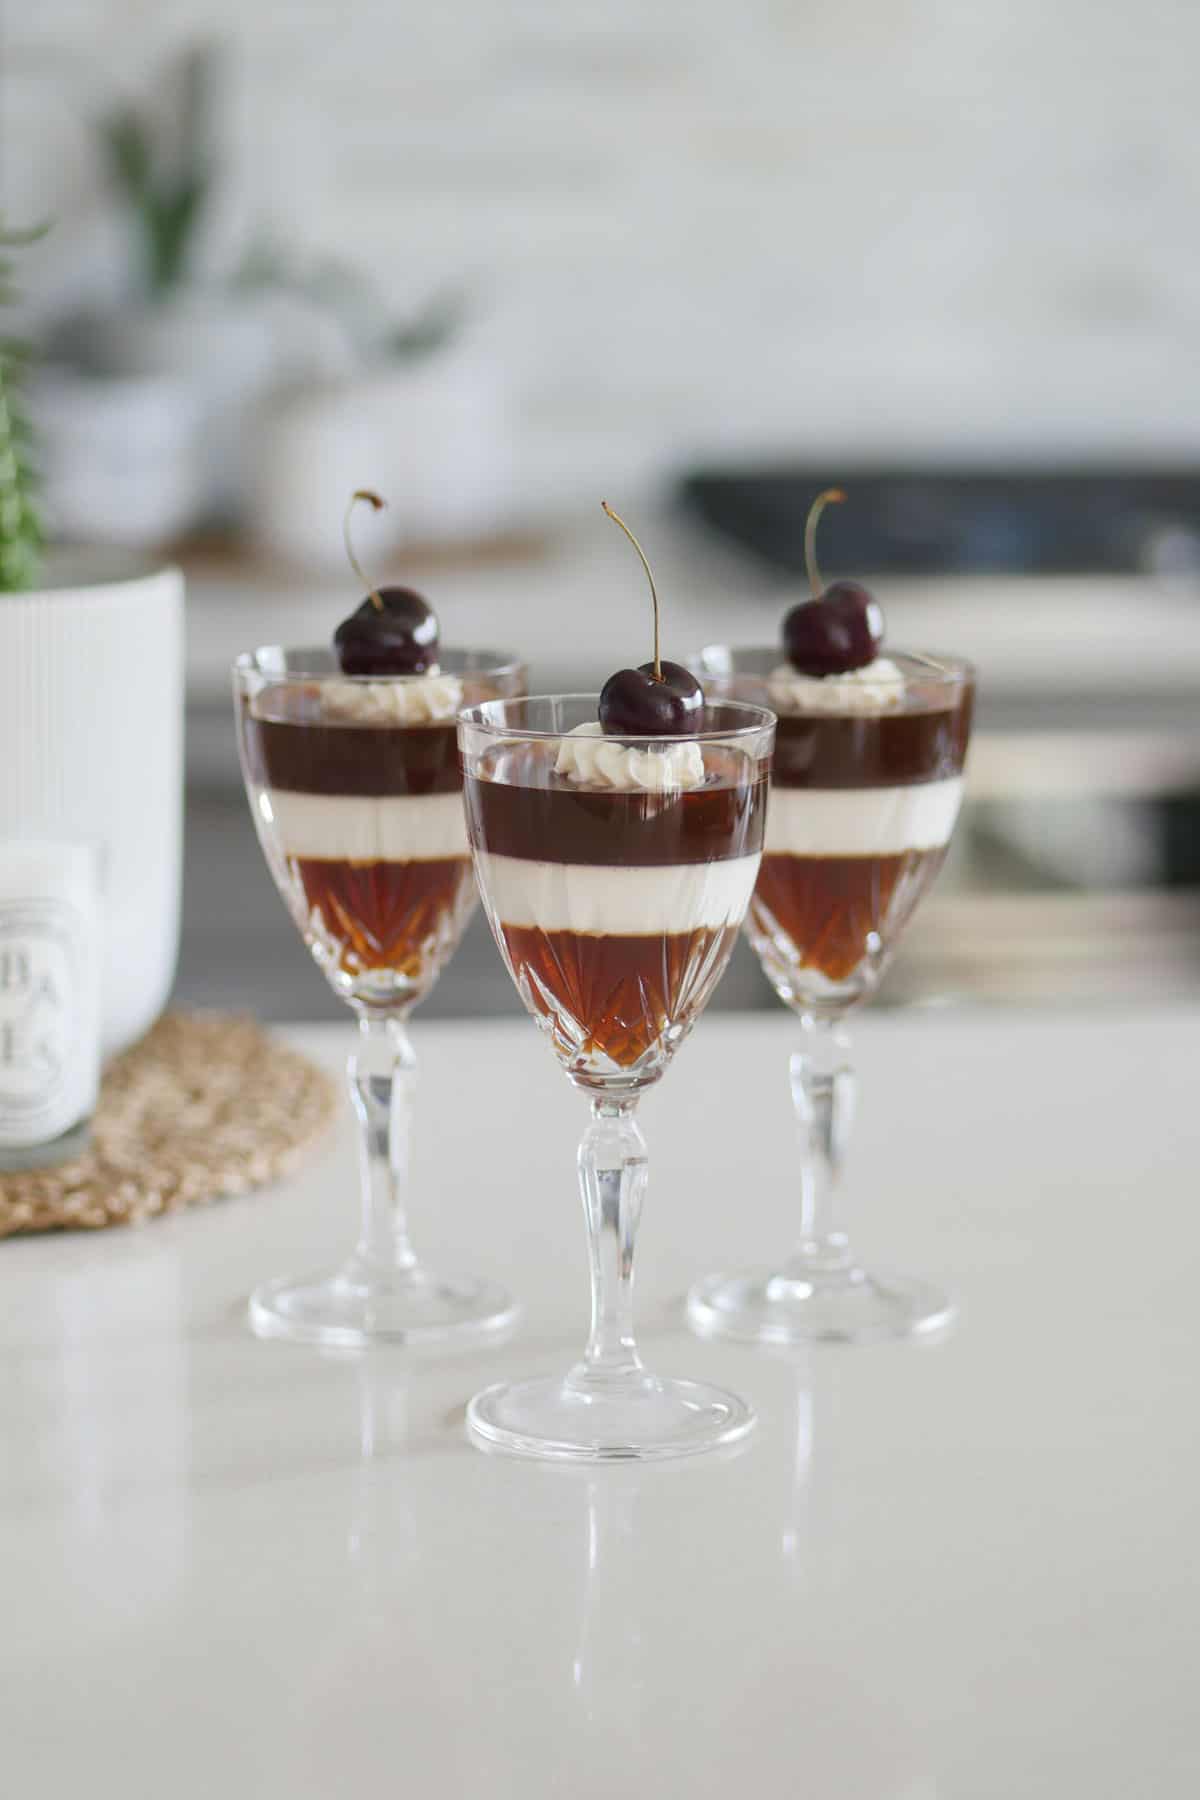
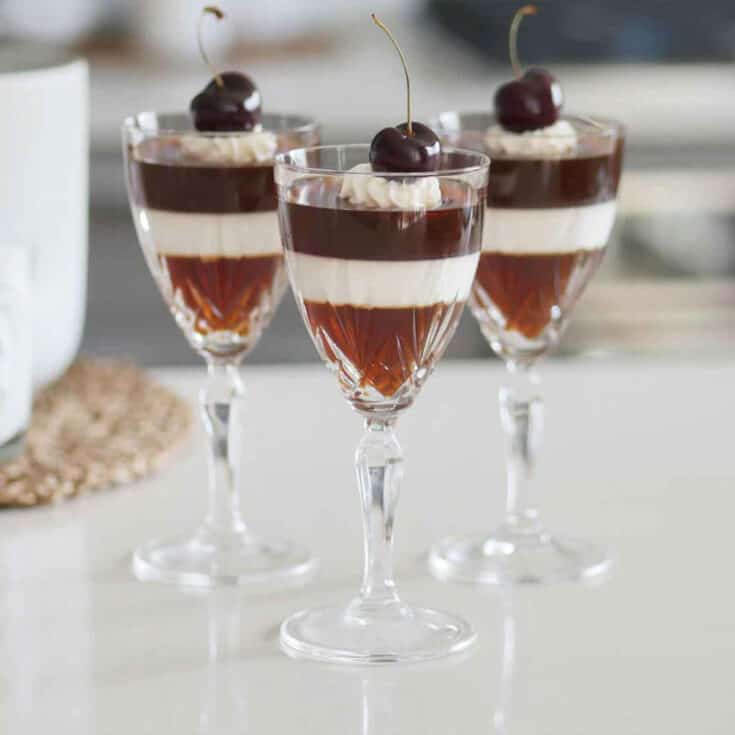
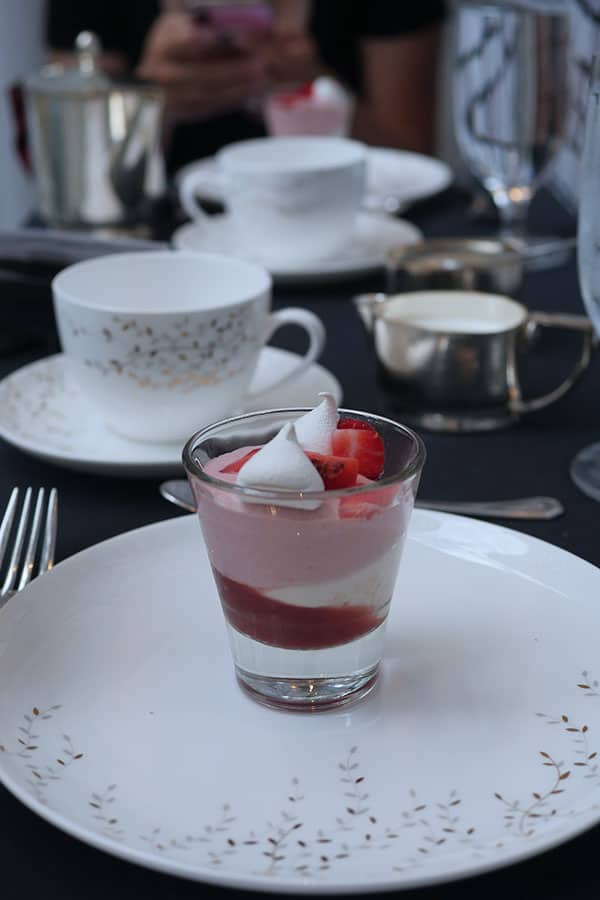
When I lived in Japan Coffee jelly was one of my favorite after dinner desserts from the restaurants we would frequent with my host family. I remember it being served in beautiful glass sundae cups and was very refreshing. It had a nice sweet coffee flavor and a bouncy texture, topped with a splash of cream - Delicious! I hope you enjoy my recreation of this easy and tasty dessert.
Why You'll Love This Recipe
- Delicious & Refreshing - the delicious combo of coffee and cream with a bouncy Jello texture.
- Easy No-Bake - prepare it in minutes and just let it set. A truly no-fail dessert!
- No-Fuss Party Dessert - make it in mini cups, decorate with pretty toppings to impress your guests.
- Year-Round Ingredients - made with year round ingredients available at every grocery store.
- Perfect for Coffee Lovers - instead of fussing with after dinner coffee, serve this ready-made coffee dessert with milk/cream already set inside the dessert!
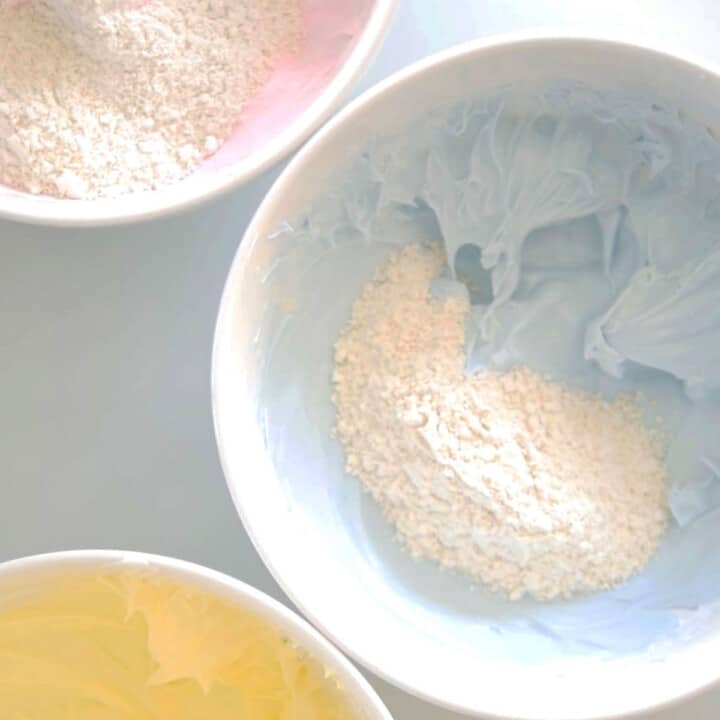
Ingredients & Substitutions
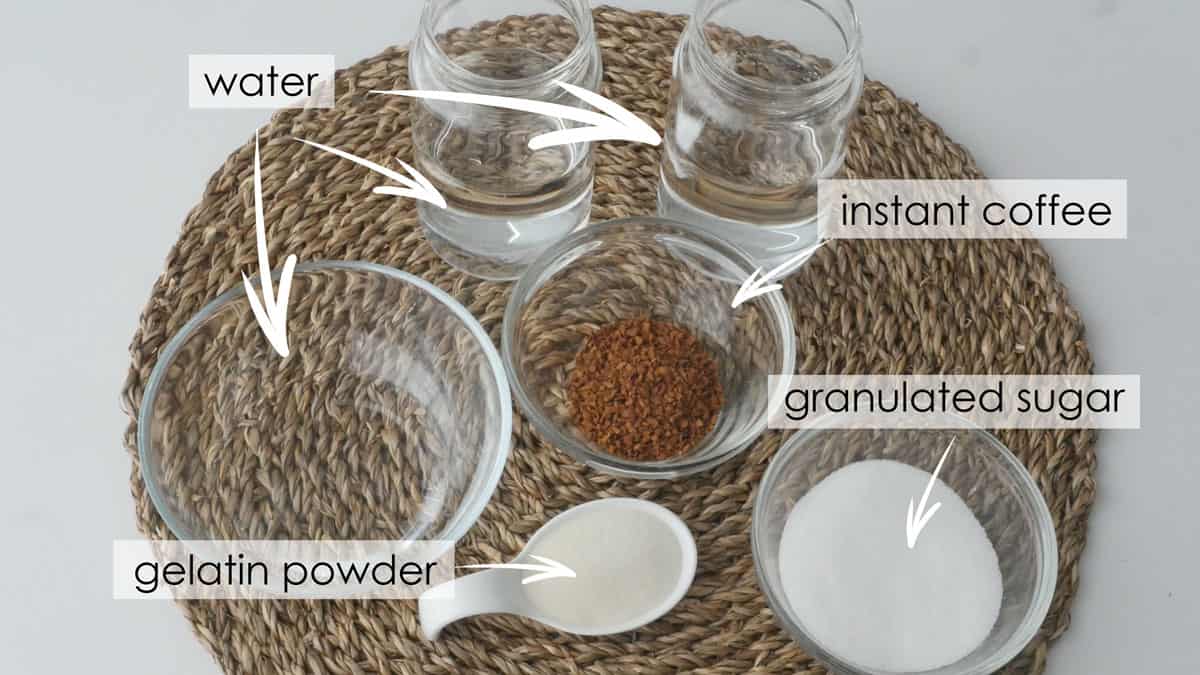
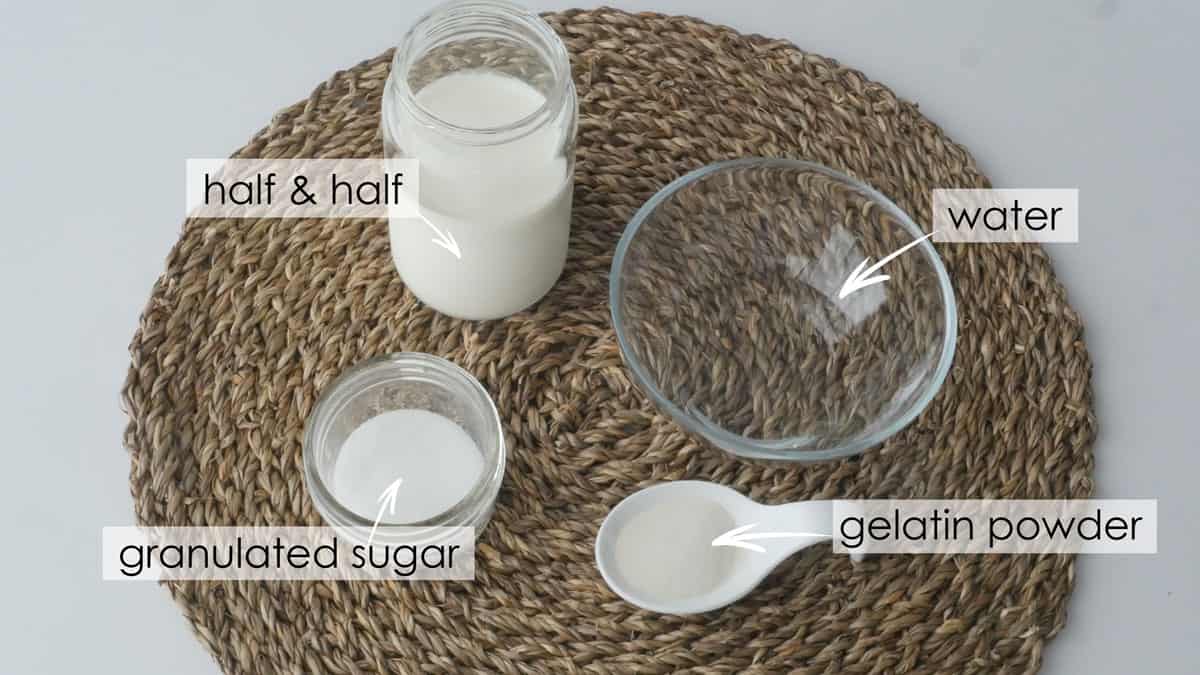
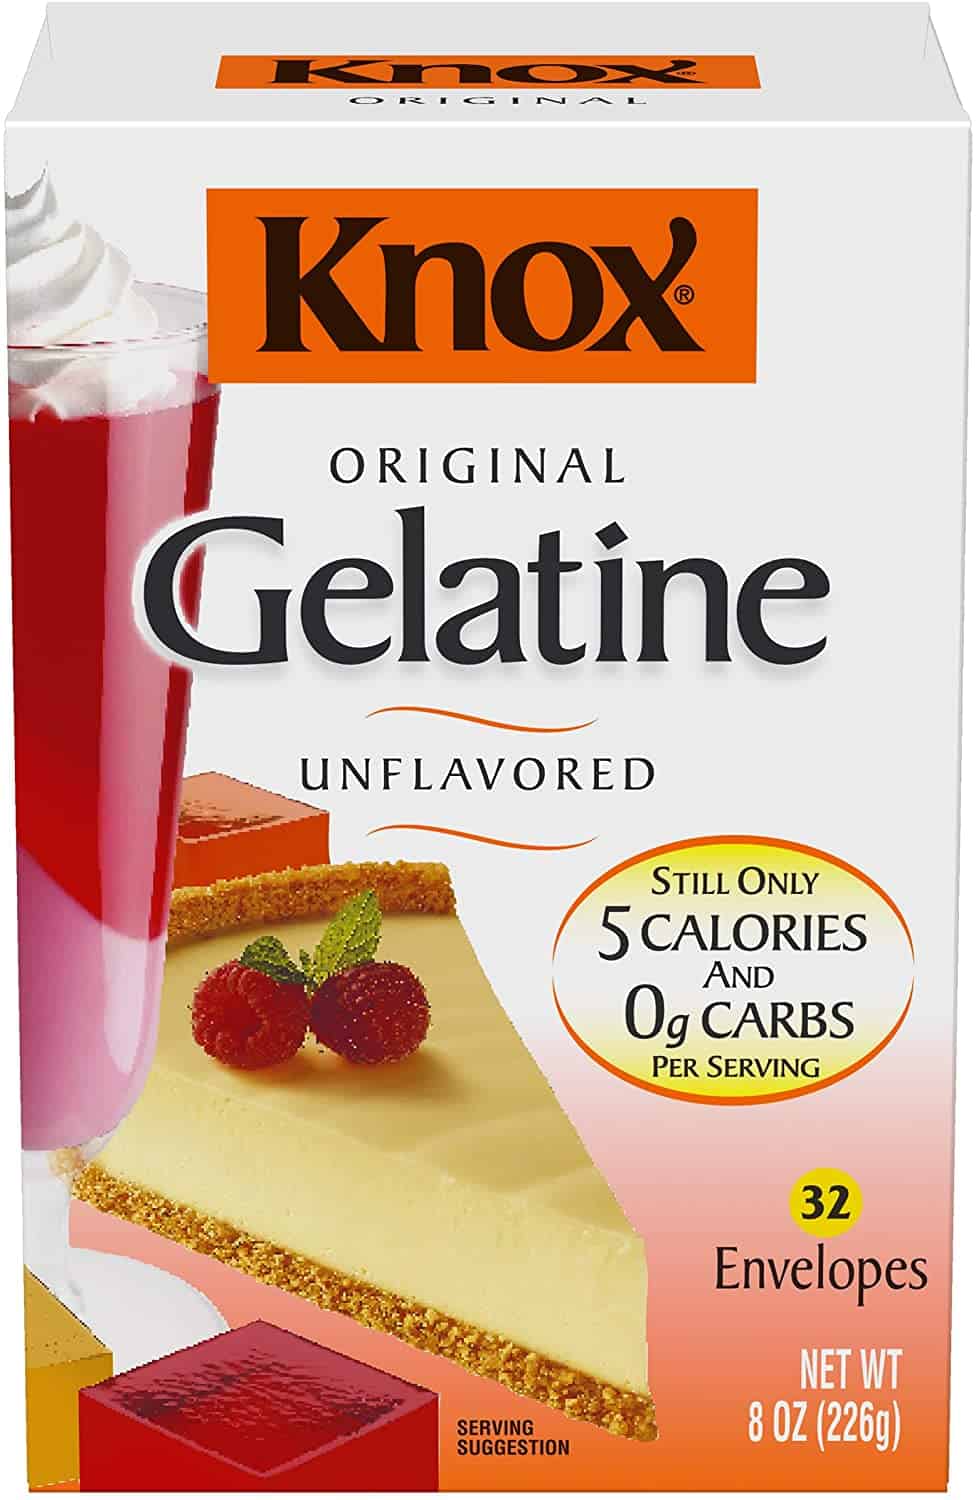
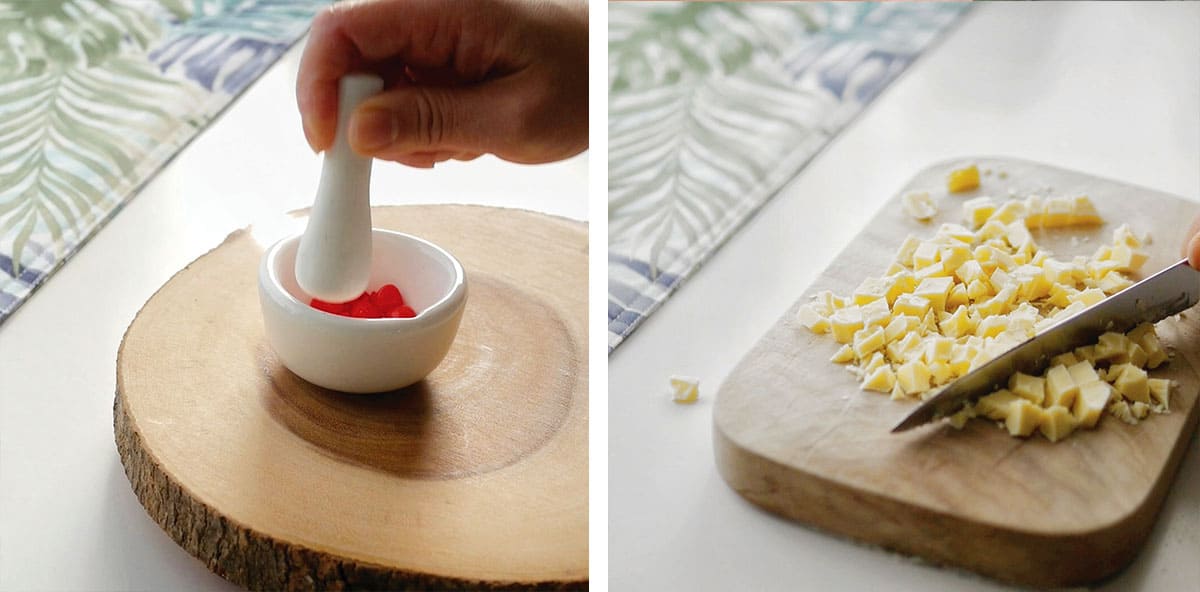
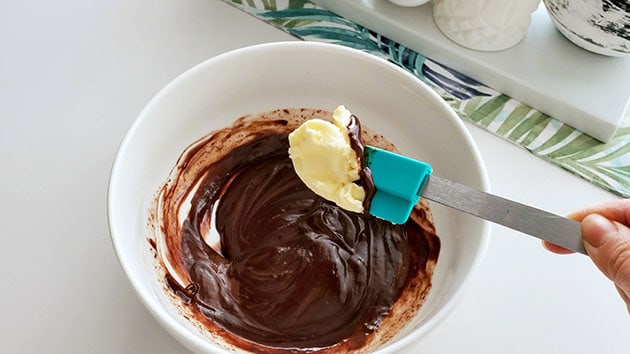
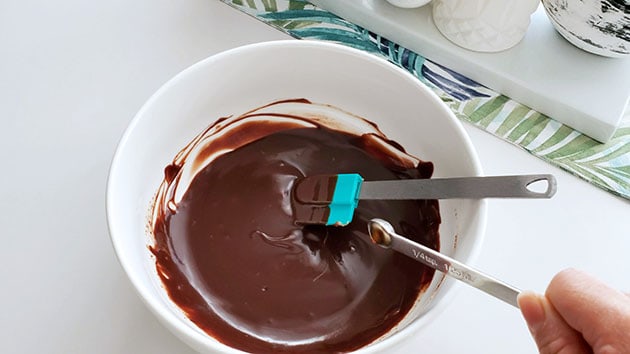
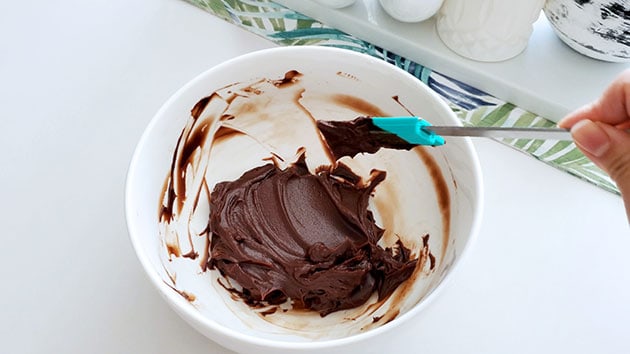
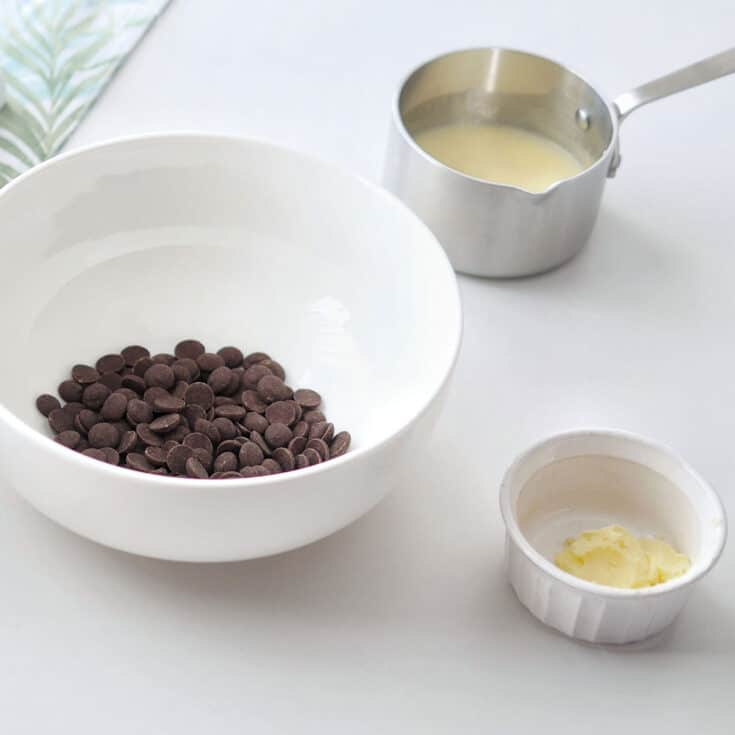
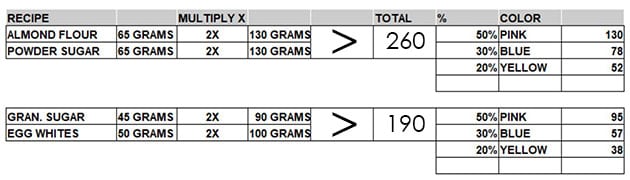
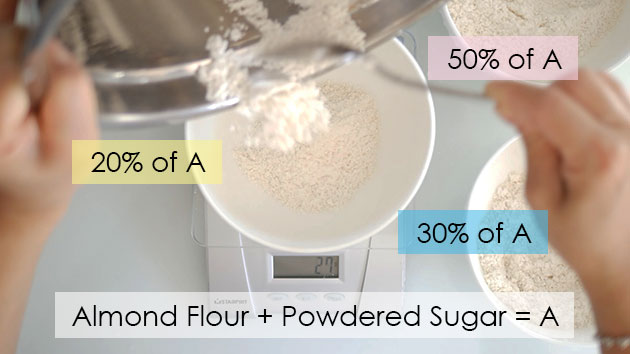
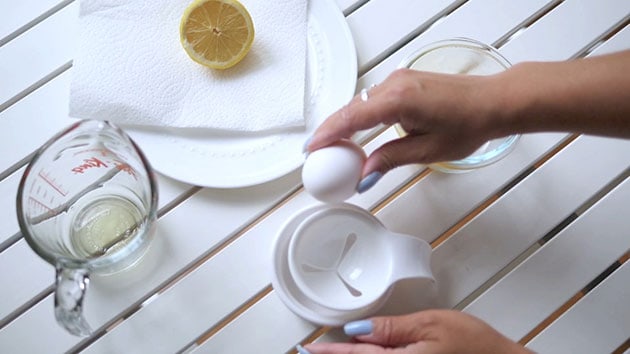
- Gelatin powder, unflavored: I use the standard KNOX gelatin powder which can be found at most stores. If subbing with gelatin sheets, use 5 ½ sheets (3x5 inch sheets) for the coffee mixture and 2 sheets for the milk mixture.
- Granulated sugar: this can be increased or decreased to taste.
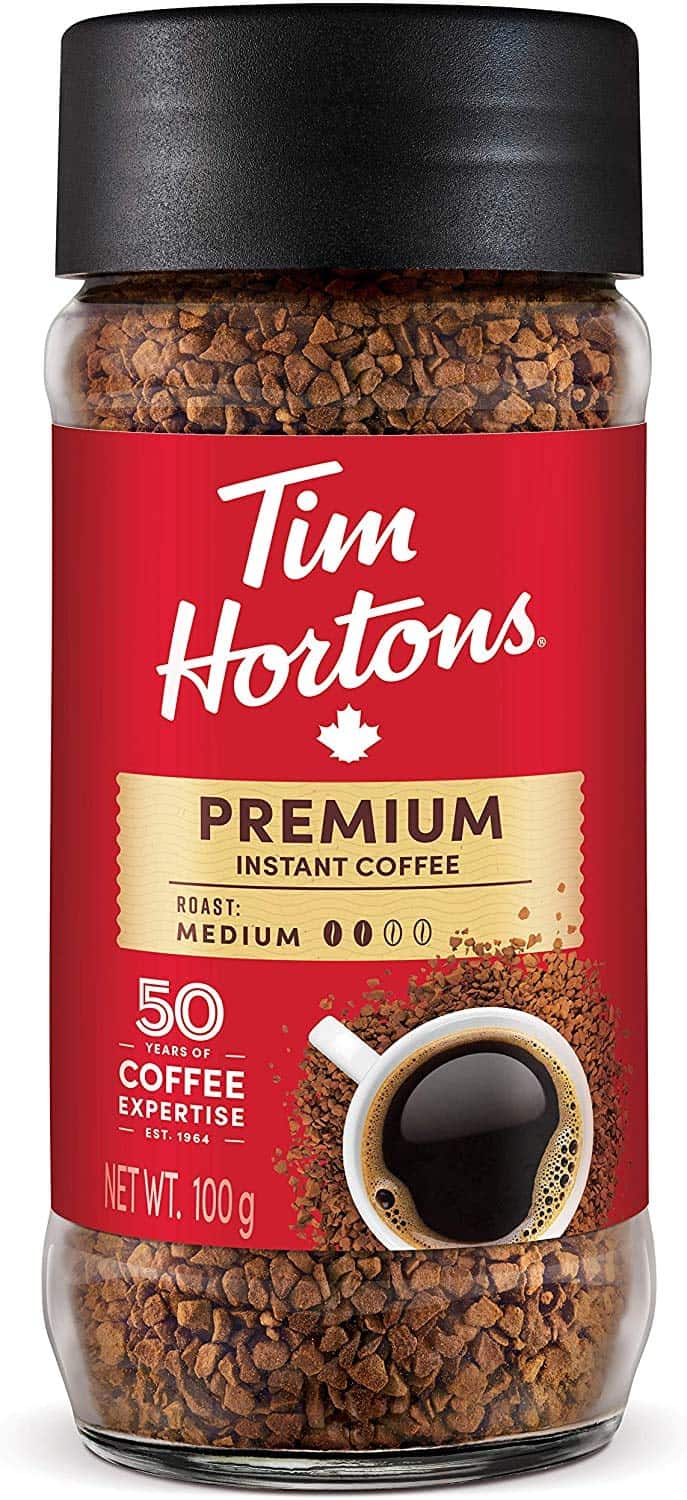
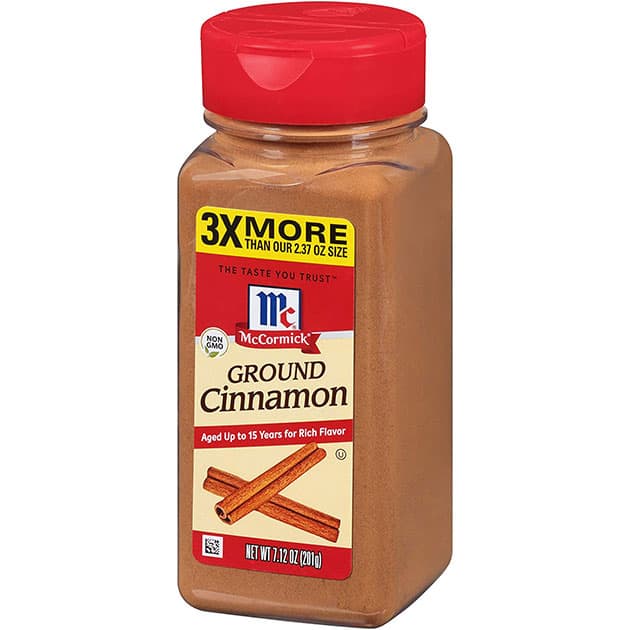
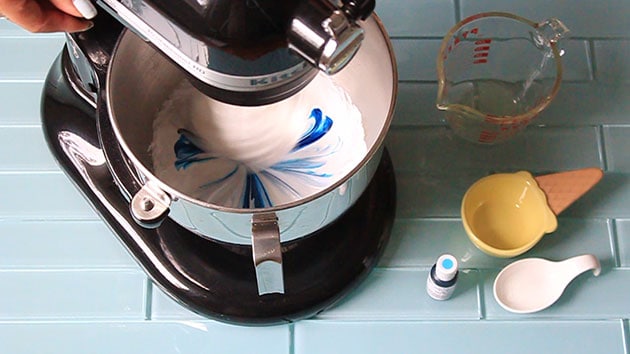
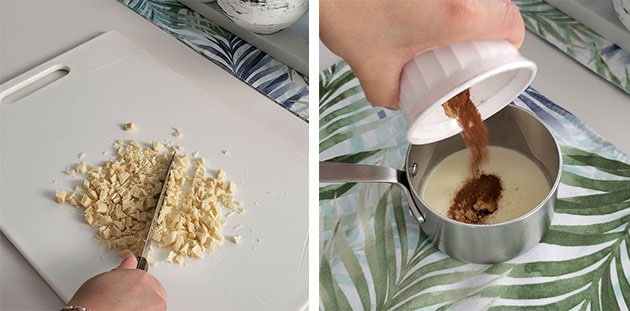
- Instant coffee: How much instant coffee to be used will depend on your particular brand and according to your own preferences. Taste it as you go along. Brewed coffee can be used in the same amount as the water. Place in the pot along with sugar and heat until sugar has dissolved. I used this brand of instant coffee.
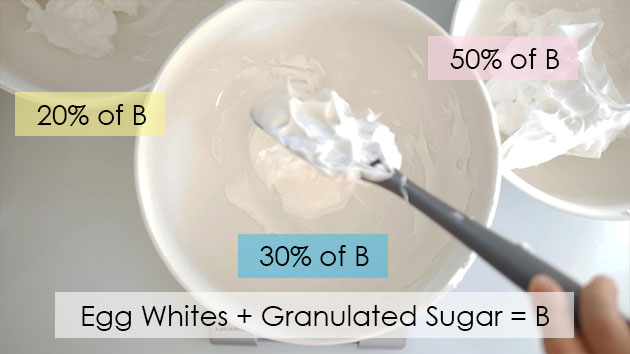
- Half & Half: As the name suggests, it is a blend of 50% milk and 50% cream so it can be substituted with those respective ingredients. Milk on its own can be used but the higher milk fat in cream will help add richness to this refreshing dessert.
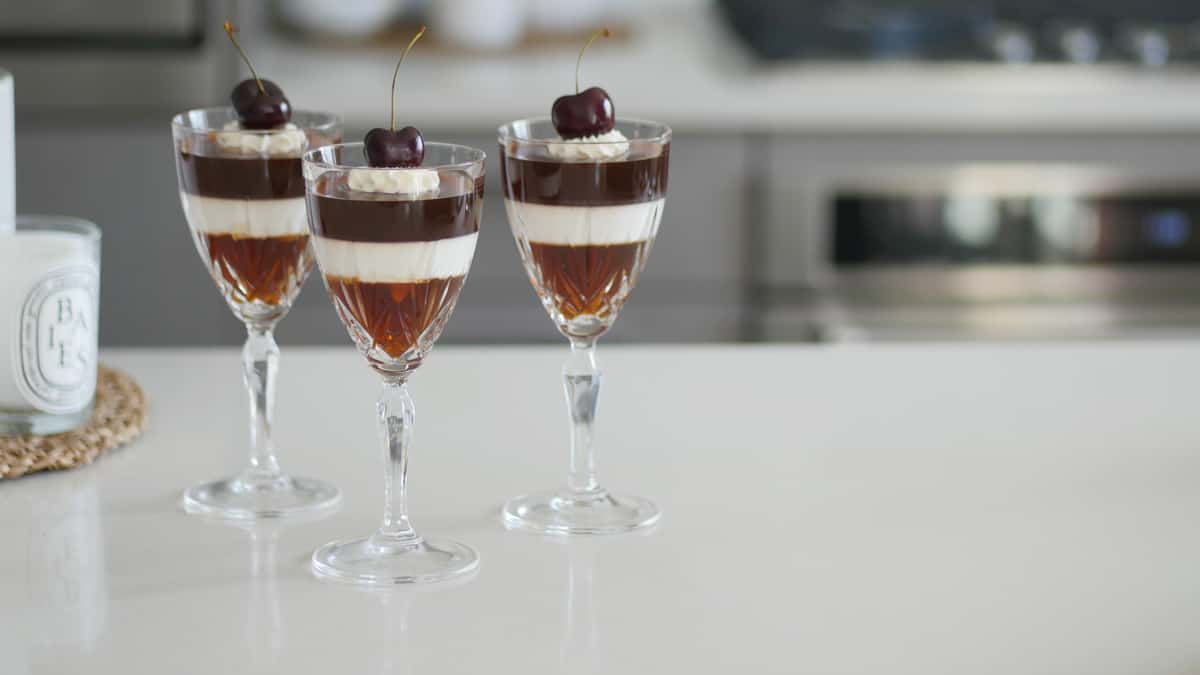
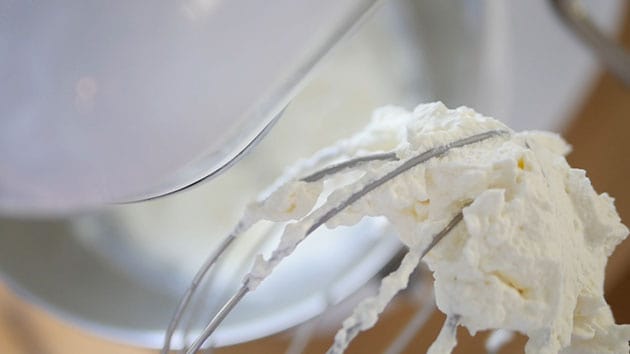
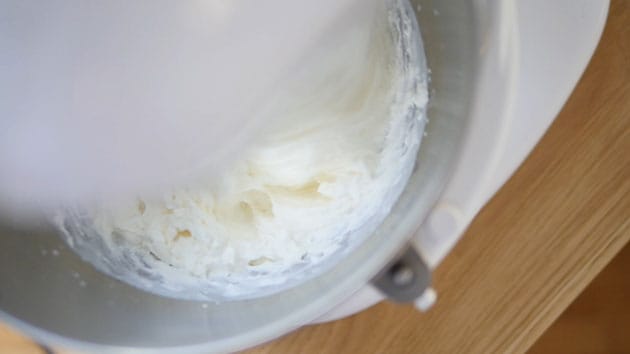
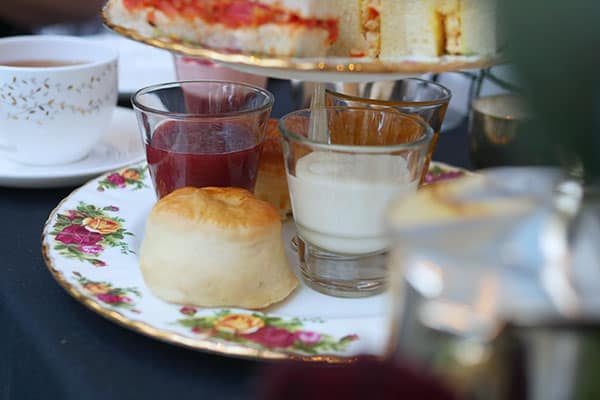
- Optional toppings: Whipped cream, mint leaves, coffee beans, fresh fruit.

Step-By-Step
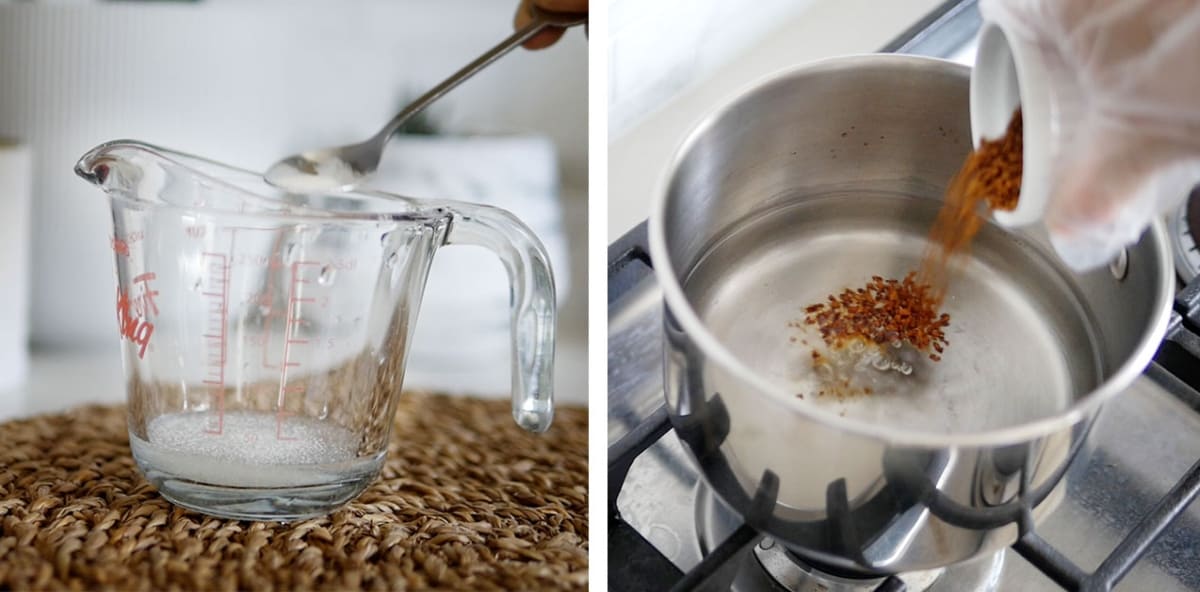
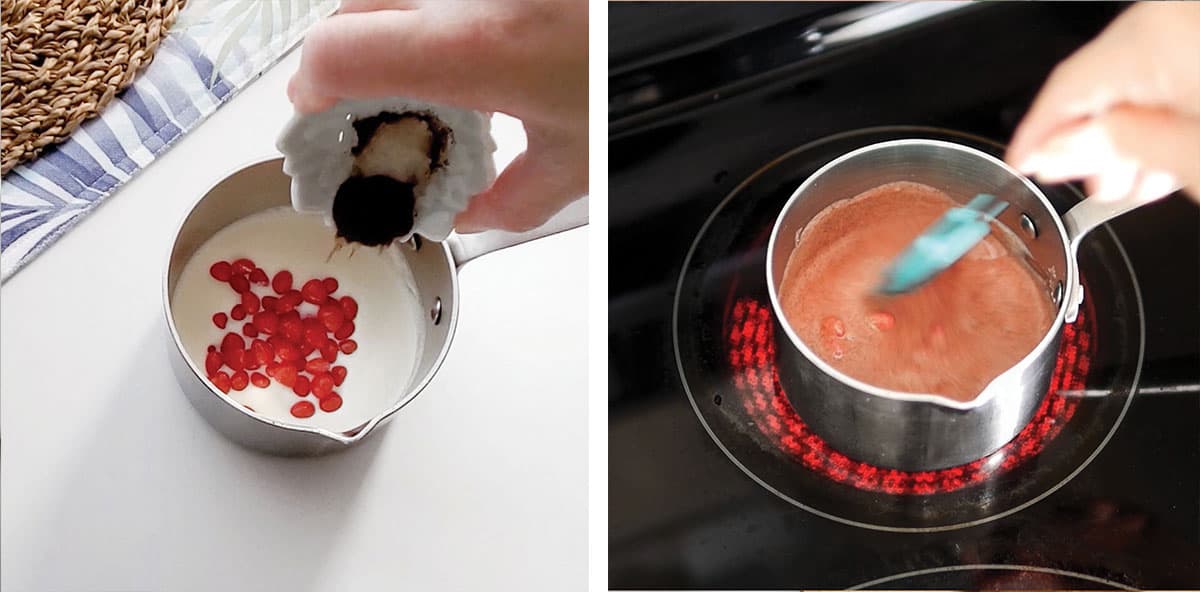
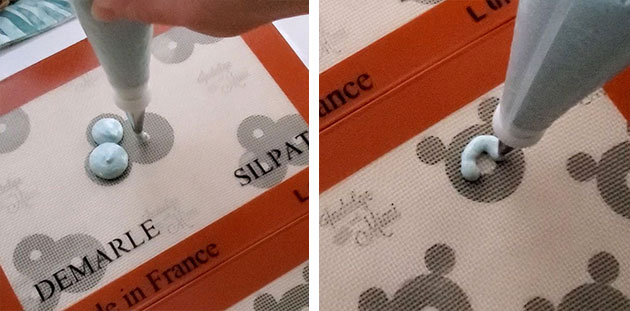
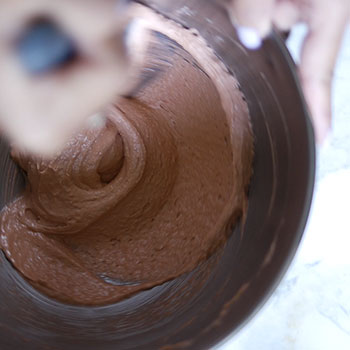
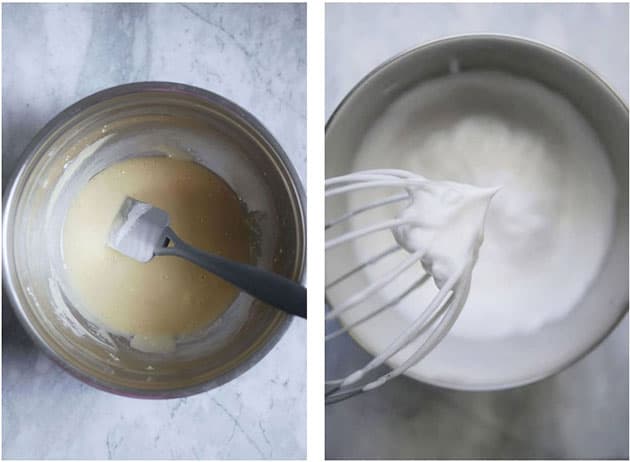
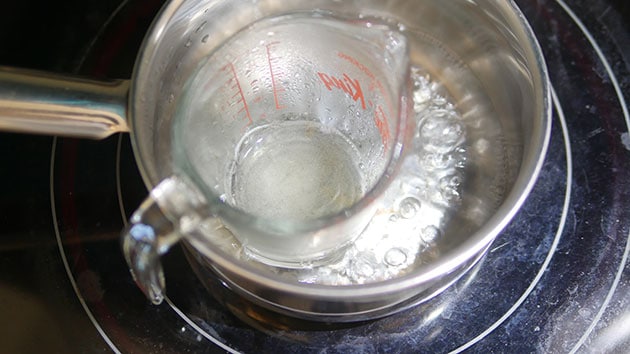
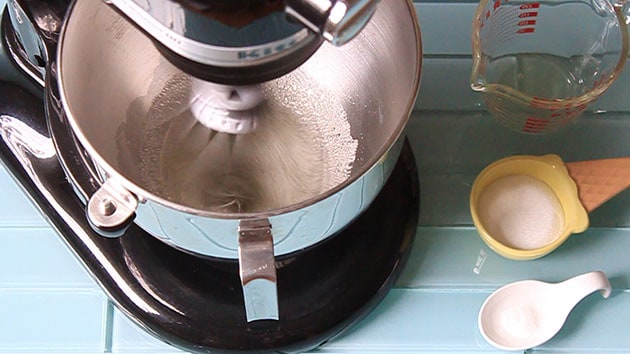
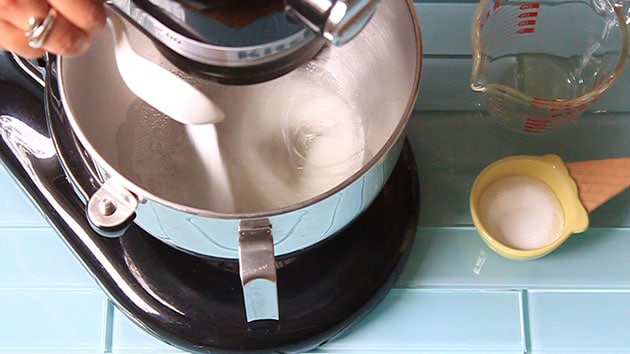
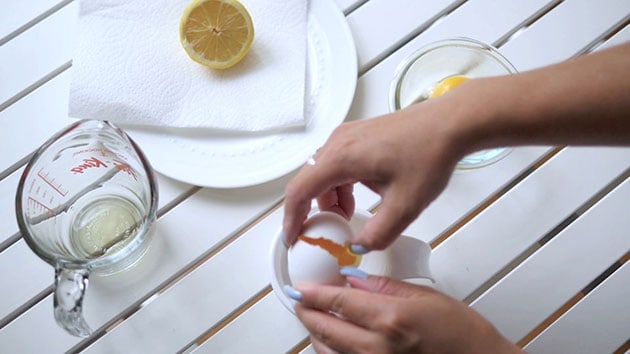
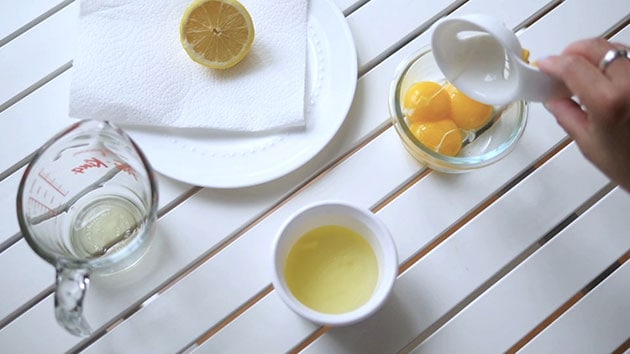
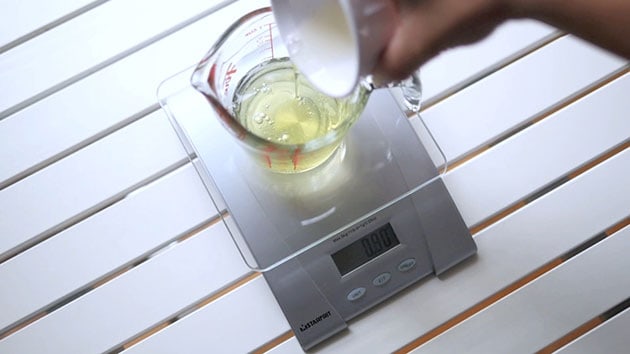
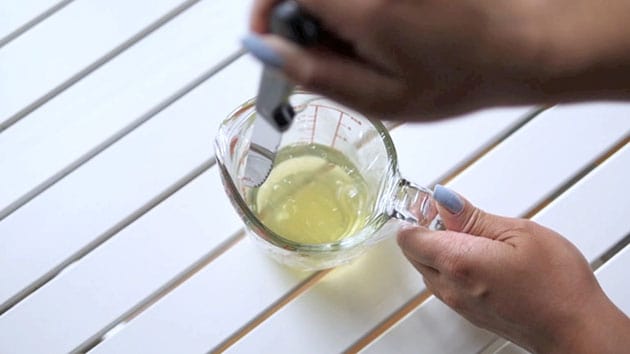
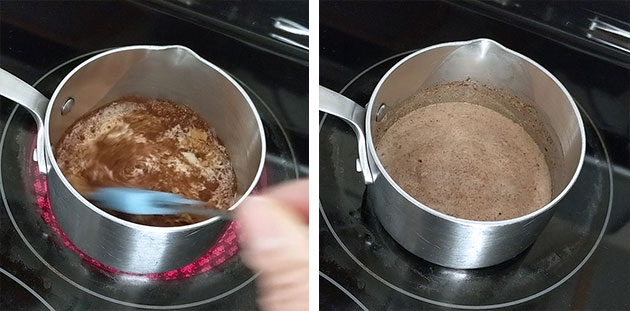
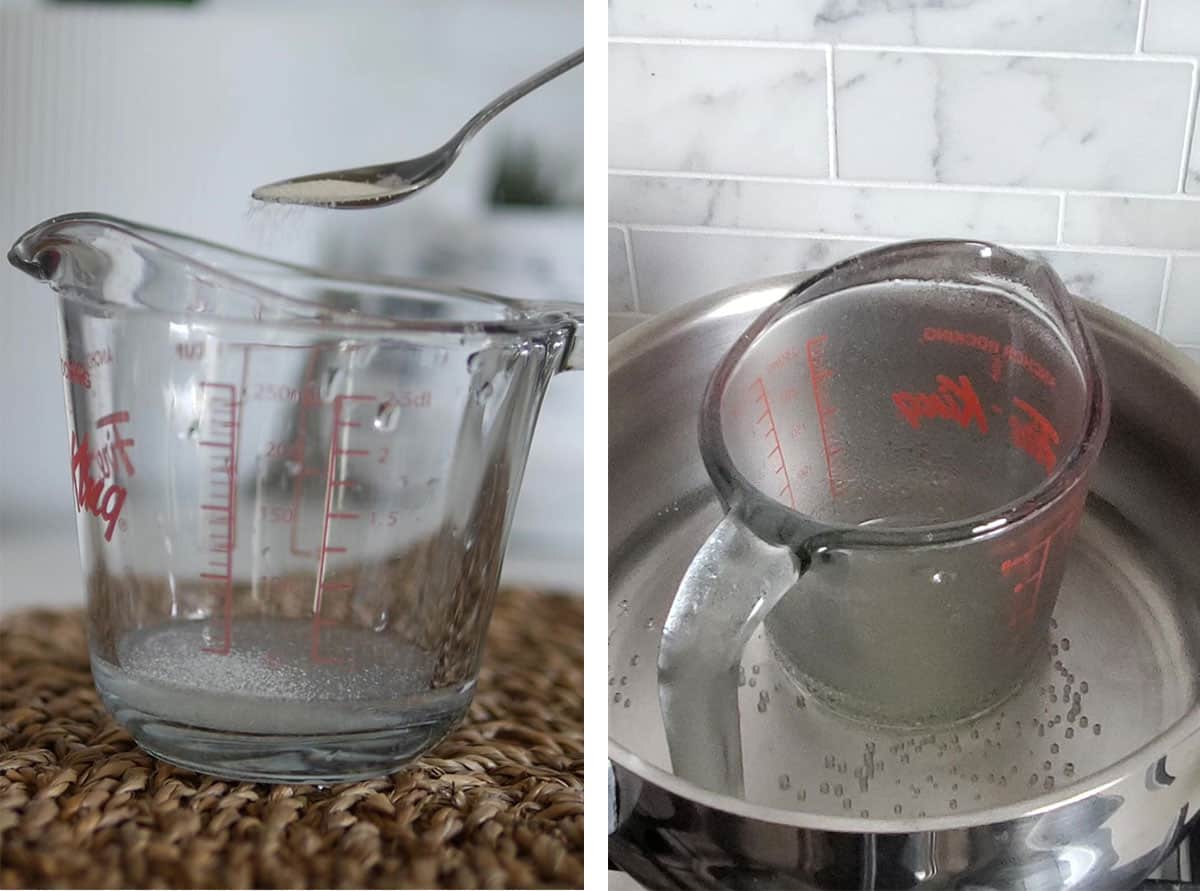
To Make Coffee Jelly: Refrigerate cups. This will help the jelly set faster. Place the first set of water in a small bowl. Sprinkle gelatin powder on top to bloom for 5 minutes. TIP: do not dump in the powder as a pile as the center won't become hydrated with water. In a medium pot, bring the second set of water and sugar to a boil until sugar is dissolved. Turn off heat. Stir in instant coffee to taste. Some brands may require more or less.
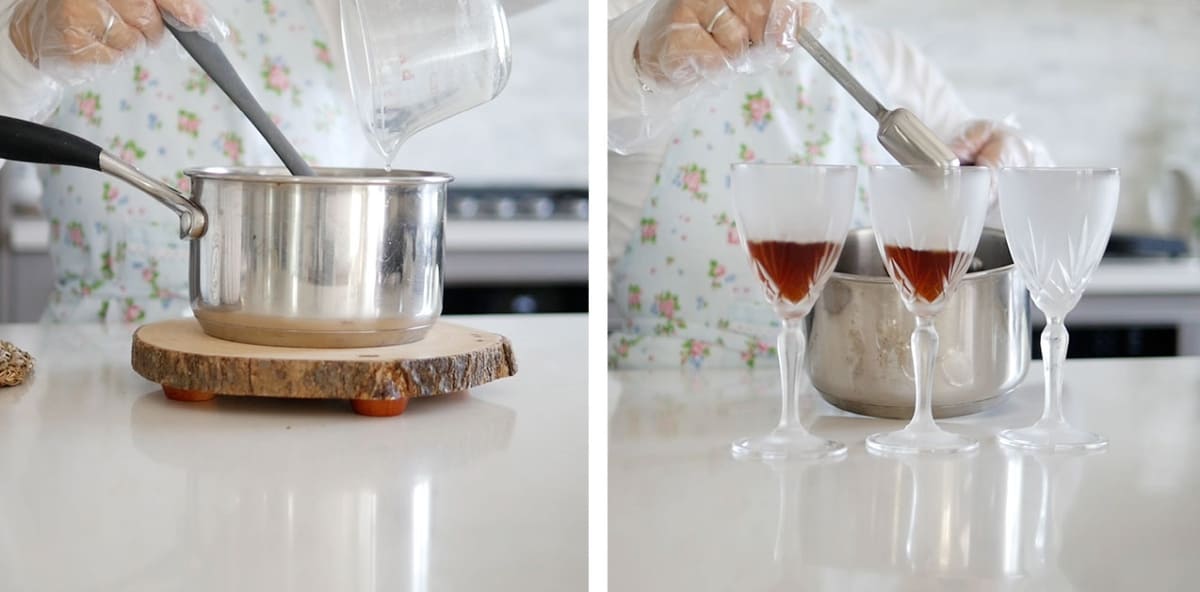
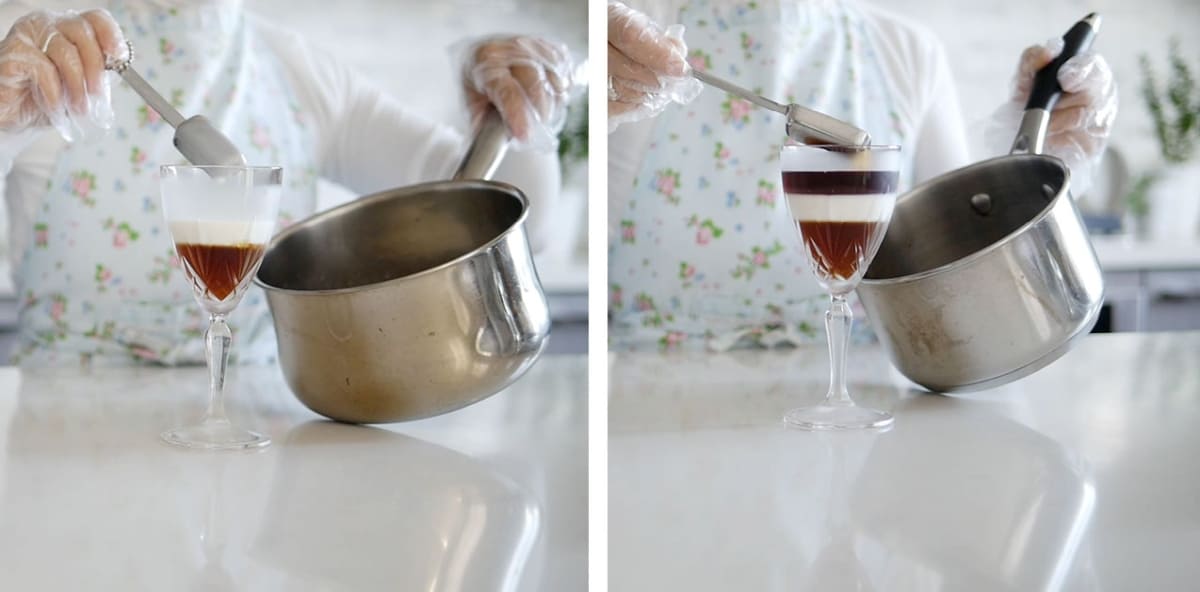
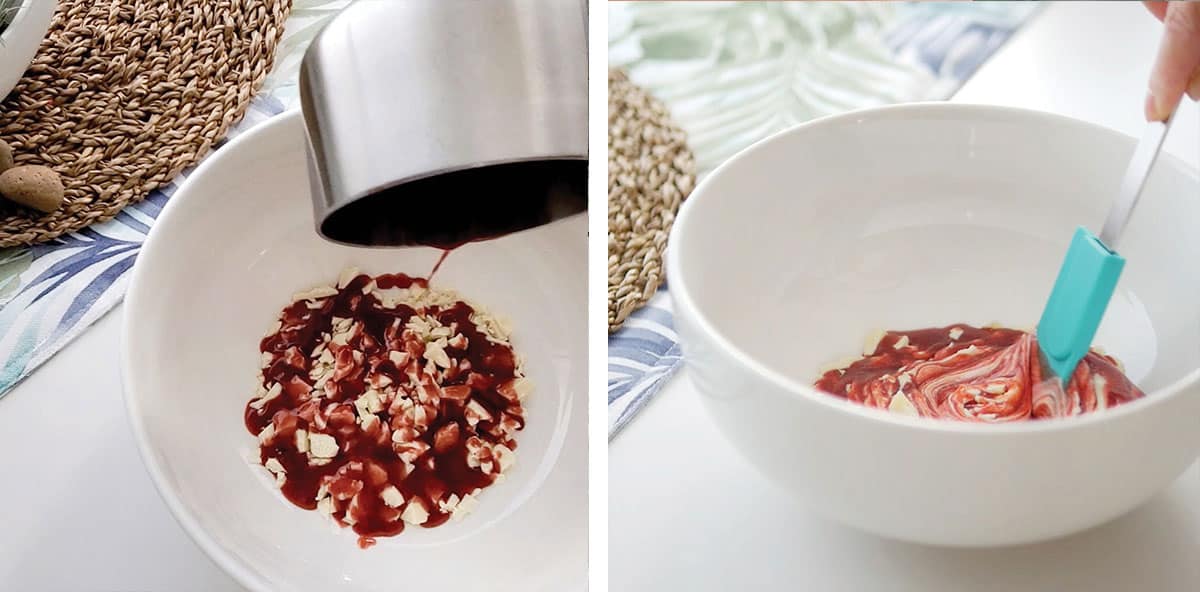
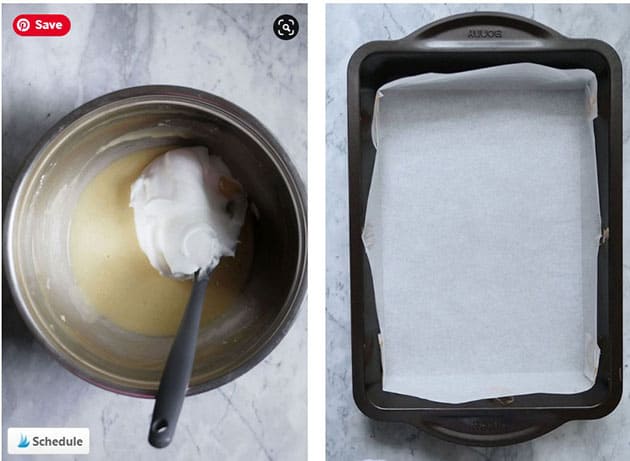
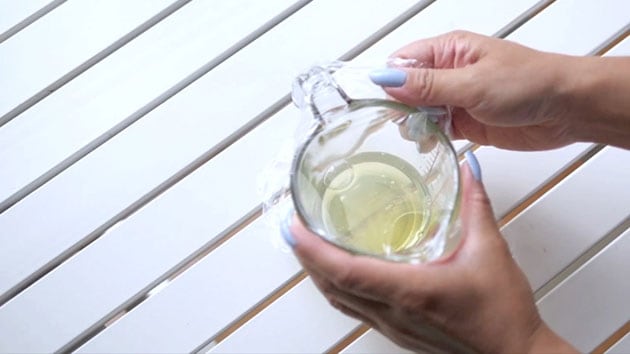
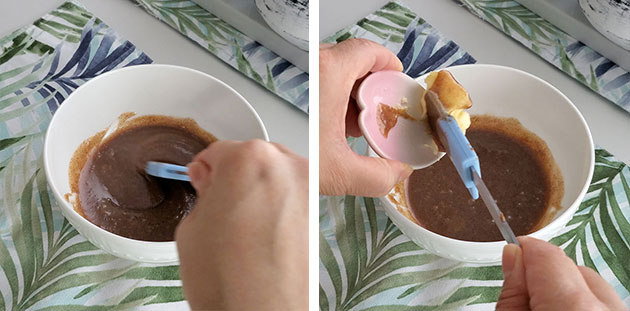
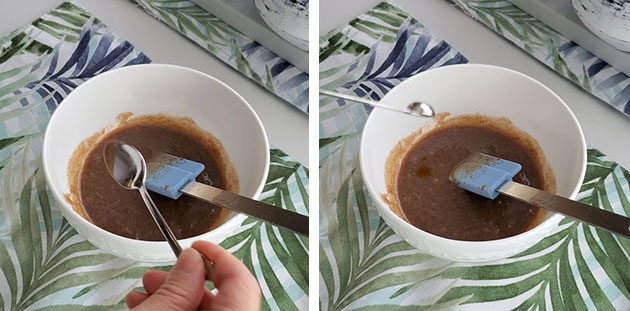
If needed, strain the mixture to rid of any coffee bits. Stir in bloomed gelatin until fully dissolved. With a small ladle, carefully transfer half of the coffee mixture evenly into the cups, filling it ⅓ of the way. Reserve the other half of the mixture at room temperature for later. Place filled cups in the fridge to set. About 30 minutes to an hour.
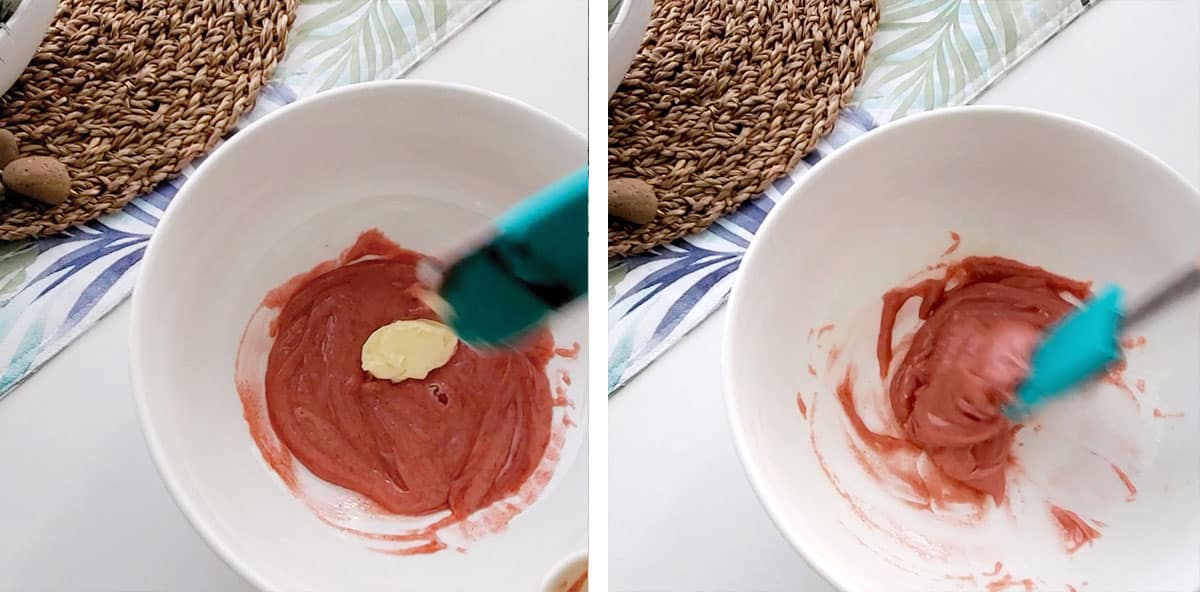
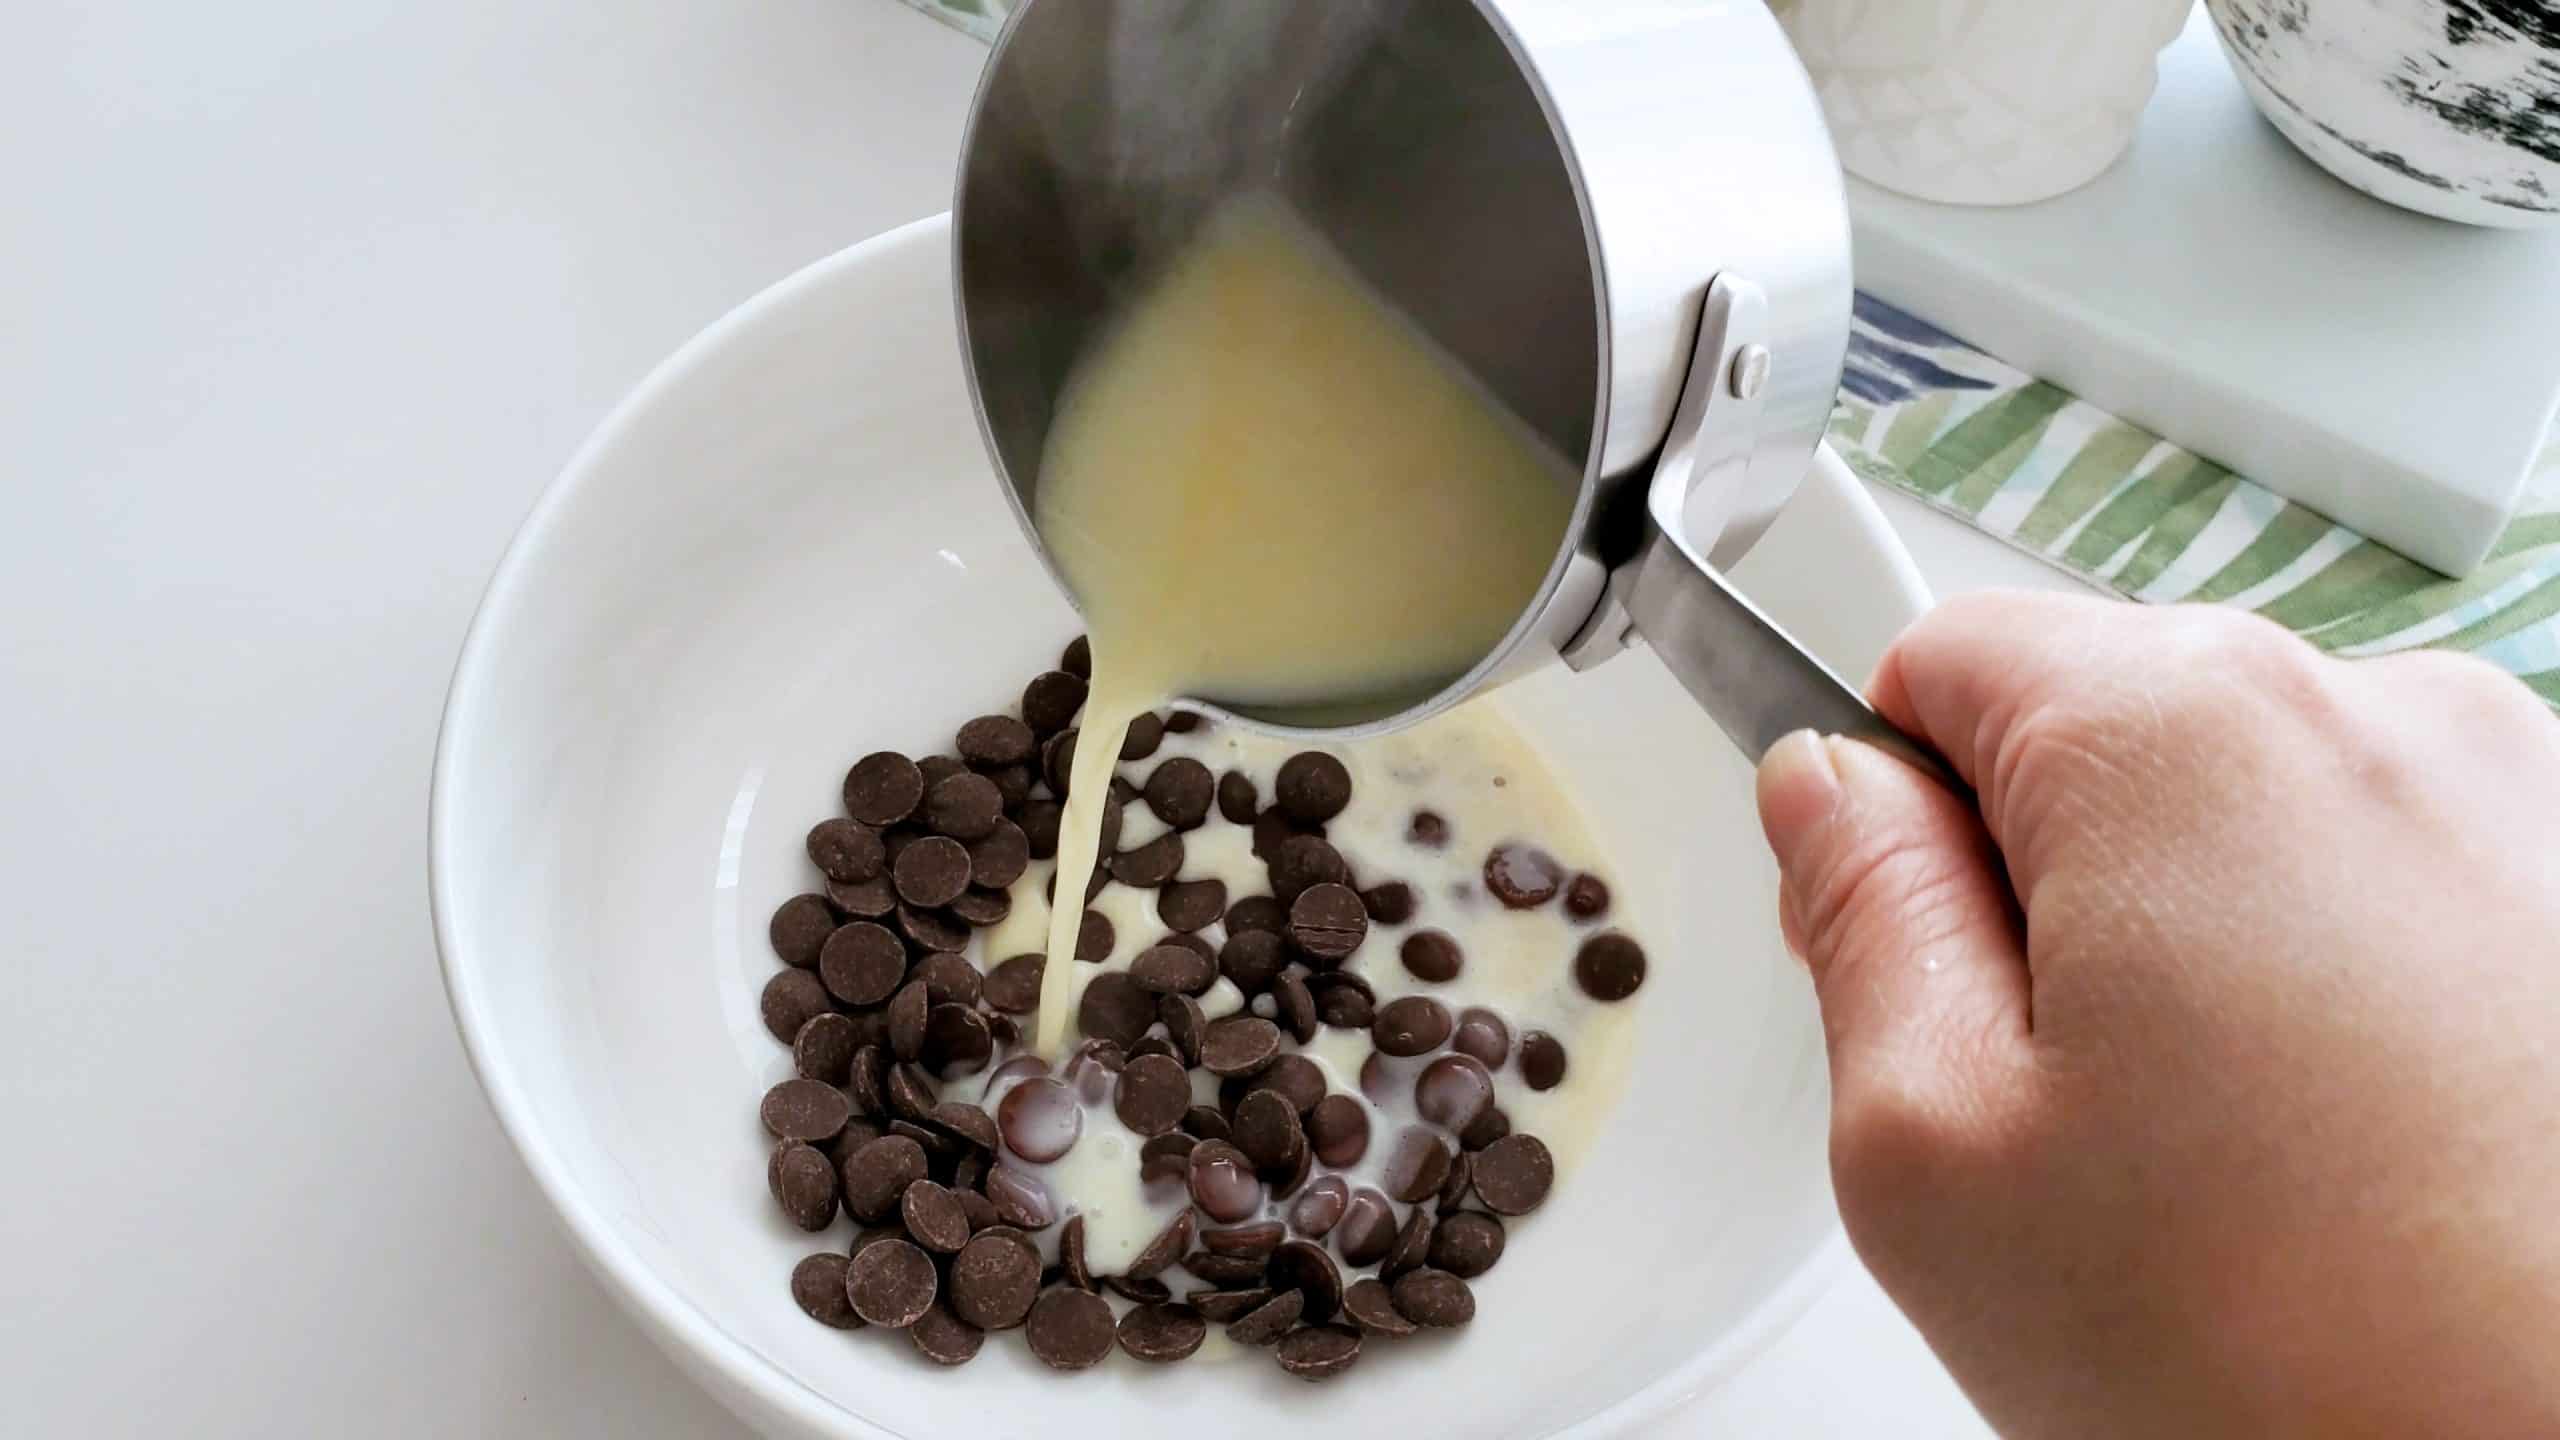
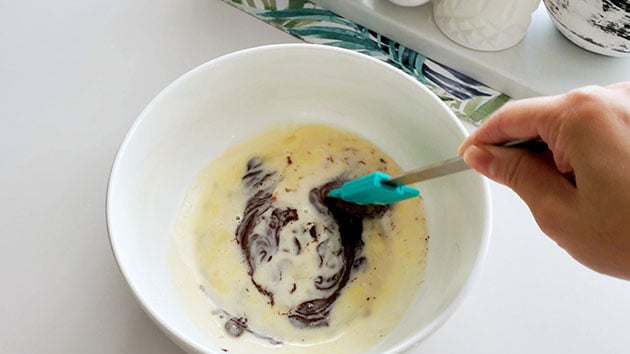
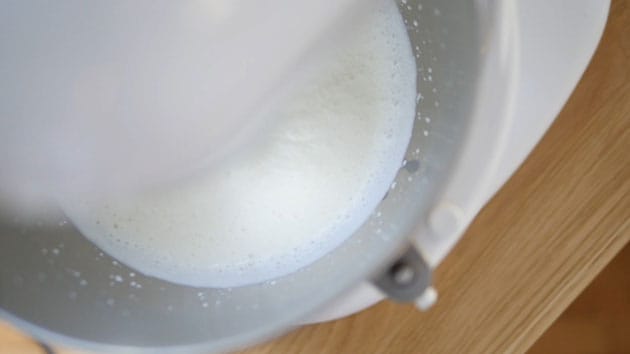
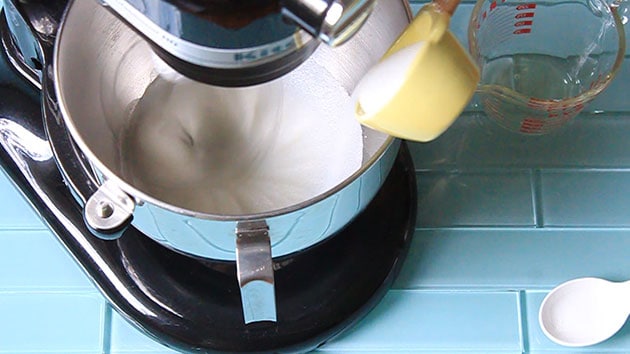
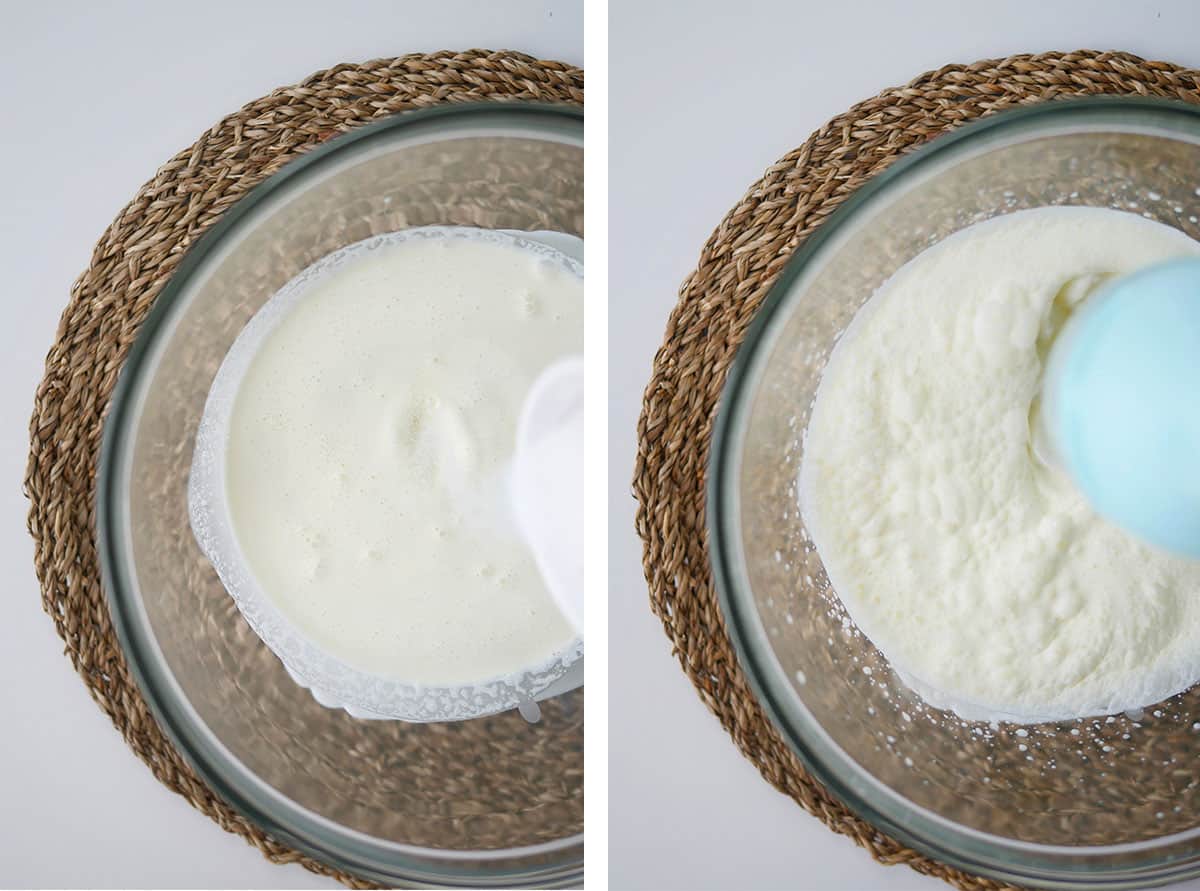
To Make Milk Jelly: Place first set of water in a small bowl. Sprinkle gelatin powder on top to bloom for 5 minutes. In a medium pot, heat the half & half and sugar until steam and bubbles appear on the side and the sugar is dissolved. Do not boil. Turn off heat. Stir in bloomed gelatin, continue stirring until fully dissolved. Set aside to cool.
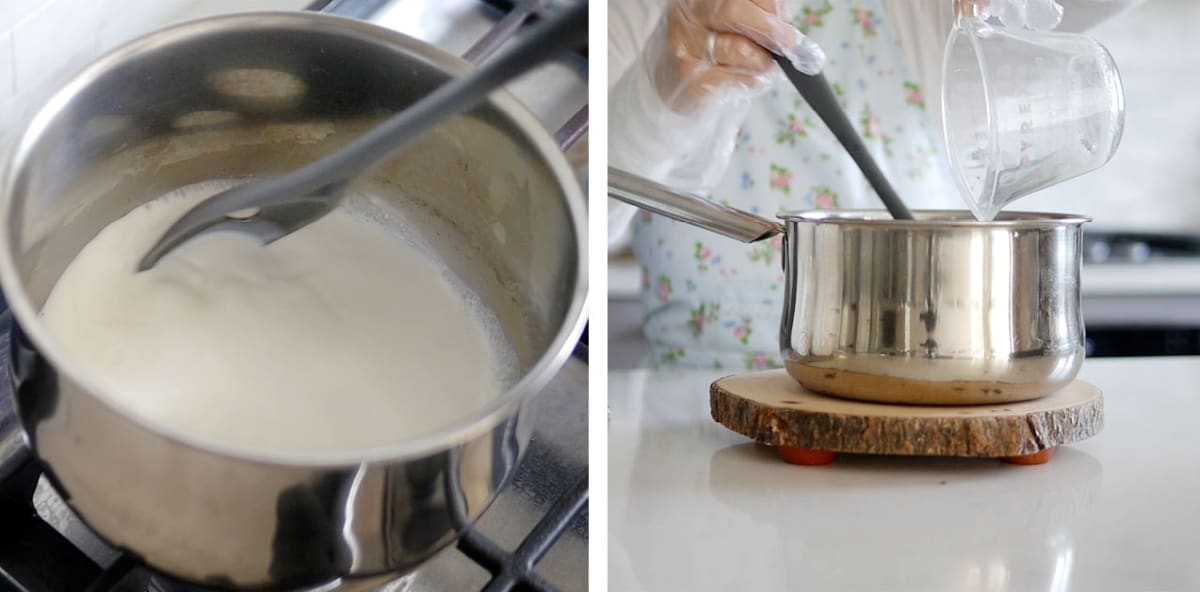
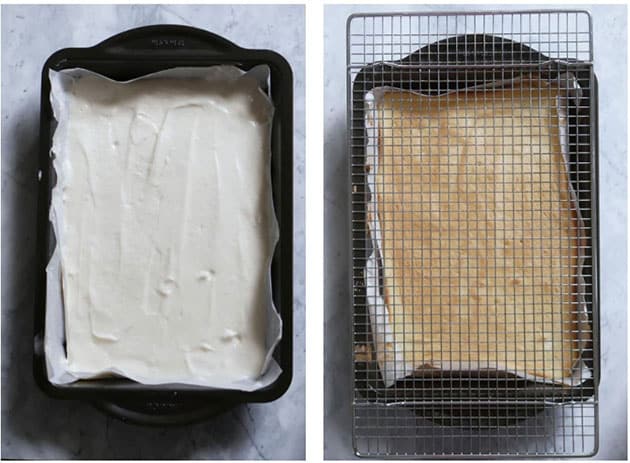
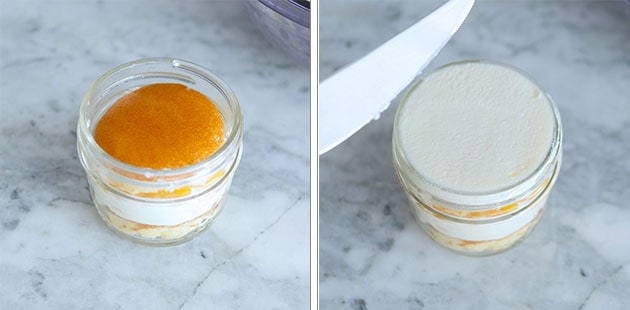
Check to see if the chilled coffee jelly has set. Once the milk mixture has cooled, carefully divide it into the cups evenly. Place filled cups in the fridge to set. About 30 minutes to an hour. Once milk jelly has set, divide remaining coffee mixture into the cups evenly. Place in fridge to set one last time. For the best results, refrigerate for a minimum of 8 hours.
Tips for Working with Gelatin
- Sprinkle to bloom. Sprinkling the gelatin powder onto cool water in a vessel with a large surface area will help hydrate the gelatin before use. Do not dump it into the water in a pile as the water won't be able to reach the center.
- Do not boil gelatin as it will lose its efficacy. In this recipe, we add it to the pot of hot coffee and milk to dissolve but it does not come to a boil. If it cannot be fully dissolved, place the mixture into a heat-proof bowl over a pot of boiling water and stir until it fully dissolves, being careful not to boil it.
- Chilling the cup or mold you plan to use will help the mixture set more quickly.
- When filling the cups, do not pour a hot mixture onto an already set layer of jelly as it will melt it.
- To further cool the mixture before pouring, place the mixture over a bowl of ice.
- Let each layer set in the fridge before pouring the next layer. It will take about 30 minutes to 1 hour. Chill the entire dessert for a minimum of 4 hours for the most desirable texture.
How To Serve and Store Coffee Jelly
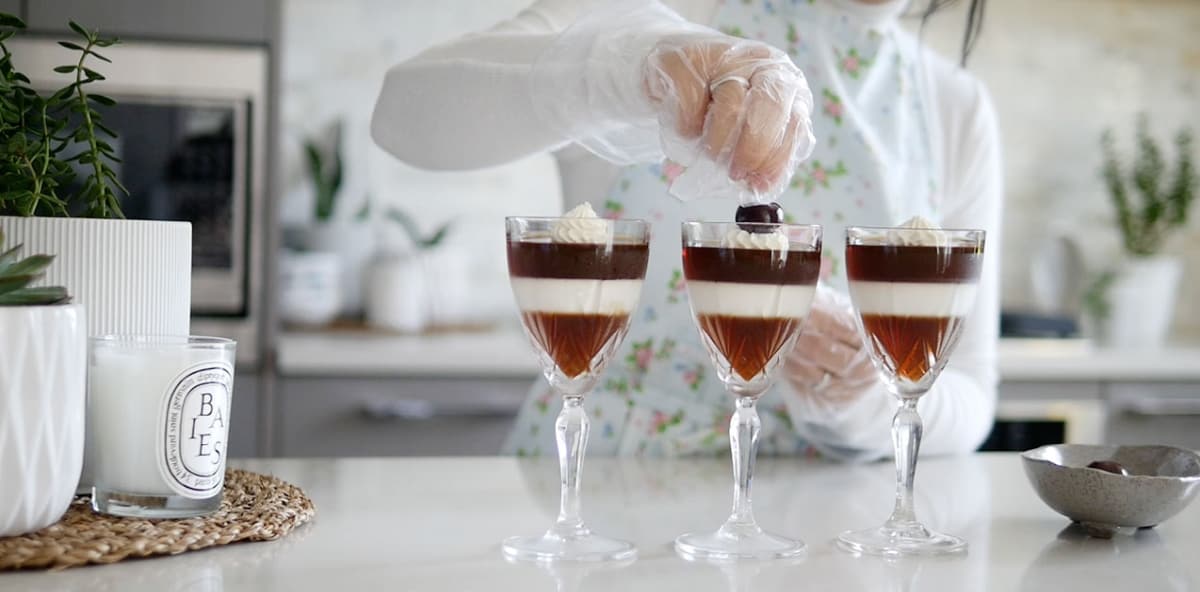
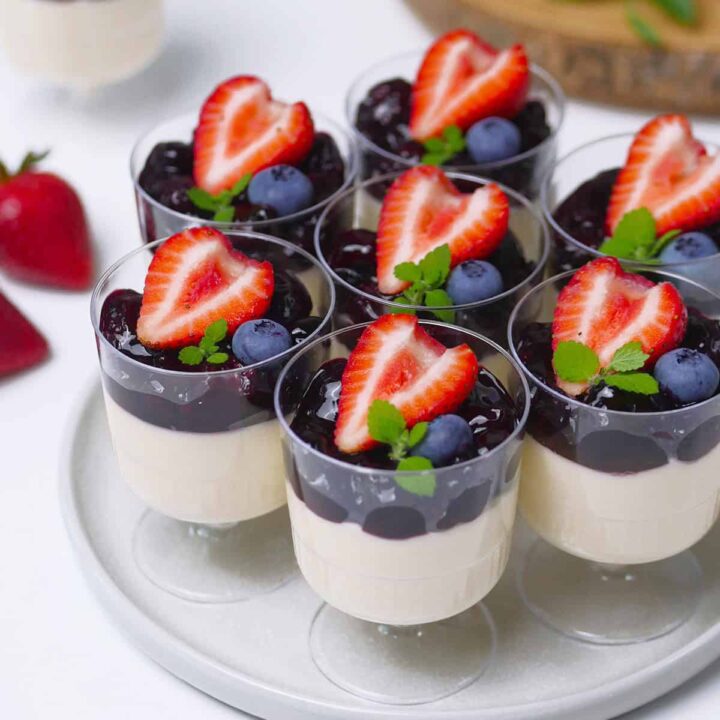
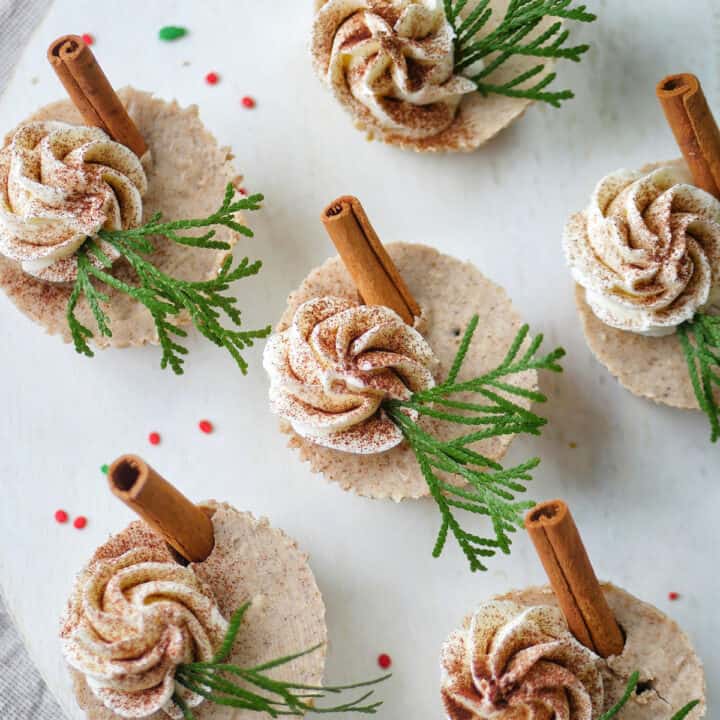
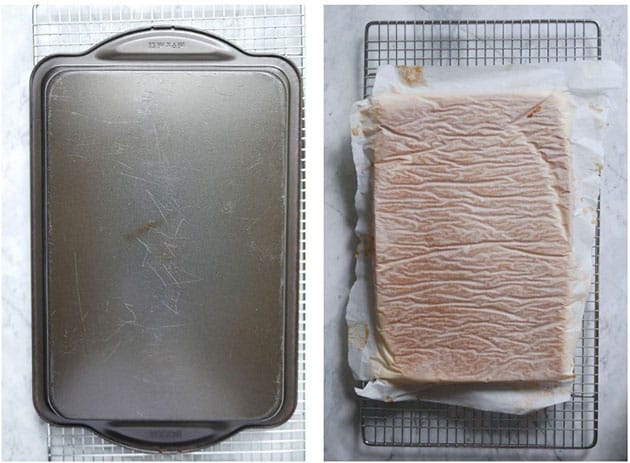
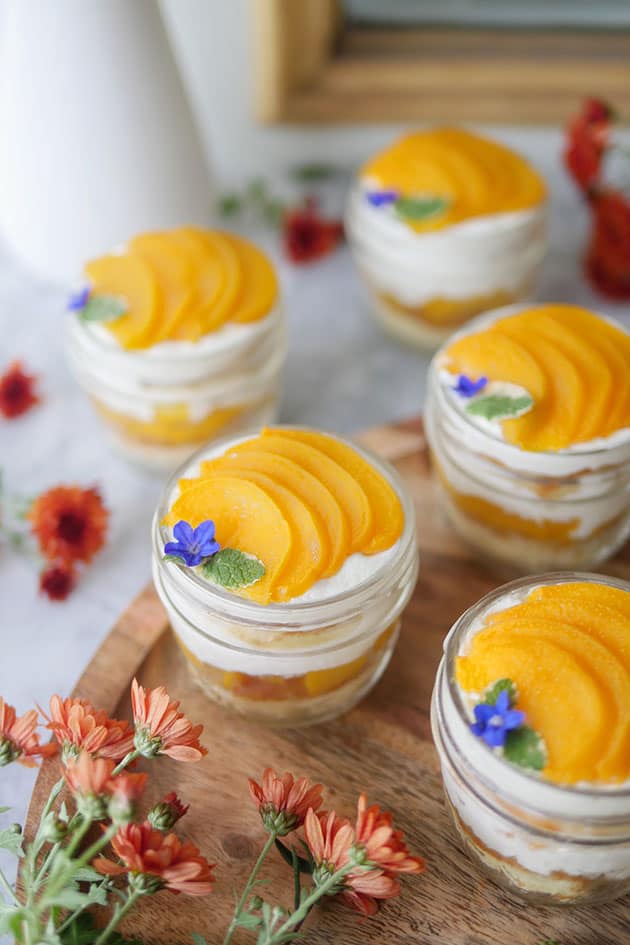
There are so many creative ways to serve coffee jelly for eating at home or at a party. This coffee jelly recipe is firm enough that you can make it it in a large tray which you can unmold and cut into cubes. With the cubes, you can place them in a glass and add coffee or latte for a delicious caffeinated drink. Alternatively, you can make them in little individual cups and decorate with your favorite toppings like whipped cream, mascarpone whipped cream, chocolate whipped cream, mint leaves, coffee bean, fresh fruit or simply with a splash of cream. It's so easy to dress up this dessert for a special occasion.
Keep coffee jelly covered in the fridge for up to 4-5 days. Do not add any toppings until you are ready to serve the dessert. It cannot be frozen and thawed as the texture will change dramatically but it can be consumed frozen if desired.
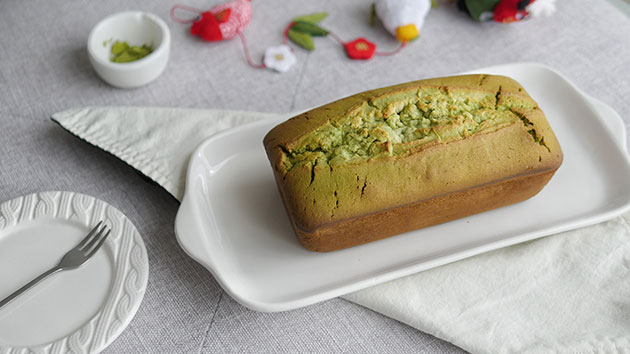
Other Japanese Style Desserts You'll Love
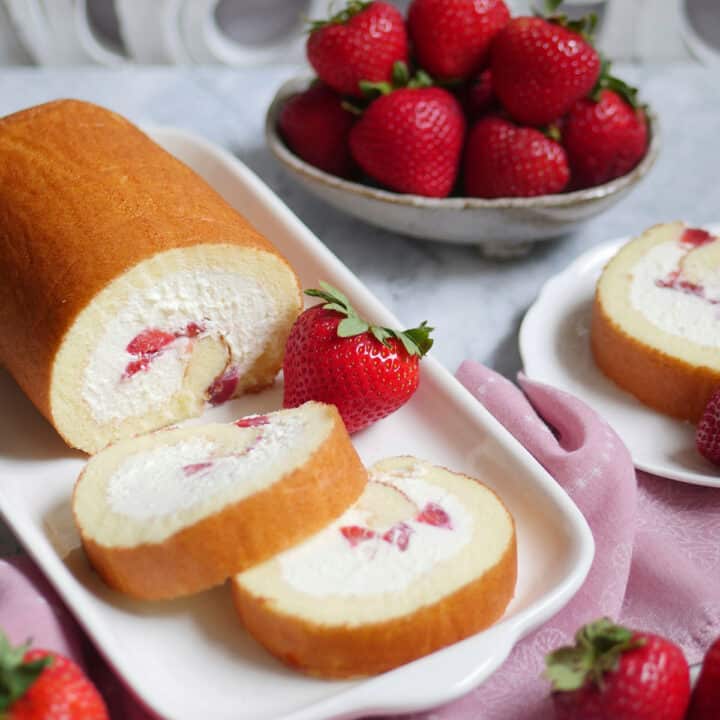
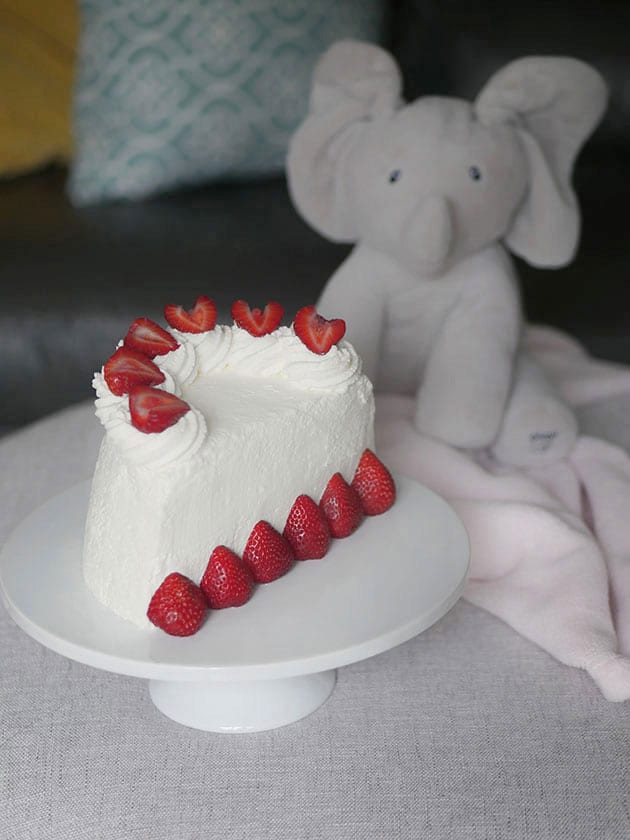
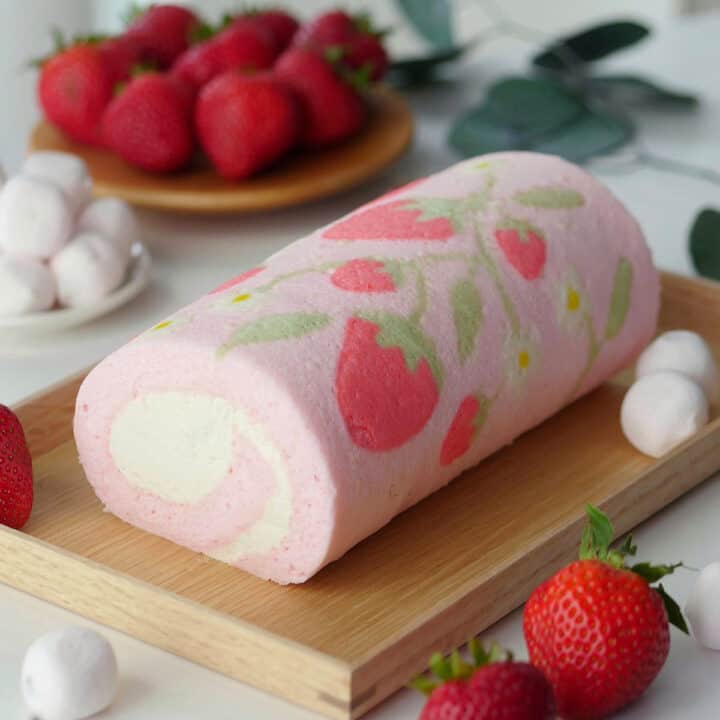
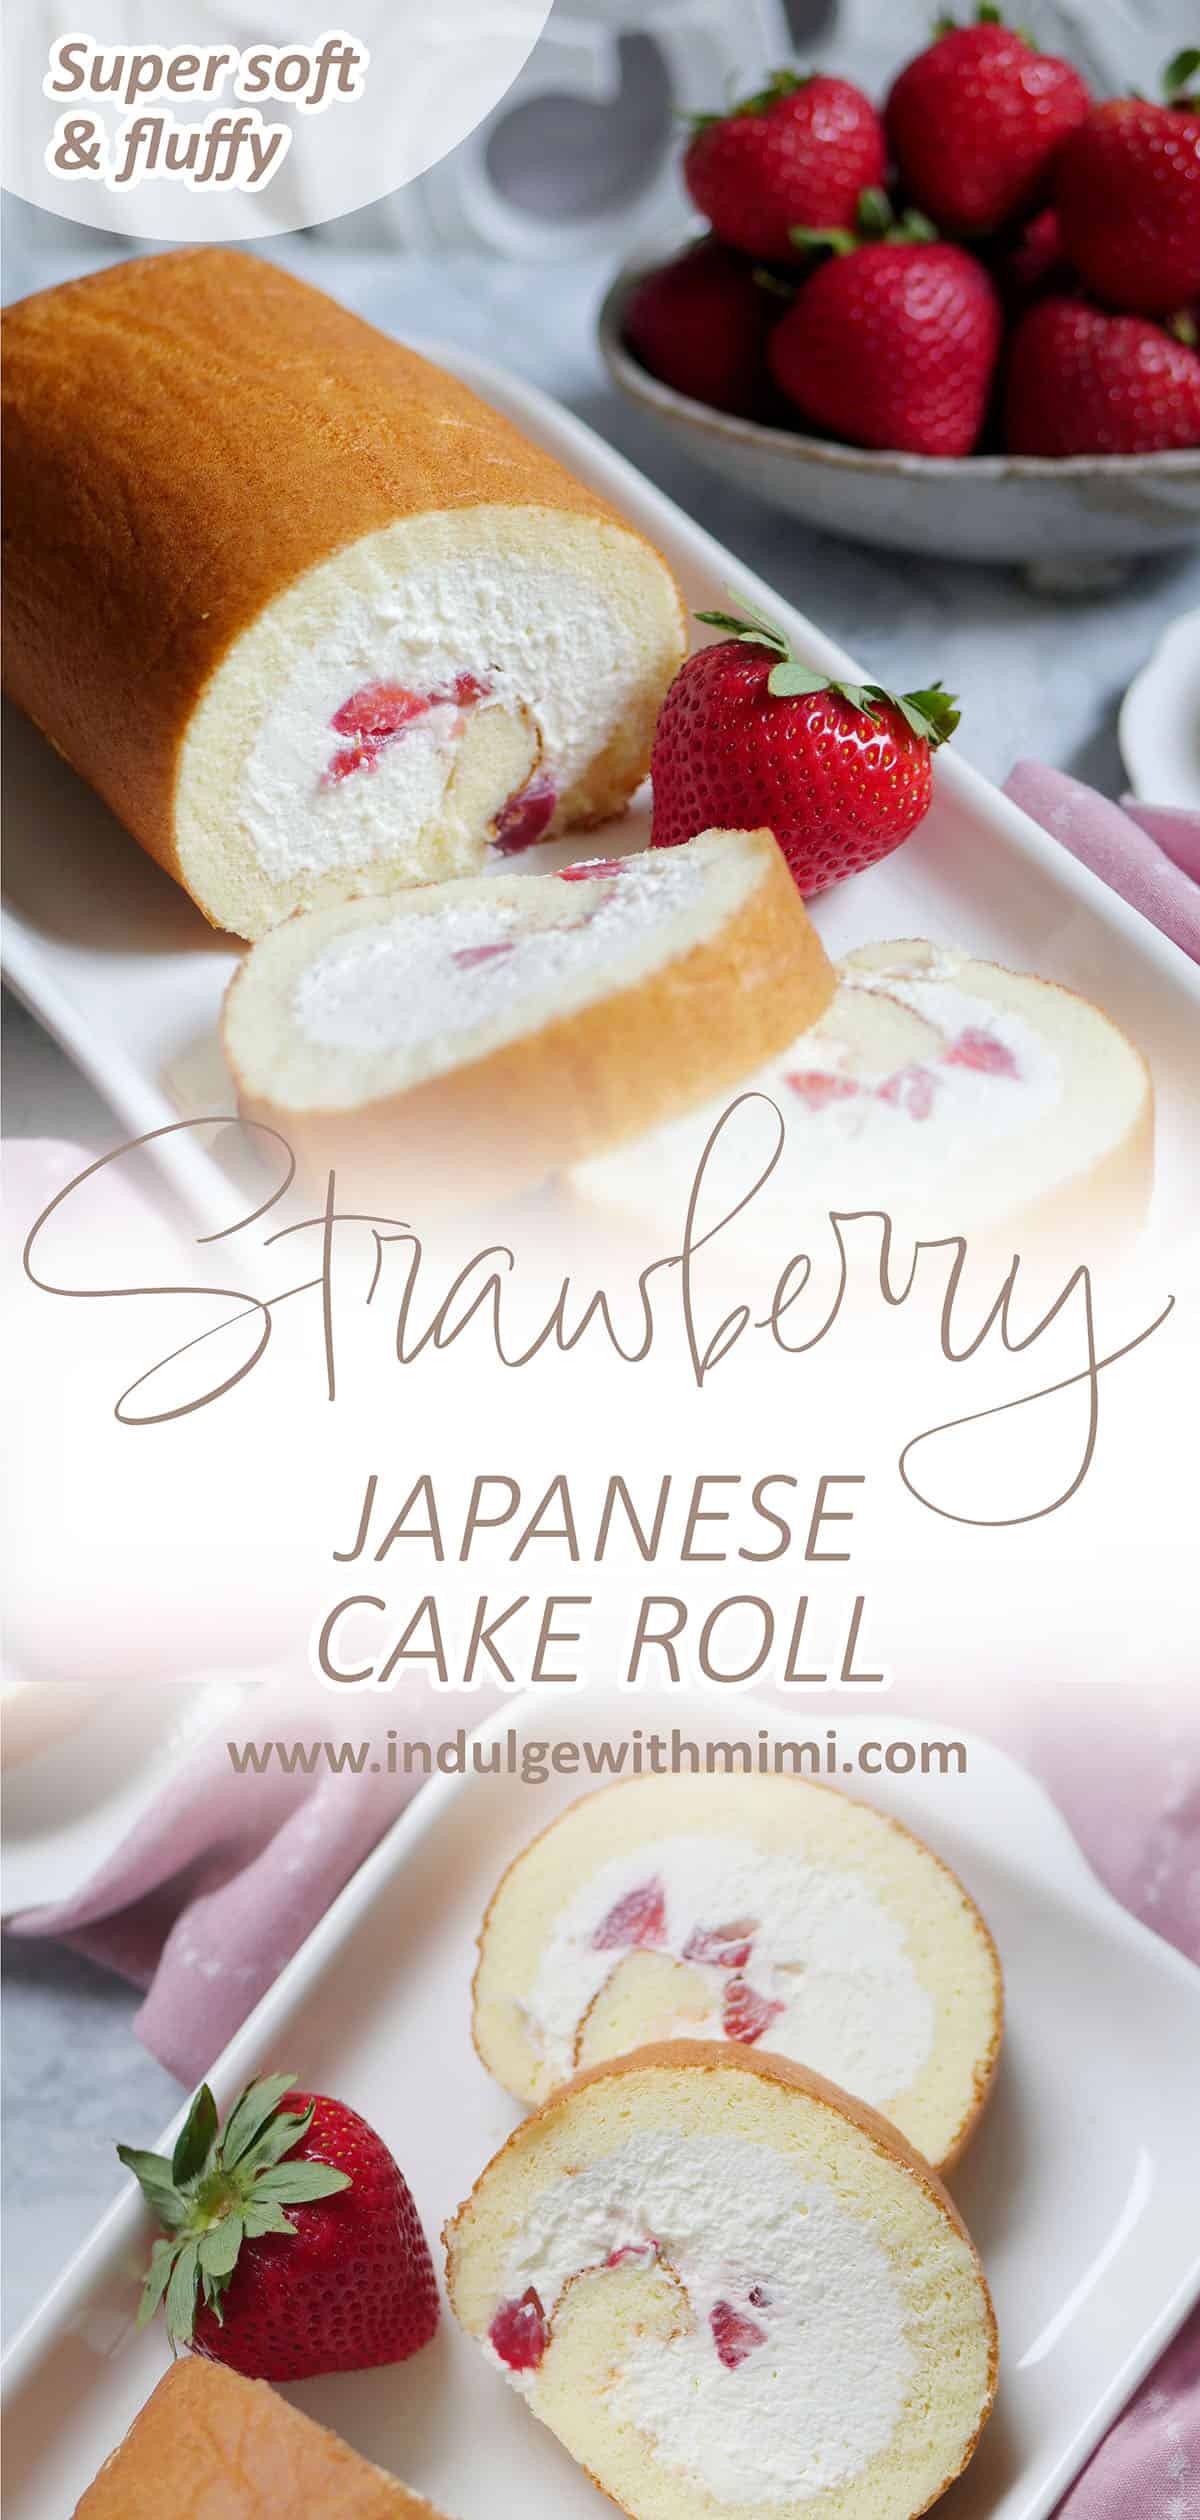
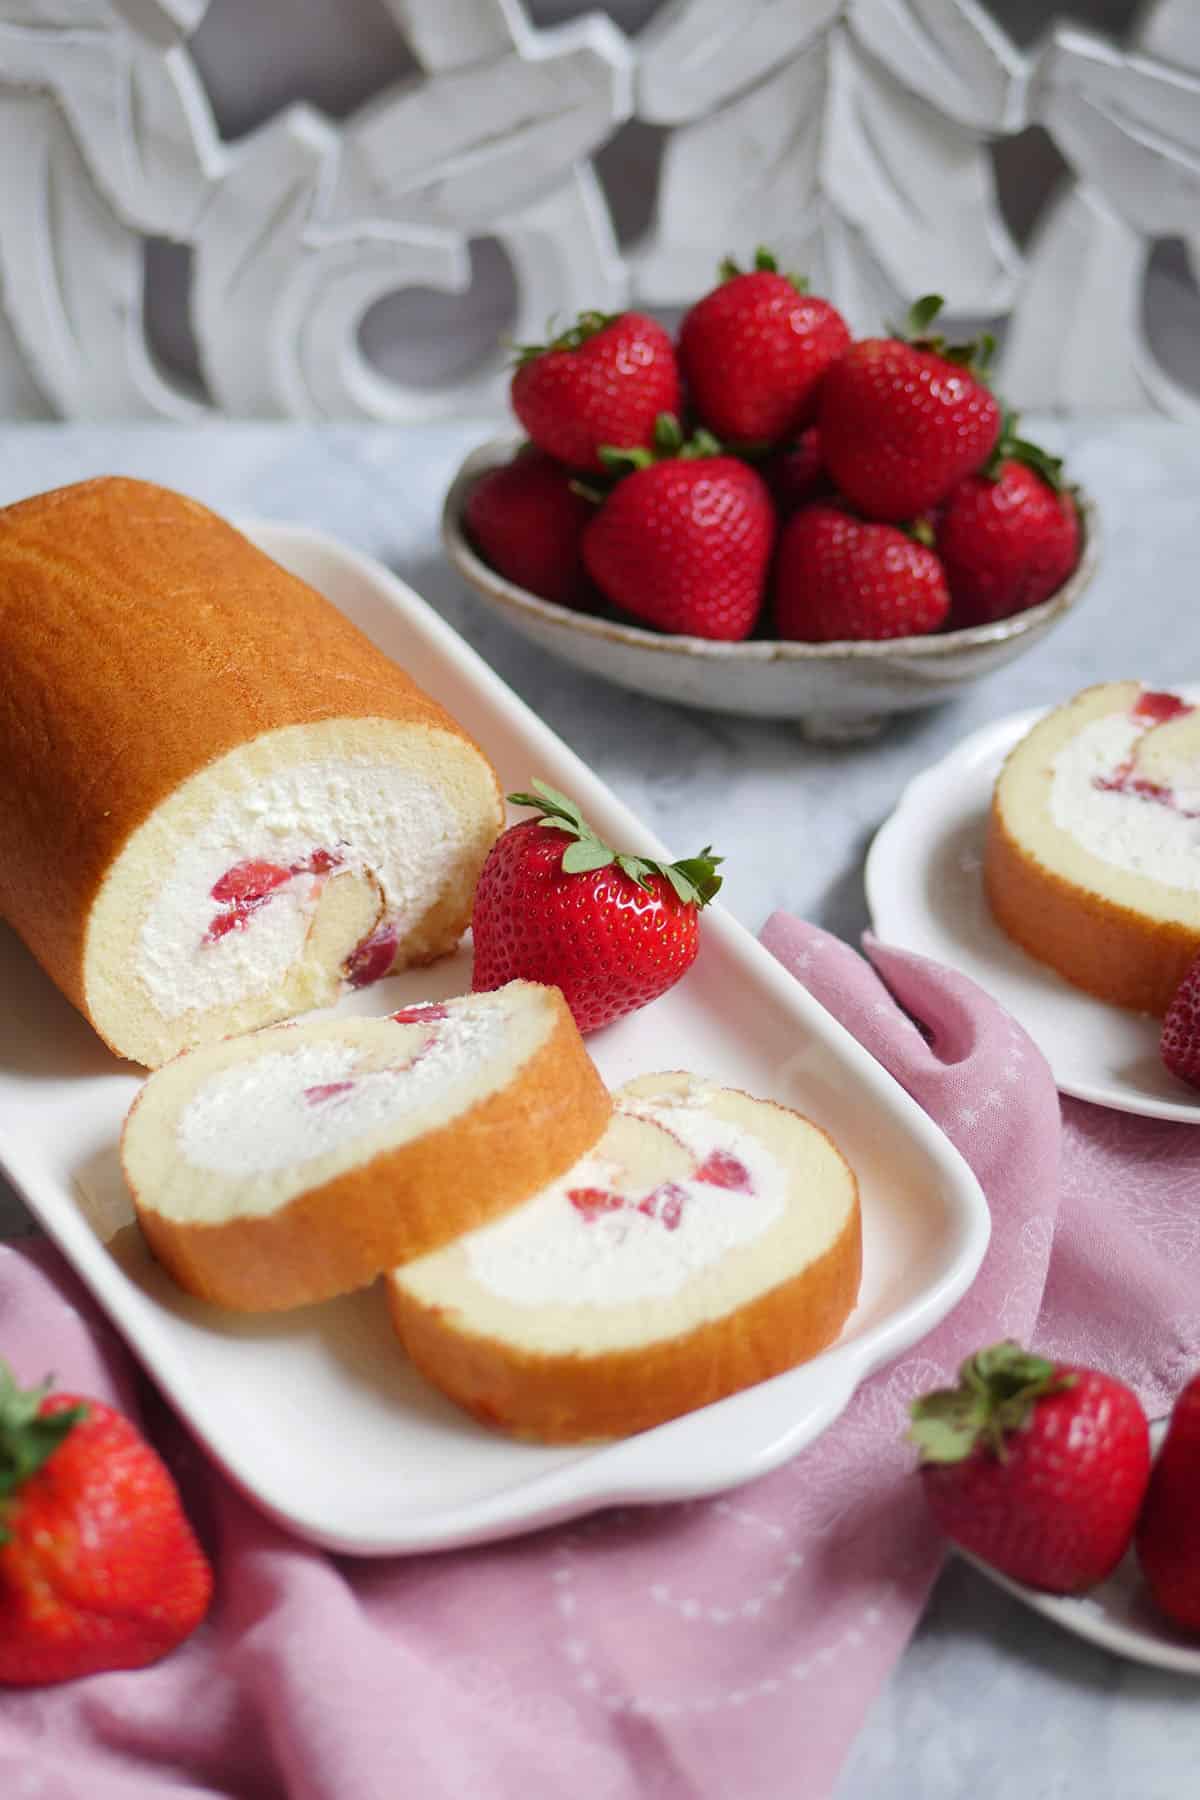
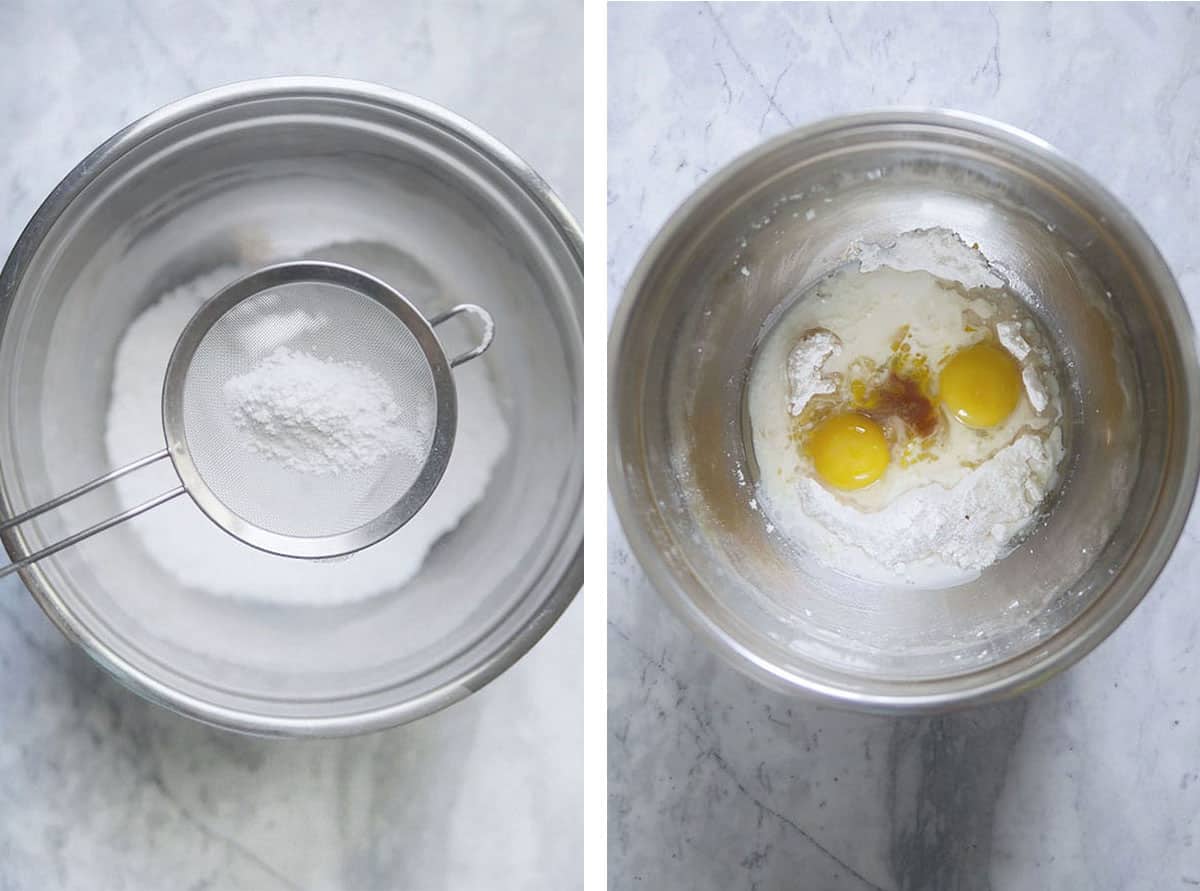
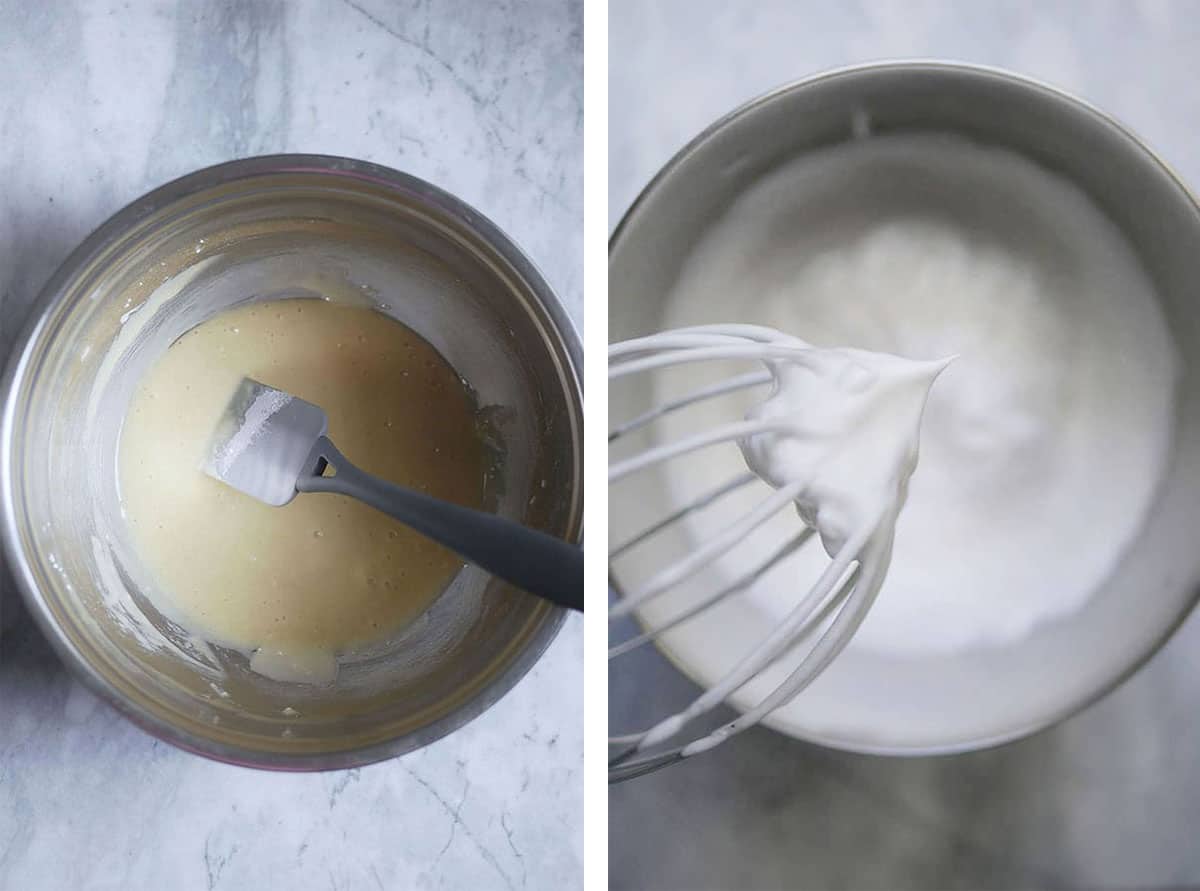
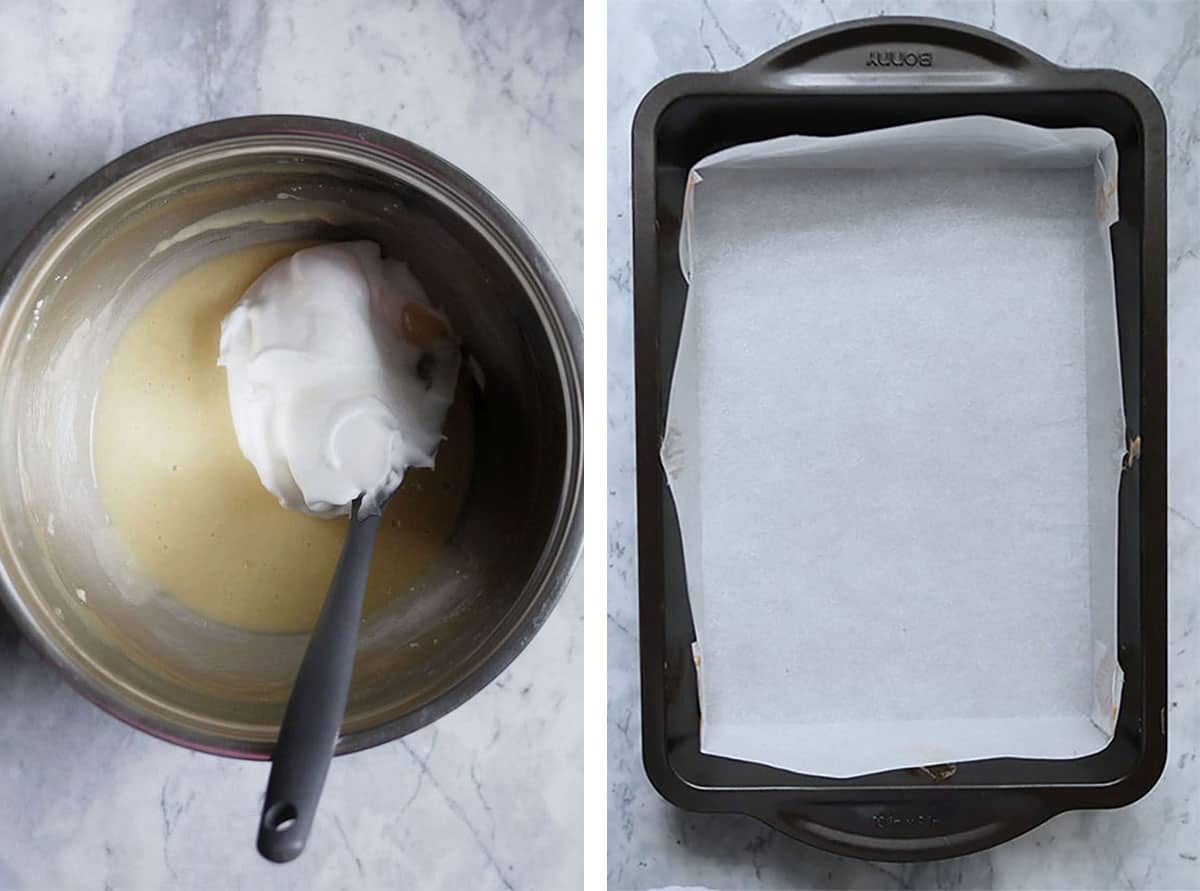
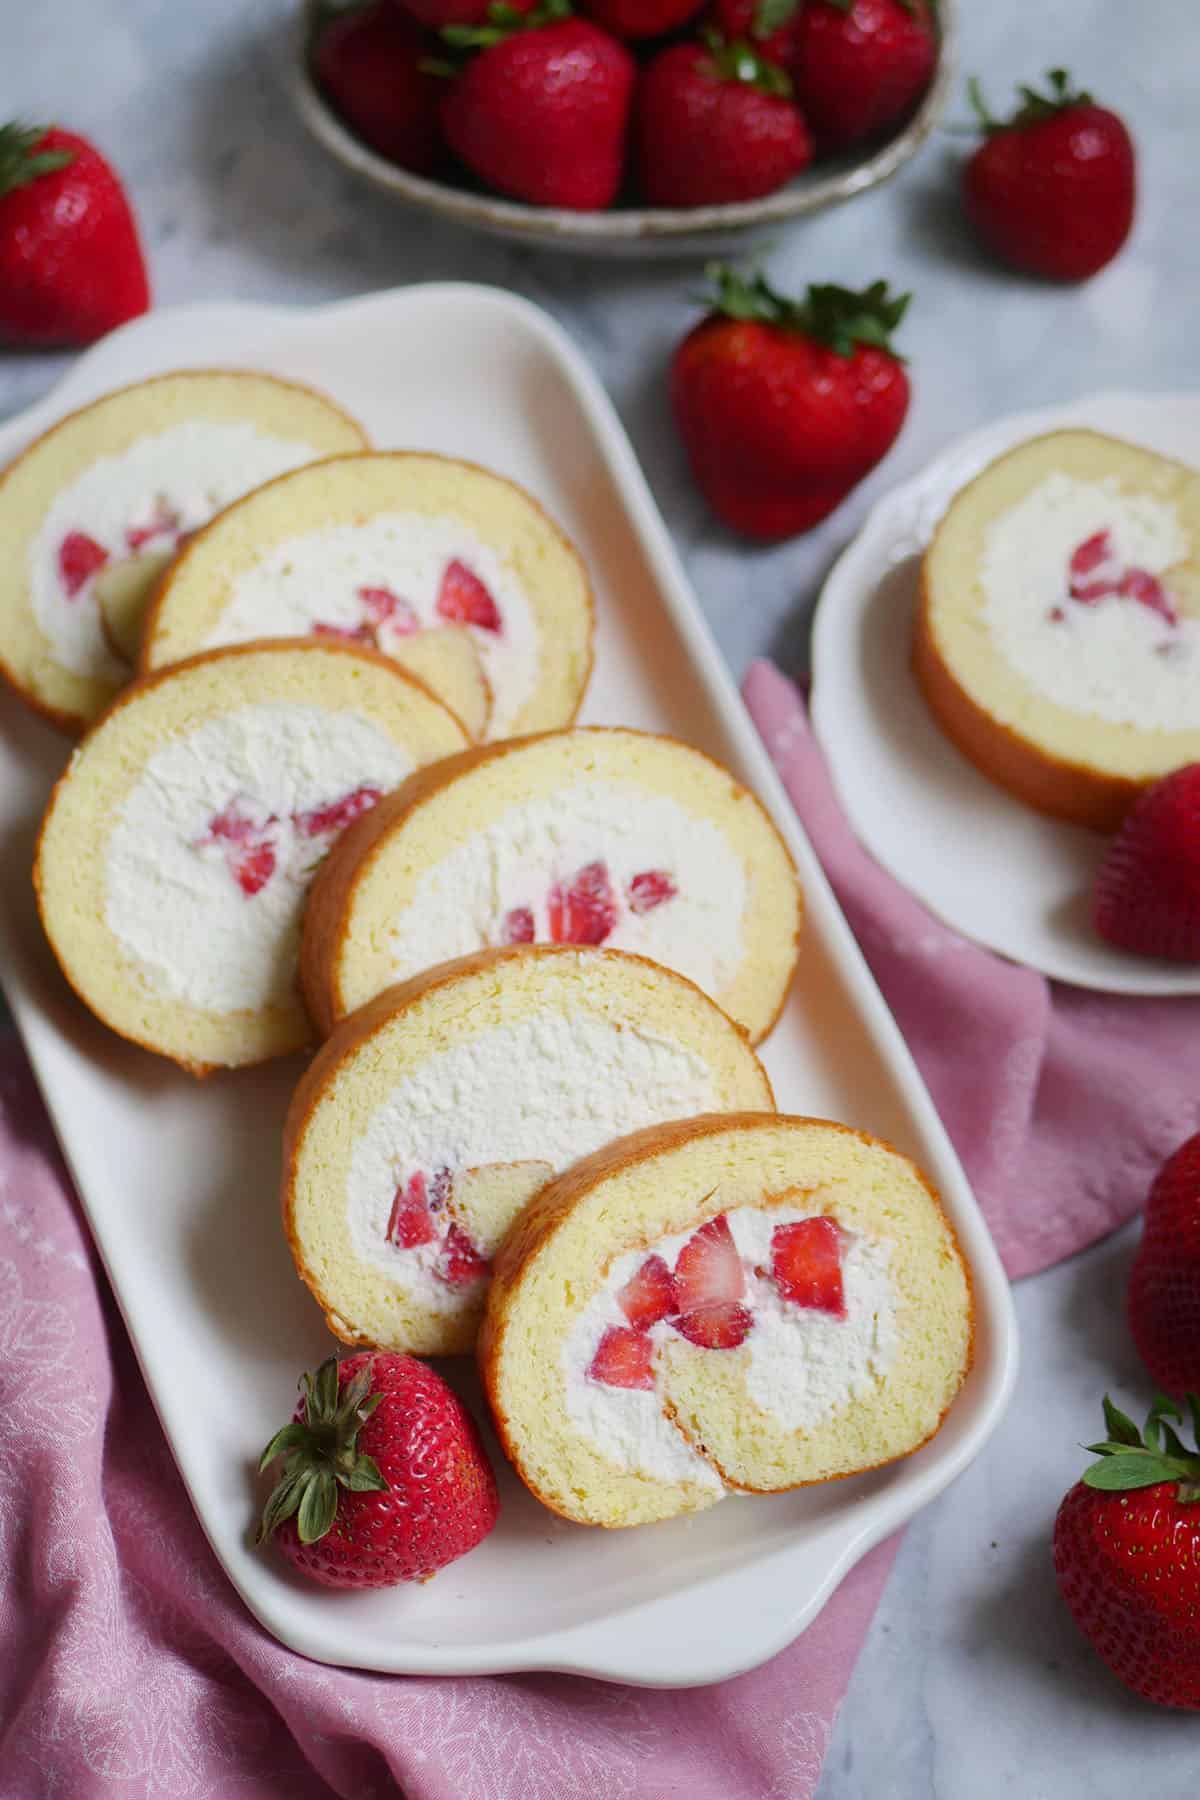
- Japanese Strawberry Cake Roll
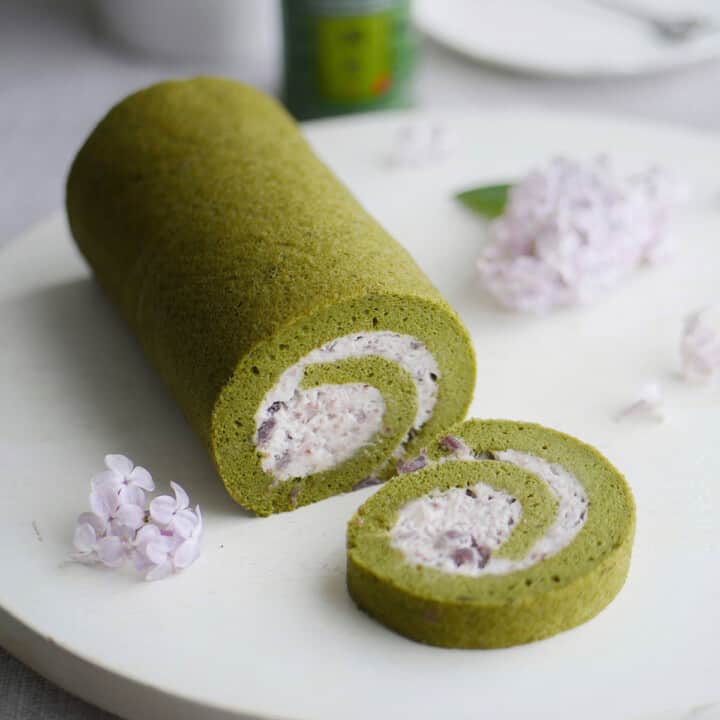
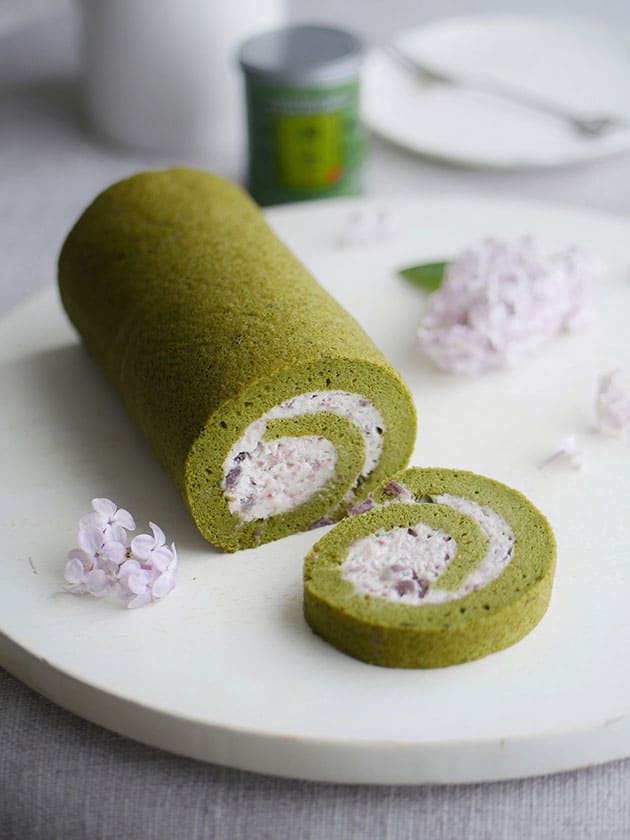
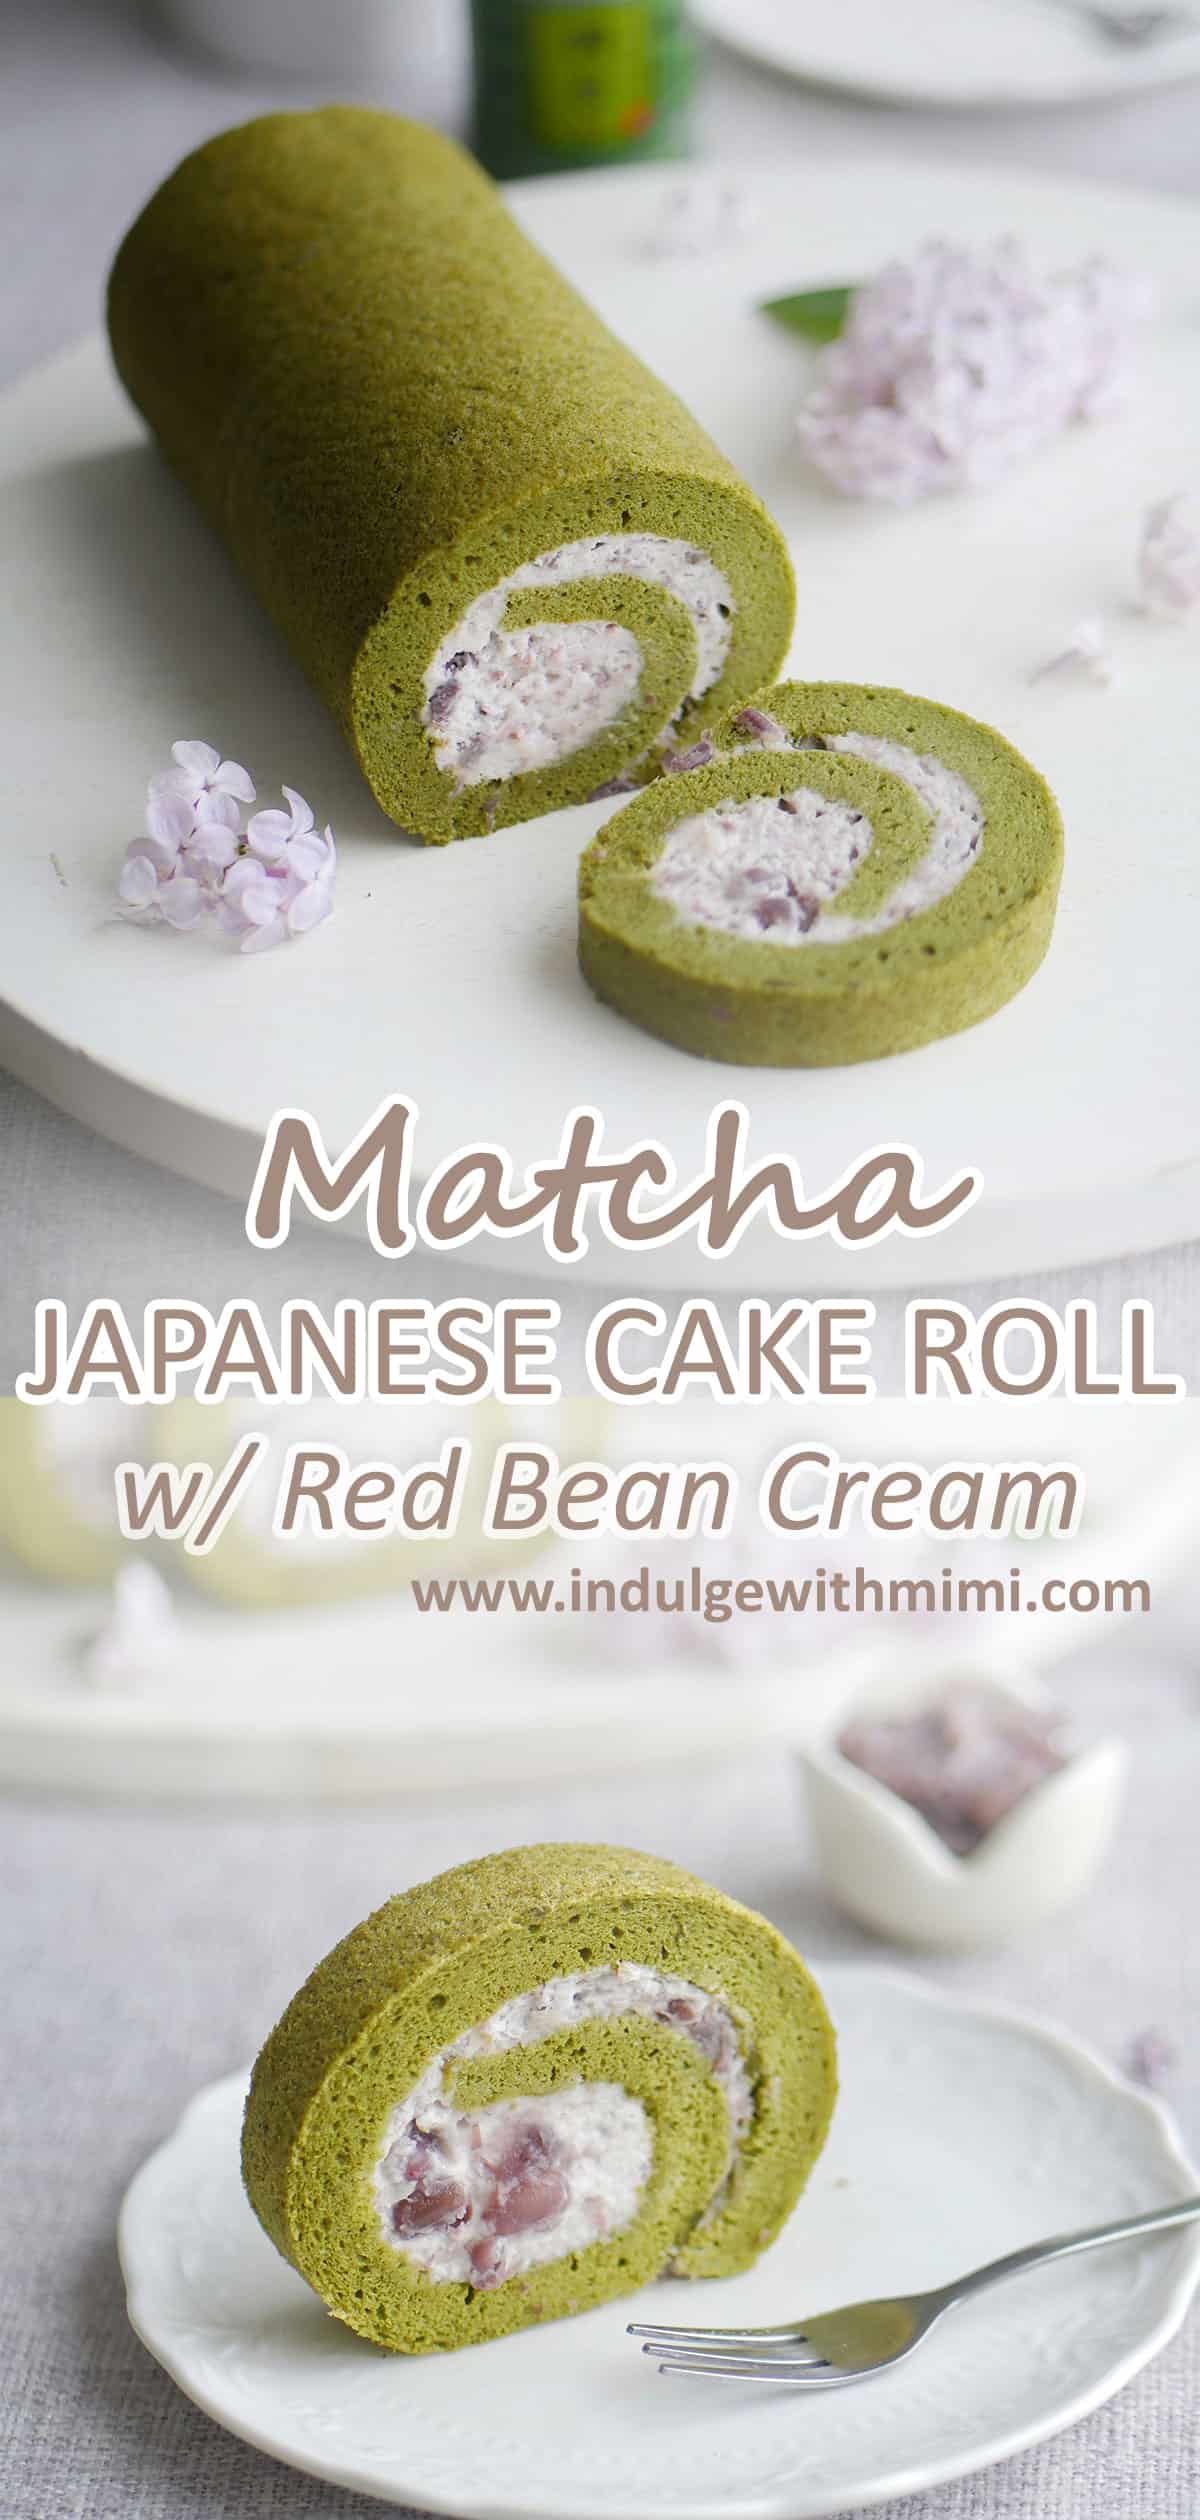
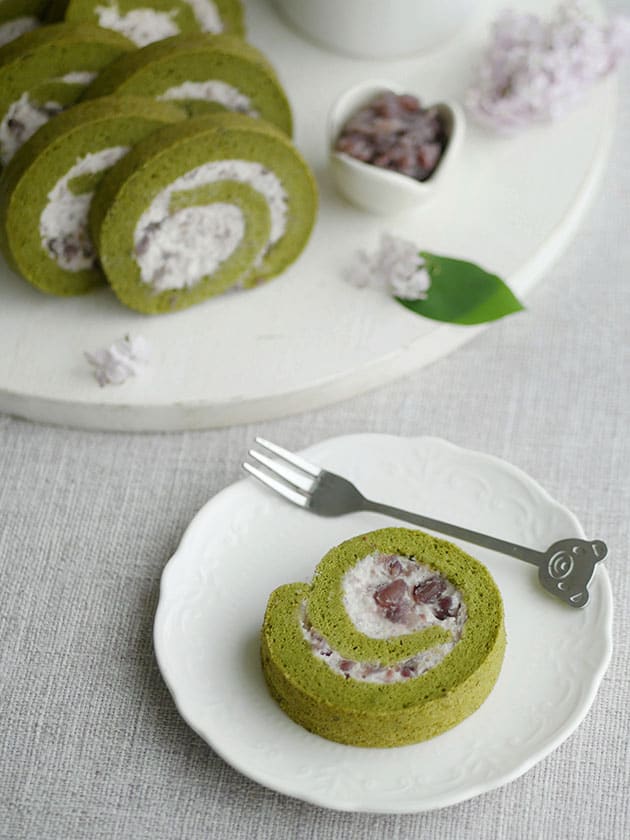
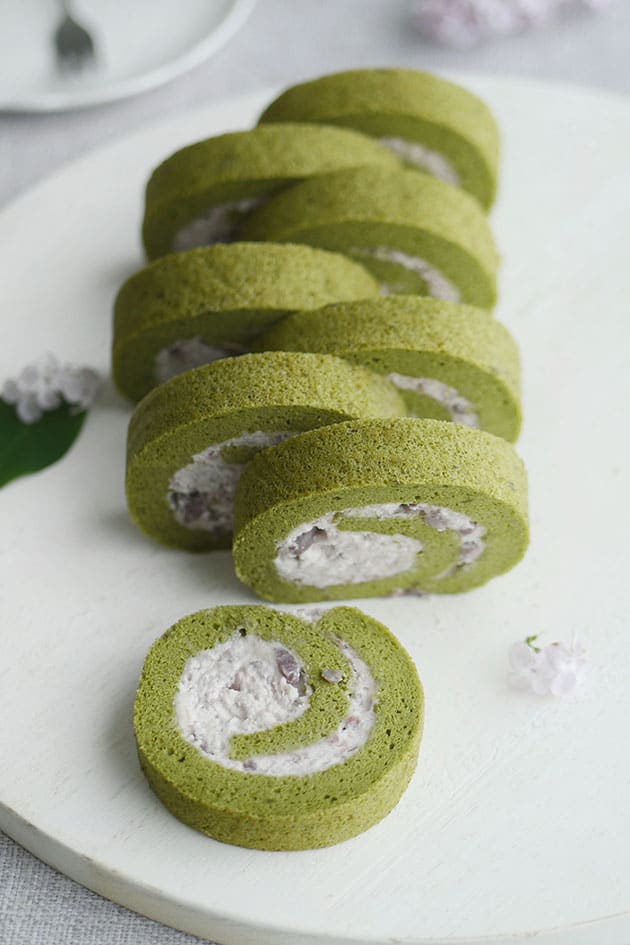
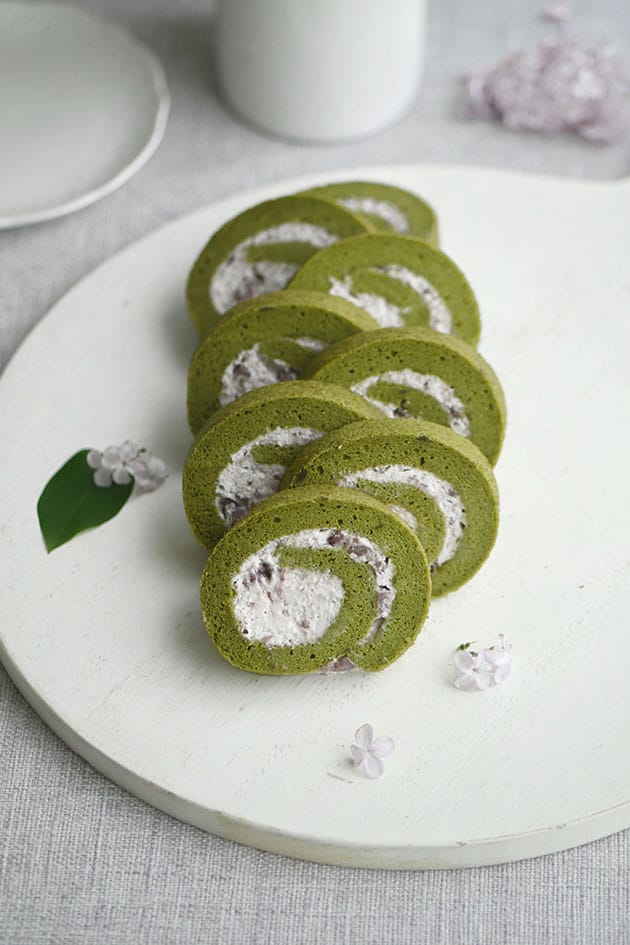
- Matcha Cake Roll with Adzuki Red Bean Cream
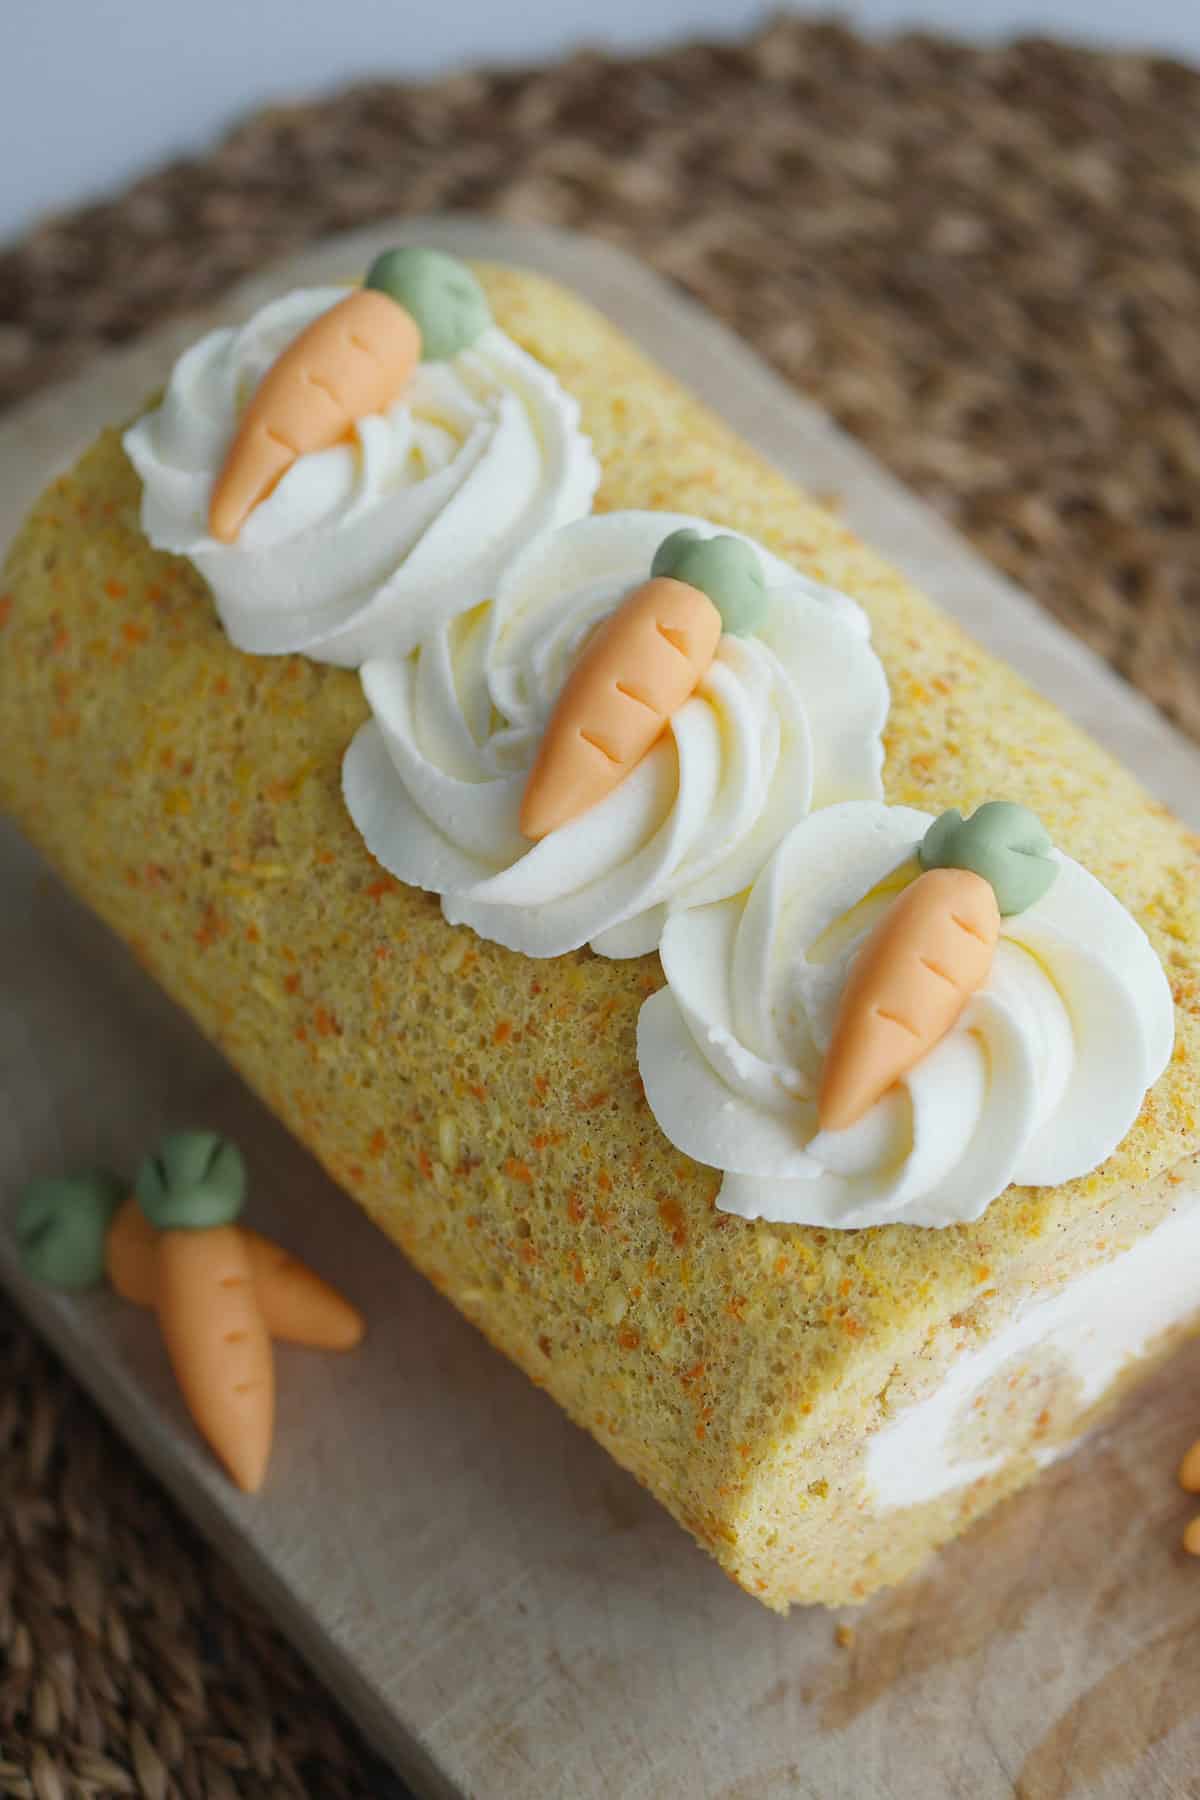
- Japanese Carrot Cake Roll
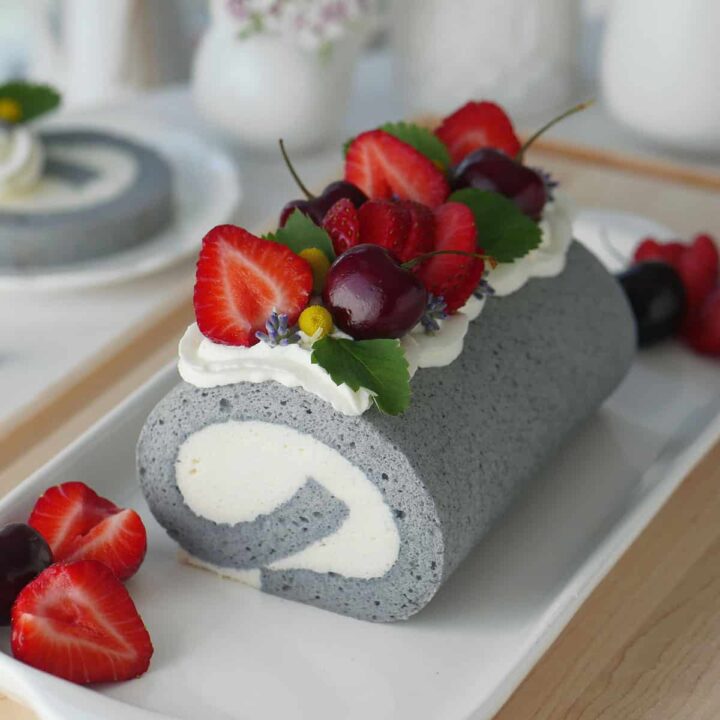
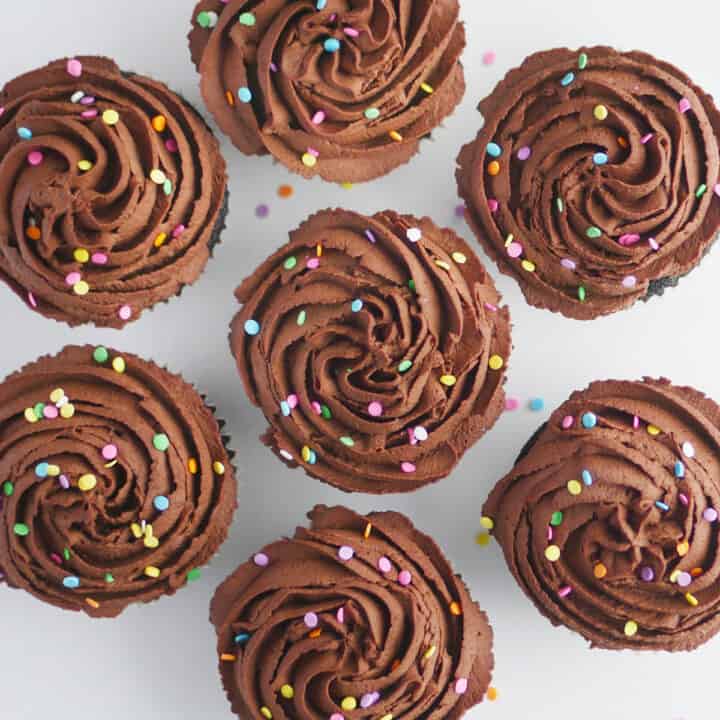
- Chocolate Cake Roll
- Japanese Earl Grey Cheesecake
Recipe
Coffee Jello - No Bake Japanese Dessert
Coffee jelly is an easy no-bake dessert that is refreshing and energizing. Perfect for parties or after dinner.
Ingredients
Coffee Jelly
- 4 tablespoon water
- 1 tablespoon unflavored gelatin powder
- 1 ½ cups water
- 50 grams granulated sugar
- 4 teaspoon instant coffee, or to taste
Milk Jelly
- 5 teaspoon water
- 1 ¼ teaspoon unflavored gelatin powder
- 1 cup half & half (note 2)
- 25 grams granulated sugar
Optional Toppings
- Whipped cream
- Mint leaves
- Coffee beans
- Fresh Fruit
Instructions
Coffee Jelly
- Refrigerate cups. This will help the jelly set faster.
- Place first set of water in a small bowl. Sprinkle gelatin powder on top to bloom for 5 minutes. (Note 3)
- In a medium pot, bring the second set of water and sugar to a boil until sugar is dissolved. Turn off heat.
- Stir in instant coffee to taste. Some brands may require more or less. If needed, strain the mixture to rid of any coffee bits.
- Stir in bloomed gelatin until fully dissolved.
- With a small ladle, carefully transfer half of the coffee mixture evenly into the cups, filling it ⅓ of the way. Reserve the other half of the mixture at room temperature for later. (Note 4)
- Place filled cups in the fridge to set. About 30 minutes to an hour.
Milk Jelly
- Place first set of water in a small bowl. Sprinkle gelatin powder on top to bloom for 5 minutes.
- In a medium pot, heat the half & half and sugar until steam and bubbles appear on the side and the sugar is dissolved. Do not boil. Turn off heat.
- Stir in bloomed gelatin, continue stirring until fully dissolved. Set aside to cool.
- Check to see if the chilled coffee jelly has set.
- Once the milk mixture has cooled, carefully divide it into the cups evenly.
- Place filled cups in the fridge to set. About 30 minutes to an hour.
- Once milk jelly has set, divide remaining coffee mixture into the cups evenly. Place in fridge to set one last time. For the best results, refrigerate for a minimum of 4 hours.
Optional Toppings
- If desired, top with whipped cream, mint leaves, coffee beans, fresh fruit of more half&half.
Notes
1. Some ingredients are repeated. Use them in the order listed in instructions.
2. Half and half can be substituted with half cream and half milk.
3. Take care not to dump the powder in one place so each granule can be hydrated with the water. Using a bigger bowl with a larger surface area helps.
4. If working on a cold day, gelatin might set quicker. If the last set of coffee mixture starts to coagulate before it can be poured, transfer it to a heat-proof bowl and stir it over a pot of boiling water until it is at a pourable consistency again. Do not let it boil or come in contact with the boiling water.
Recommended Products
As an Amazon Associate and member of other affiliate programs, I earn from qualifying purchases.
Nutrition Information
Yield
6Serving Size
1Amount Per Serving Calories 136Total Fat 5gSaturated Fat 3gTrans Fat 0gUnsaturated Fat 2gCholesterol 15mgSodium 175mgCarbohydrates 21gFiber 2gSugar 14gProtein 4g
This information is provided as a courtesy and is an estimate only. This information comes from online calculators. Although indulgewithmimi.com attempts to provide accurate nutritional information, these figures are only estimates.


![Jade Leaf Organic Matcha Green Tea Powder - Authentic Japanese Origin - Culinary Grade - Premium 2nd Harvest [3.53oz]](https://www.indulgewithmimi.com/wp-content/uploads/2015/02/71YExRTmNBL._SL1111_edit.jpg)


